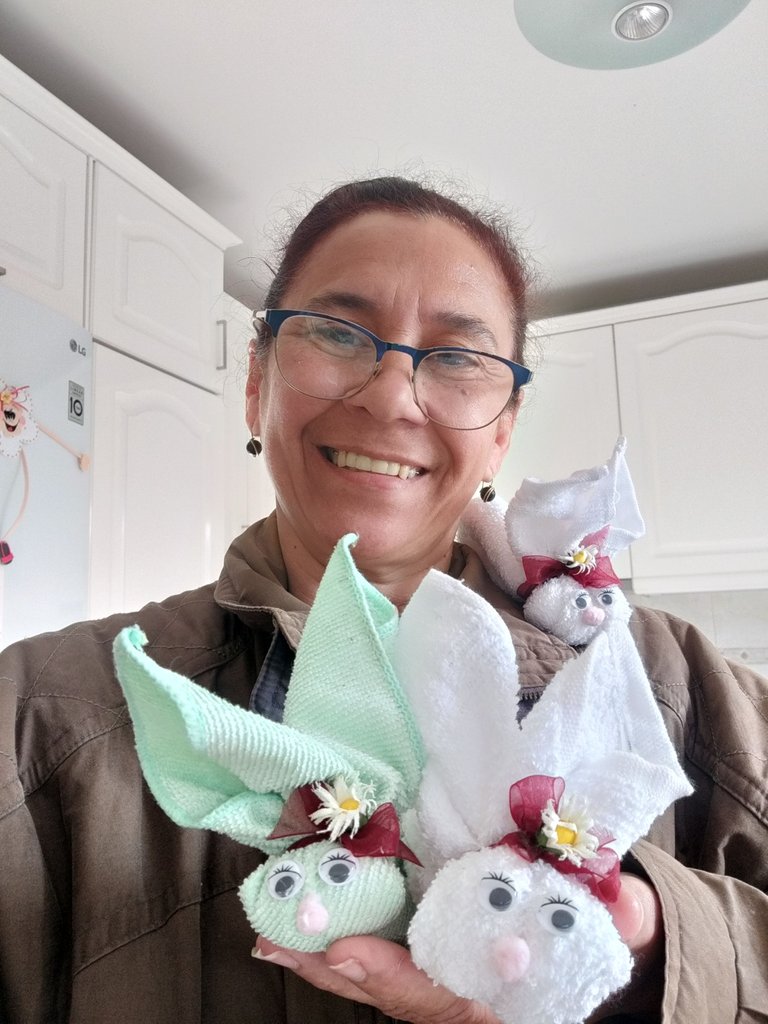
Español
Reciban un gran saludo amigos de Hive. Que tengan un excelente día y lleno de éxitos.Quiero aprovechar felicitando a todas esas personas que hacen vida a esta gran comunidad con sus aportes en diferentes publicaciones que a través de ellas muestran sus diferentes cualidades y dones y sirvan de inspiración a otras personas🤩🤗 .
En la semana de pascua muchas personas reciben visita de familiares y amigos; como fue mi caso recibí la visita de mi hermano con su esposa y mis sobrinos. Para darle el recibimiento les prepare un almuerzo y no faltaría más en decorar la mesa con motivo de pascua y realice un conejito con paños de cocina. Acompañenme a realizar estos fáciles conejitos porta servilletas.
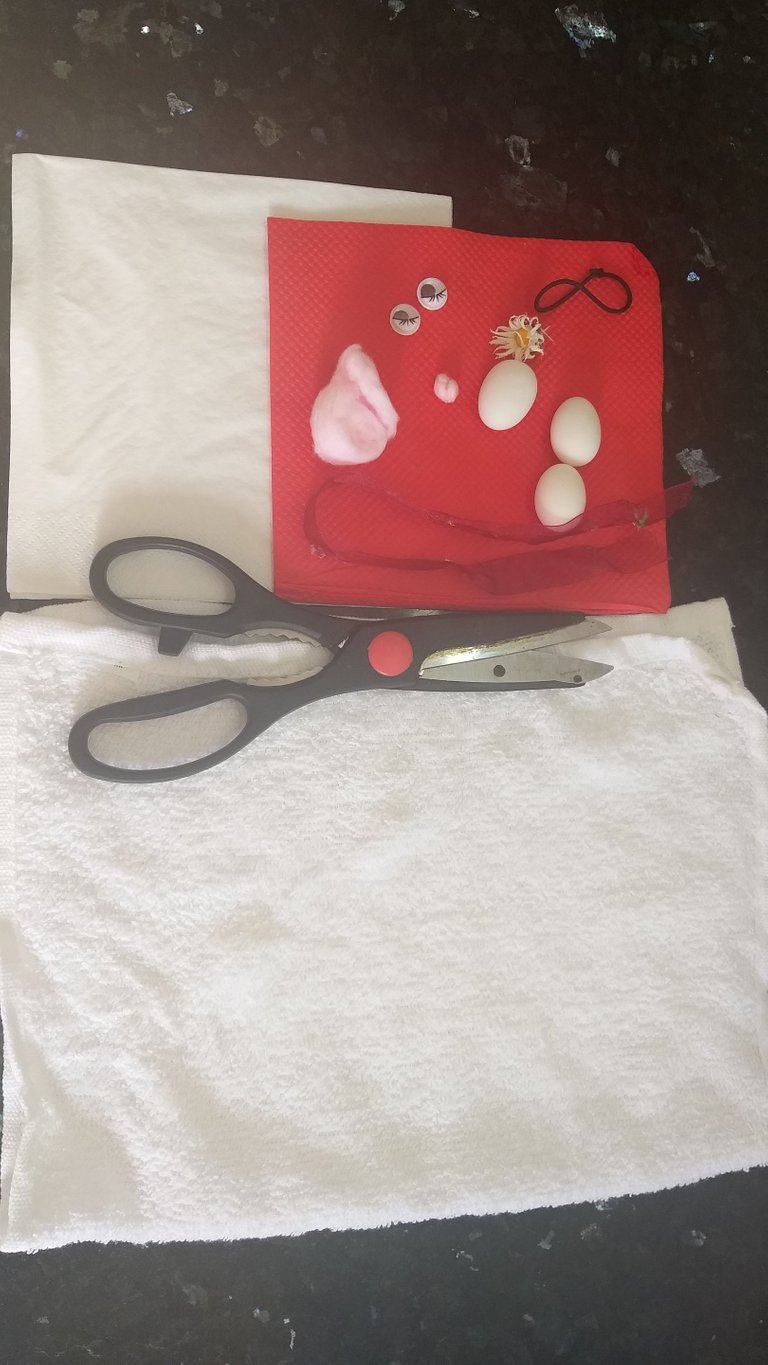
Materiales a utilizar

Paños de cocina pequeños o servilletas gruesas
Tijera
Pegamento
Ojos móviles (pequeños)
Flores pequeñas
Un metro de cinta del color de su preferencia
Algodón de color rosado
Ligas, la cantidad depende de los conejitos que vaya hacer.

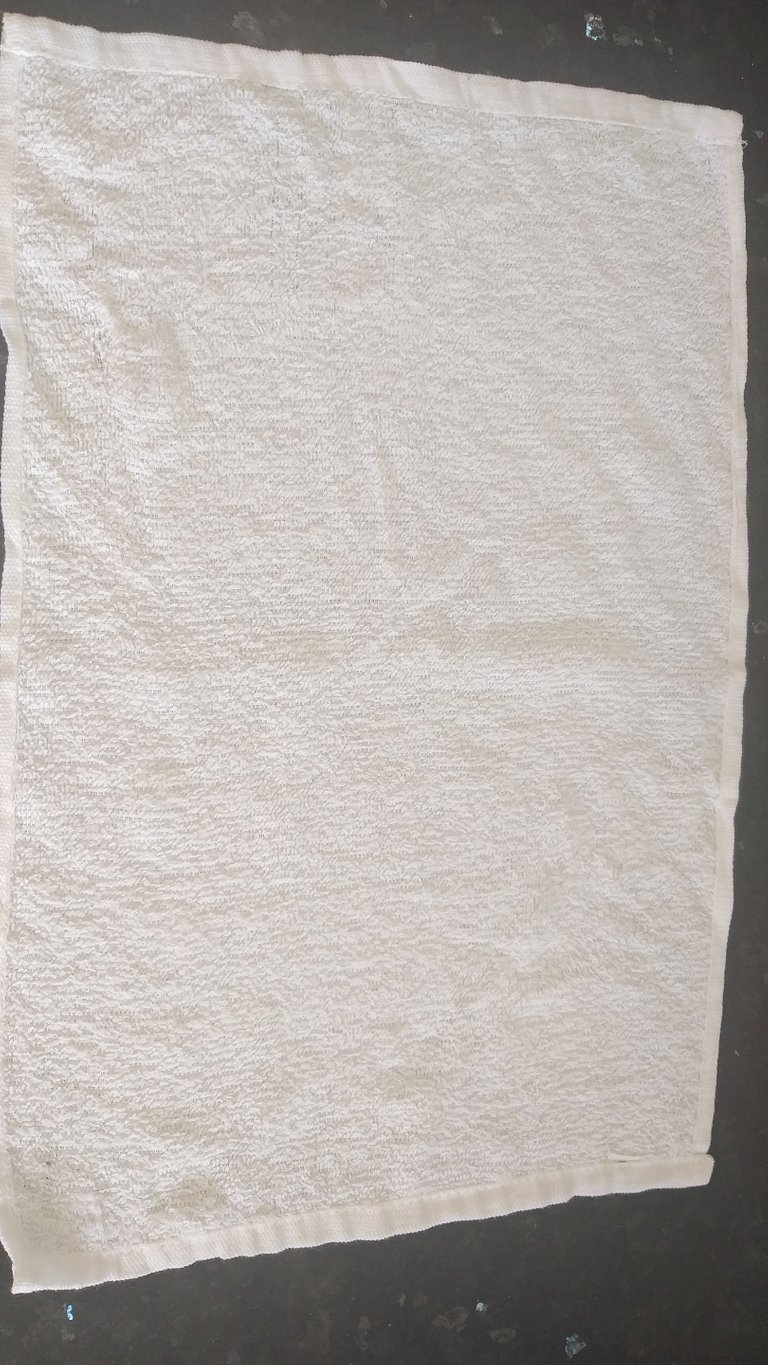
1👣🐰 En este primer paso vamos abrir todo el paño de cocina o servilleta. Una sugerencia si el paño de cocina es cuadrado es mucho mejor para hacer el trabajo.
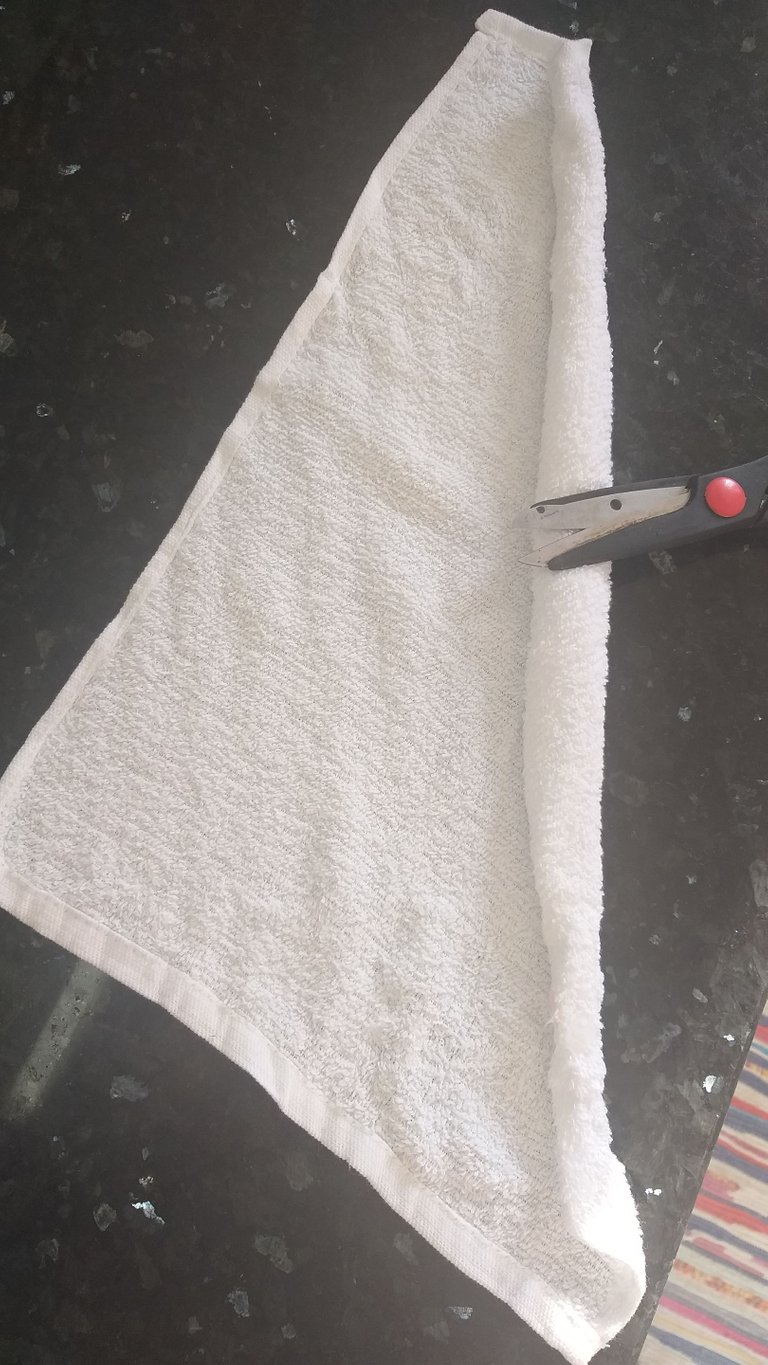
2👣🐰. Ahora vamos a enrollar ambos puntas; hasta llegar al medio ambos, haga primero un lado hasta la mitad y luego el otro lado puede ayudarse sosteniendo el lado que enrolló con la tijera. Pueden observar la imagen.
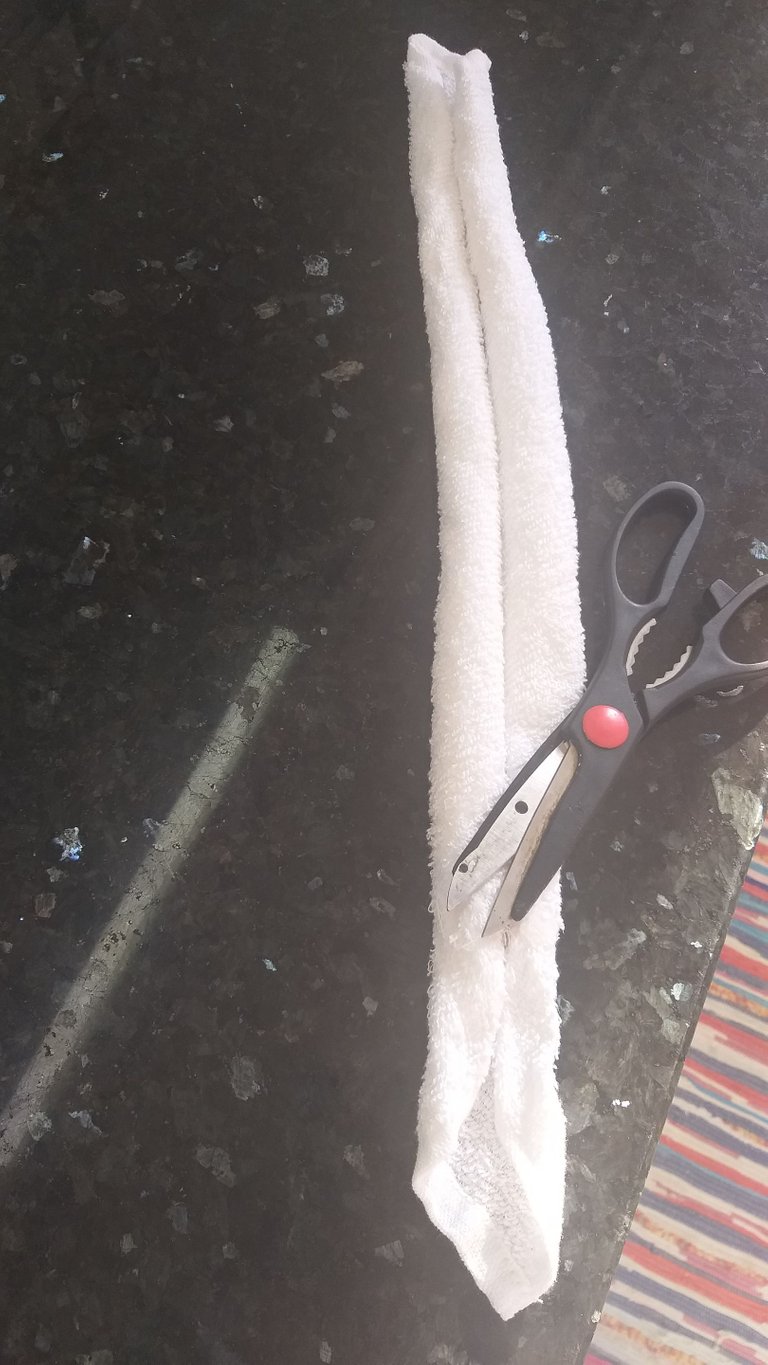
3👣🐰. Luego que tengamos ambos lados enrollados vamos a doblar en dos uniéndo las partes de las puntas que serán las orejas.
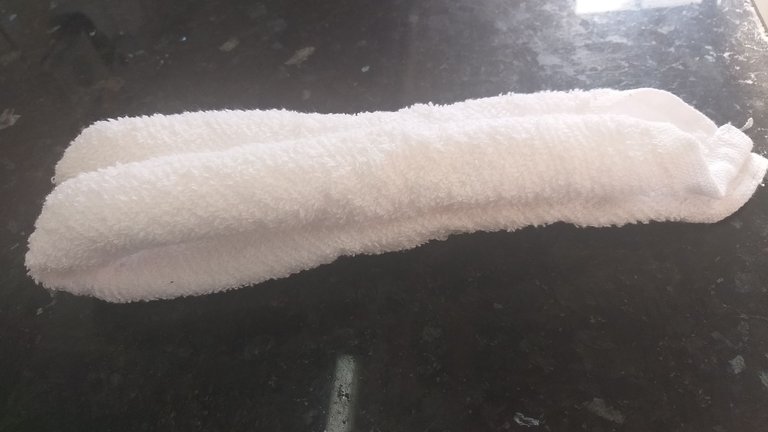
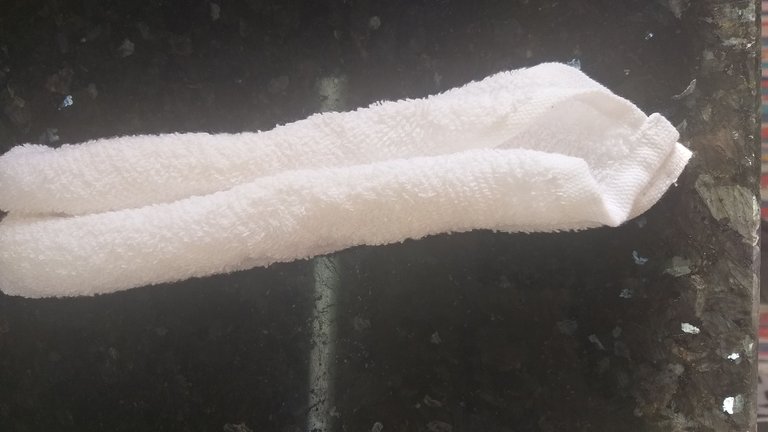
4👣🐰. Ahora vamos a doblar 7cm de la punta de las orejas a la parte del medio, puede guiarse por la imagen.
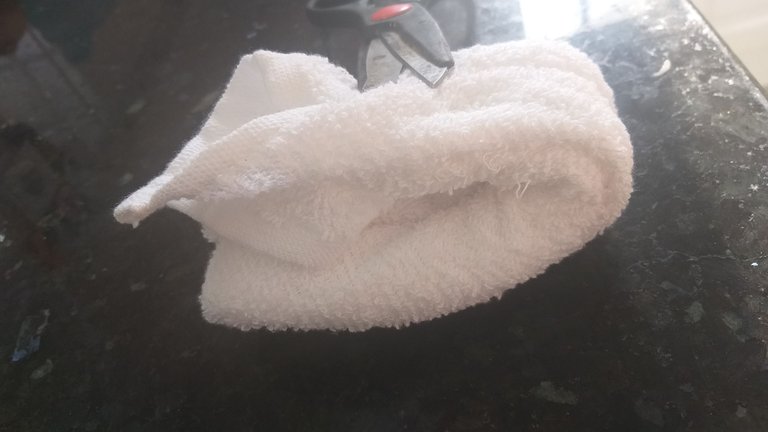
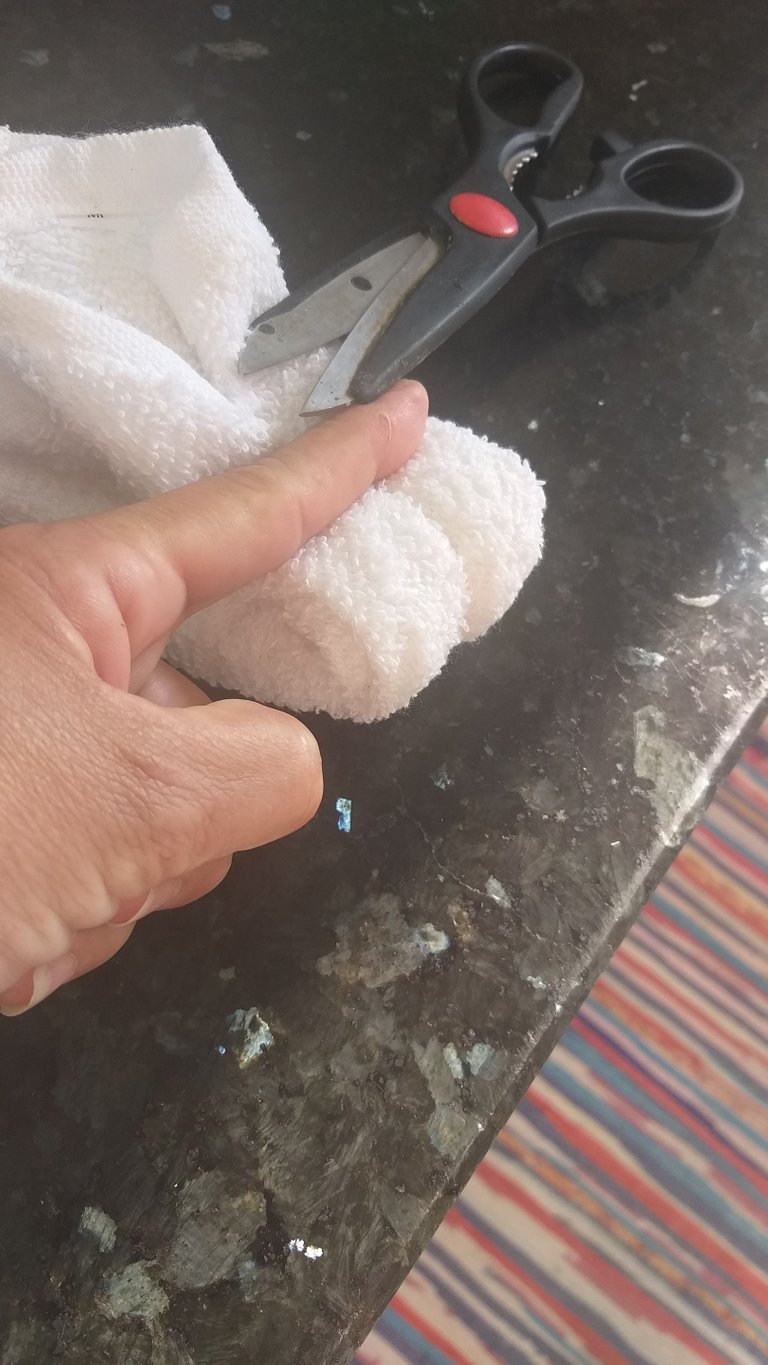
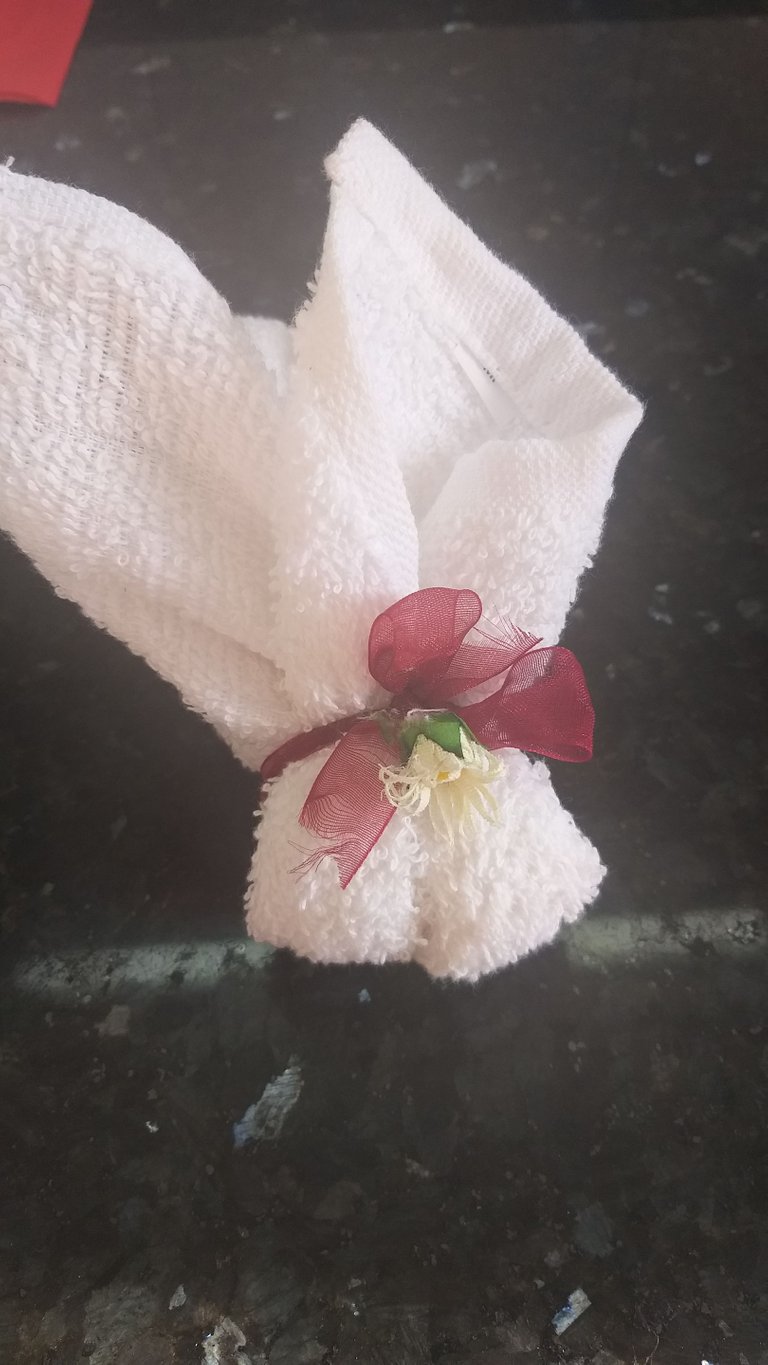
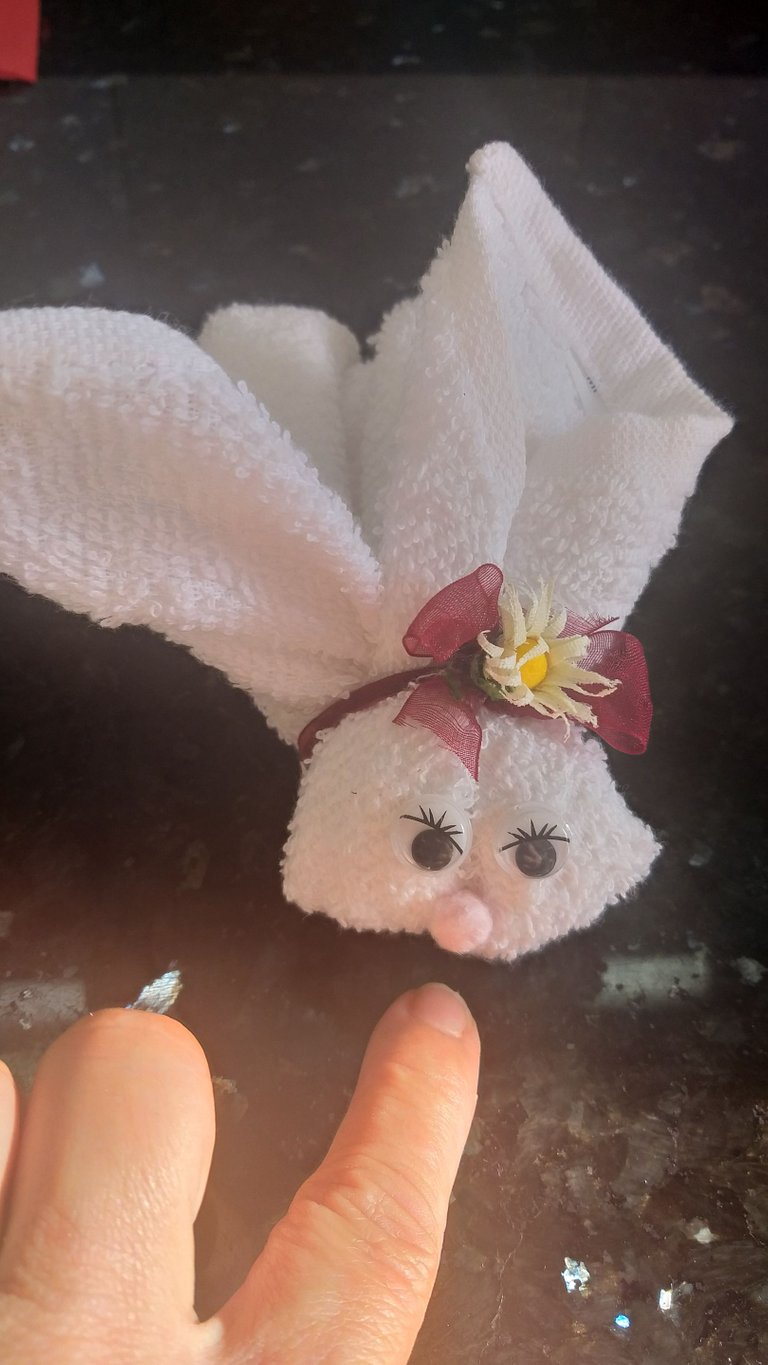
5👣🐰. En este paso procederá amarrar con la elástica la parte doblada que será la cabeza del conejito🐰. Observar la imagen
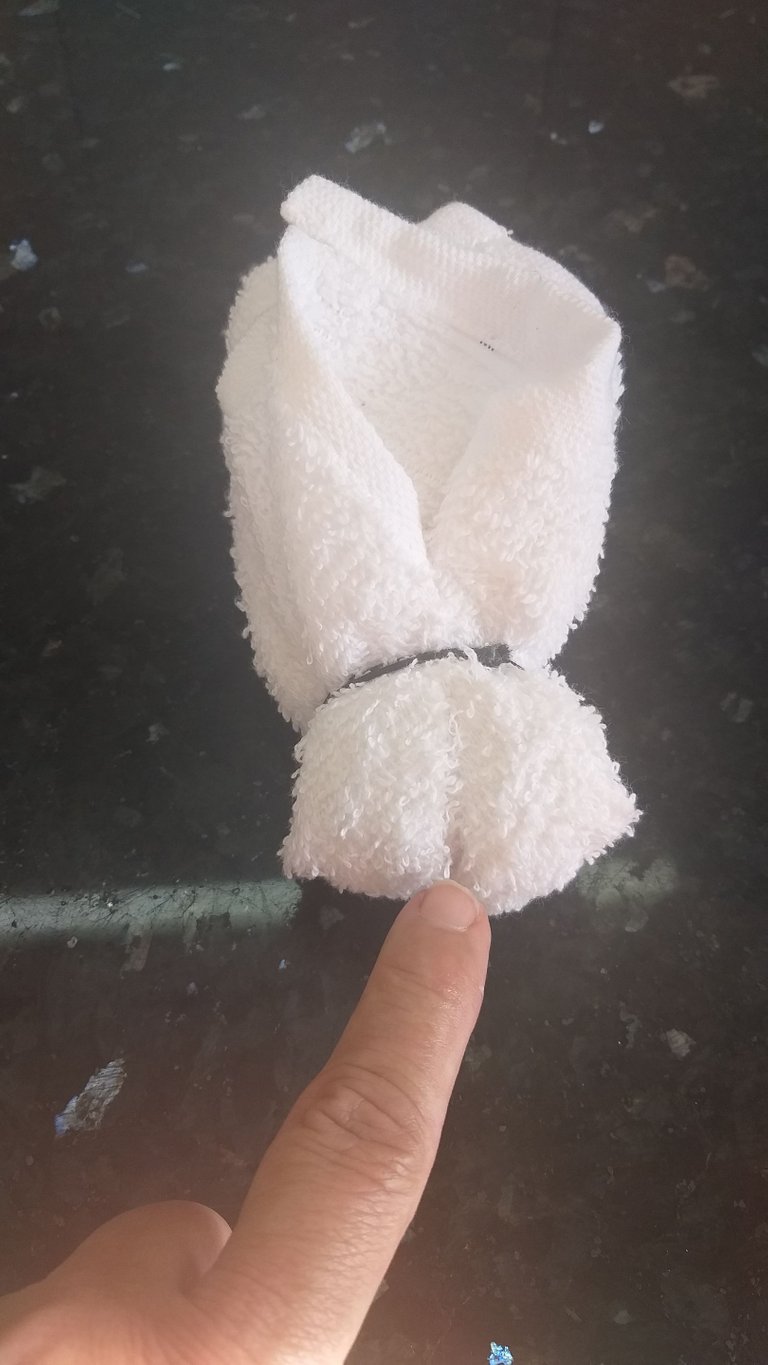
6👣🐰. Con la cinta vamos a tapar la liga y hacer un lazo pequeño y con el pegamento pegar la flor; puede también sustituir la flor por una perla
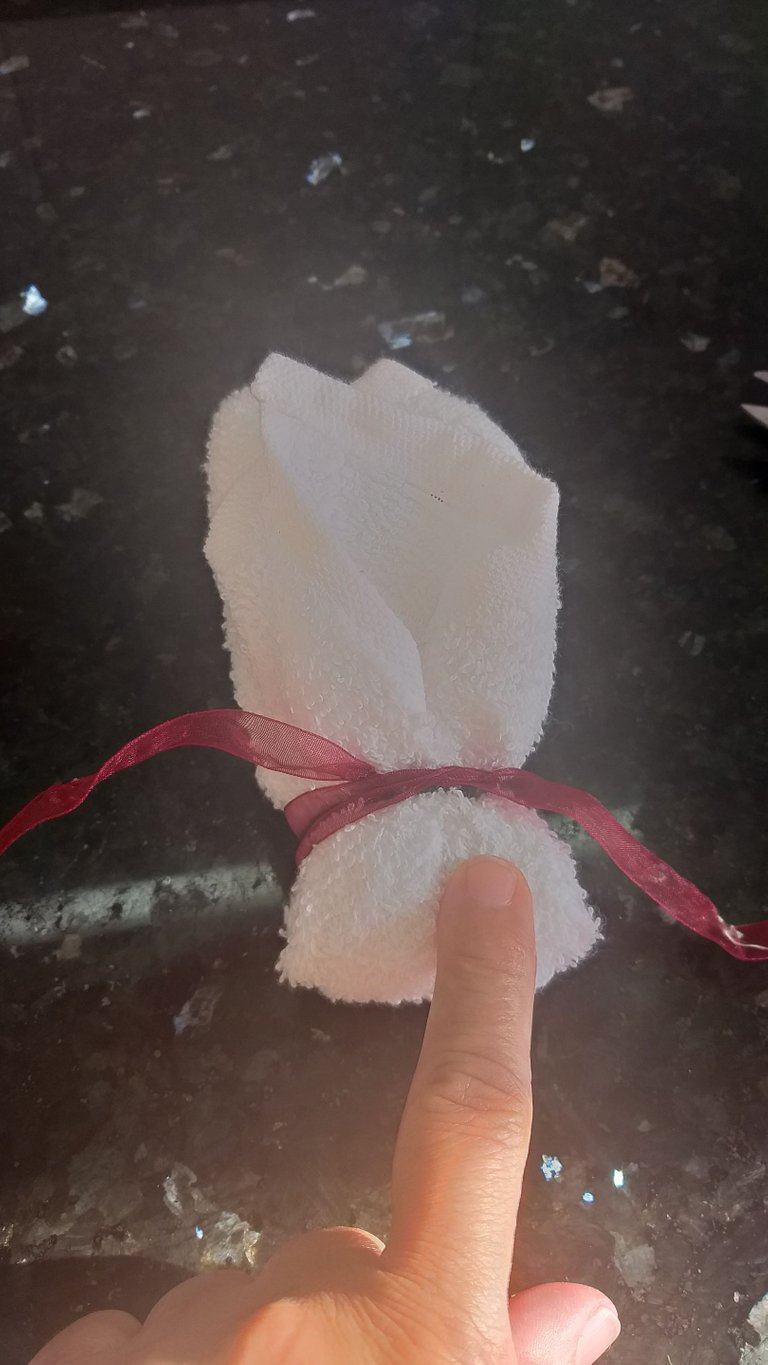
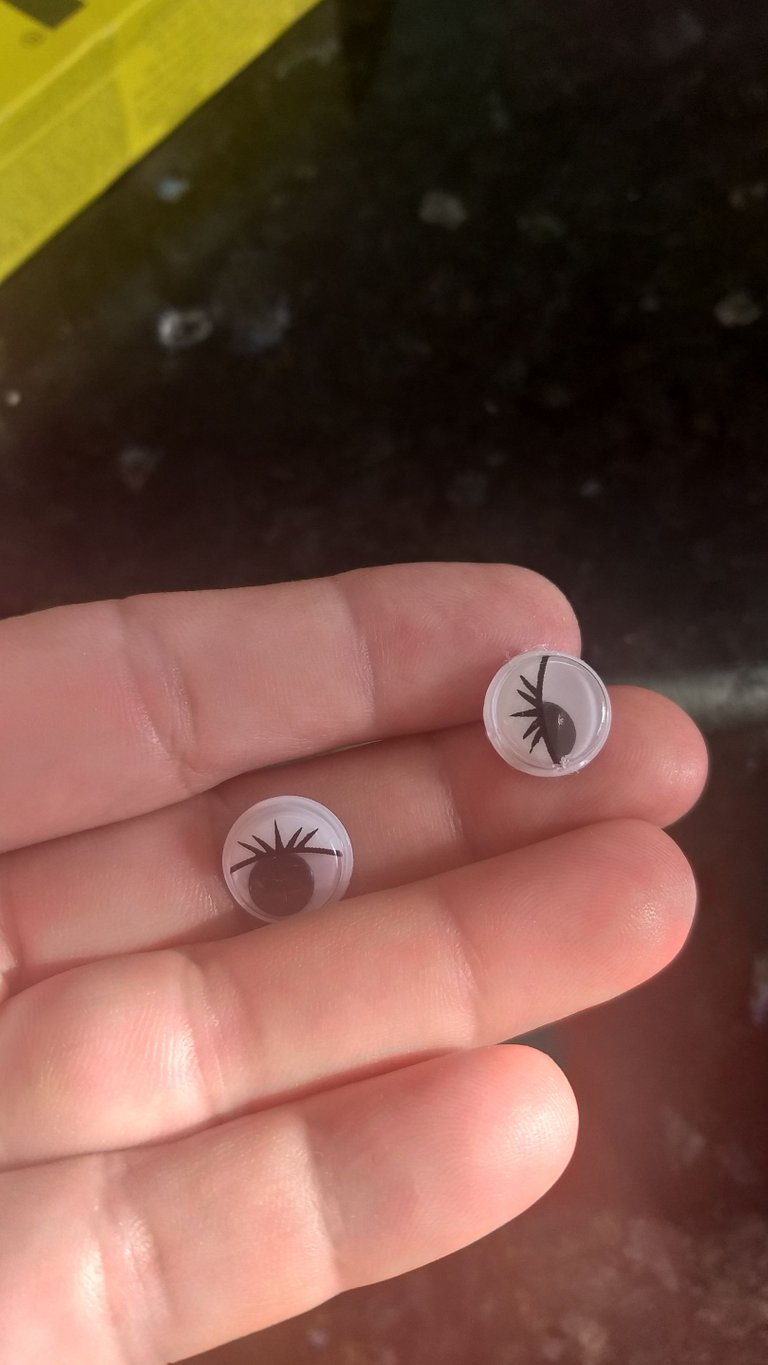
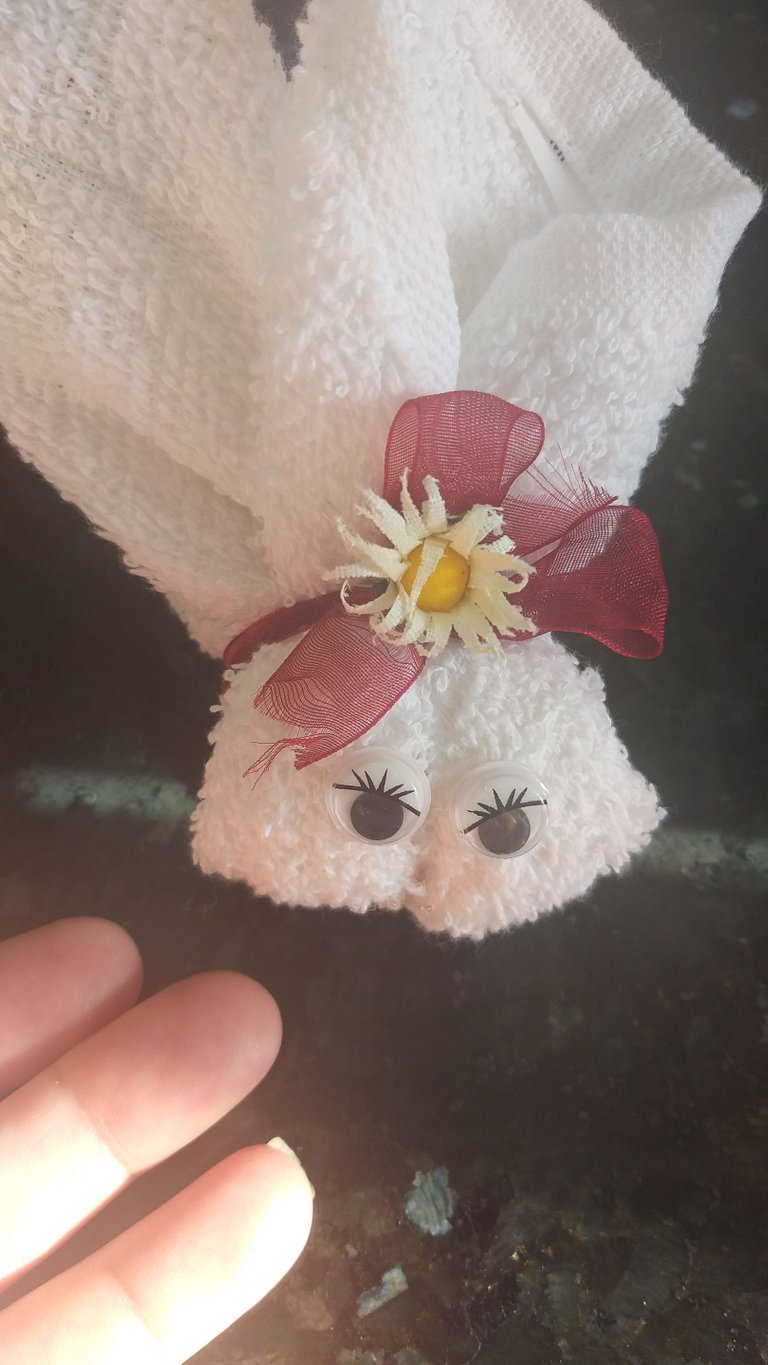
7👣🐰. Con el pegamento vamos a pegar los ojos móviles
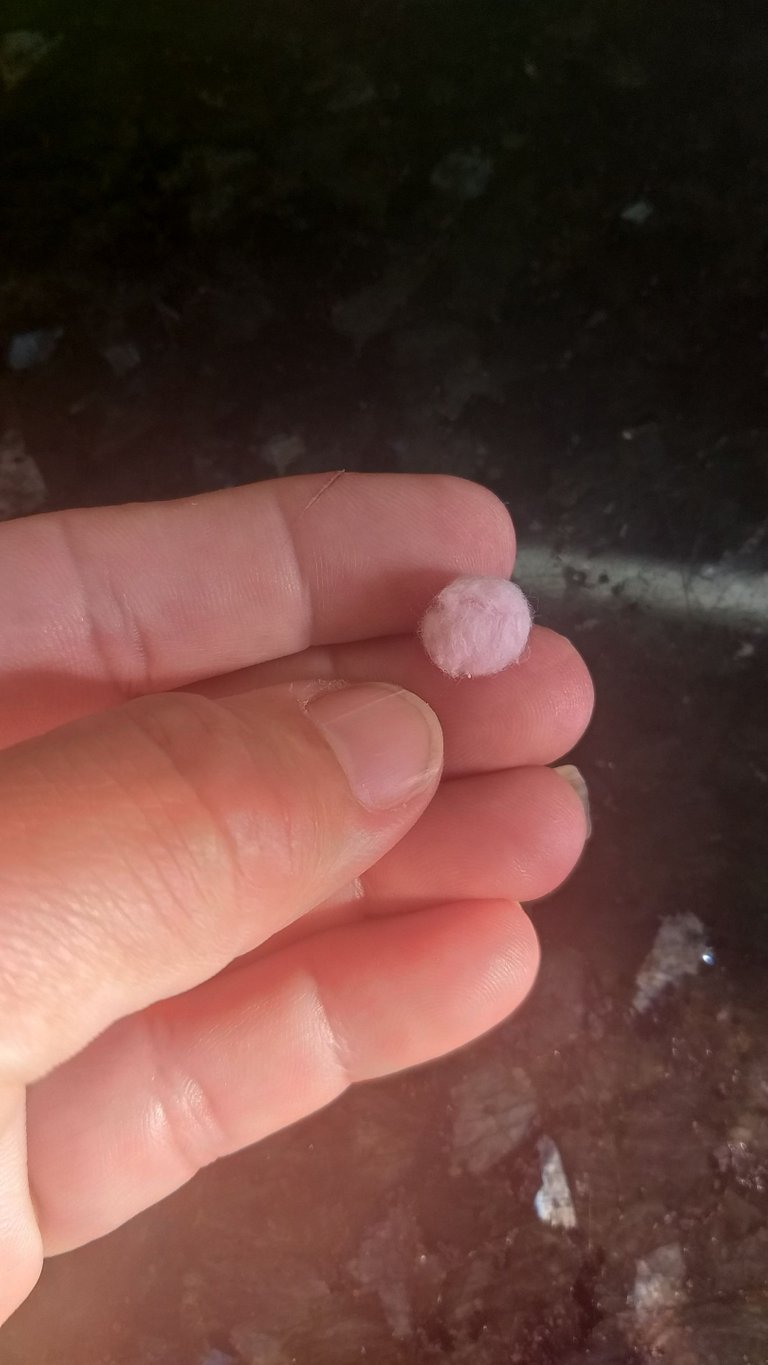
8👣🐰. Vamos hacer la nariz con un pedazo de algodón y haremos una pequeña bolita que será la nariz y después con el pegamento pegamos la nariz.
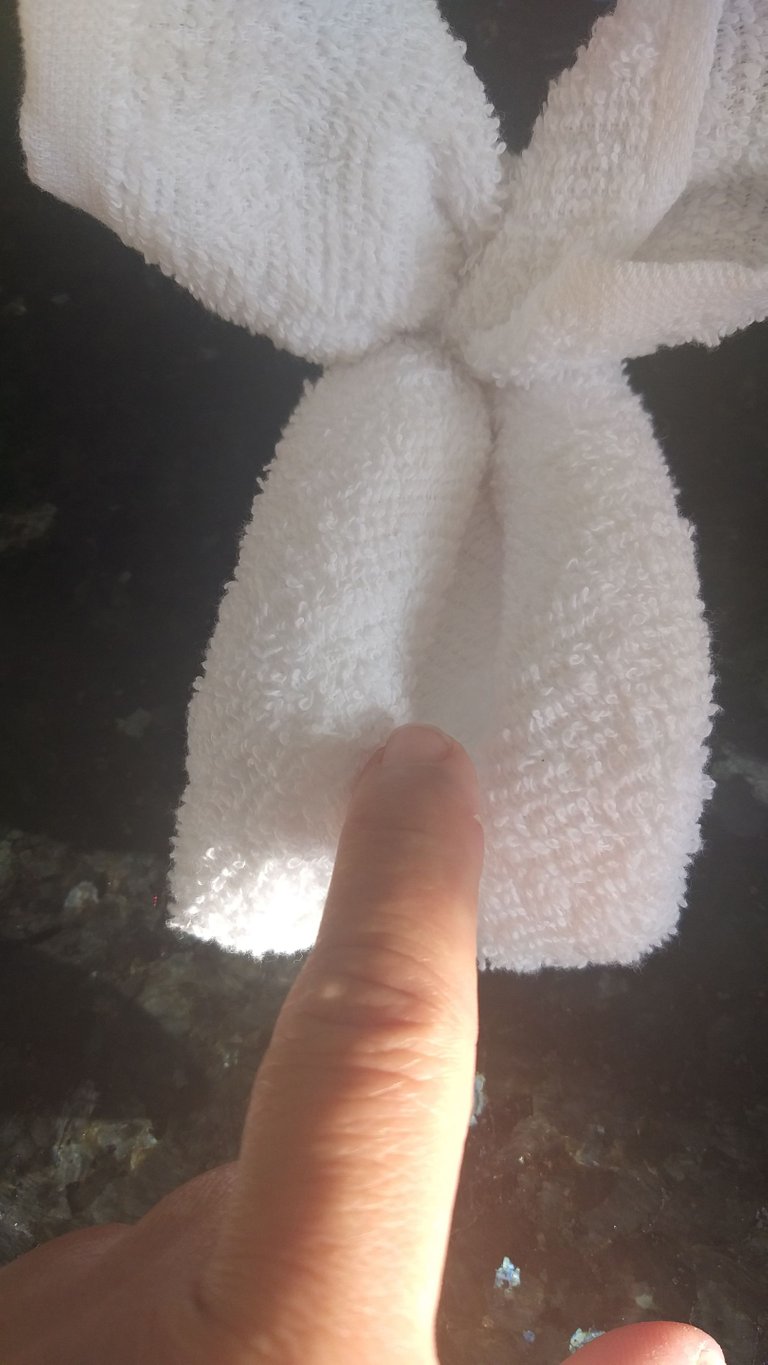
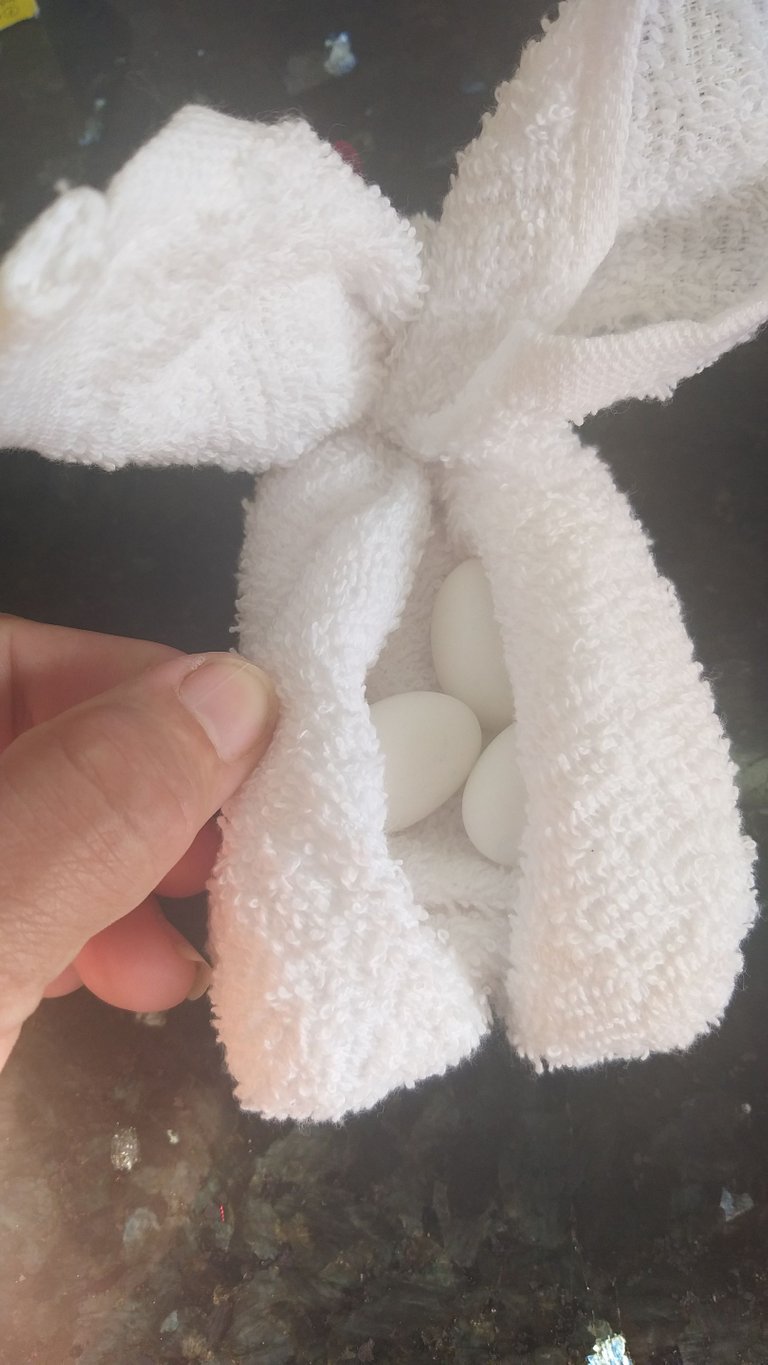
9👣🐰. En la parte de atrás queda una ranura donde podrán colocar unas almendras que serán como los huevos de pascuas.
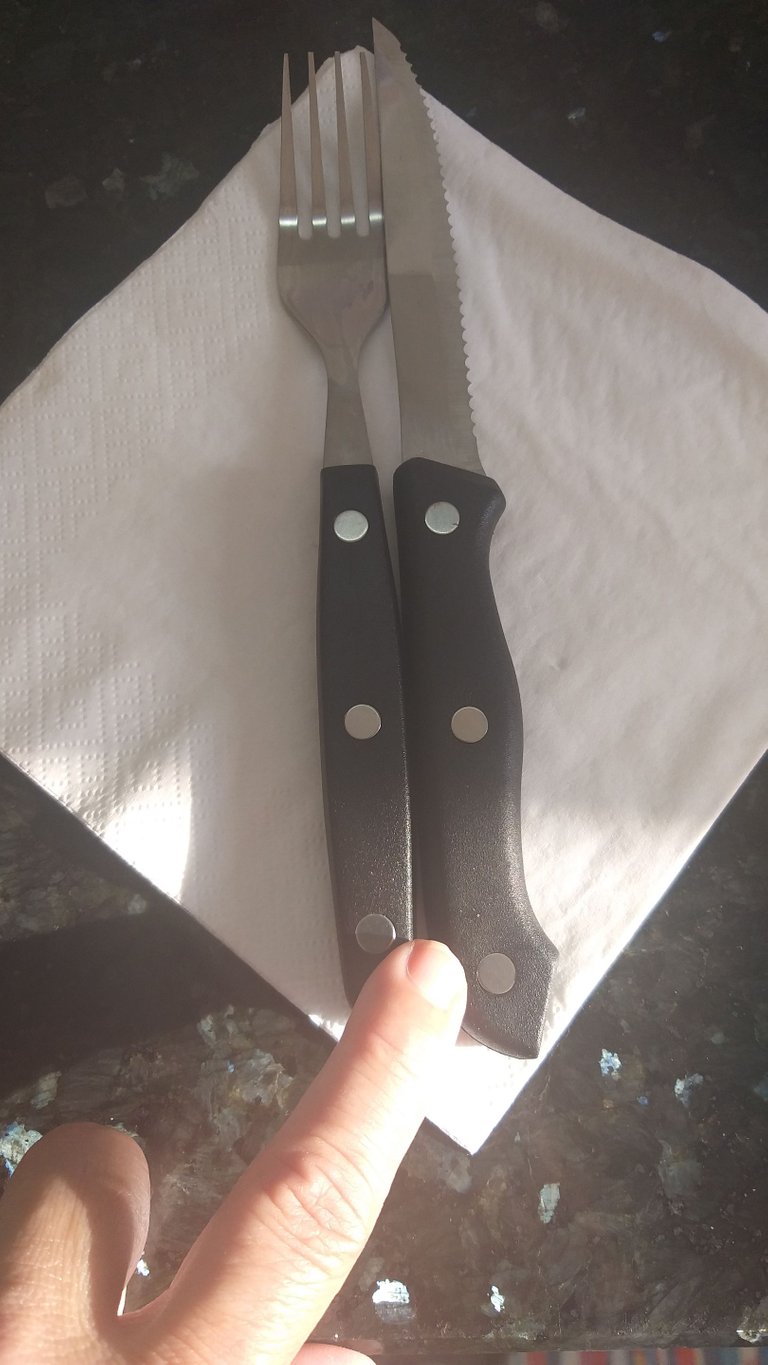
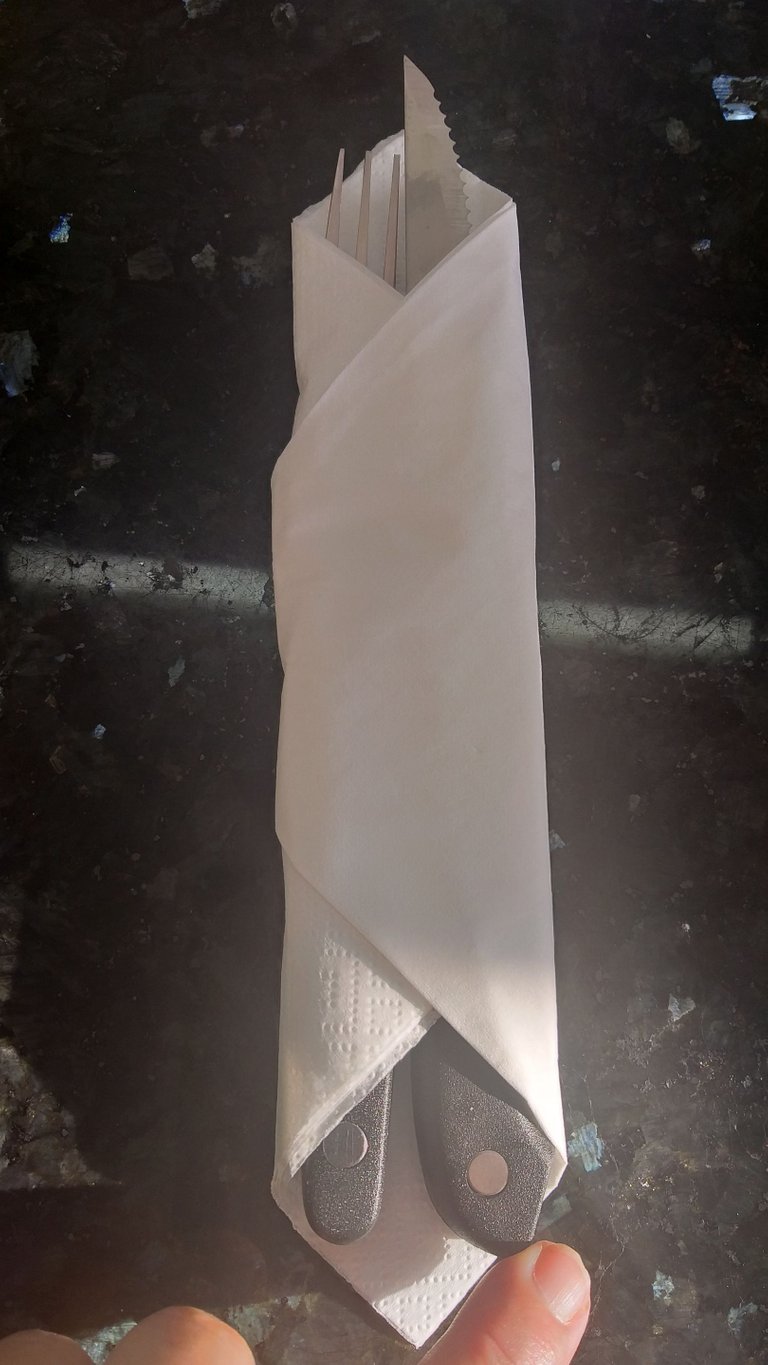
10👣🐰. Con una servilleta blanca o de cualquier color vamos a preparar el juego de cuchillo y cubierto y después lo colocaremos dentro del orificio del conejito.
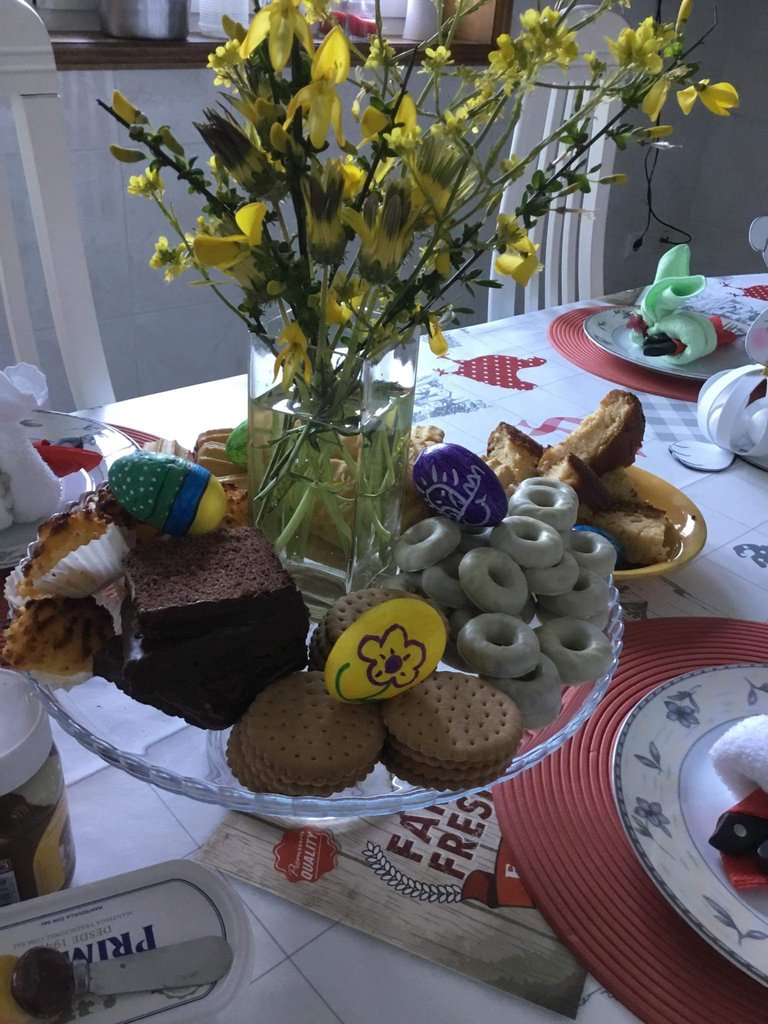
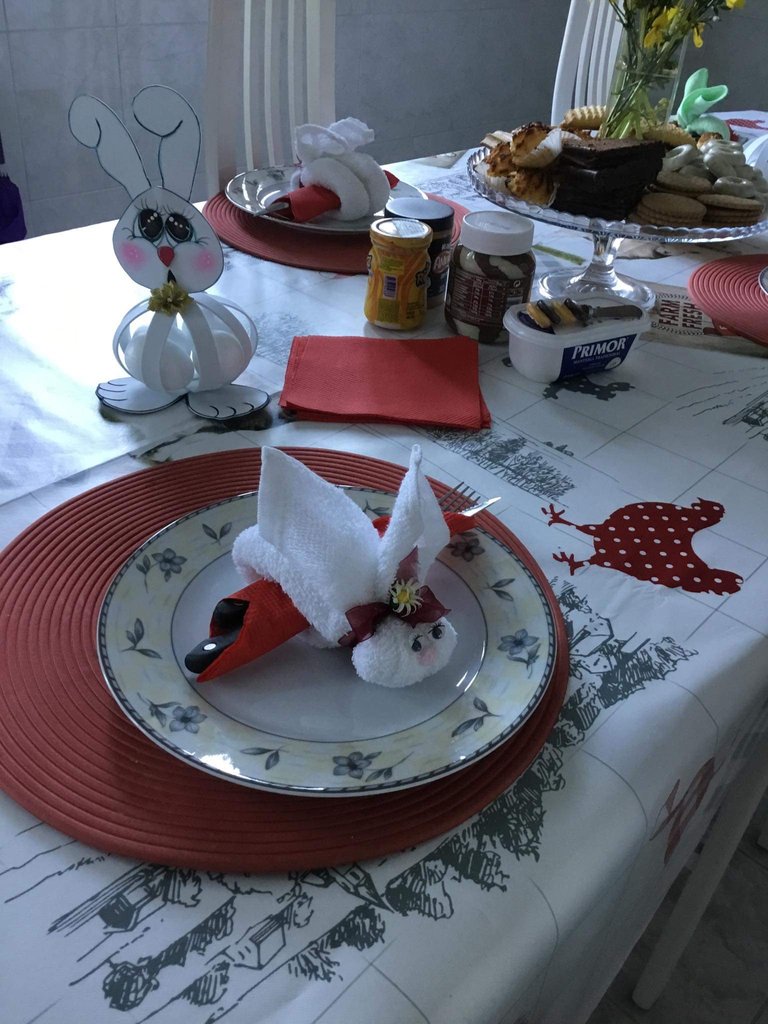
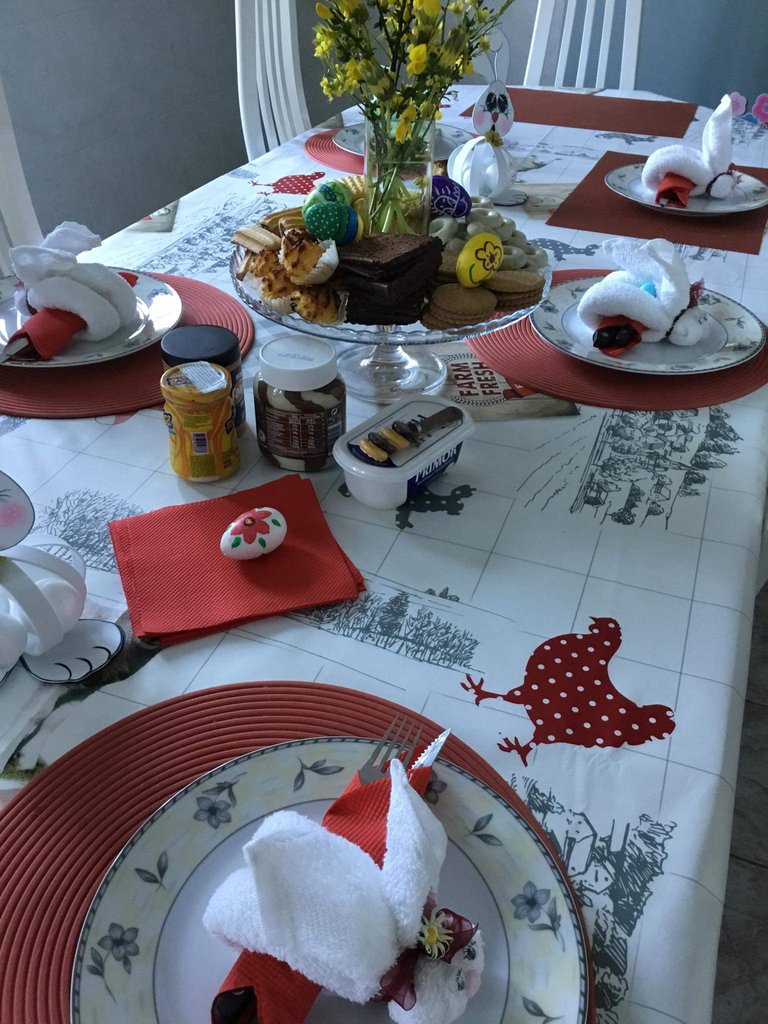
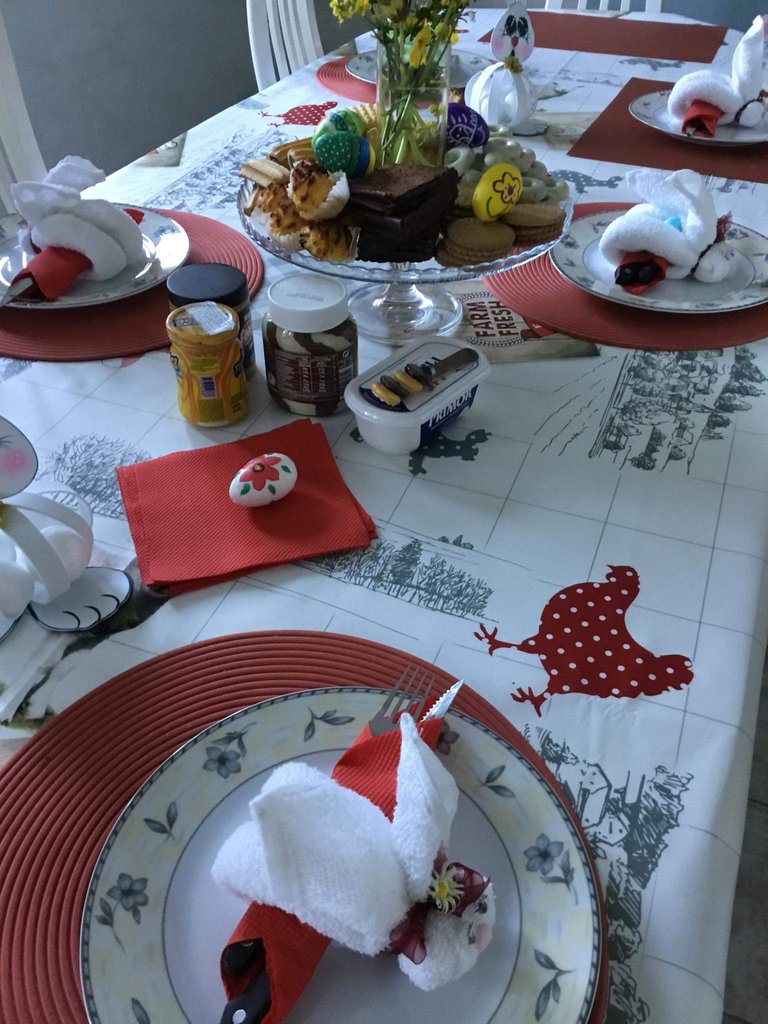
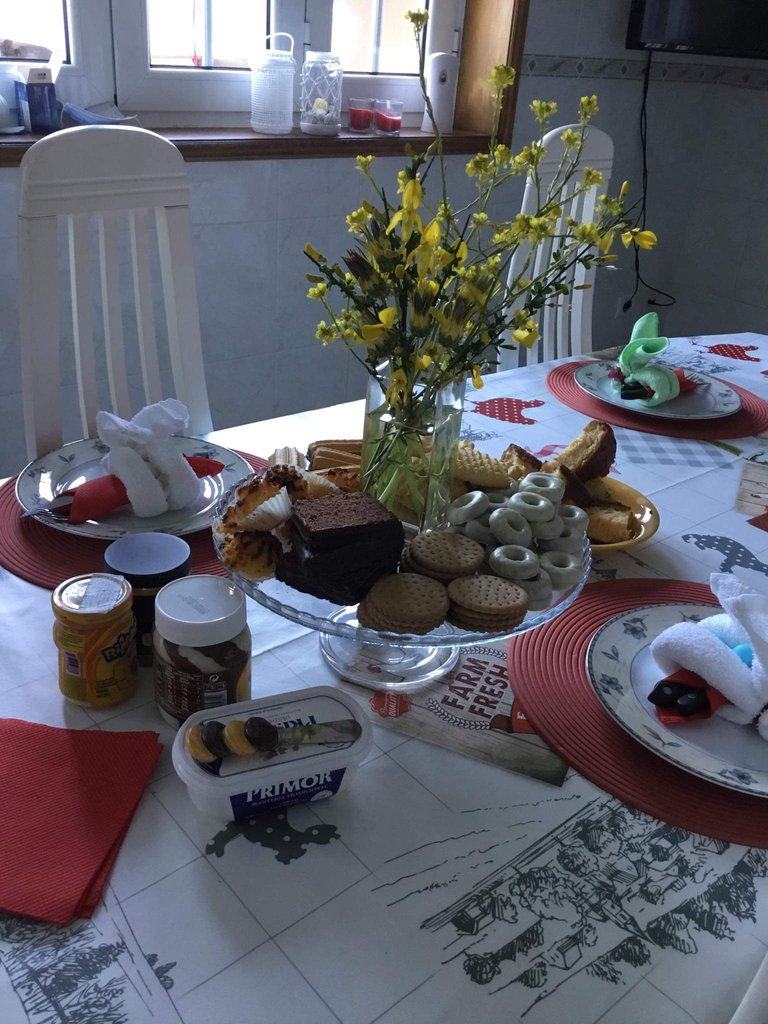
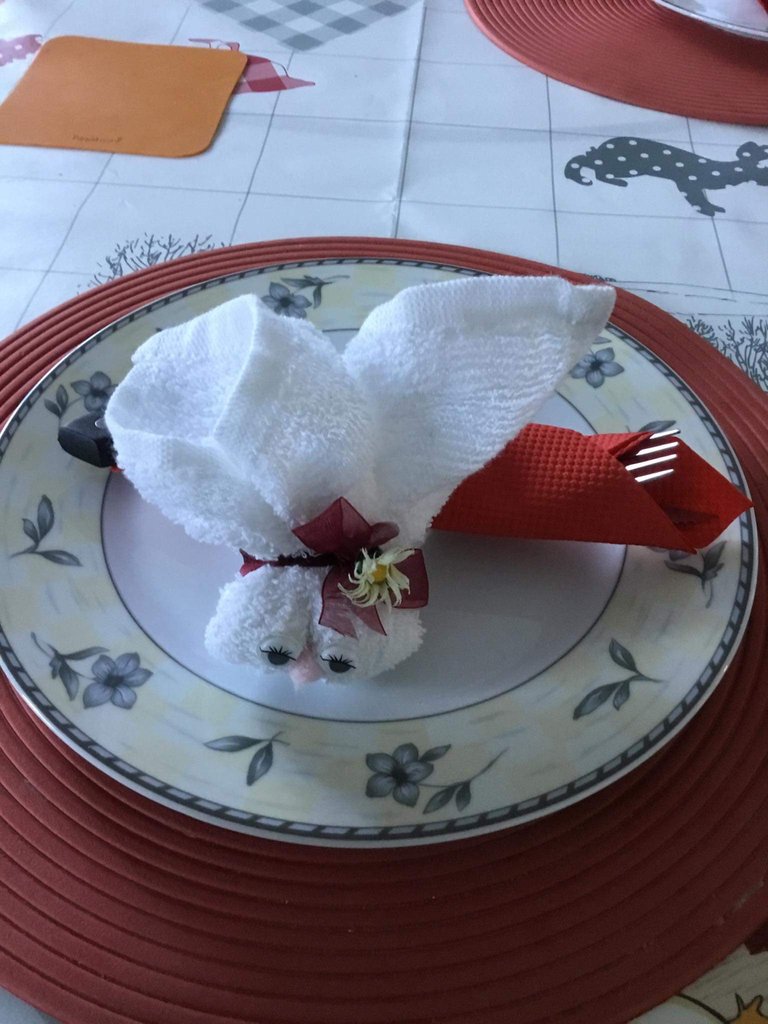
11👣🐰. Luego de tener todo el conejito armado vamos a decorar la mesa colocando el porta servilletas encima del plato. El mantel que coloqué tiene figuras de animales y un conejo. También adorne con conejitos que hice en otra publicación y huevos por los dulces.
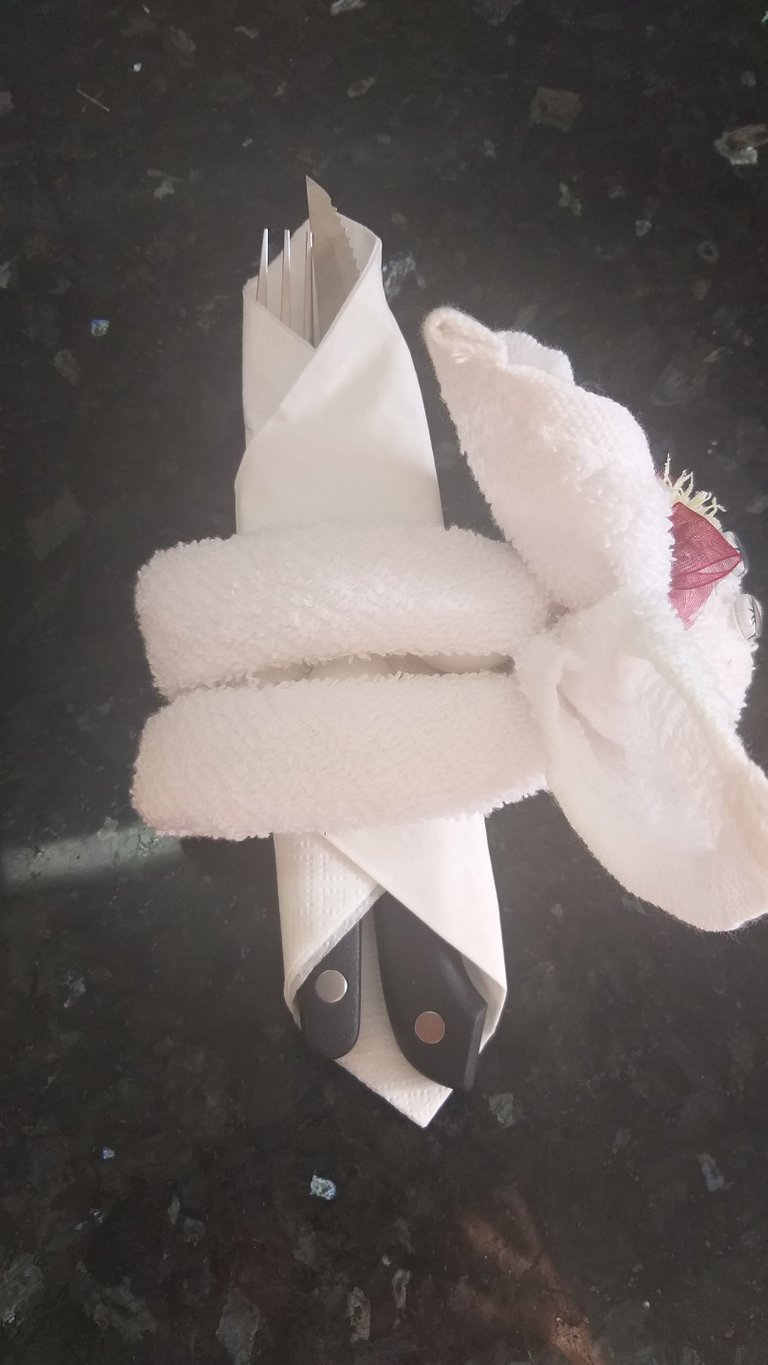
Acá tenemos el resultado final
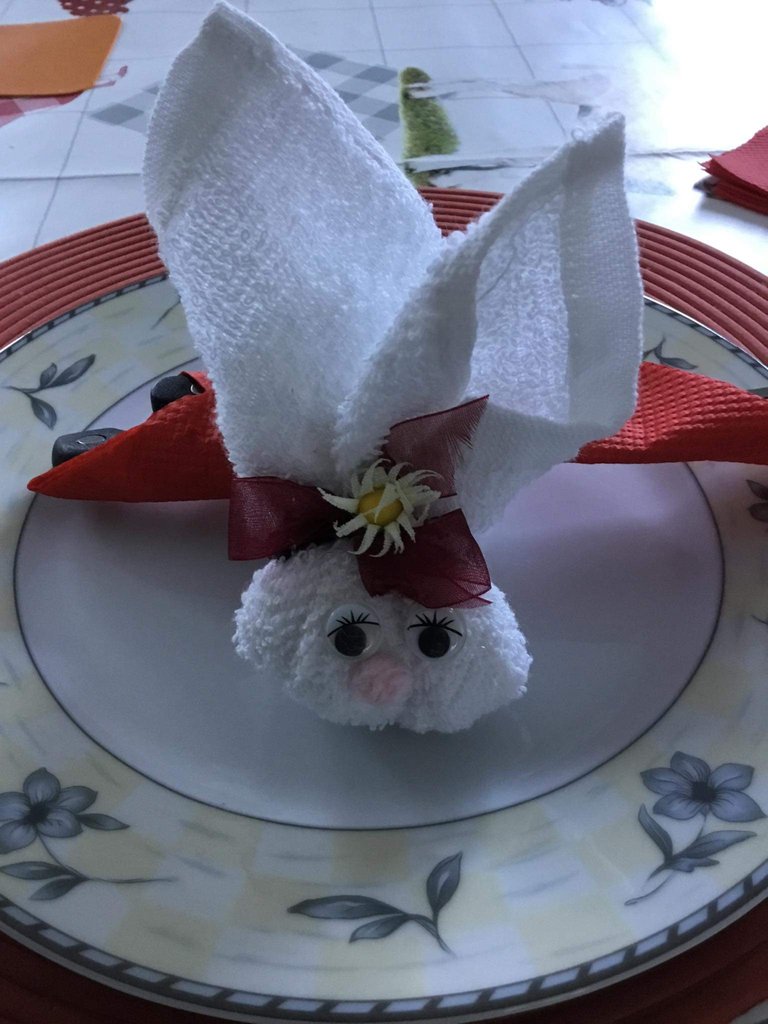
Anímense a realizar éste porta servilletas de conejito muy fácil de hacer y puede hacer otro tipo de animal. Gracias a todos los que me dejan hermosos comentarios y apoyo. Espero que le haya gustado mi manualidad de hoy para decorar su mesa con algo tan sencillo.
Las fotos son tomadas de mi teléfono móvil Samsung Galaxy A6.

English
Receive a big greeting friends of Hive. Have an excellent day and full of success. I want to take the opportunity to congratulate all those people who make this great community come alive with their contributions in different publications that through them show their different qualities and gifts and serve as an inspiration to other people🤩🤗 .
During Easter week, many people receive visits from family and friends; As was my case, I received a visit from my brother with his wife and my nephews. To welcome them, I prepared a lunch for them and it would not be necessary to decorate the table for Easter and make a bunny with kitchen towels. Join me in making these easy napkin holder bunnies.

The materials to use
Small kitchen towels or thick napkins
Scissor
Glue
Moving eyes (small)
small flowers
One meter of ribbon in the color of your choice
Pink cotton
Leagues, the amount depends on the bunnies you are going to make.


1👣🐰 In this first step we are going to open the entire kitchen towel or napkin. A suggestion if the kitchen towel is square it is much better to do the job.

2👣🐰. Now we are going to wrap both ends; until you reach the middle both, make one side halfway first and then the other side can be helped by holding the side that you rolled up with the scissors. You can see the image.


3👣🐰. After we have both sides rolled up we are going to fold in two joining the parts of the tips that will be the ears.


4👣🐰. Now we are going to fold 7cm from the tip of the ears to the middle part, you can be guided by the image.


5👣🐰. In this step, tie the folded part that will be the bunny's head with the elastic. observe the image

👣🐰. With the tape we are going to cover the garter and make a small bow and with the glue stick the flower; you can also replace the flower with a pearl


7👣🐰. With the glue we are going to stick the moving eyes


8👣🐰. We are going to make the nose with a piece of cotton and we will make a small ball that will be the nose and then with the glue we will stick the nose.


9👣🐰. In the back there is a slot where you can place some almonds that will be like Easter eggs.


10👣🐰. With a white or any color napkin we are going to prepare the knife and cutlery set and then we will place it inside the hole of the bunny.

11👣🐰. After having all the bunny assembled, we are going to decorate the table by placing the napkin holder on top of the plate. The tablecloth that I placed has figures of animals and a rabbit. I also garnished with bunnies that I made in another post and eggs for the candy.


Here we have the final result

Dare to make this bunny napkin holder very easy to make and you can make another type of animal. Thanks to everyone who leaves me beautiful comments and support. I hope you liked my craft today to decorate your table with something so simple.


The photos are taken from my Samsung Galaxy A6 mobile phone.


