Español
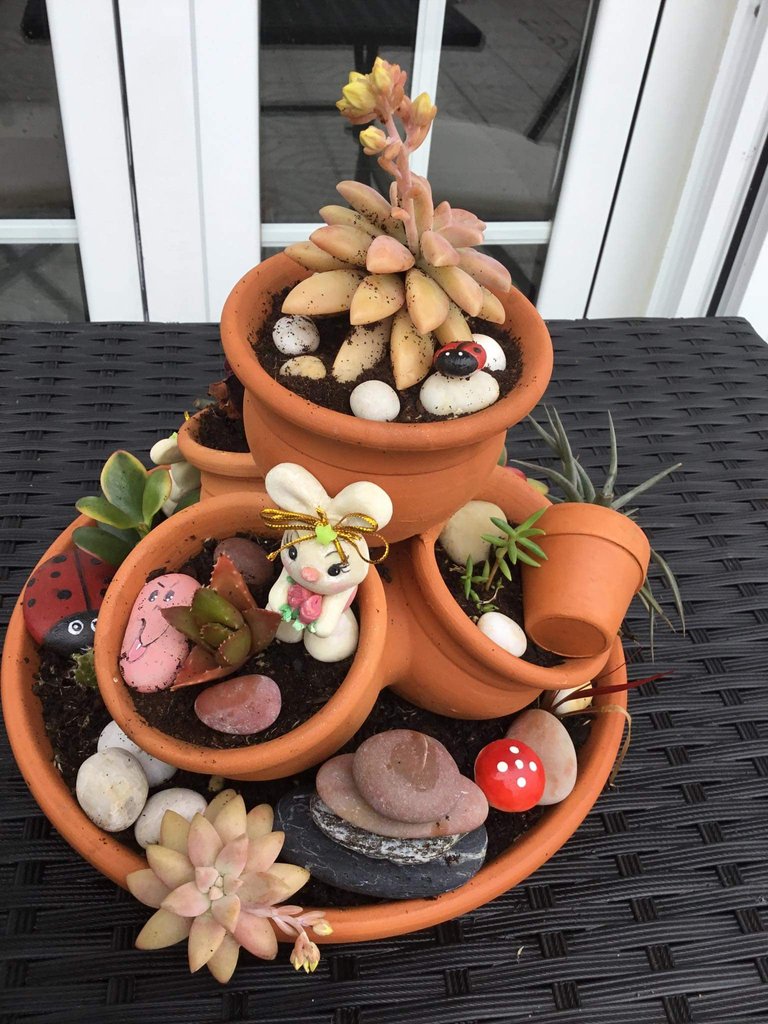
Hola Hola¡¡ mi queridos amigos de esta gran familia de HIVE con ideas fantásticas en creatividad y también excelentes concejeros, cocineros, diseñadores y entre cosas más; siempre les traigo ideas creativas para reciclar o reutilizar los objetos que van para la basura. En ésta ocasión les traigo como podemos realizar un mini jardín fácil de hacer y la cual le servirá para decorar cualquier lugar o rincón de su casa🤩👍.
Antes de comenzar quiero agradecer a todas las personas y comunidades que toman un tiempo para pasar a leer mis tutoriales y dejando un granito de arena dándole un me gusta o votando❤mil gracias.
Vamos ahora hablarle que es un mini jardín Un mini-jardín o terrario es una composición con plantas naturales en un contenedor que genera un pequeño ecosistema. La selección, colocación de las plantas y elementos decorativos tienen una gran importancia porque engendran nuevos paisajes.Un minijardín constituye un ejercicio de creatividad, organización y relajación. Es un pequeño trozo de naturaleza dentro del hogar que conviene aprovechar dentro de nuestra decoración.
A pesar de la sencillez que implica su estructuración, al brindarnos un momento para centrar nuestra atención única y exclusivamente en diseñar y colocar cada uno de sus elementos, obtenemos grandes beneficios a nivel psicoemocional. En pocas palabras: se trata de una actividad muy sencilla, pero eficaz al momento de aportarnos bienestar. Acompañenme a realizar éste mini jardín.
Materiales a utilizar
Una bendeja o plato ( base de matero) puede ser de material de barro o plástico.
Tres materos o macetas, en éste caso utilicé tres jarrones que ya vienen pegados.
Piedras de varios tamaños y colores
Pegamento resistente o pegamento blanco
Abono y tierra
Borra de café
Desperdicios del carbón natural
Plantas de suculentas pequeñas
Cuchara, cuchillo
Agua
Accesorios decorativos (pequeños)
Guantes
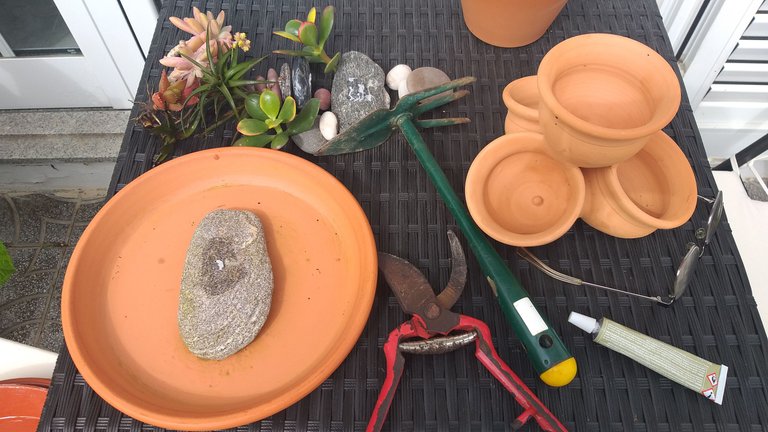
Pasos a seguir para realizar el mini-jardín
1👣. En este paso vamos a preparar pegando los pequeños jarrones al plato o base de macetas o materos. Colocamos pegamento a la base y pegamos primero una piedra para darle altura a los jarrones; ya saben que pueden pegar tres materos o jarrones pequeños.
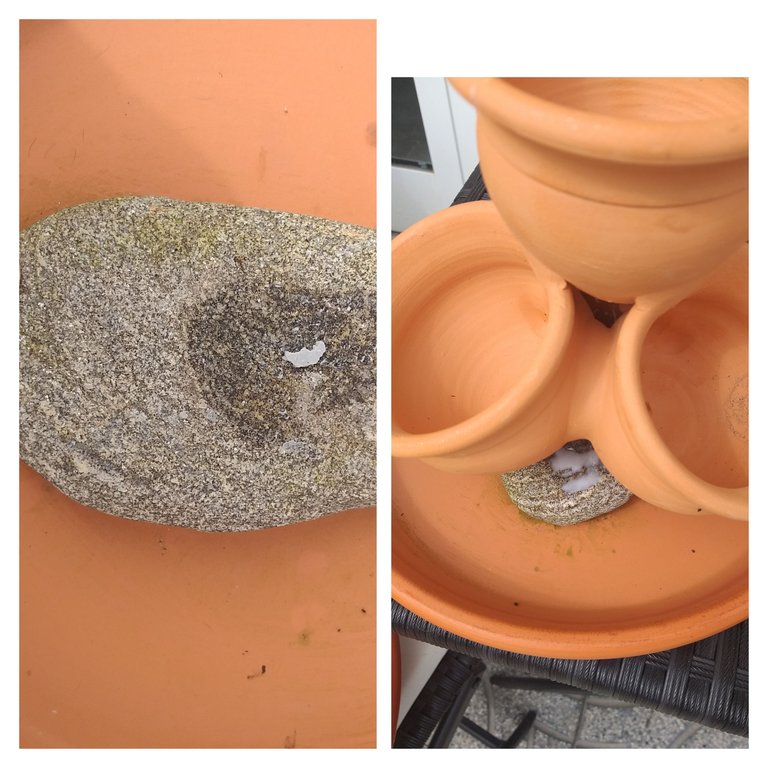
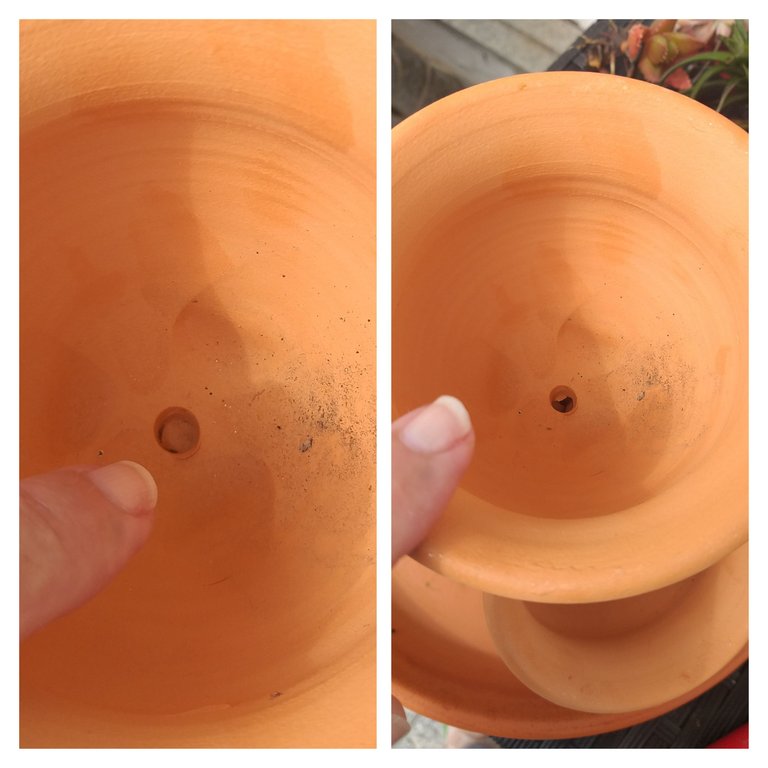
2👣. Revisamos que los mini jarrones tengan los orificios de desagüe destapados y utilizamos un cuchillo para destapar.Dejamos secar bien el pegamento para que quede fijo los jarrones a la piedra.
3👣. En este tercer paso prepararemos el abono. Acá les daré varias recomendaciones para que las plantas queden bien abonadas y crezcan sanas. Lo primero que utizo es los residuos de carbón. Carbón vegetal en el suelo funciona como un catalizador de la actividad vital de la biosfera de la capa del humus. En los períodos lluviosos el carbón colocado en el suelo absorbe activamente la humedad y durante una sequía la devuelve como un regulador de la humedad del suelo.
- En primer lugar, ayuda a acelerar la cicatrización de las heridas en las plantas, ocasionadas por cortes, poda o por distintas infecciones y plagas.
- Además, evita la proliferación de hongos dañinos.
- También se utiliza para mejorar la calidad a largo plazo de suelos afectados por la erosión.
- Por otro lado, mantiene saludables y fuertes las raíces.
- Finalmente, es un fertilizante natural de lenta acción y regulador de humedad: al regar tus suculentas, el carbón absorbe activamente la humedad y durante alguna sequía, la devolverá como un regulador de humedad en el suelo.
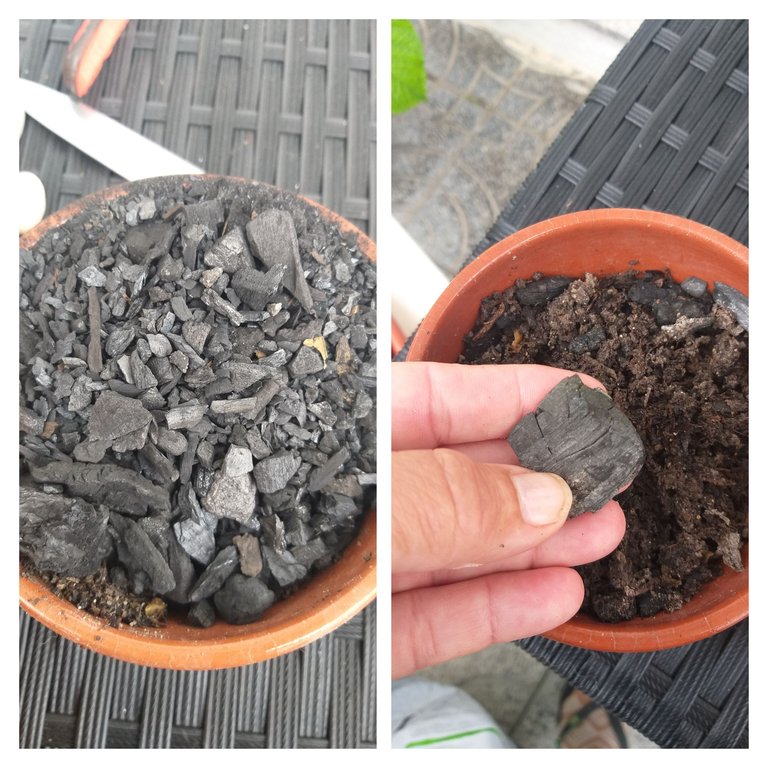
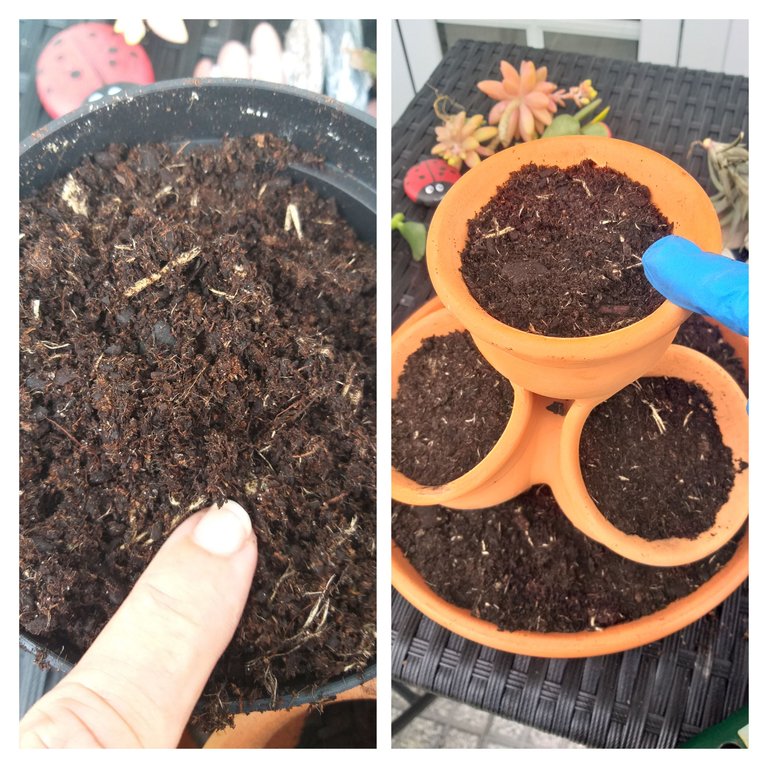
La tierra, el abono, vitaminas y carbón natural o vegetal lo van a preparar mezclándolos bien todo y luego coloco primero carbón bien triturado por toda la base y luego el abono preparado, presionen bien con la mano el abono y luego terminen de llenar los materos dejando 2cm para cuando vayan a regar no se salga el abono.
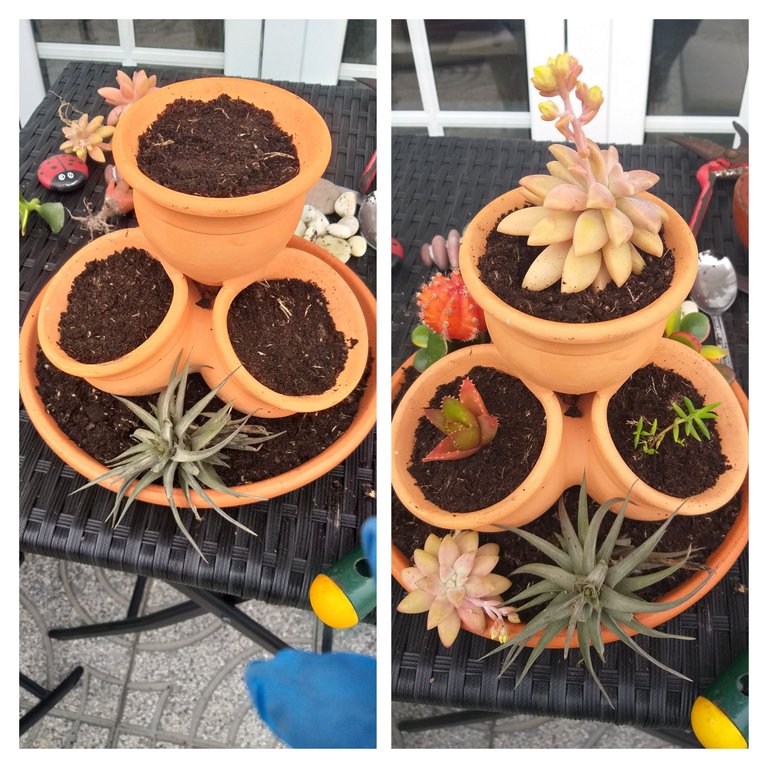
4👣. Este es uno de los pasos que más gusta☺😍 sembrar las plantas; acá escogimos sembrar suculentas, la cual encontramos una inmensa diversidad de este tipo de planta.Las suculentas o crasas aportan armonía y protección en casa, además de ayudar a purificar la energía negativa y transformarla en energía positiva y tienen más de 1600 variedad🏜
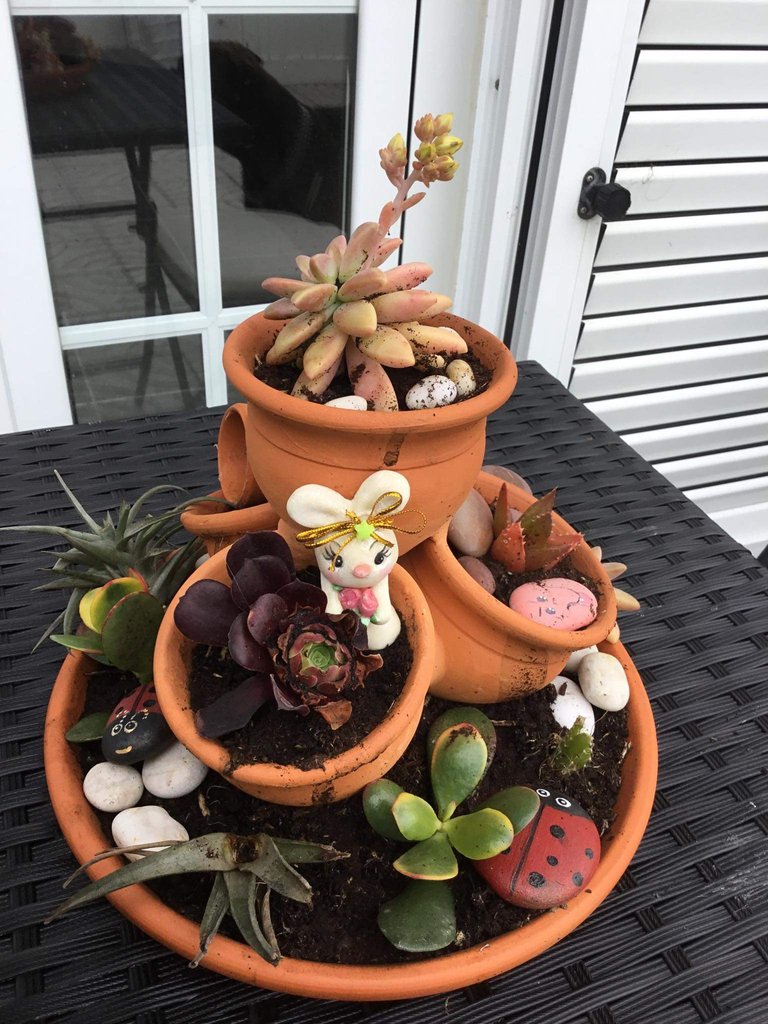
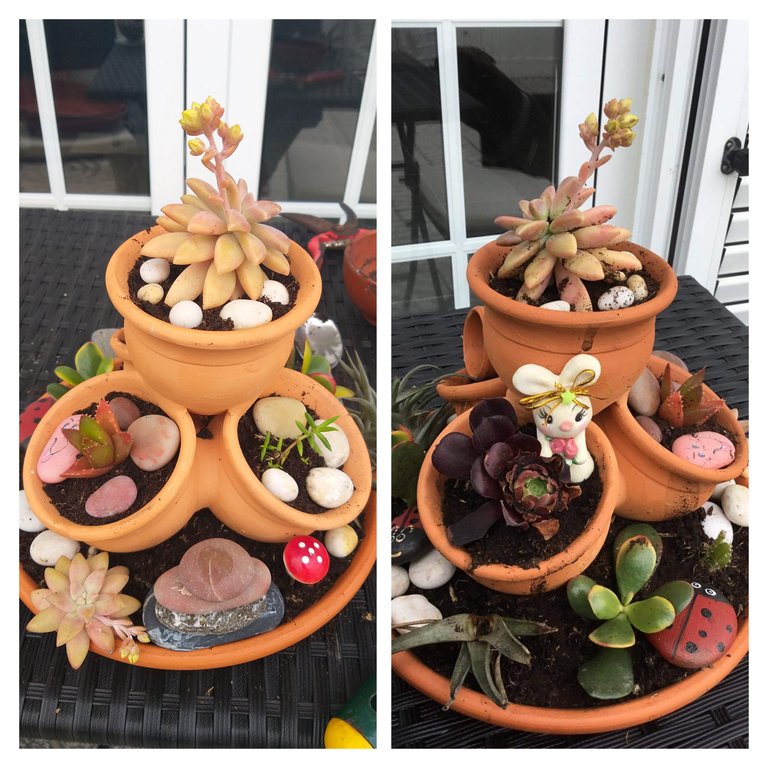
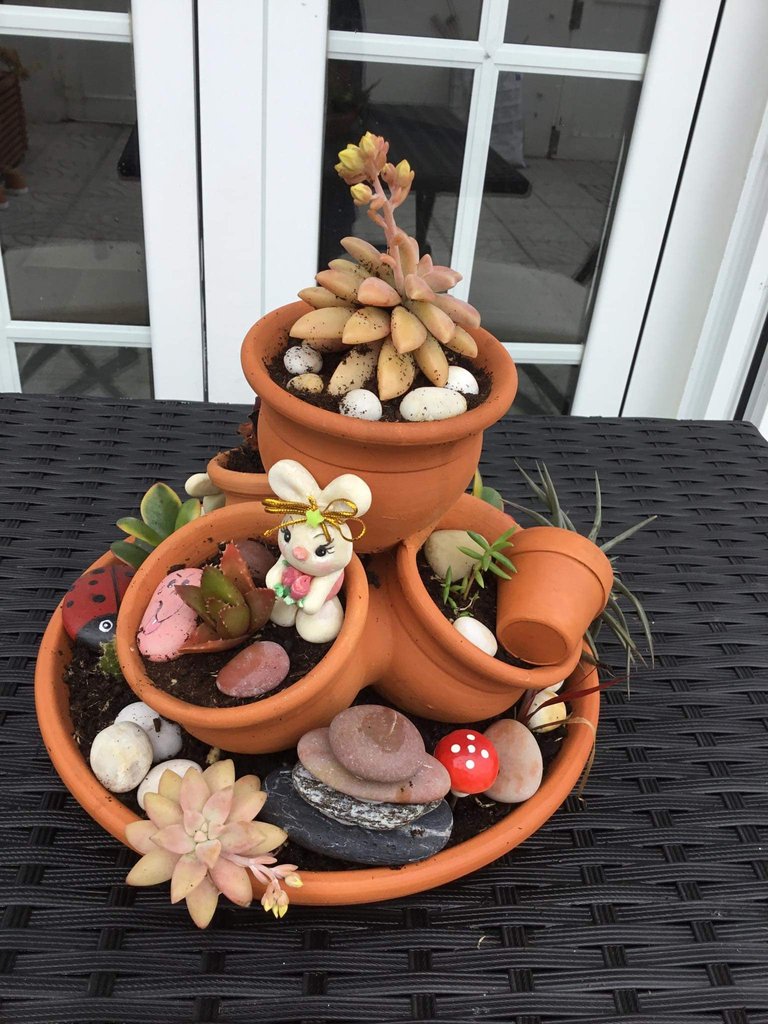
5👣. Vamos a decorar el mini jardín utilizando piedras, matero muy pequeños, conejitos que hice con masa flexible, hongo y mariquitas que hice con piedras.
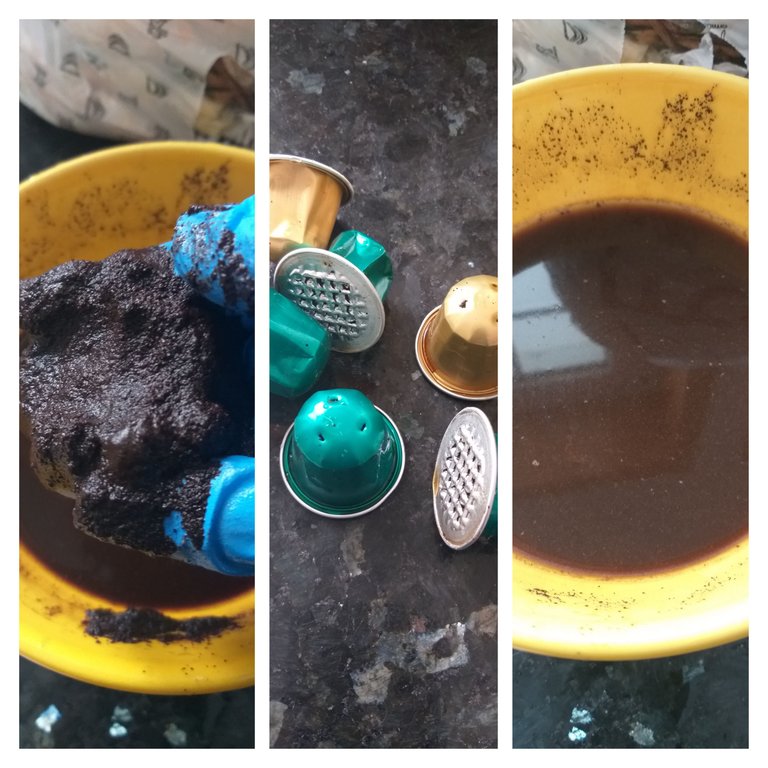
6👣. Ahora les daré un consejo de como reutilizar la borra del café y como ayudan a las plantas. Lo importante es hacer una mezcla pareja de borra de café y tierra. Hay que tener en cuenta que el exceso de café puede acidificar el suelo. Ahuyenta hormigas, caracoles y babosas: espolvoreá con borra de café alrededor de las plantas. En mi jardín aunque es pequeño llegan muchos insectos y caracoles y me comen las hojas de las plantas y la borra de café los ahuyenta😋. También pueden mezclar agua con vinagre y con un spray rociar las hojas. Colocar borra de café y el agua de café en las plantas. Yo utilicé las borras de café de las cápsulas de Nespresso y también pueden reutilizar las cápsulas de muchas maneras, mas adelante les mostraré una.
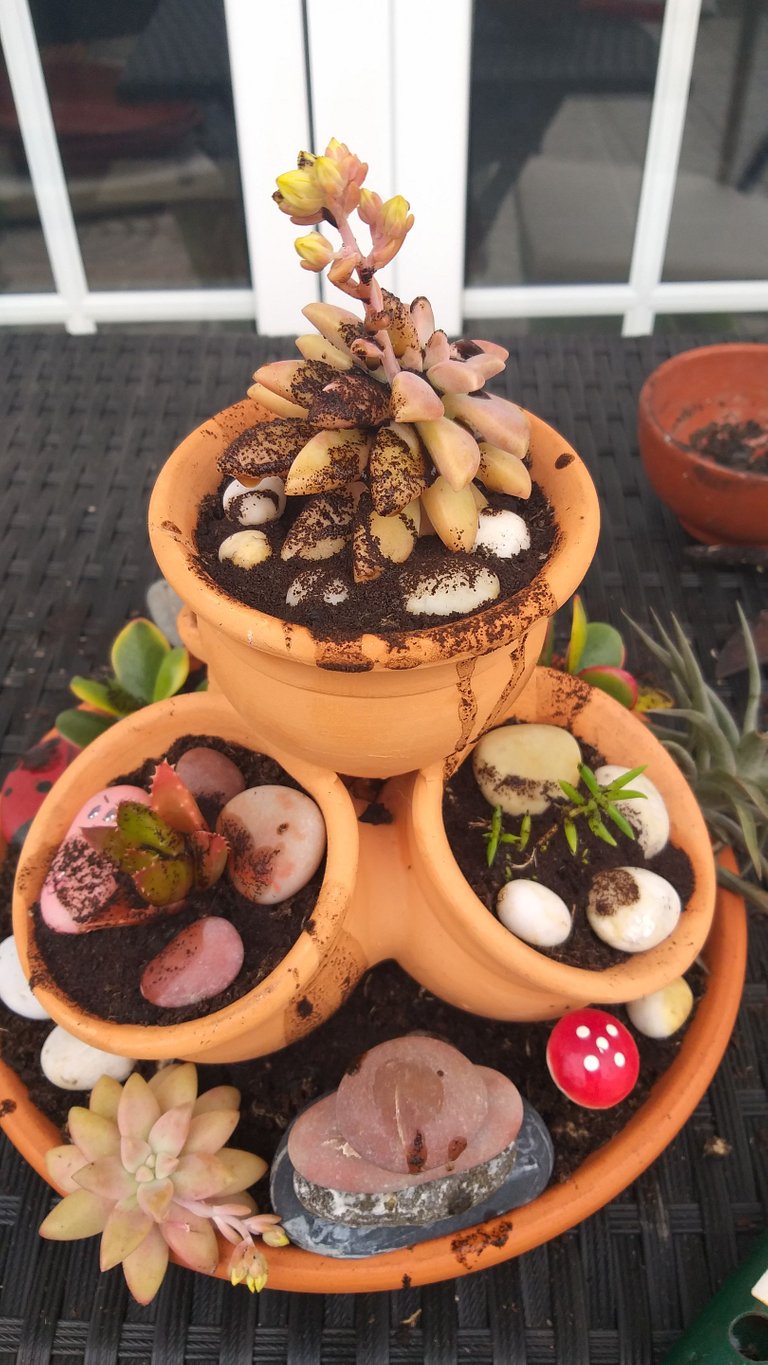
7👣.Después de tener todo listo ahora arregar con cuidado y no mucho las suculentas de su mini jardín. Éste puede regalar dos veces a la semana con poca agua y ya tenemos un mini jardín a su gusto y el cual ahorra mucho dinero al hacerlo uno mismo.

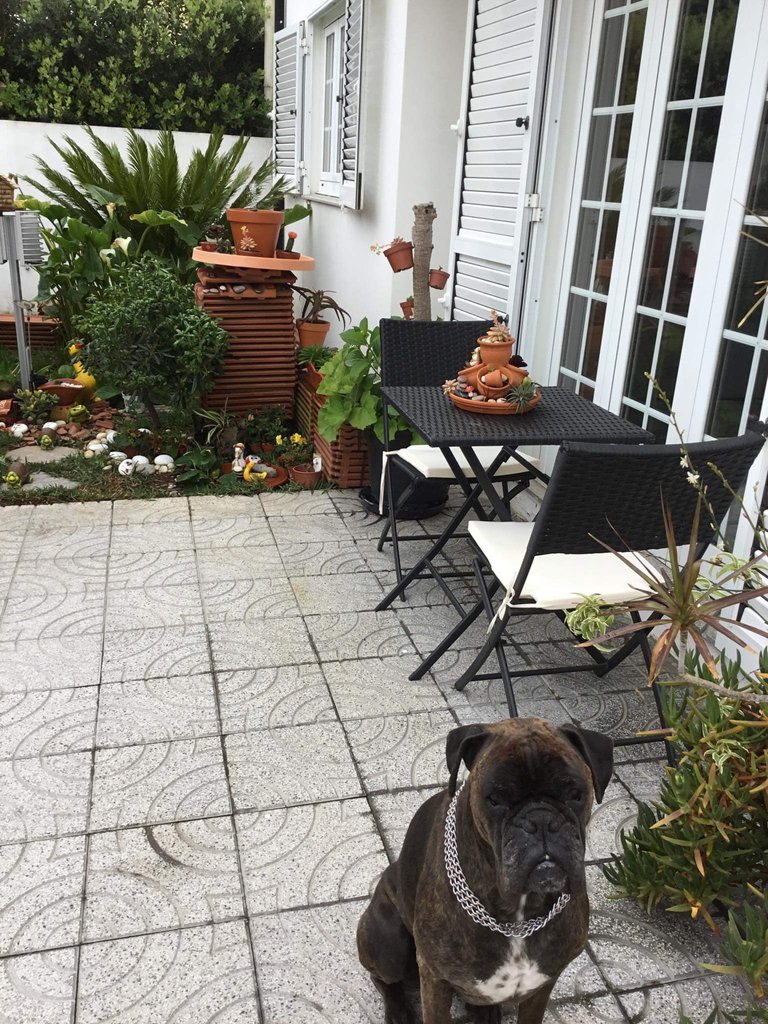
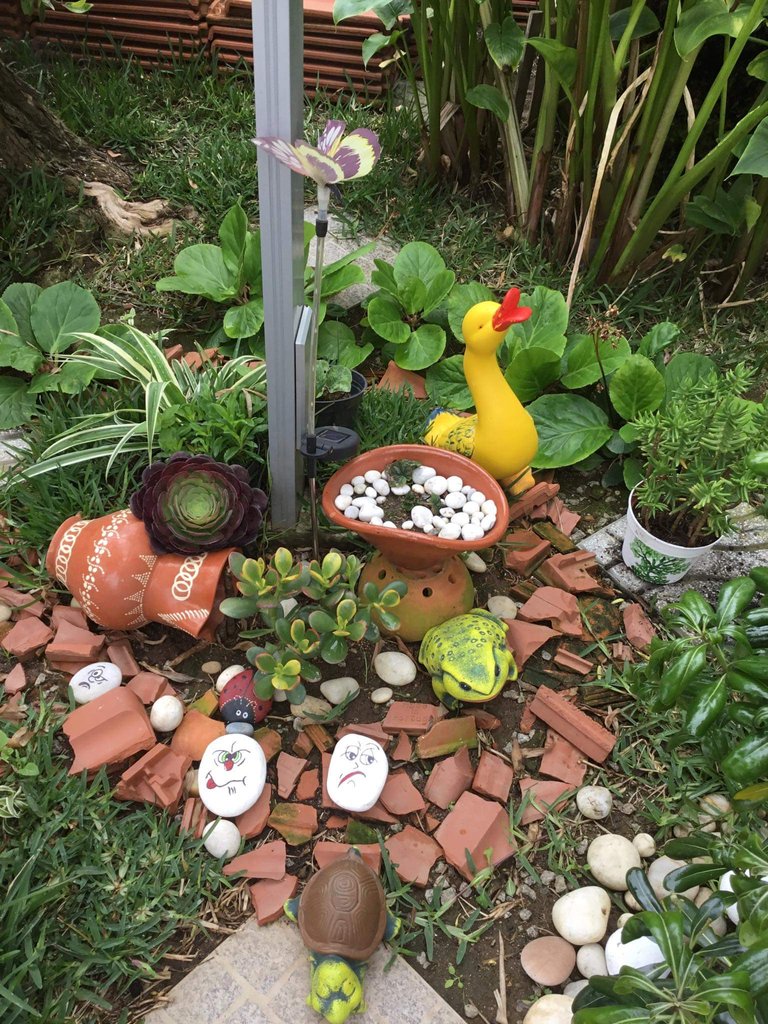
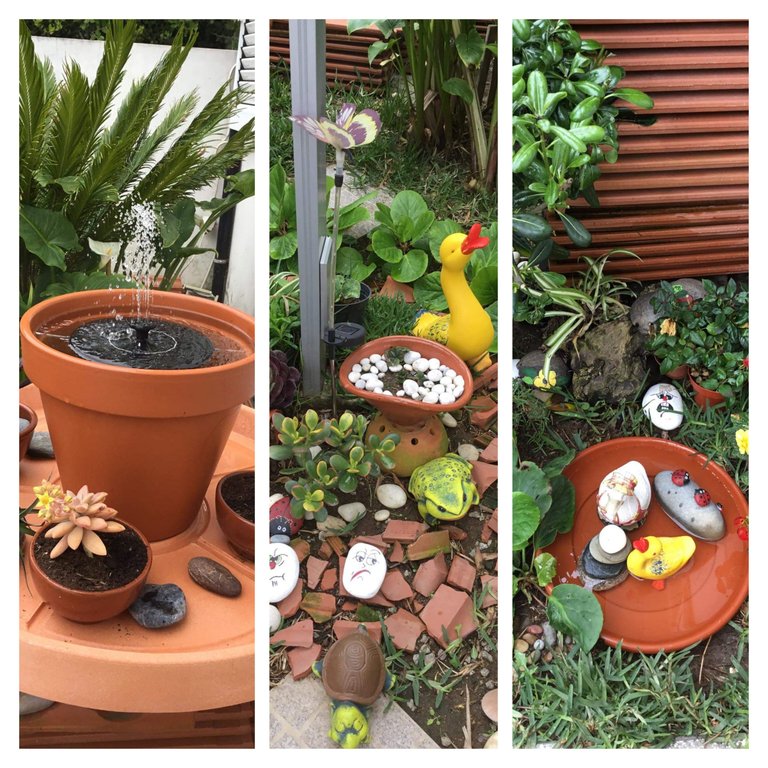
Mi jardín está decorado con varios mini jardines😍. Hace poco le mostré en otro tutorial como hacer una fuente y le compré una fuente para el agua de LED me costó muy económica y quedó expectacular mi fuente.
Como reutilizar las cápsulas de café Nespresso
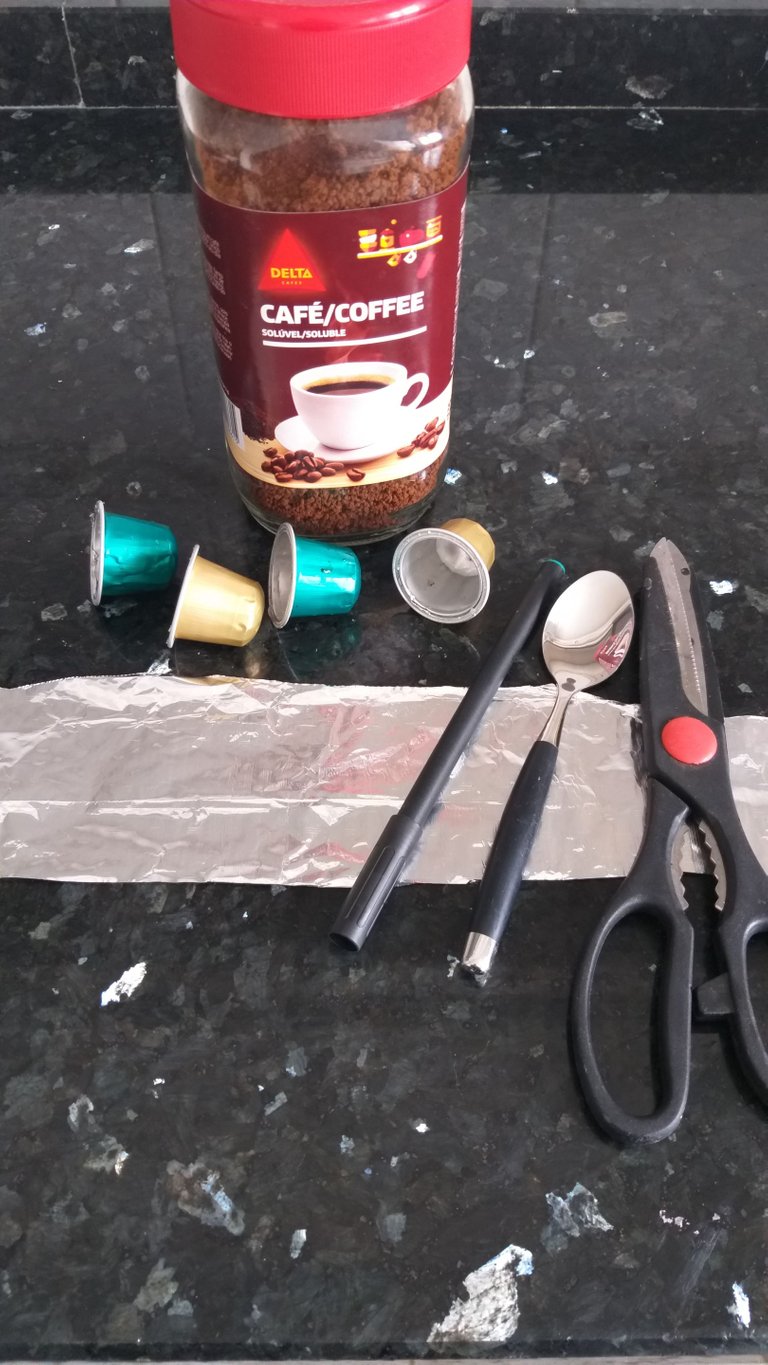
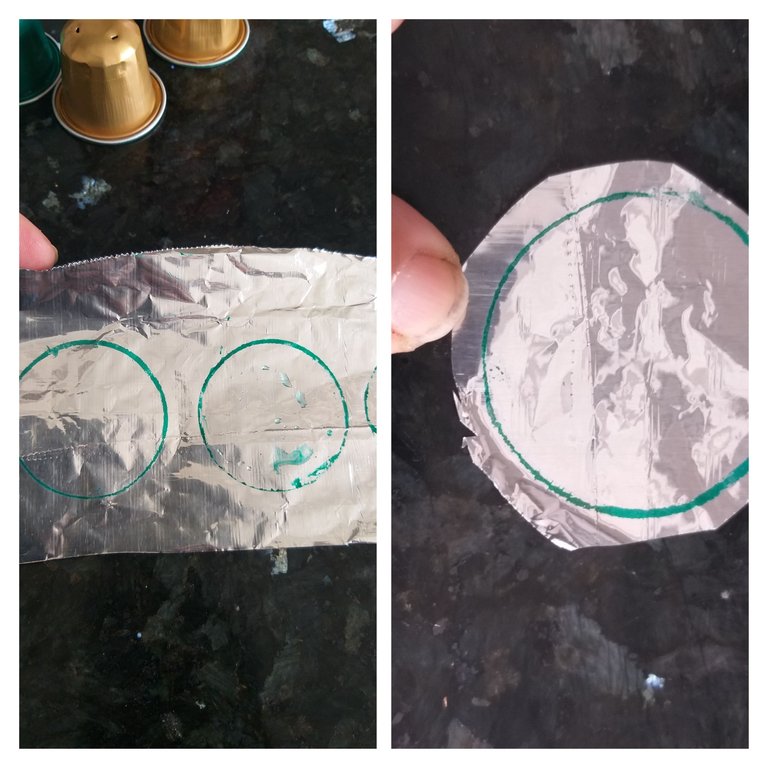
- Coloque las cápsulas encima del papel aluminio ( que sea un poco grueso el papel aluminio) y con el marcador marcar el círculo de cada cápsula dejando espacio entre ellas.
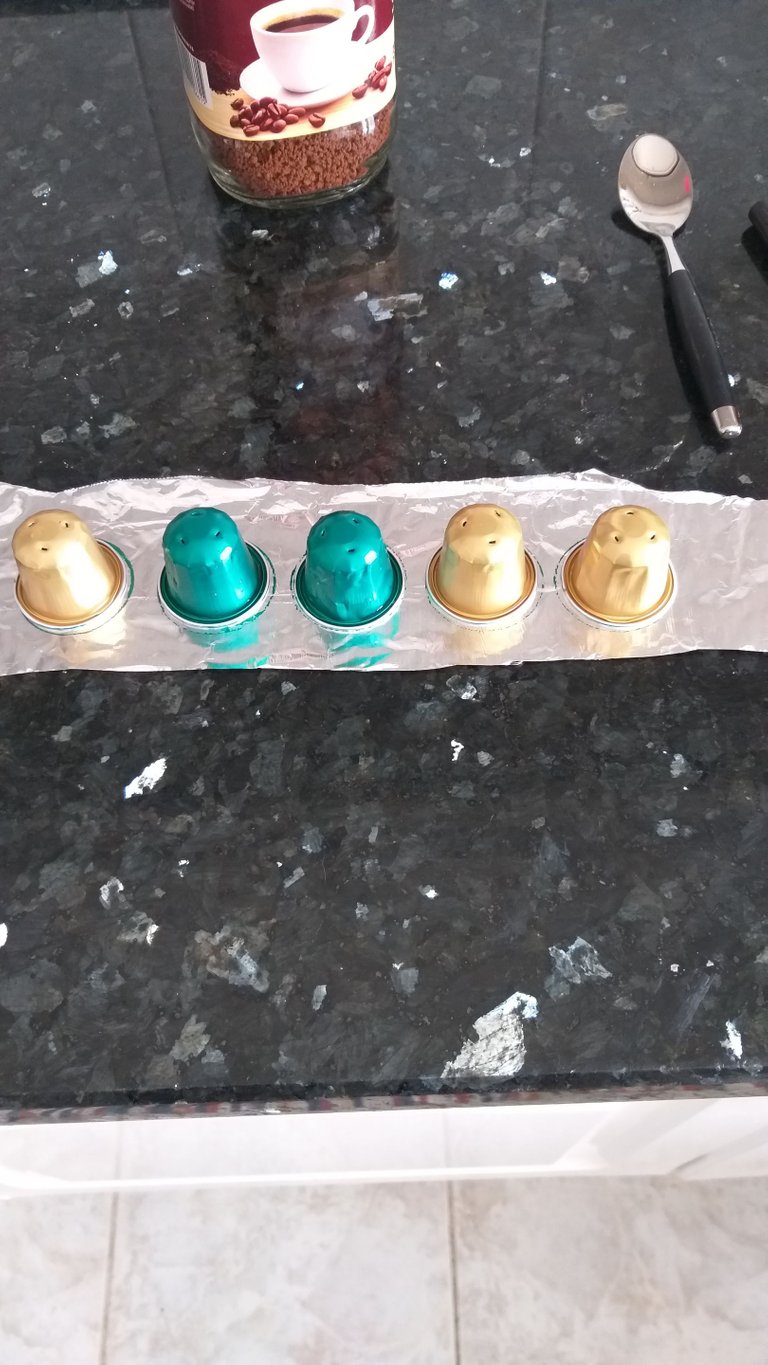

- Luego con la tijera recortar
El círculo dejando un espacio el cual va a servir para doblar.
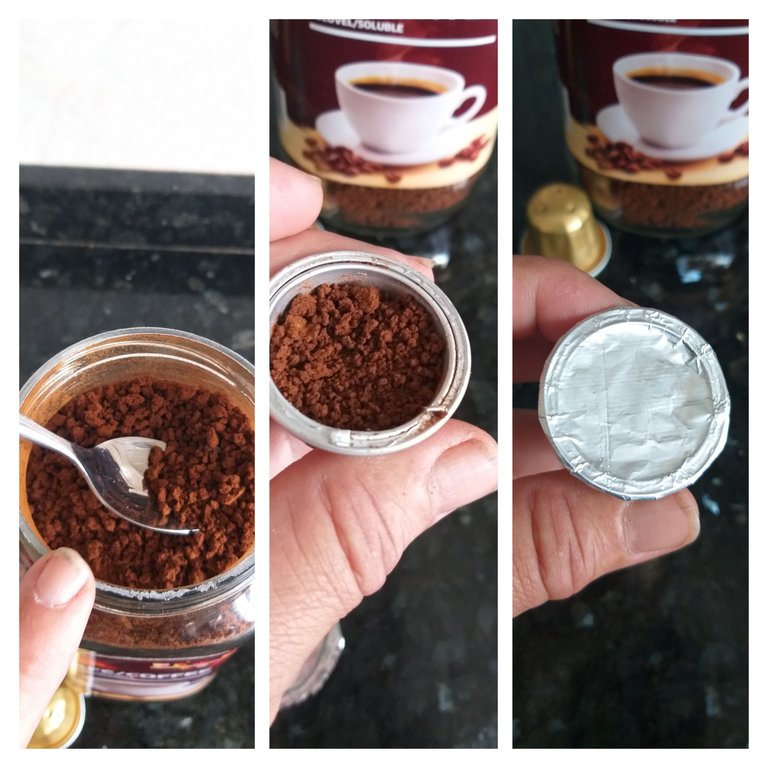
- Llenar todas las cápsulas con el café de su preferencia, en este caso utilicé Delta instantáneo que era el que tenía para hacerle la prueba y me encanta el sabor de éste café y luego tapar cada cápsula con el papel de aluminio que recortó. Pueden utilizar cualquier tipo de café en grano triturado.
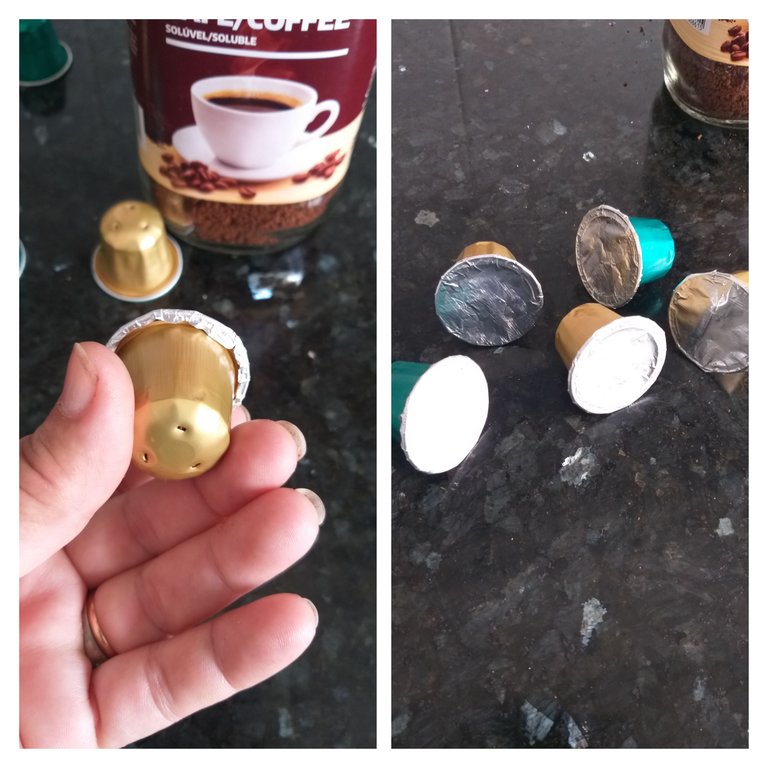
Listo ya tienen nuevas cápsulas de café reutilizando las cápsulas y preparándolas con el café de su preferencia.☕
https://youtube.com/shorts/I9Nu7bGPtpc?feature=share
Que tal amigos; que les parece el mini jardín🤔, espero que le haya gustado dejando un comentario o un me gusta de apoyo. GRACIAS Y BENDECIDO DÍA❤.
Las fotos son tomadas de mi teléfono móvil Samsung Galaxy A6 y organizadas por la aplicación GridArt.


English
Hello Hello, my dear friends of this great family of HIVE with fantastic ideas in creativity and also excellent counselors, cooks, designers and among other things; I always bring you creative ideas to recycle or reuse objects that go to the trash. On this occasion I bring you how we can make a mini garden that is easy to do and which will serve to decorate any place or corner of your house🤩👍.

Before starting, I want to thank all the people and communities that take the time to read my tutorials and leave a grain of sand by liking or voting ❤ thank you very much.
Let's now tell you what a mini garden is A mini-garden or terrarium is a composition with natural plants in a container that generates a small ecosystem. The selection, placement of plants and decorative elements are of great importance because they generate new landscapes. A mini-garden is an exercise in creativity, organization and relaxation. It is a small piece of nature in the home that should be used in our decoration.

Despite the simplicity involved in its structuring, by giving us a moment to focus our attention solely and exclusively on designing and placing each of its elements, we obtain great benefits on a psycho-emotional level. In a few words: it is a very simple activity, but effective when it comes to providing us with well-being. Join me to make this mini garden.

The materials to use
A tray or plate (pot base) can be made of clay or plastic.
Three pots or pots, in this case I used three vases that are already glued.
Stones of various sizes and colors
Strong glue or white glue
Fertilizer and soil
Coffee grounds
Natural coal waste
Small succulent plants
Spoon knife
Water
Decorative accessories (small)
Gloves

Steps to follow to make the mini-garden
1👣. In this step we are going to prepare by gluing the small vases to the plate or base of pots or planters. We put glue to the base and first glued a stone to give height to the vases; They already know that they can stick three pots or small vases.


3👣. In this third step we will prepare the fertilizer. Here I will give you several recommendations so that the plants are well fertilized and grow healthy. The first thing I use is carbon residue. Vegetable carbon in the soil functions as a catalyst for the vital activity of the biosphere of the humus layer. In rainy periods the charcoal placed in the soil actively absorbs moisture and during a drought it returns it as a soil moisture regulator.
- Firstly, it helps speed up the healing of plant wounds caused by cuts, pruning or by various infections and pests.
- In addition, it prevents the proliferation of harmful fungi.
- It is also used to improve the long-term quality of soils affected by erosion.
- On the other hand, it keeps the roots healthy and strong.
- Finally, it is a slow-acting natural fertilizer and moisture regulator: when you water your succulents, charcoal actively absorbs moisture and during some droughts, it will return it as a moisture regulator in the soil.

The earth, the fertilizer, vitamins and natural or vegetable charcoal are going to be prepared by mixing everything well and then I first place well-ground charcoal throughout the base and then the prepared fertilizer, press the fertilizer well with your hand and then finish filling the pots leaving 2cm for when they go to water the fertilizer does not come out.

4👣. This is one of the steps that I like the most☺😍 planting the plants; here we chose to plant succulents, which we find an immense diversity of this type of plant. Succulents or succulents provide harmony and protection at home, in addition to helping to purify negative energy and transform it into positive energy and they have more than 1600 varieties🏜

5👣. We are going to decorate the mini garden using stones, very small pots, bunnies that I made with flexible dough, mushrooms and ladybugs that I made with stones.

6👣. Now I will give you some advice on how to reuse coffee grounds and how they help plants. The important thing is to make an even mixture of coffee grounds and ground. Keep in mind that excess coffee can acidify the soil. Repel ants, snails and slugs: sprinkle coffee grounds around the plants. In my garden, although it is small, many insects and snails arrive and eat the leaves of the plants and the coffee grounds drive them away😋. They can also mix water with vinegar and spray the leaves with a spray. Place coffee grounds and coffee water on the plants. I used the coffee grounds from the Nespresso capsules and you can also reuse the capsules in many ways, later I will show you one.


7👣. After having everything ready, now tidy up the succulents in your mini garden carefully and not too much. This one can give twice a week with little water and we already have a mini garden to your liking and which saves a lot of money by doing it yourself.

My garden is decorated with various mini gardens😍. I recently showed him in another tutorial how to make a fountain and I bought him a LED water fountain. It cost me very cheap and my fountain turned out spectacular.

How to reuse Nespresso coffee capsules

- Place the capsules on top of the aluminum foil (make the aluminum foil a little thick) and with the marker mark the circle of each capsule, leaving space between them.


- Then with the scissors cut
The circle leaving a space which will serve to fold.

- Fill all the capsules with the coffee of your choice, in this case I used Instant Delta which was the one I had to test it and I love the taste of this coffee and then cover each capsule with the aluminum foil that was cut. You can use any type of ground coffee beans.

- Fill all the capsules with the coffee of your choice, in this case I used Instant Delta which was the one I had to test it and I love the taste of this coffee and then cover each capsule with the aluminum foil that was cut. You can use any type of ground coffee beans.

Ready you have new coffee capsules reusing the capsules and preparing them with the coffee of your choice.☕


https://youtube.com/shorts/I9Nu7bGPtpc?feature=share
What's up friends; What do you think of the mini garden🤔, I hope you liked it by leaving a comment or a supportive like. THANK YOU AND HAVE A BLESSED DAY❤.
The photos are taken from my Samsung Galaxy A6 mobile phone and organized by the GridArt application.


