
Español
Mi bella comunidad de hiven reciban un cordial saludo; espero que se encuentren bien al igual que yo feliz cada vez que comparto con ustedes mis publicaciones❤🤗, aprovecho de agradecer a todos los que siempre me apoyan y dejan hermosos comentarios muy alagadores y las diferentes comunidades mil bendiciones a todos en esta grande comunidad.
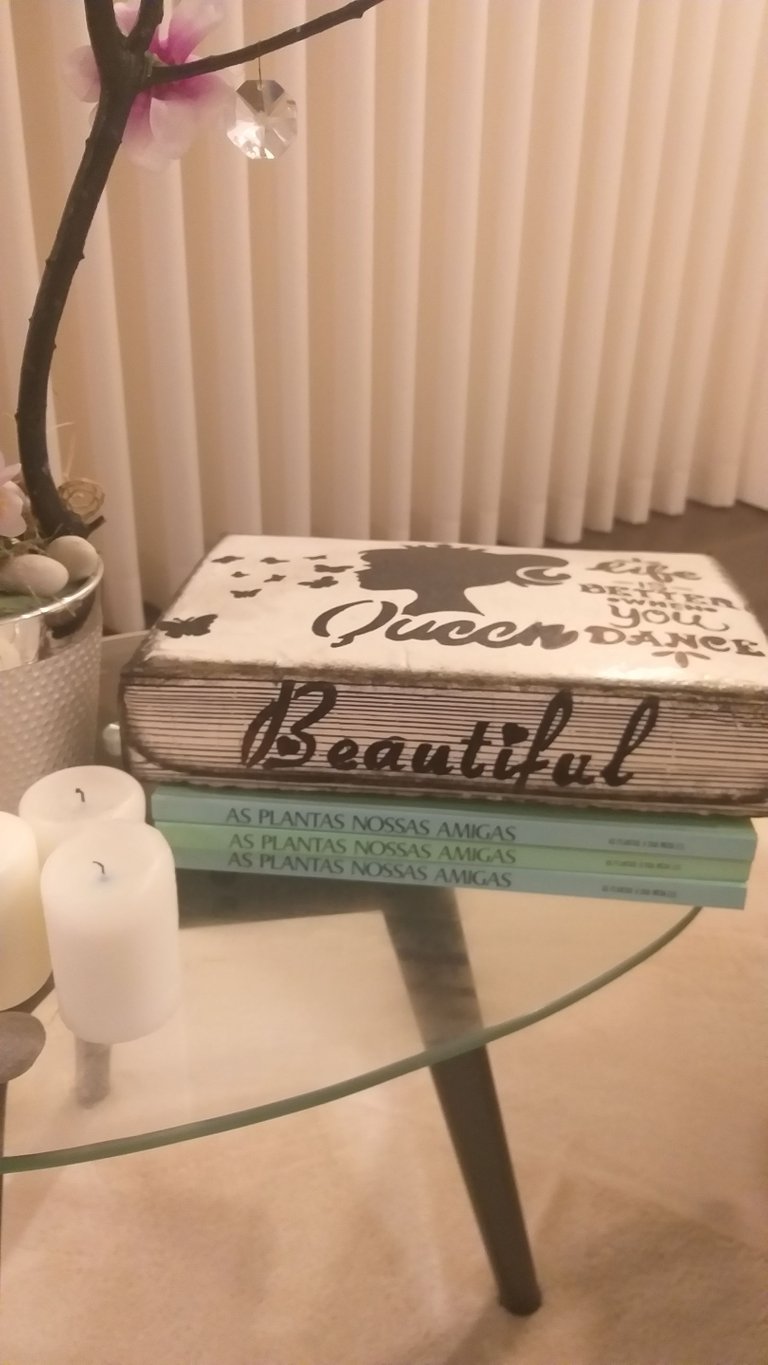
Hoy quiero enseñarles a decorar una caja libro multiusos con el uso de plantilla que también te mostraré hacer una 👍🤗. En este trabajo vamos a reforzar la caja para que quede resistente; ésta caja tendría varios usos como guardar galletas, dulces, colonias cosméticos,entre otras y a la vez servirá para decorar. Así que acompañenme a realizar esta caja libro multiusos. Vamos a darle los materiales a utilizar, quiero explicar que la mayoría de mis manualidades son inventadas y mientras estoy realizando el trabajo se me van ocurriendo ideas y voy agregando materiales.

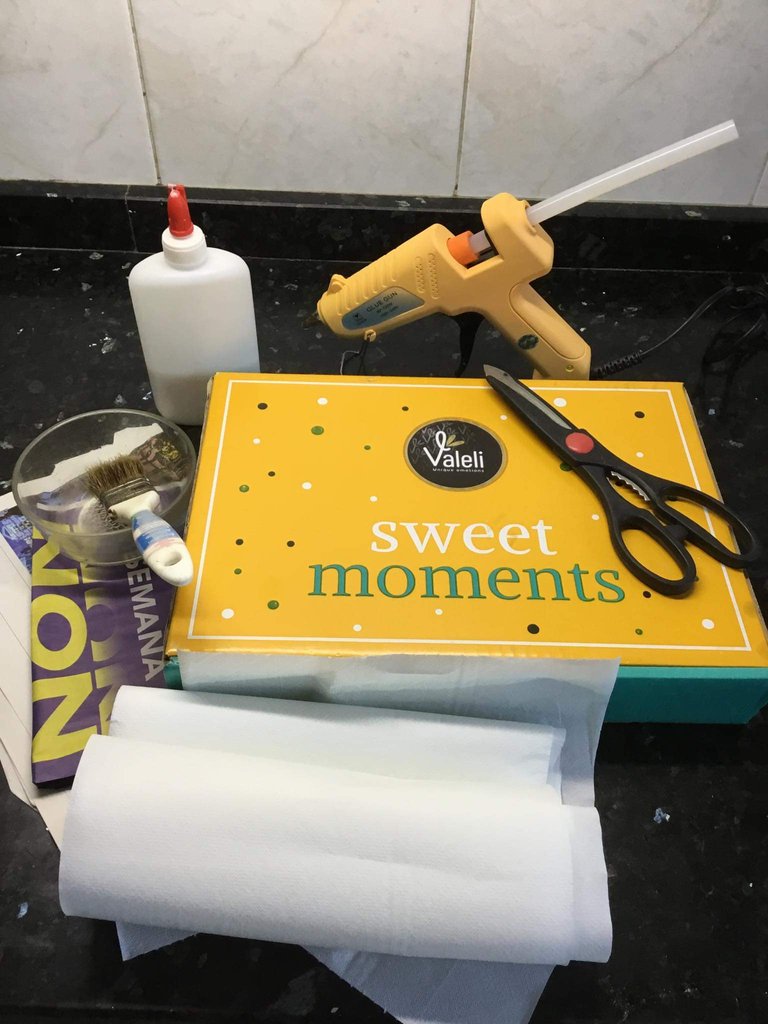
Los Materiales a utilizar

Una caja con tapa
Tijera
Pegamento
Pistola de silicona y barras de silicona
Cartulina de colores
Cemento blanco
Espátula
Brocha pequeña
Agua y un envase plástico
Revistas viejas o servilletas de cocina
Lija para paredes
Lápiz o bolígrafo
Borrador

Pasos a seguir

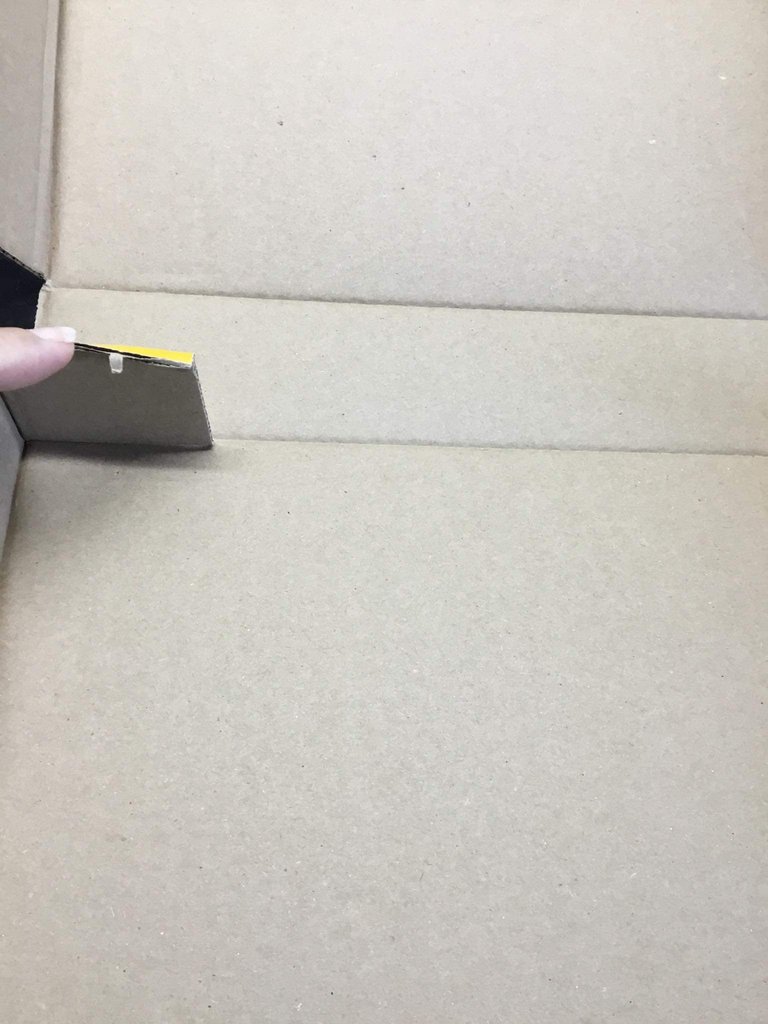
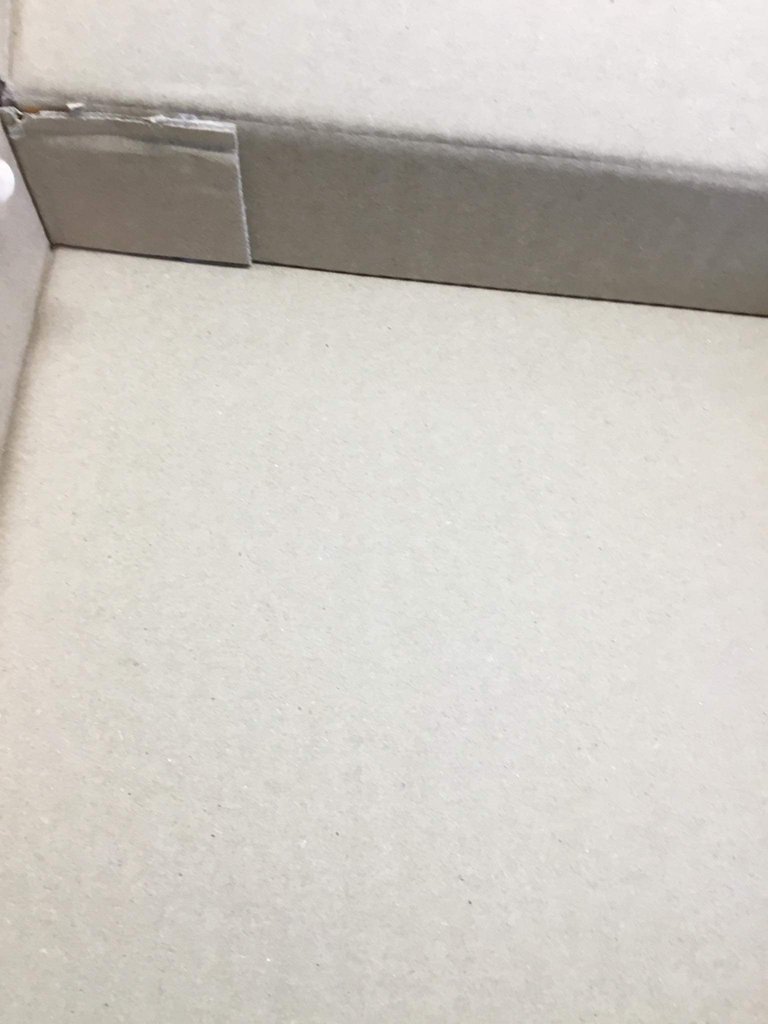
1👣. En este primer paso vamos a preparar la caja; tenemos que pegar con el silicon caliente las dos gualetas que sobresalen de la caja para que queden fijas.Observar las imágenes.
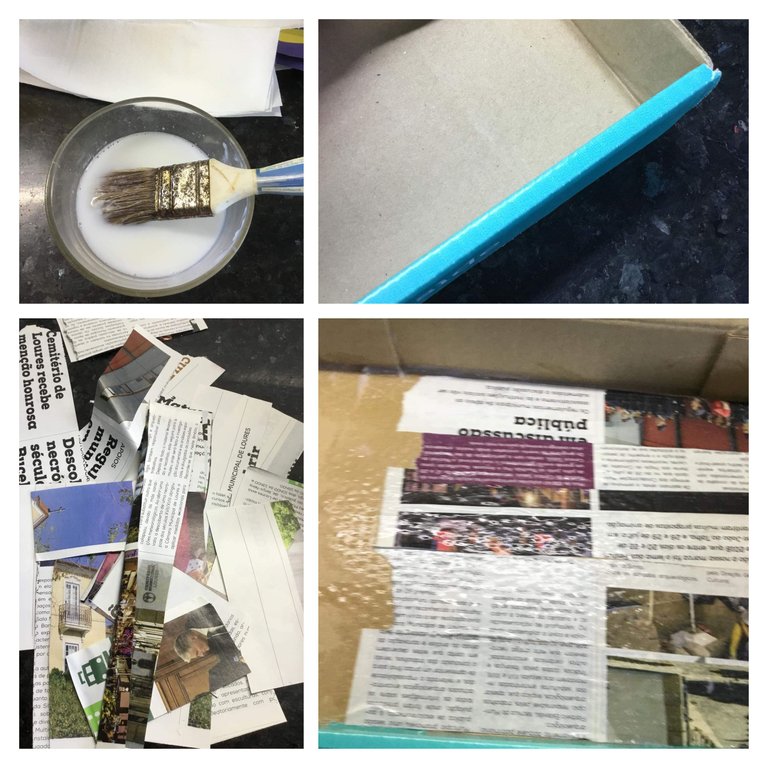
2👣. Ahora con la tijera vamos a recortar tiras de revistas a servilletas de cocina o pueden combinar ambas,con el pegamento mezclado con agua y revolviendo bien con un palo, cuchara o con la brocha y con misma brocha vamos ir pegando tiras hasta cubrir por completo la caja.
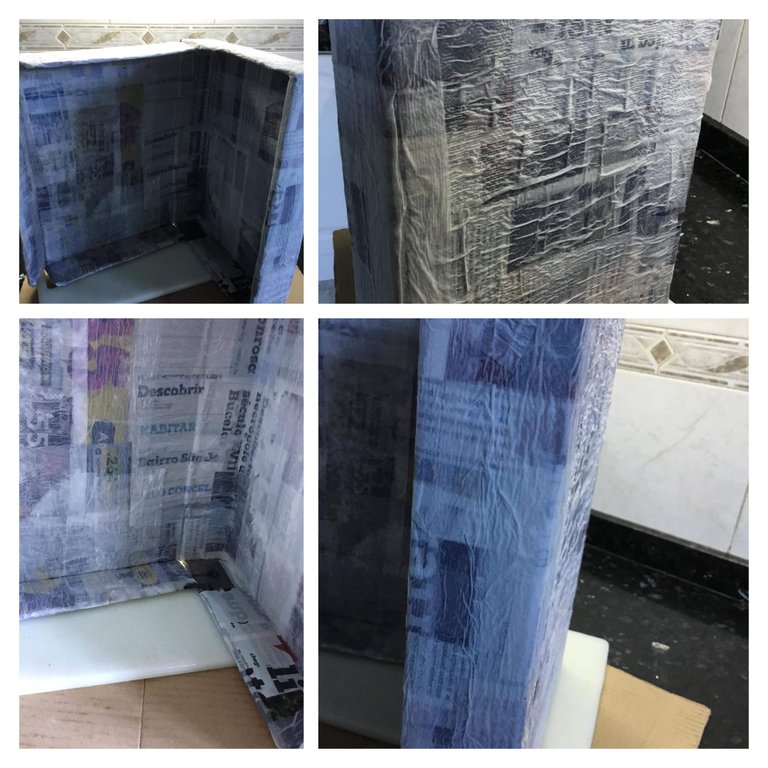
3👣. Cuando esté toda la caja cubierta con las tiras de papel con la brocha con pegamento de un retoque por todos los lados y deje secar. Como siempre mi perra quiere salir en las fotos 🤭☺❤🐶.
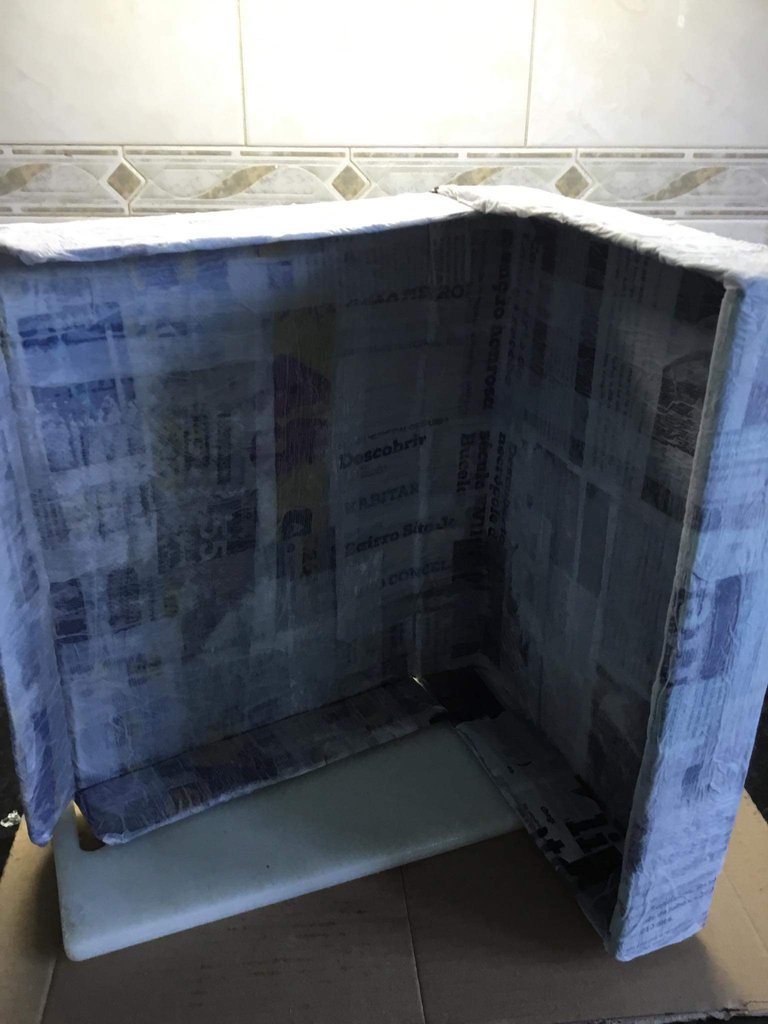
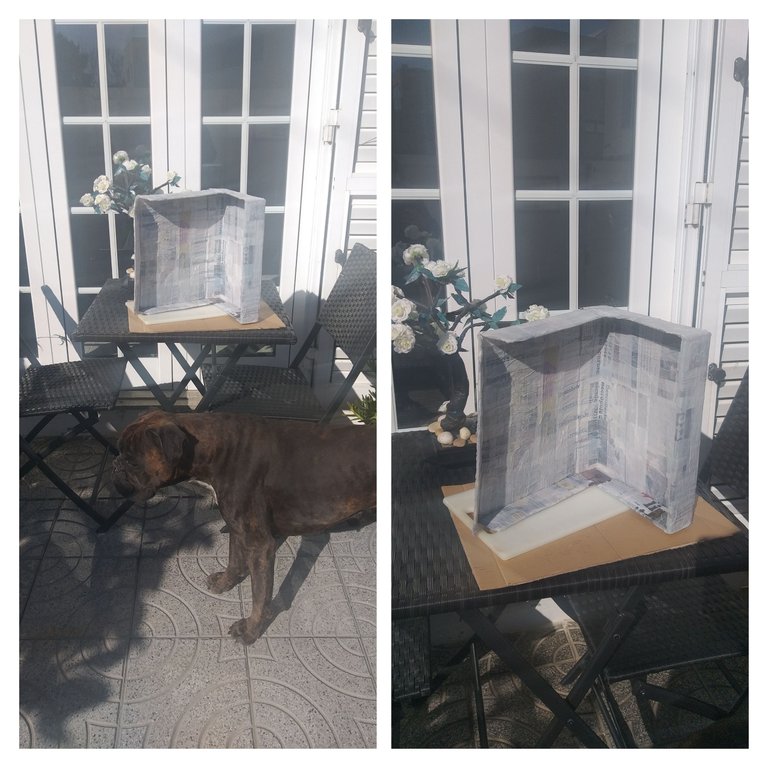
4👣. Luego que esté la caja bien seca; vamos a preparar la mezcla de cemento blanco con agua dejando la mezcla espesa y con la espátula colocar mezcla por toda la caja en la parte superior.En otras publicación les mostre hacer la mezcla y como usarla en cartón; luego dejar secar al sol. Observar la imagen
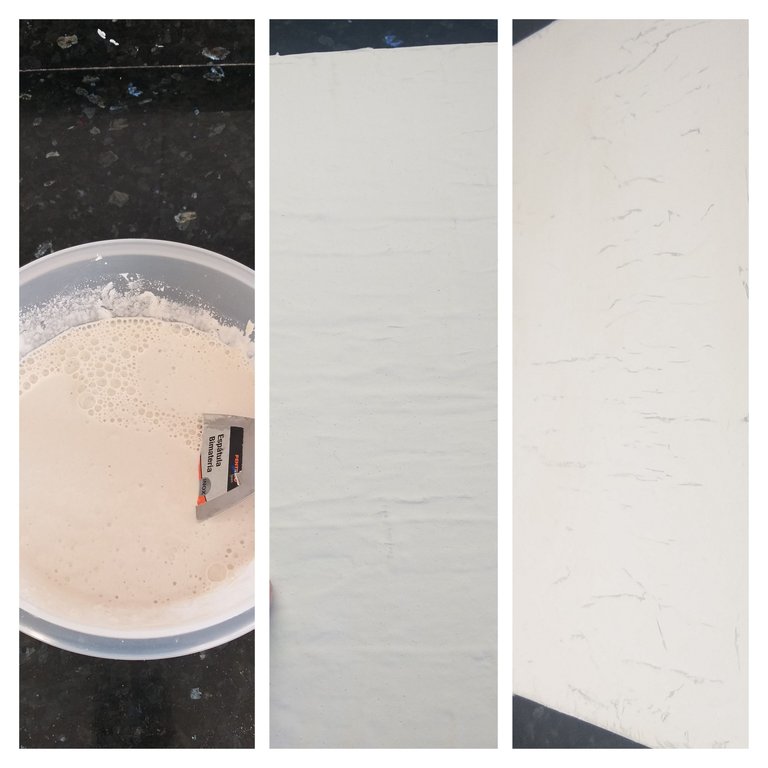
5👣. Ya una vez que esté el cemento seco en la caja por la parte superior vamos a proceder a lijar bien toda la caja si se ve en algunos sitios revistas cuando esté lijando no se preocupen.
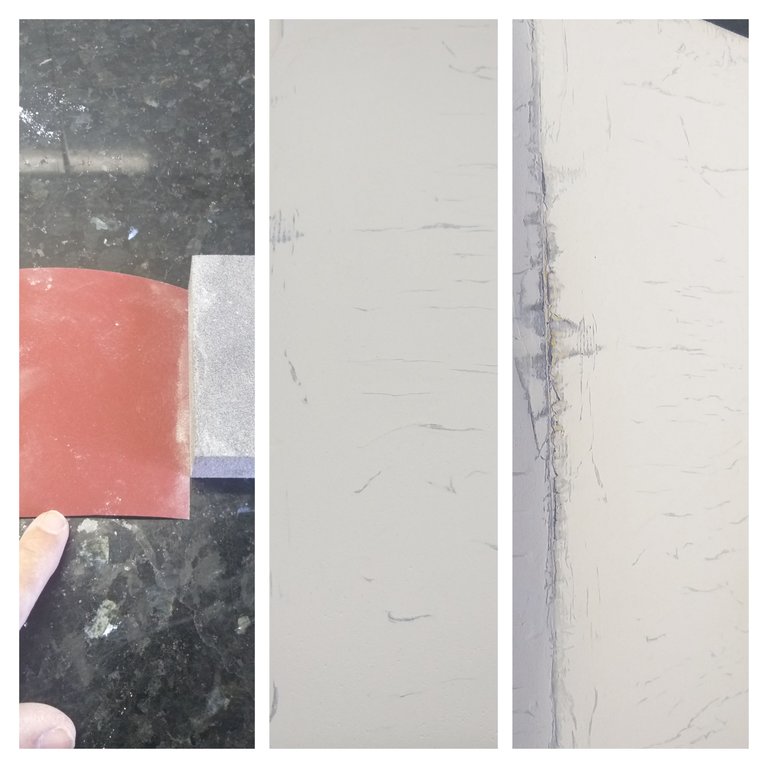
6👣. En el siguiente paso vamos a forrar la caja para eso vamos a utilizar pegamento blanco, silicon caliente y cartulinas con aplicaciones y una tijera.
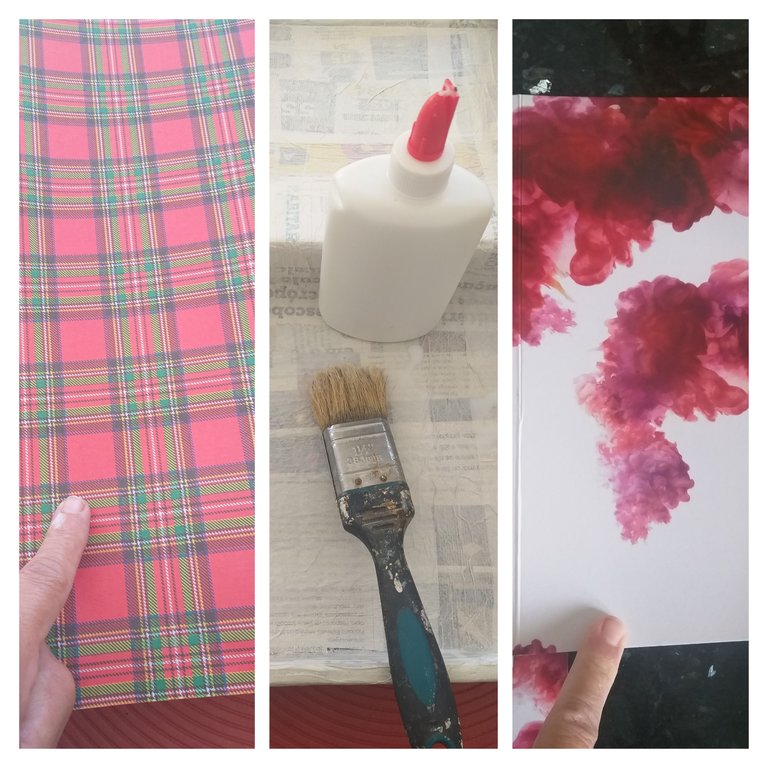
7👣. Vamos a medir con la misma cartulinas por fuera de la caja y marcar con el lápiz y luego recortar. Si usted quiere puede usar una regla y medir cada parte y luego marcar en la cartulina y recortar.
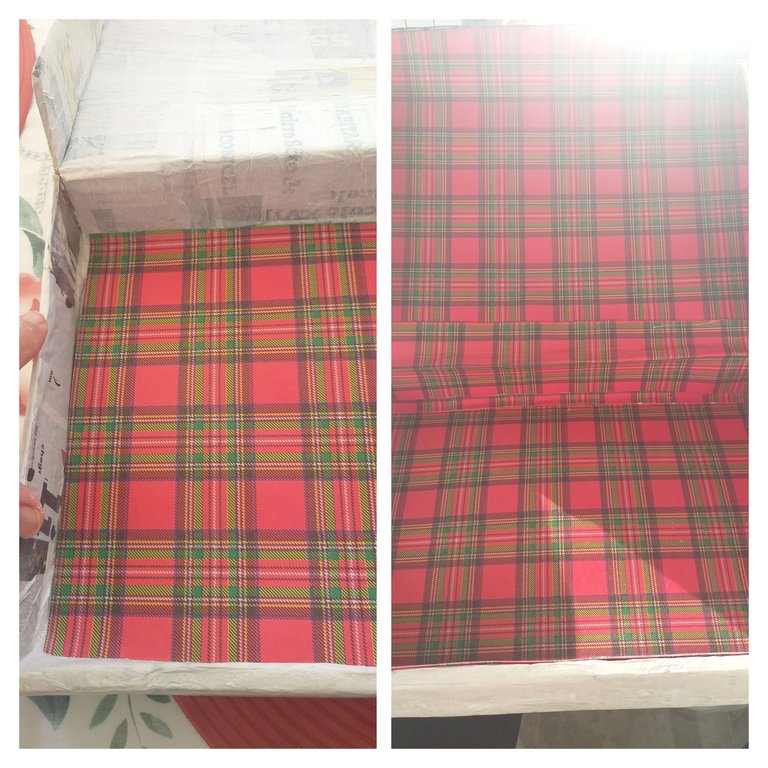
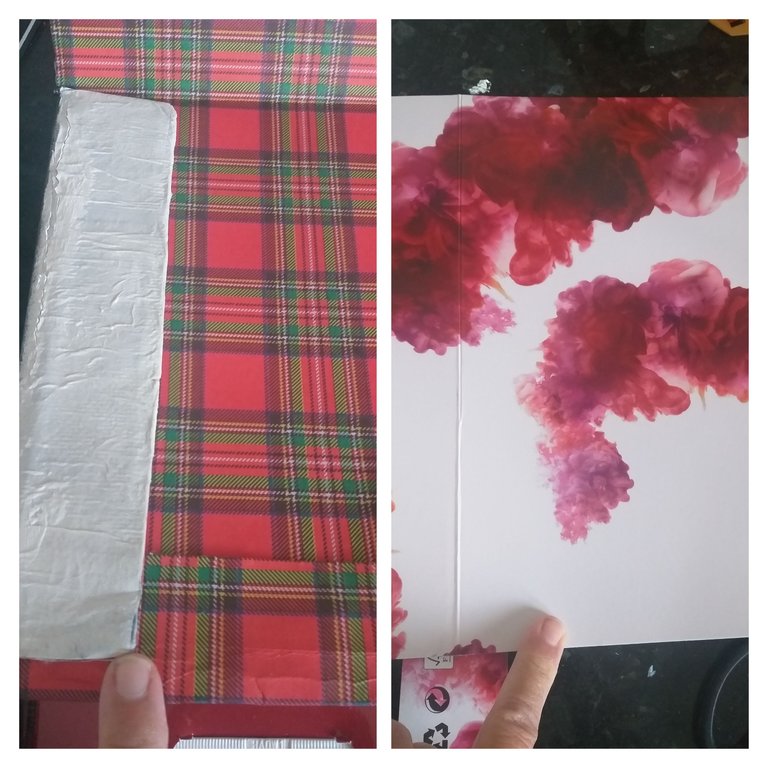
8👣. Después que esté forrada con la primera cartulina doblar las gualetas de los lados y con silicon caliente pegar bien y luego pegar la otra cartulina encima de las dos gualetas. Pueden guiarse por las imágenes.
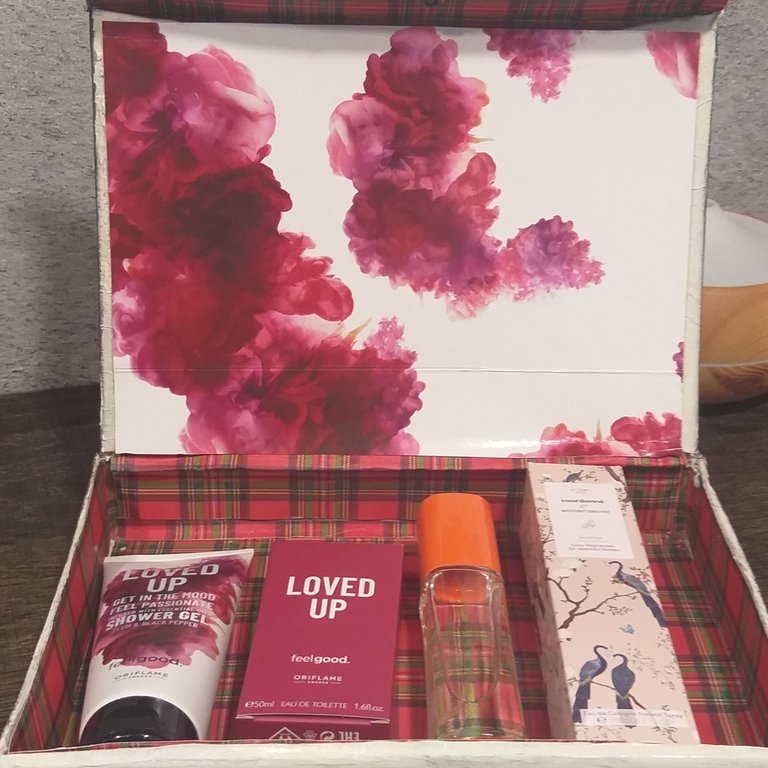
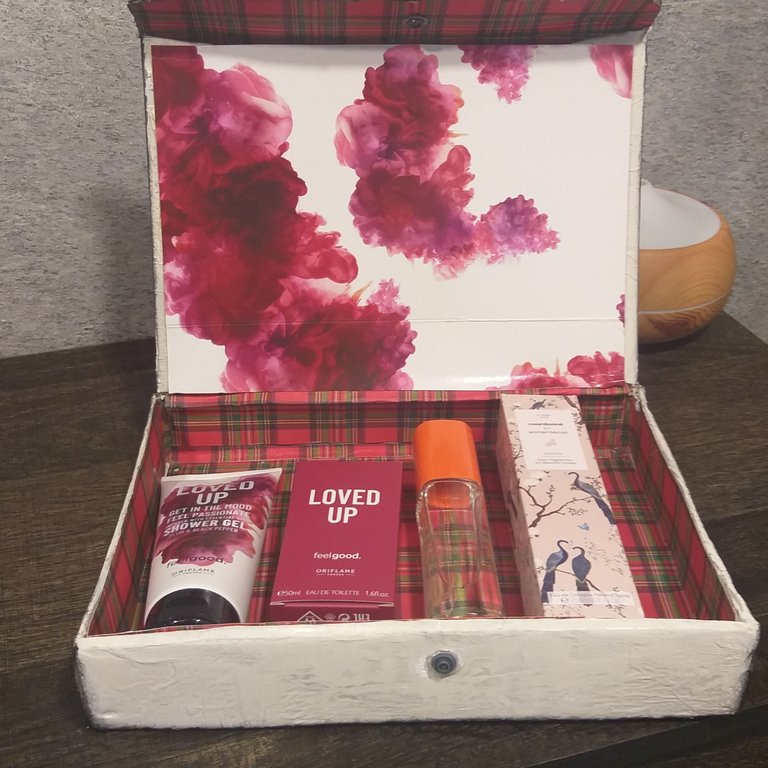
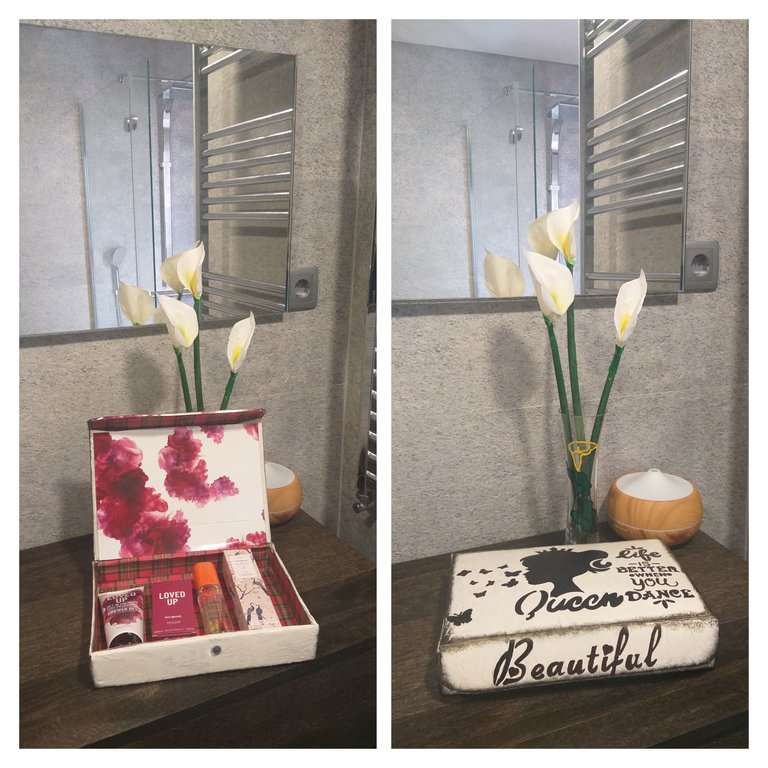
9👣. Ya una ves terminada la caja por dentro y lijada por fuera así debe quedar y le coloqué varias de mi colonias para que vean como pueden usarla, aunque todavía no está terminada.
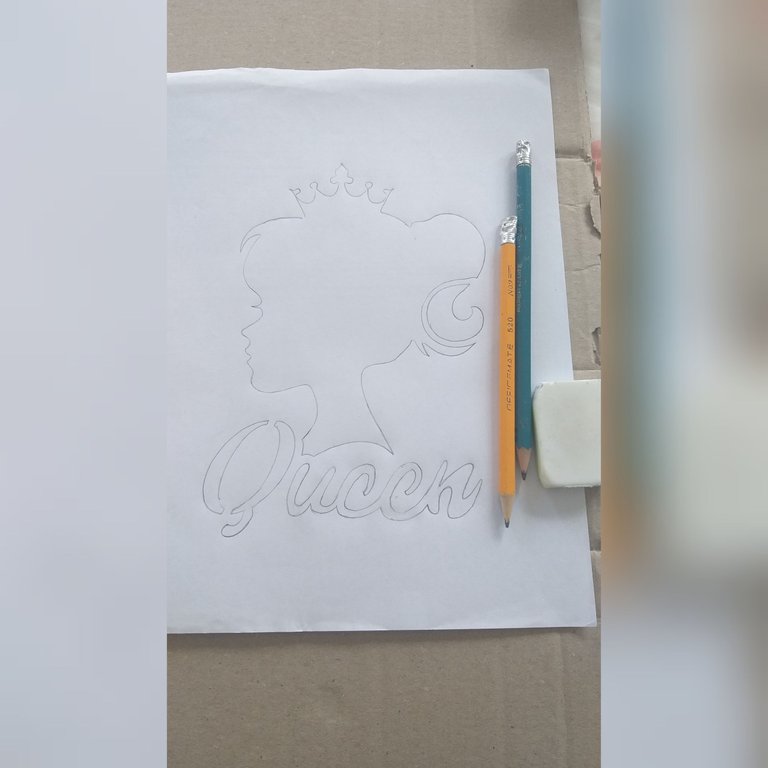
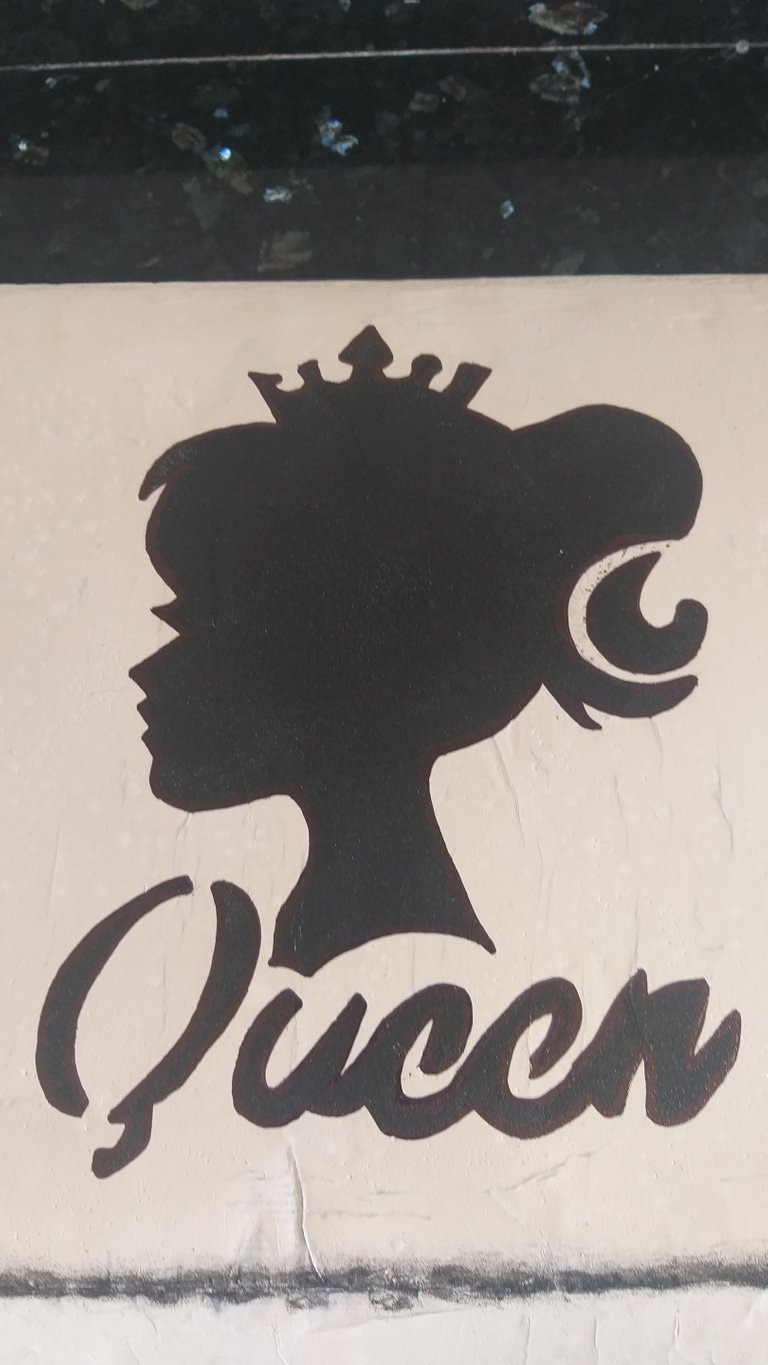
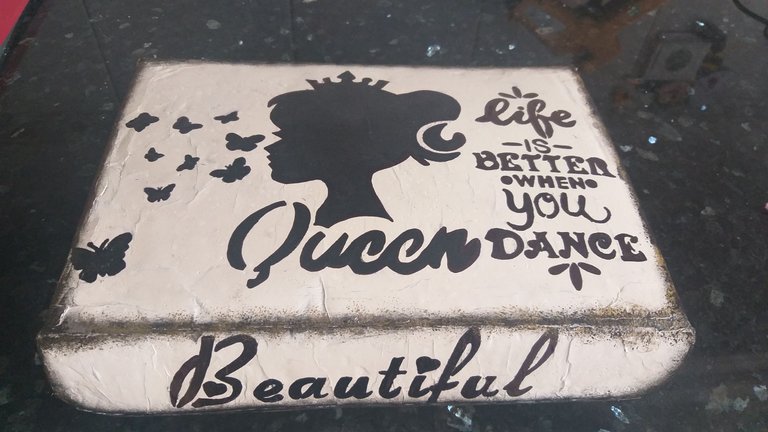
10👣. En otra publicación les dije que les mostraría a realizar otra plantilla aunque no conseguí un acetato grueso como lo usaba antes, igual les mostraré hacer la plantilla que utilizaremos para decorar la caja libro y utilizaré otras que ya tenía.Para hacer la plantilla utilizaremos papel, lápiz y marcador de color blanco, tirro o cinta de construcción, acetato, esponja, pintura acrílica de color negro, cúter. Lo primero que tenemos que hacer es dibujar el motivo que quieran decorar; acá dibujé una reina y con la palabra reina debajo y después deben colocar el dibujo debajo del acetato y fijar con el tirro.
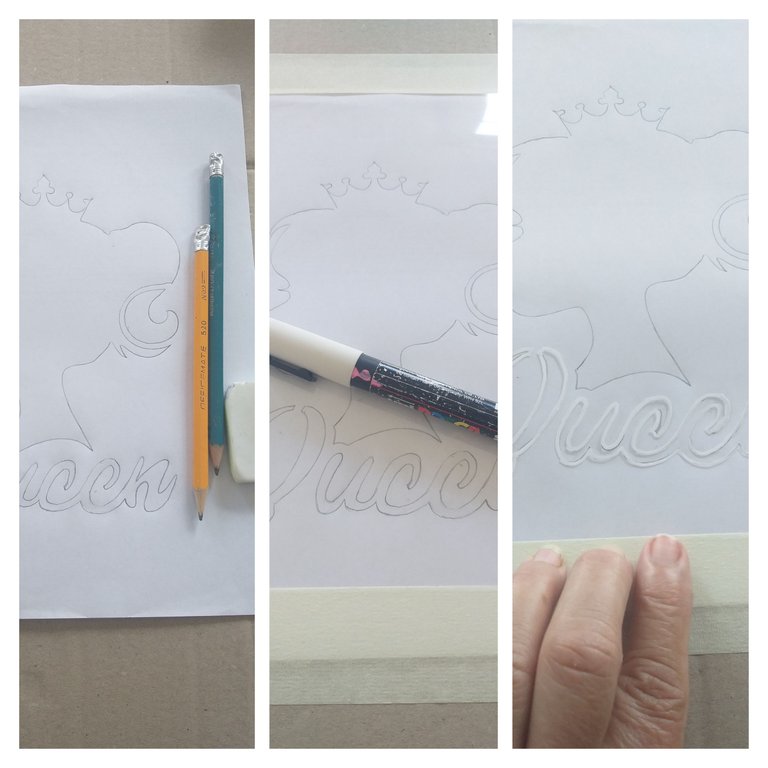
11👣. Con el marcador de color blanco dibujar toda la figura en el acetato guiándose por la imagen.
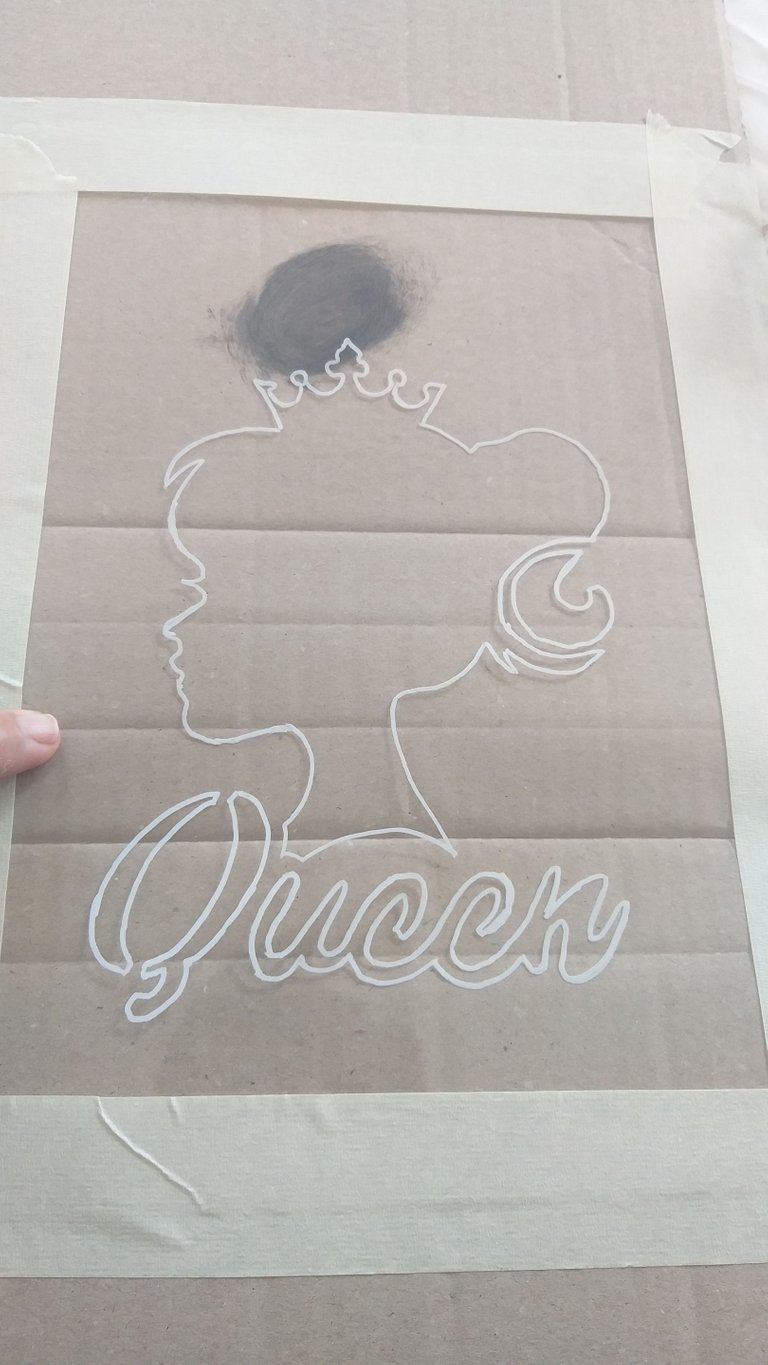
12👣. Con el cúter cortar toda la figura con cuidado para no romper o pasarse de lo marcado hasta recortar todo.No botar la figura que recortó servirá para otra manualidad. Limpiar el acetato con un paño húmedo.
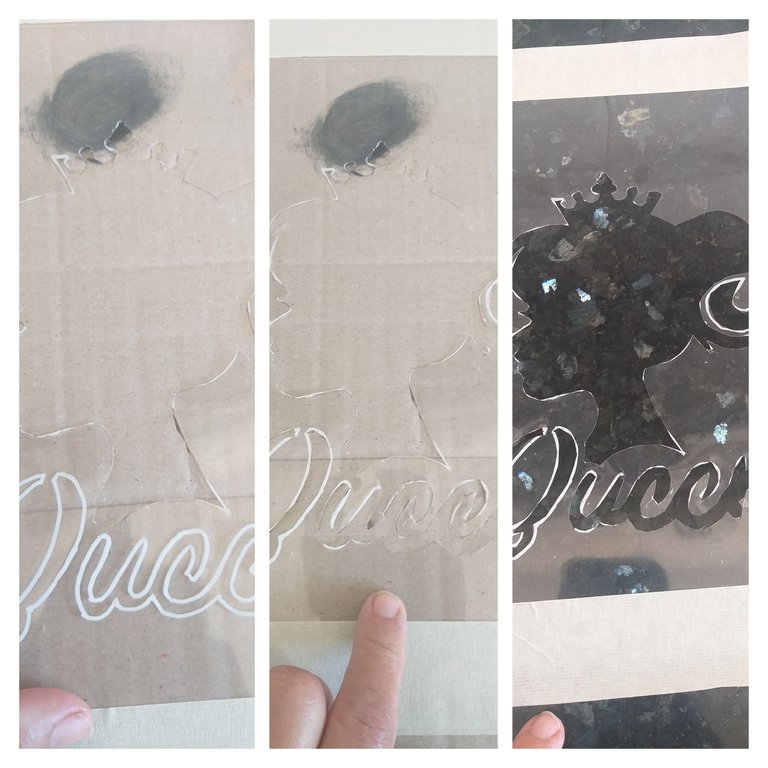
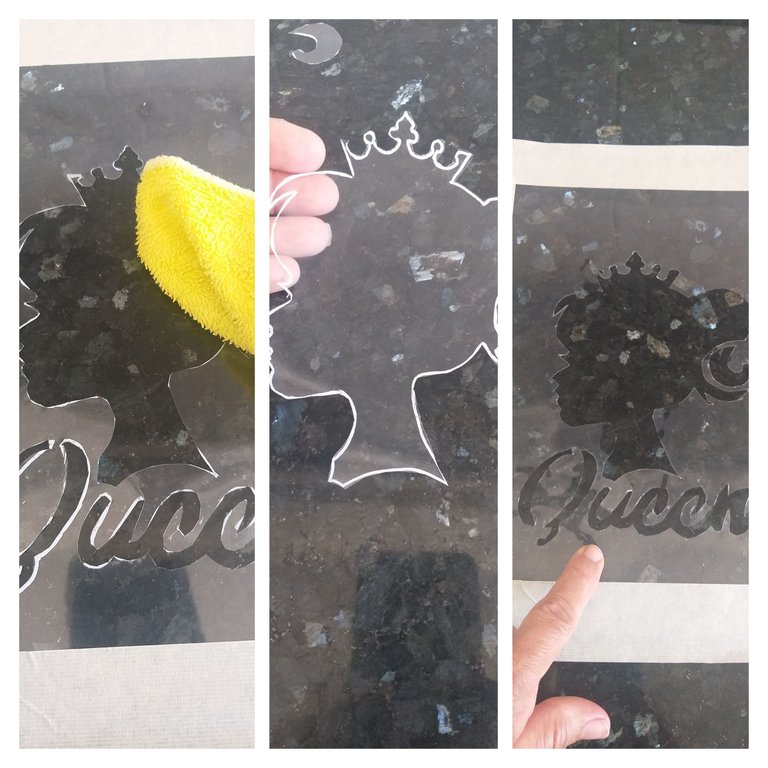
13👣. En este paso vamos aplicar la técnica de motear por toda la figura con la esponja y la pintura de color negro. Primero fijar la figura a la parte superior de la caja con el tirro y después prepare en un plato la pintura y comienza a motear cargando y descargando la pintura.
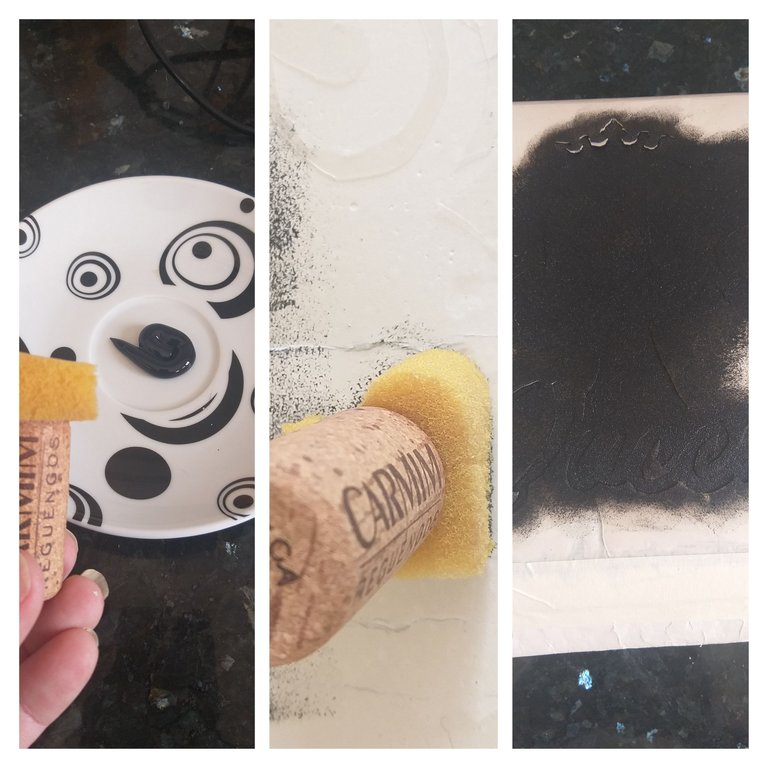
14👣. Ya que tengamos toda la figura pintada en la caja dejamos secar un poco y retiramos el tirro.Aproveche en motear por todas las orilla de la caja
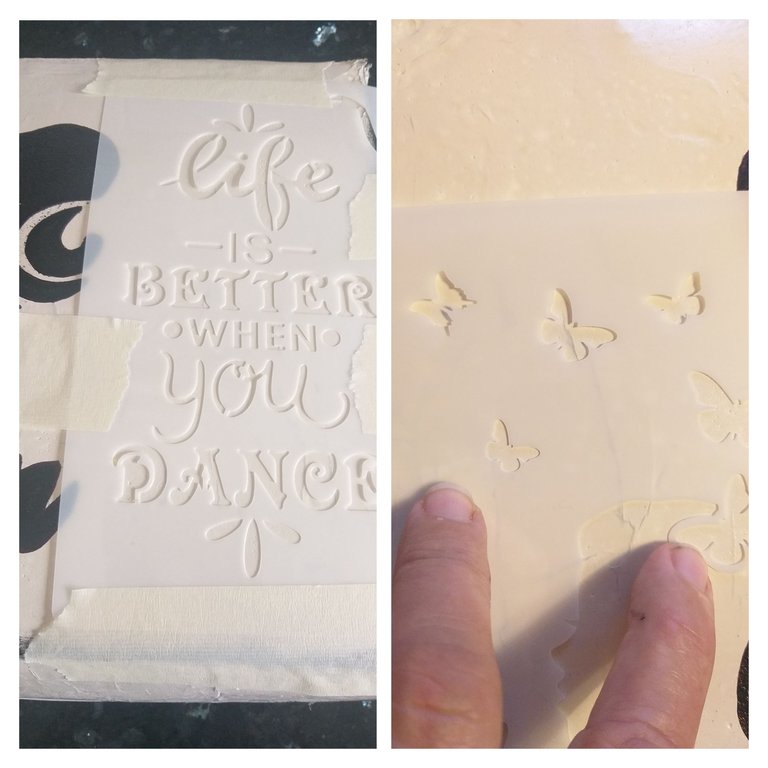
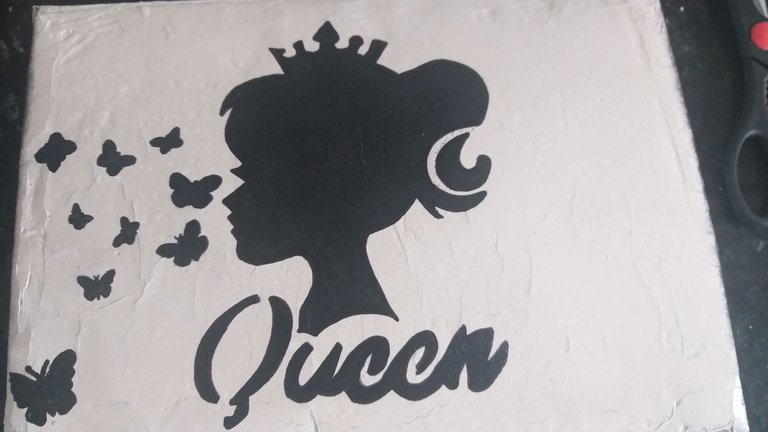
15👣. Sigamos decorando a su gusto yo le agregué unas mariposas de un lado y del otro lado letras realizando el mismo proceso. Luego que utilizamos las plantillas debemos lavarlas.
16👣. En la parte de la tapa le coloqué otra plantilla con la palabra beautiful también con la misma técnica de motear deje secar un poco y retirar los tirros.
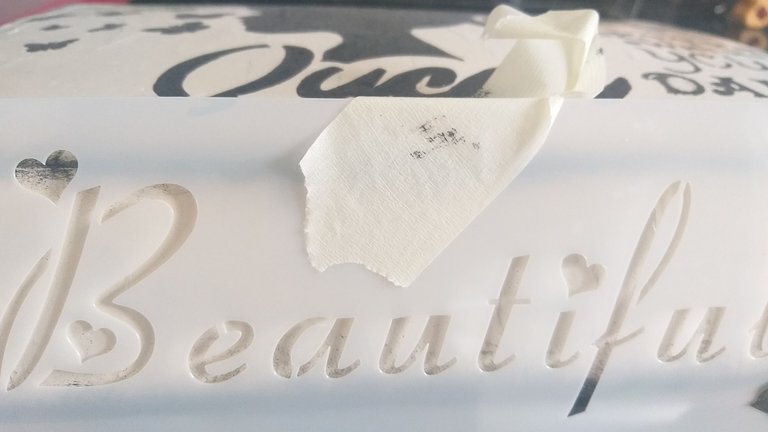
17👣. Para cerrar la tapa utilicé unos cierres de la carpeta de acetato que ya había utilizado y los pegue con silicon caliente en ambas parte de la caja en la misma dirección observar la imagen.
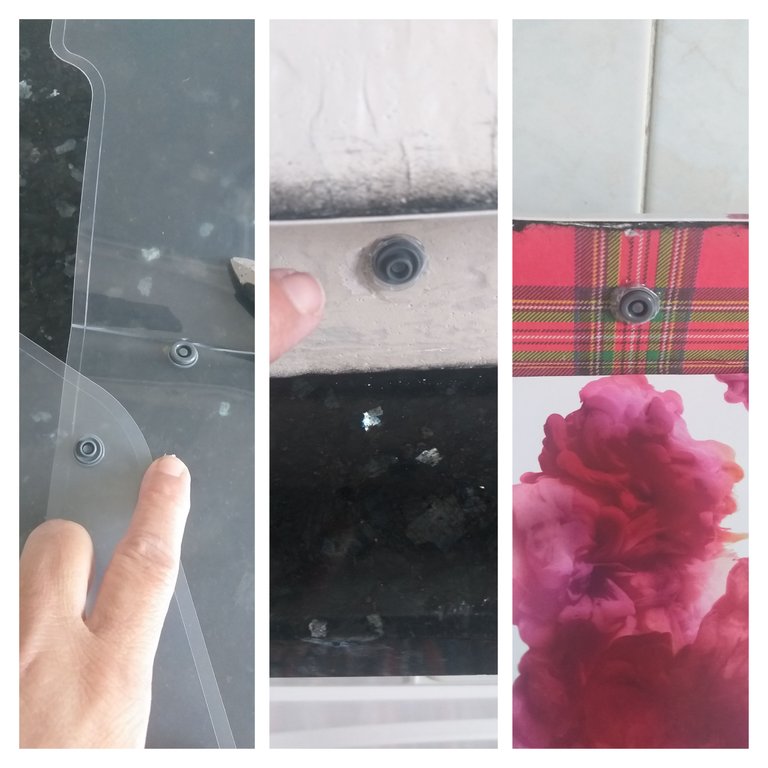
18👣. En este último paso vamos hacer rayas horizontales por la parte de delante y de los dos lados con la regla y un marcador permanente de color negro.
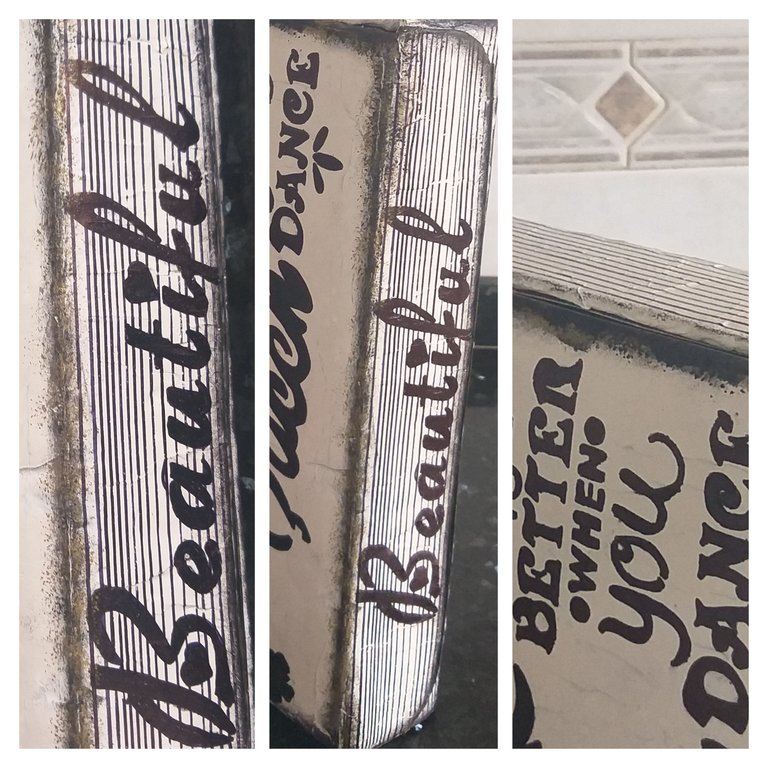
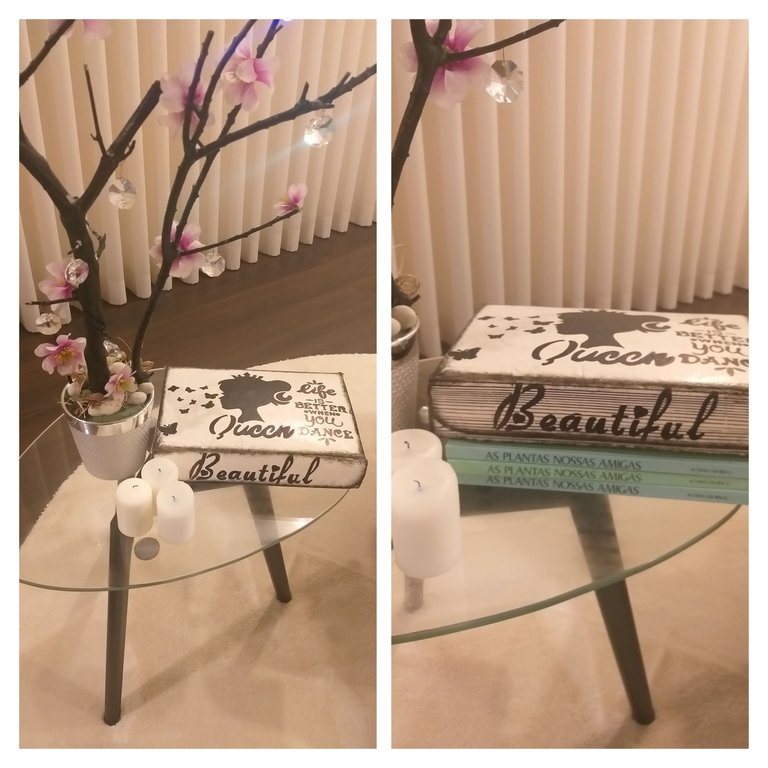
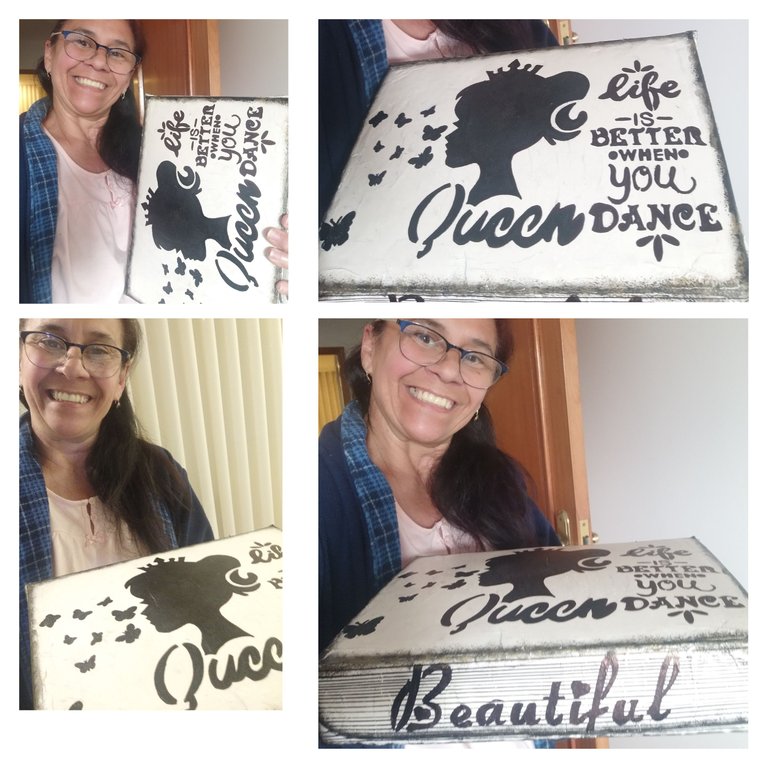
Terminado la caja libro multiusos; la cual le sirve para decorar la casa de baño con sus colonias o perfumes preferidos como también decorar una mesa de apoyo o cualquier espacio de su casa. Espero que le haya gustado mi proyecto de hoy y se animen en hacerlo ustedes. Gracias por su apoyo besito y siempre sean felices ☺😍.
Las fotos son tomadas de mi teléfono móvil Samsung Galaxy A6 y organizadas por la aplicación GridArt.

English
My beautiful community of hiven receive a cordial greeting; I hope you are well as I am happy every time I share my publications with you❤🤗, I take advantage of thanking all those who always support me and leave beautiful, very flattering comments and the different communities, a thousand blessings to all in this great community.
Today I want to teach you how to decorate a multipurpose book box using a template that I will also show you how to make one 👍🤗. In this work we are going to reinforce the box so that it is resistant; This box would have several uses such as storing cookies, candies, cosmetic colognes, among others, and at the same time it will serve to decorate. So come with me to make this multipurpose book box. We are going to give you the materials to use, I want to explain that most of my crafts are invented and while I am doing the work, ideas come to mind and I am adding materials.

Materials to use

A box with lid
Scissor
Glue
Silicone gun and silicone bars
Colour cardboard
White cement
spatula
small brush
Water and a plastic container
Old magazines or kitchen napkins
Sandpaper for walls
Pencil or pen
Eraser


Steps to follow

1👣. In this first step we are going to prepare the box; We have to glue the two wafers that protrude from the box with hot silicone so that they remain fixed. Observe the images.


2👣. Now with the scissors we are going to cut strips from magazines to kitchen napkins or you can combine both, with the glue mixed with water and stirring well with a stick, spoon or with the brush and with the same brush we are going to stick strips until completely covering the cash register.


3👣. When the entire box is covered with the strips of paper with the brush with a touch-up glue on all sides and let dry. As always my dog wants to be in the photos 🤭☺❤🐶.


4👣. After the box is well dry; We are going to prepare the mixture of white cement with water, leaving the mixture thick and with the spatula, place the mixture all over the box on top. In other publications I showed you how to make the mixture and how to use it on cardboard; then let dry in the sun. observe the image

5👣. Once the cement is dry in the box at the top, we are going to proceed to sand the entire box well. If you see magazines in some places when you are sanding, don't worry.

6👣. In the next step we are going to line the box for that we are going to use white glue, hot silicone and cardboard with applications and scissors.

7👣. We are going to measure with the same cardboard outside the box and mark with the pencil and then cut. If you want you can use a ruler and measure each part and then mark on the cardboard and cut out.

8👣. After it is lined with the first card, fold the sides and glue well with hot silicone and then glue the other card on top of the two sheets. They can be guided by the images.

9👣. Once the box is finished inside and sanded on the outside, that's how it should look and I put several of my colonies on it so they can see how they can use it, although it's not finished yet.

10👣. In another publication I told you that I would show you how to make another template although I did not get a thick acetate as I used it before, I will still show you how to make the template that we will use to decorate the book box and I will use others that I already had. To make the template we will use paper, white pencil and marker, construction tape or tape, acetate, sponge, black acrylic paint, utility knife. The first thing we have to do is draw the motif you want to decorate; here I drew a queen and with the word queen below and then you must place the drawing under the acetate and fix it with the shot.


11👣. With the white marker, draw the entire figure on the acetate, guided by the image.

12👣. With the cutter, cut the entire figure carefully so as not to break or go beyond what is marked until everything is cut. Do not throw away the figure that you cut out, it will serve for another craft. Clean the acetate with a damp cloth.


13👣. In this step we are going to apply the technique of speckling all over the figure with the sponge and the black paint. First fix the figure to the top of the box with the screw and then prepare the paint on a plate and start speckling by loading and unloading the paint.

14👣. Once we have the whole figure painted on the box, let it dry a bit and remove the plaster. Take advantage of mottling all the edges of the box

15👣. Let's continue decorating to her liking I added some butterflies on one side and letters on the other side doing the same process. After we use the templates we must wash them.


16👣. In the part of the lid I placed another template with the word beautiful also with the same speckling technique, let it dry a bit and remove the shots.


17👣. To close the lid I used some clasps from the acetate folder that I had already used and glued them with hot silicone on both parts of the box in the same direction, see the image.


18👣. In this last step we are going to make horizontal stripes on the front and on both sides with the ruler and a black permanent marker.

Finished multi-purpose book box; which serves to decorate the bathroom with your favorite colognes or perfumes as well as decorate a support table or any space in your home. I hope you liked my project today and you are encouraged to do it. Thank you for your support little kiss and always be happy ☺😍.
The photos are taken from my Samsung Galaxy A6 mobile phone and organized by the GridArt application.


