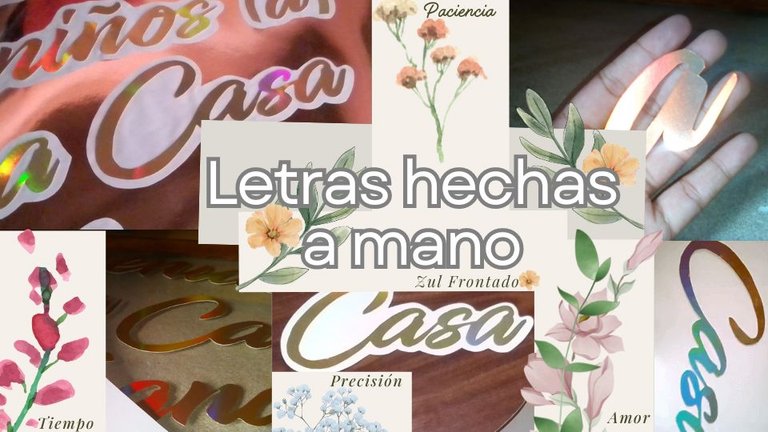
Hace unos días me topé con que no encontraba algo: Topper personalizados para la torta de mi hermana.
Camine buena parte de la ciudad, pero, debía de pedirlos con al menos 2 días de anticipación. Me dije, vamos, conservemos la calma, solucionaremos esto. Así que compre cartulina, mamá me había reglado un cúter, imprimí mariposas en papel fotográfico y llegue rápidamente a casa para empezar a armar el topper.
Debía de entregarlo a las 3 de la tarde para que terminaran la decoración de la torta, y lo logre. A partir de allí hago este tipo de letras a mano sin máquina de corte, la cual es el instrumento con el que se pueden hacer de forma rápida y sencilla.
Con un cúter se toma un poco más de tiempo, y requieren de concentración. Y el resultado es el mismo. Ahora, tuve que hacer más letras, pero, de un tamaño más grande que el topper de torta para mi hermana. Así que te cuento como lo hice.
Paso a paso
Materiales que utilice:
- Silicon.
- Una cartulina holográfica metalizada en color dorado.
- Una cartulina metalizada en color rosa viajo.
- Hojas blancas.
- Hojas para croquis.
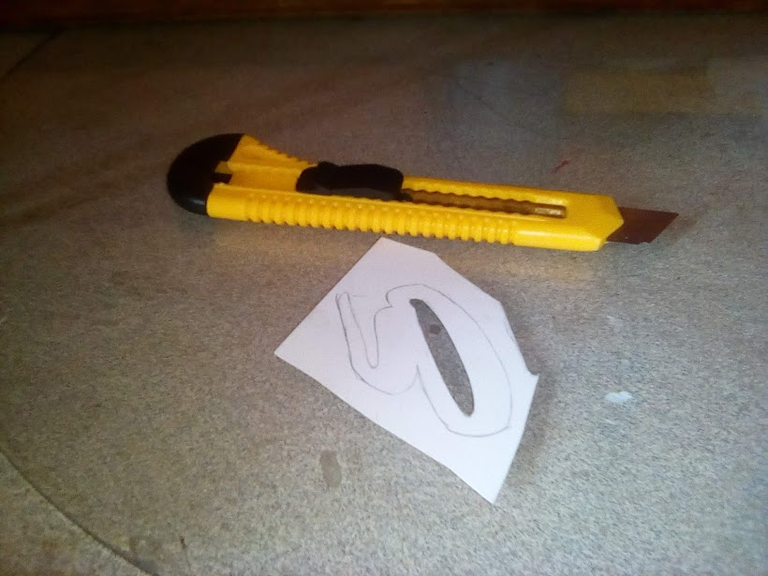
- Tijera y un cúter.
- Lápiz y borra.
Primero necesitamos una tipografía, puedes usar las de Microsoft Word, o las de Conversor de Letras para Facebook & Twitter
En esta ocasión he usado la segunda. Coloque el texto y elegí la que necesitaba.
A few days ago I came across that I didn't find something: Topper customized for my sister's cake.
He walked a good part of the city, but, he must ask them at least 2 days in advance. I told myself, come on, let's keep calm, we will solve this. So I bought cardboard, mom had regulated a cutter, printed butterflies on photographic paper and quickly arrived home to start putting together the Topper.
He had to deliver it to 3 in the afternoon to finish the decoration of the cake, and achieve it. From there I make this type of letters by hand without a cutting machine, which is the instrument with which they can be done quickly and easily.
With a cutter takes a little more time, and require concentration. And the result is the same. Now, I had to make more lyrics, but, in a larger size than the cake topper for my sister. So I tell you how I did.
Step by Step
Materials used:
- Silicon.
- A metallic holography card in gold.
- A metallic card in pink travel.
- White sheets.
- Sketch for sketches.
- Scissors and a cutter.
- Pencil and erase.
First we need a typography, you can use those of Microsoft Word, or those of Letter Converter for Facebook & Twitter
On this occasion I have used the second. Place the text and chose the one I needed.

Después de ello transcribí todo a hojas de croquis, también conocidas como papel para calcar, las amplíe en mi PC hasta tener 12 CM de alto, y con mucho cuidado suavemente las pase al papel.
También puedes imprimirlas en hojas blancas de papel bond.
After that I transcribed everything to sketch sheets, also known as paper to trace, expand them on my PC until you have 12 cm high, and gently carefully pass them to the paper.
You can also print them on white sheets of Bond paper.
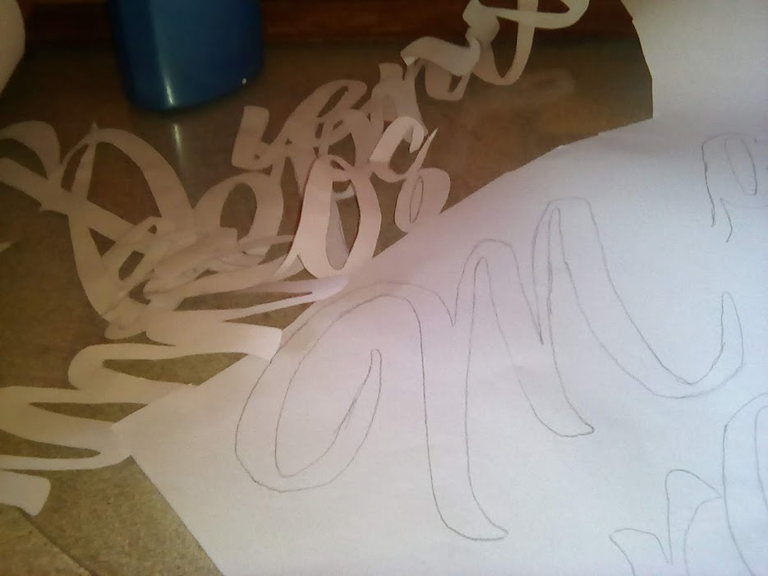
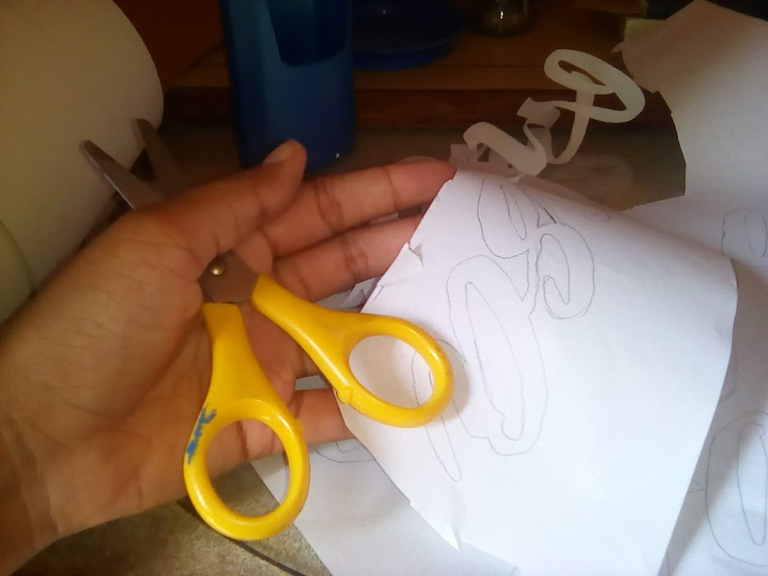
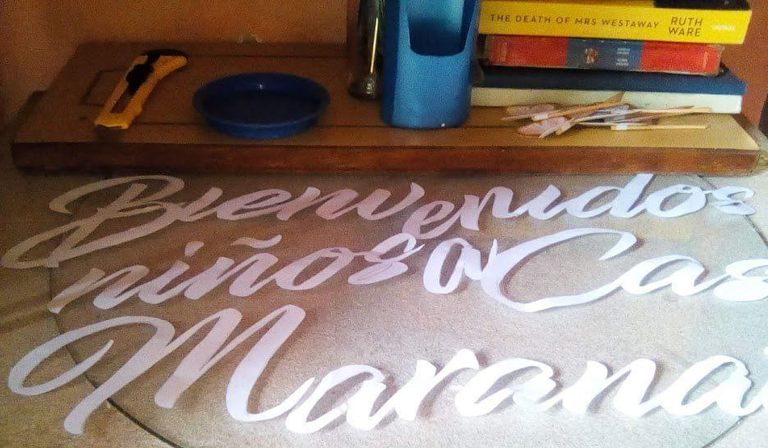
Después las recorte con una tijera. Y al tenerlas todas las pase a una cartulina holográfica dorada. Para hacer este paso se necesita colocar las letras al revés, de forma que queden correctamente al darle la vuelta a la cartulina.
Todo esto lo trabajé en la parte blanca de la cartulina holográfica, para evitar dañar la cara principal.
Then cut them with a scissors. And having them all pass them to a golden holographic card. To make this step you need to place the letters upside down, so that they are correctly when the cardboard is turned around.
I worked all this in the white part of the holographic cardboard, to avoid damaging the main face.
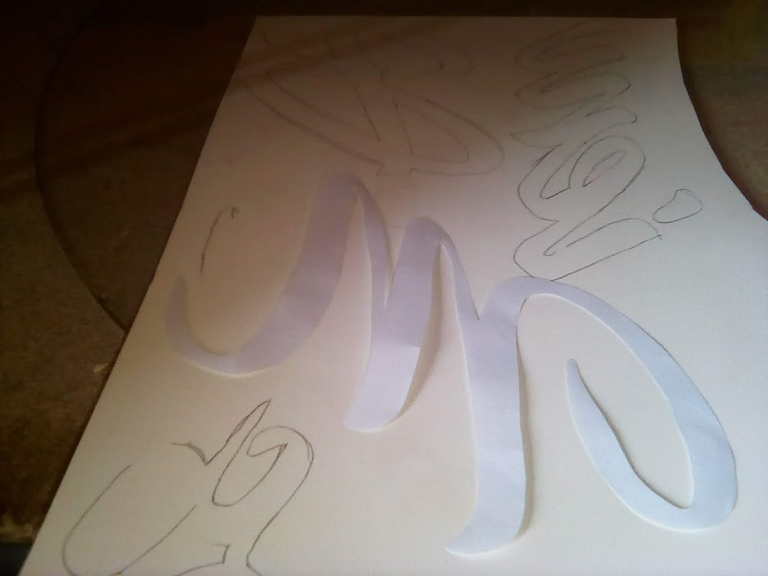
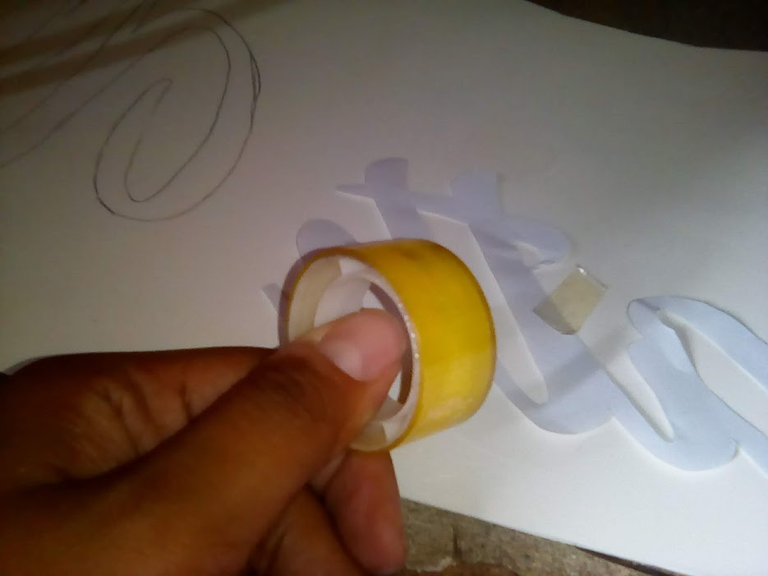
Un detalle importante: Como verás hay algunas palabras un poco largas, por lo que es más cómodo fijarlas a la cartulina con un poco de cinta de papel. Use trozos muy pequeños que me permitieran quitarla con facilidad y que no fuesen difíciles de quitar.
An important detail: As you will see there are a bit long words, so it is more comfortable to fix them to the cardboard with a little paper tape. Use very small pieces that would allow me to remove it easily and not to be difficult to remove.
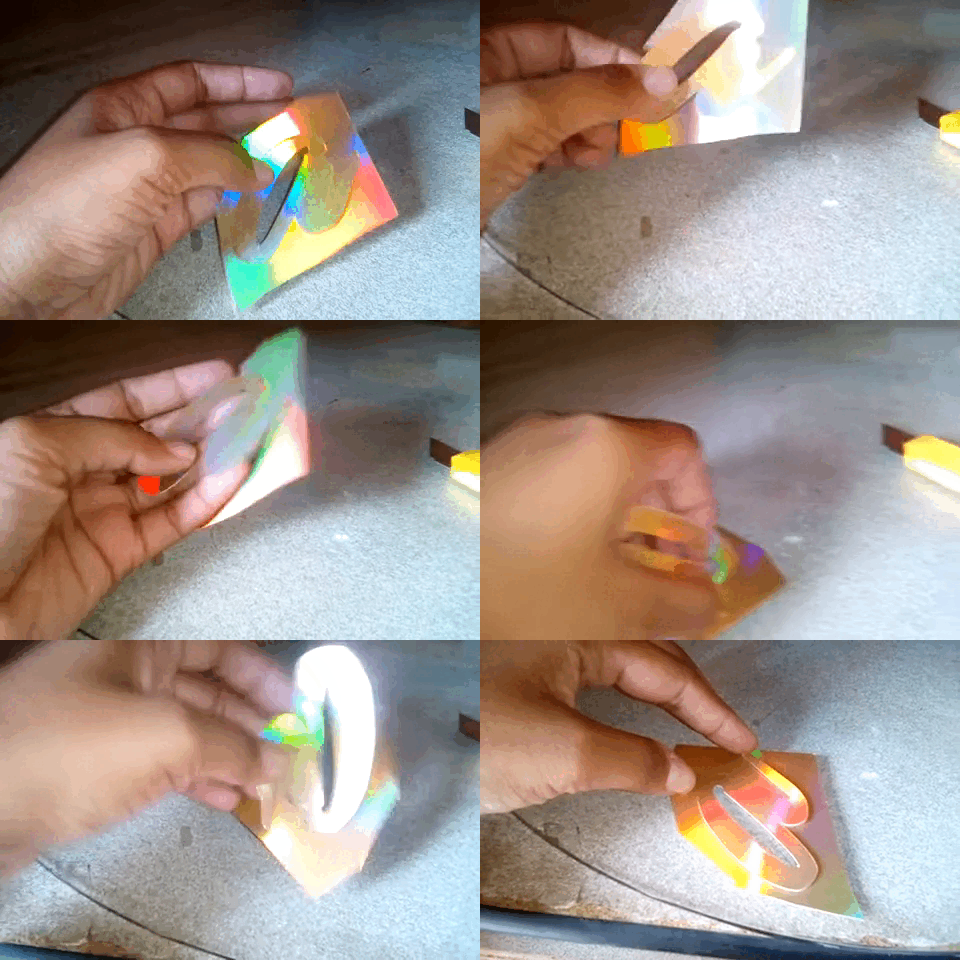
Una vez que termine de transcribir todas las letras a la cartulina, tome mi cúter y empecé a recortarlas.
Este proceso requiere un poco de fuerza, debido a que si no se perfora lo suficiente las letras no se cortarán y se corre el riesgo de que se dañe la cartulina.
También requiere mucha paciencia, precisión y concentración.
Once you finish transcribing all the letters to the cardboard, I took my cutter and started to cut them.
This process requires a bit of strength, because if the letters are not drilling enough, the letters will not be cut and the risk of the cardboard is damaged.
It also requires a lot of patience, precision and concentration.
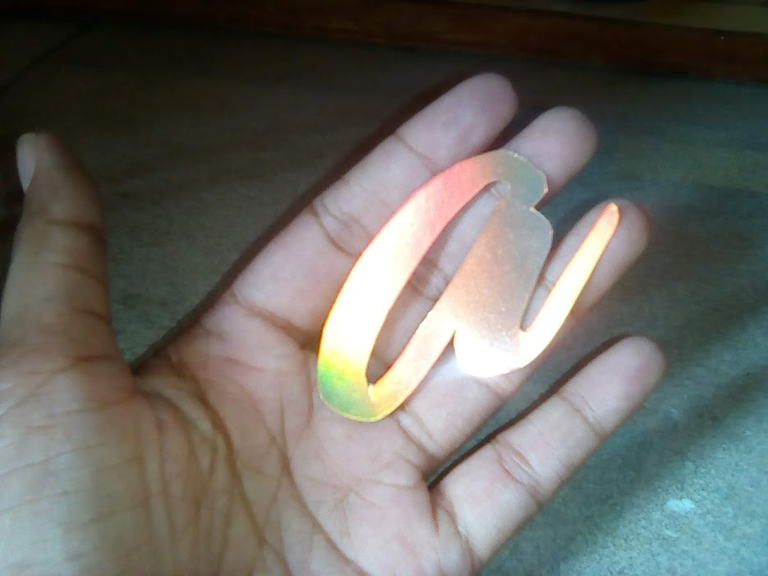
La letra afortunada en ser la primera es la letra "a". Me emociono verla terminada, es preciosa.
The lucky letter to be the first is the letter "A". I am excited to see her finished, she is beautiful.
Una vez que termine de recortar todas, empecé a pegarlas en hojas blancas de papel bond. Con esto le añadiría otra capa que hace que se vean más bonitas.
Se vuelve a recortar todas, dejando un espacio entre la letra y el papel, como el borde de un sticker.
Once I finished trimming all, I started to glue them on white sheets of Bond paper. With this I would add another layer that makes them look prettier.
They all cut again, leaving a space between the lyrics and the paper, such as the edge of a sticker.
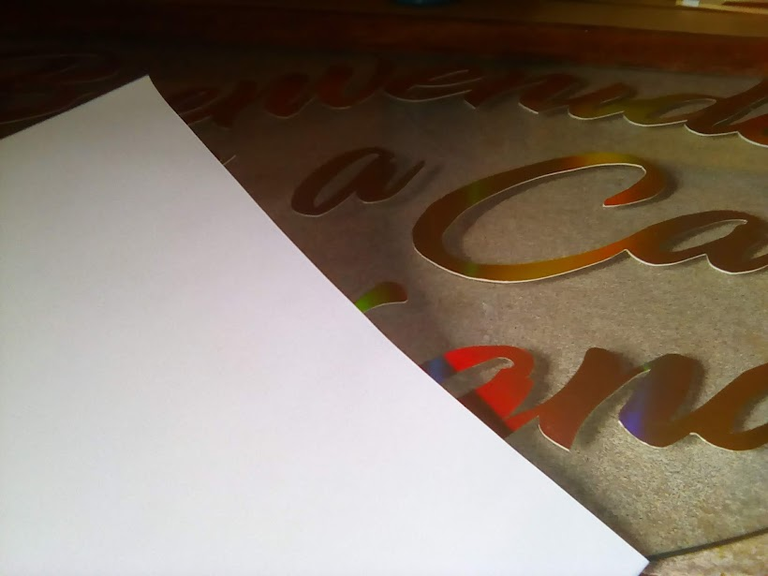
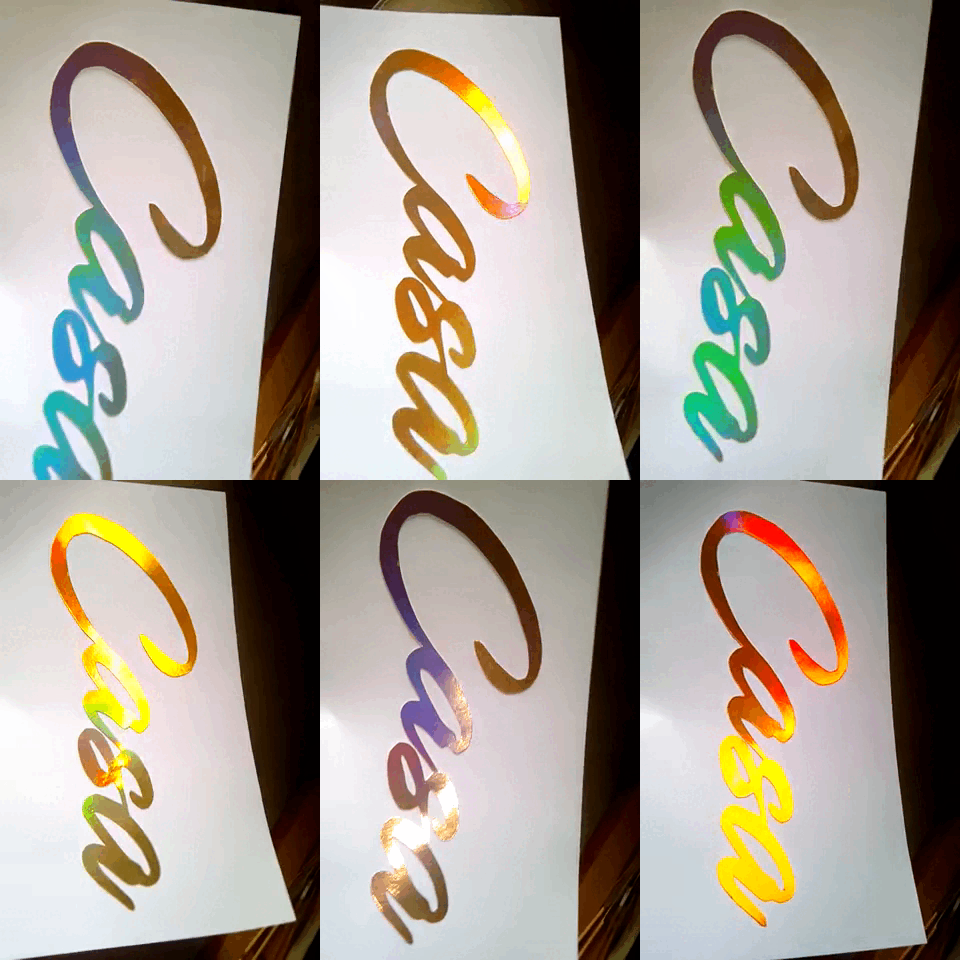
La cartulina holografíca puedo decir que es más hermosa que la cartulina común metalizada, y aquí puedes verlo.
Holography cardboard I can say that it is more beautiful than the metallic common cardboard, and here you can see it.
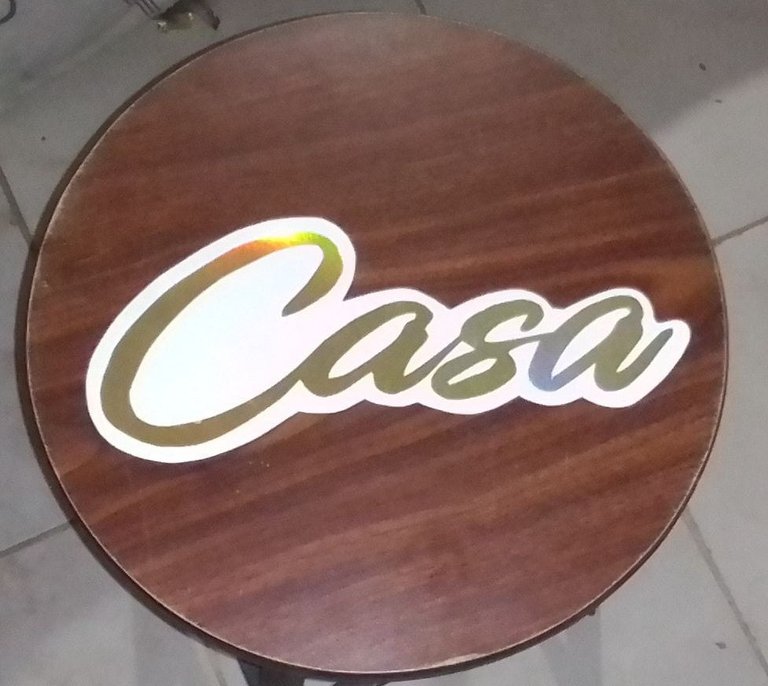
El último paso consiste en pegar estas letras recortadas a una cartulina color rosa viejo metalizada. Y este sería el resultado.
The last step is to paste these letters cut to an old pink metallic cardboard. And this would be the result.
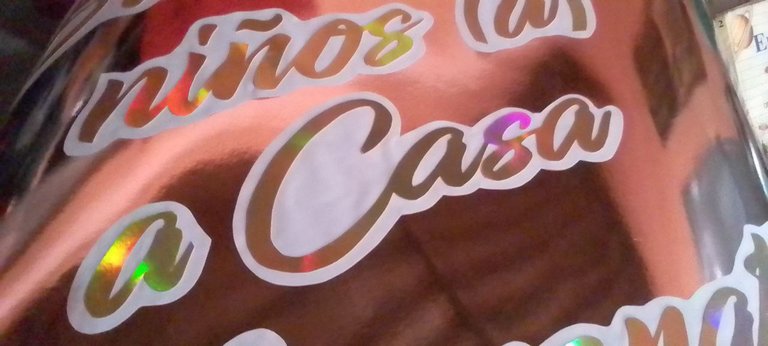
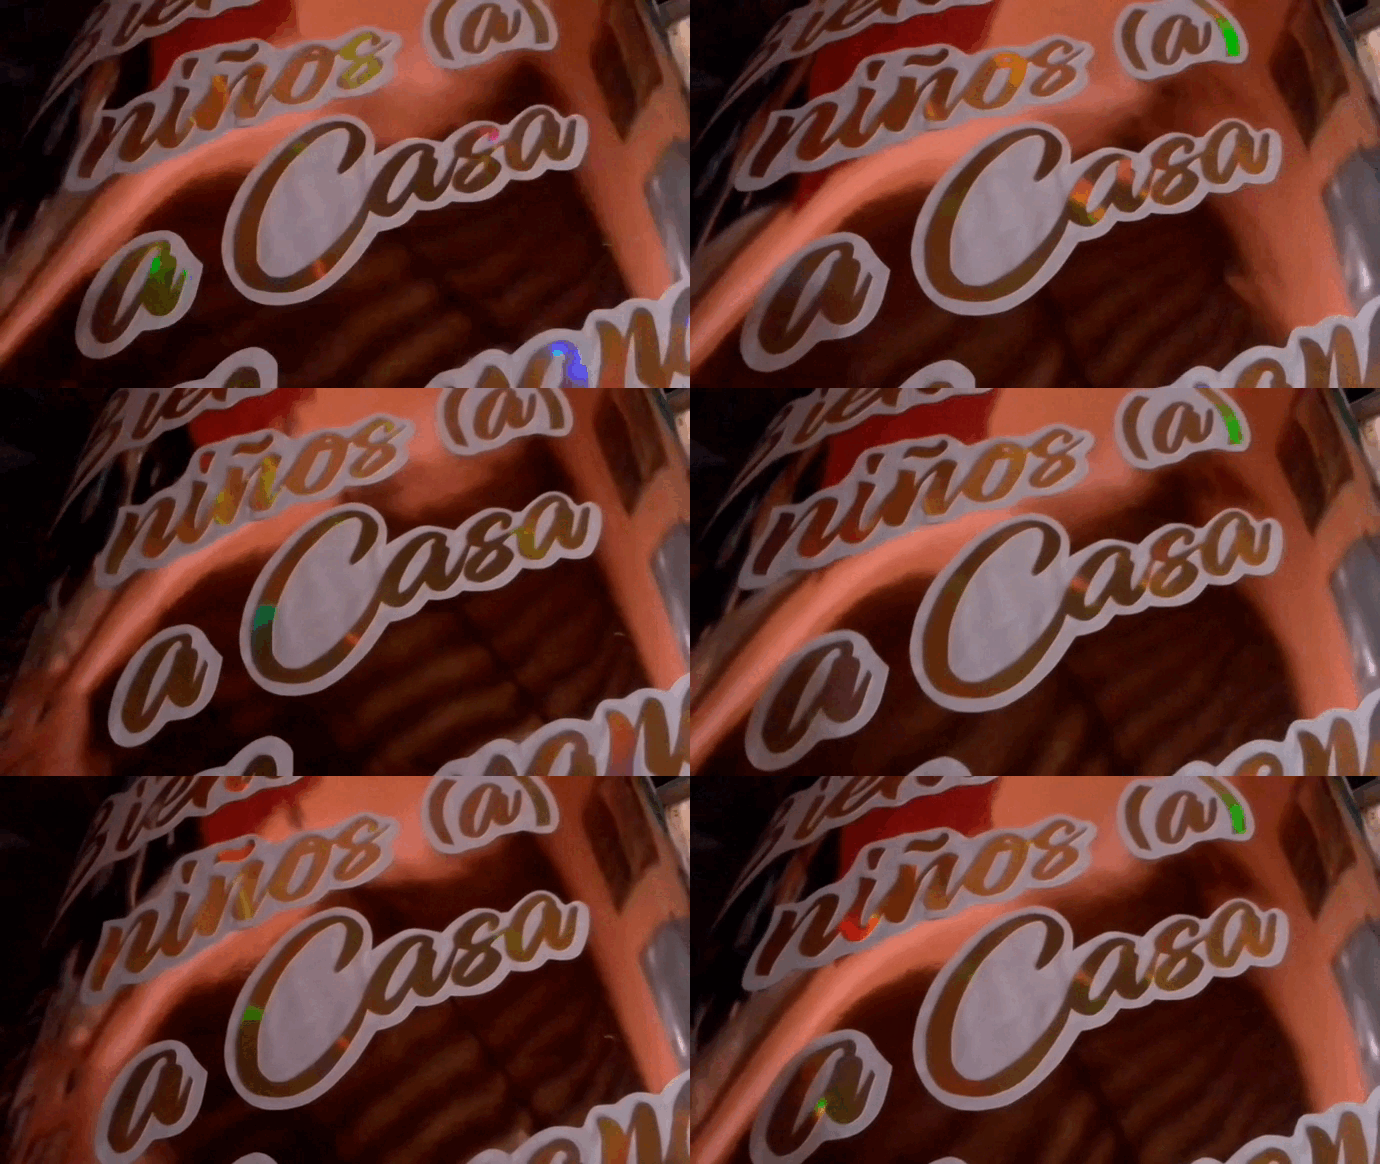
Descubrí esta combinación de usar metalizados y darle un toque fresco con color blanco y me agrada. Hace que se vean muy elegantes. Espero te gusten tanto como a mí.
I discovered this combination of using metallic and giving a fresh touch with white and pleases me. Makes them look very elegant. I hope you like them as much as I do.
21/07/24
Texto de mi autoría. Todas las imagenes en el post son creadas por mí en Canva, utilizando recursos gratuitos disponibles en la app.
