¡Hola comunidad de Hive!
Hello Hive community!
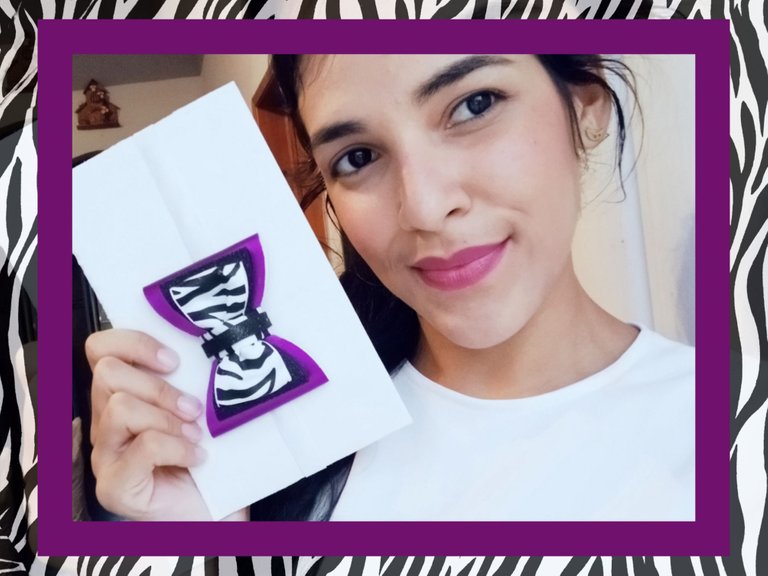
Hola gente linda de Hive Blog, espero hayan tenido un lindo y productivo día. Me encanta hacer lazos para mí bebé intentó hacer una colección para cada outfit que le ponga, entonces elabore este lindo lazo con tonos metalizados y estampado de cebra, es muy sencillo de hacer, Espero sea de su agrado.
Hello beautiful people of Hive Blog, I hope you had a nice and productive day. I love to make bows for my baby, I tried to make a collection for each outfit I wear, so I made this cute bow with metallic tones and zebra print, it is very easy to make, I hope you like it.
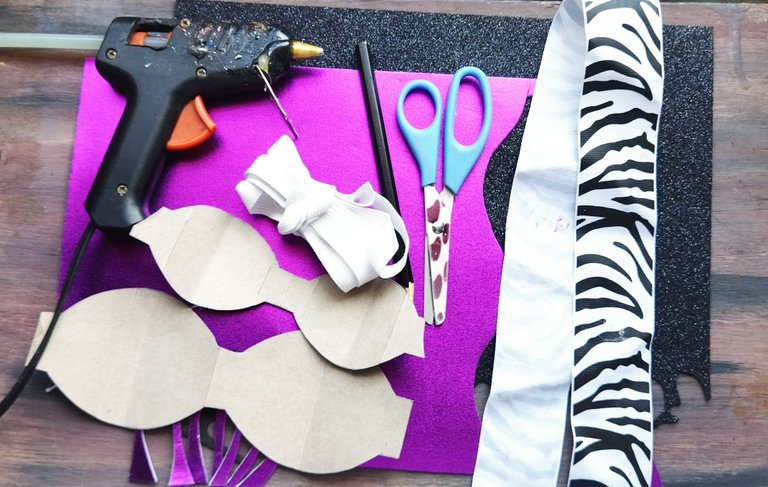
Materiales:
- Foami metaliza en tono magenta*
- Foami escarchado negro
- Tijera
- Lápiz
- Molde para los lazos
- Elástica
- Silicón caliente y pistola
- Cinta con estampado de cebra
Materials:
- Foami metallized in magenta tone*.
- Black frosted Foami
- Scissors
- Pencil
- Mold for the ribbons
- Elastic band
- Hot glue and gun
- Zebra print ribbon
Paso 1 || Step 1
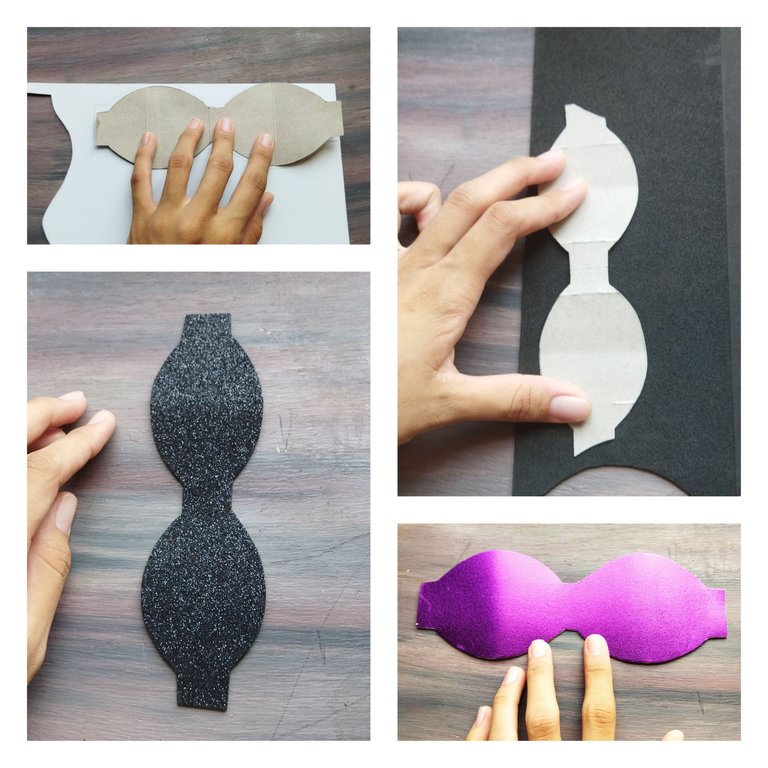

Marcamos los moldes de lazos en la parte trasera del foami tanto para el metalizado como para en escarchado, el lazo magenta tiene que ser un poco más grande que el negro para que pueda resaltar. Luego de marcar, cortamos.
We mark the ribbon molds on the back of the foami for both the metallic and the frosting, the magenta ribbon has to be a little bigger than the black one so that it can stand out. After marking, we cut.
Paso 2 || Step 2
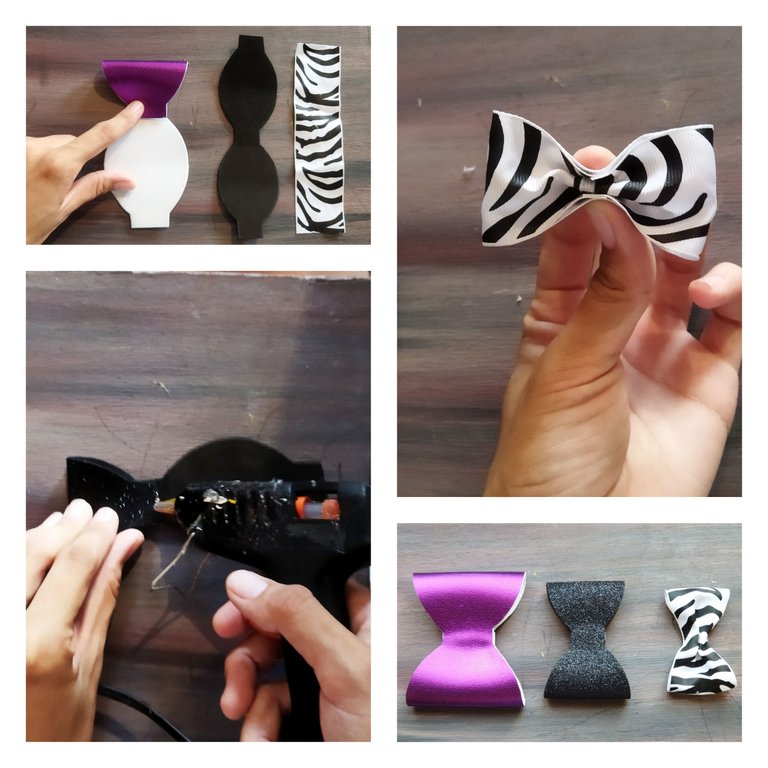

Pegamos los lazos para esto llevamos la puntas hacia al centro y pegamos con silicón caliente. También hacemos un pequeño lazo con la cinta de cebra.
We glue the ribbons for this we bring the tips to the center and glue with hot silicone. We also make a small bow with the zebra ribbon.
Paso 3 || Step 3
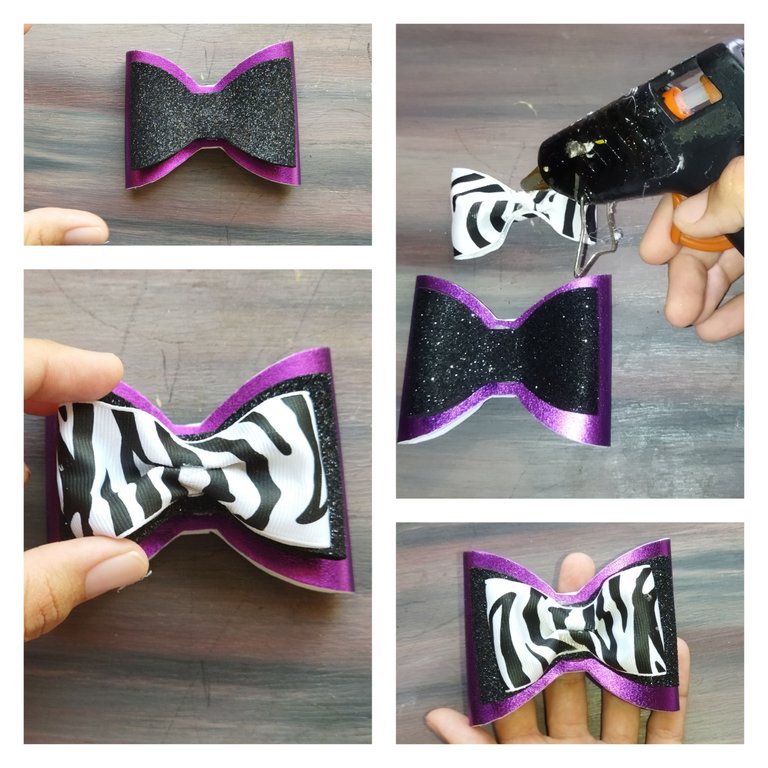

Armamos el lazo, comenzamos pegando el lazo magenta con el negro y por último el lazito de cinta todo esto lo hacemos con silicón caliente.
We assemble the ribbon, we start by gluing the magenta ribbon with the black one and finally the ribbon bow, all this is done with hot silicone.
Paso 4 || Step 4
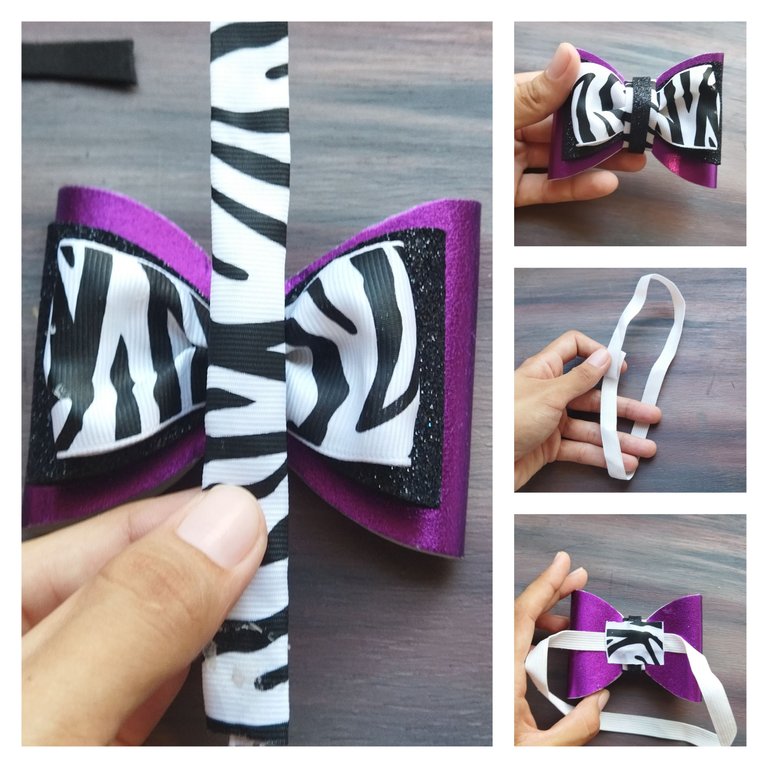

Para el centro del lazo utilicé un retazo de la cinta de cebra y la doble para ponerla más delgado, luego pague llegando hasta la parte trasera, también le pegue una tira de foami negro. Y para convertir este lazo en cintillo le pagamos elástica, yo medí la elástica en la cabeza de mi bebé que no le quedará tan ajustada. Entonces pegue la elástica en la parte trasera y para cubrir el empate pague en retazo de cinta con silicón caliente.
For the center of the bow I used a piece of zebra ribbon and folded it to make it thinner, then I paid for it to reach the back, I also glued a strip of black foami. And to turn this ribbon into a headband we glued elastic, I measured the elastic on my baby's head so it wouldn't be too tight. Then I glued the elastic on the back and to cover the tie, I glued a piece of ribbon with hot silicone.
Resultado final.
Final result.
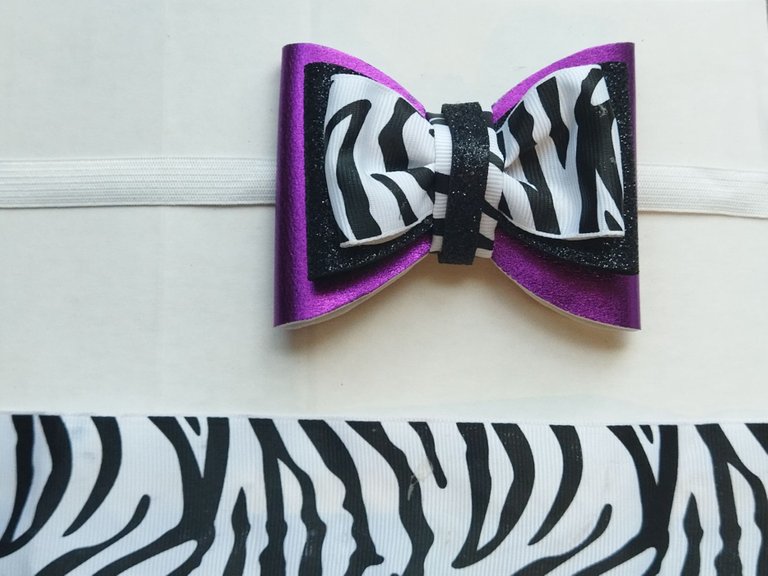
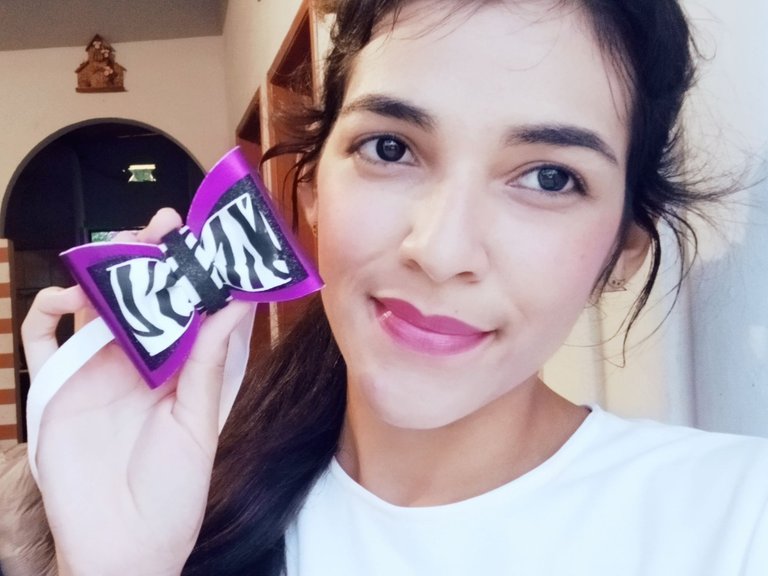
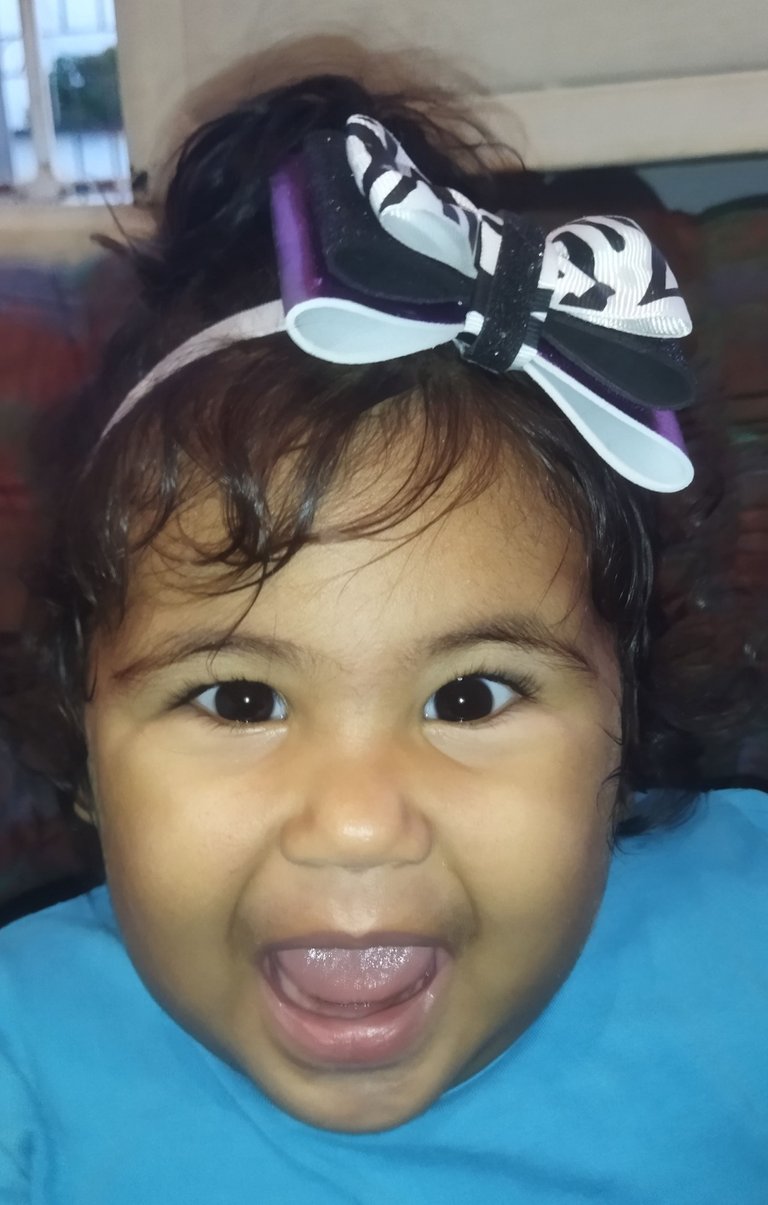
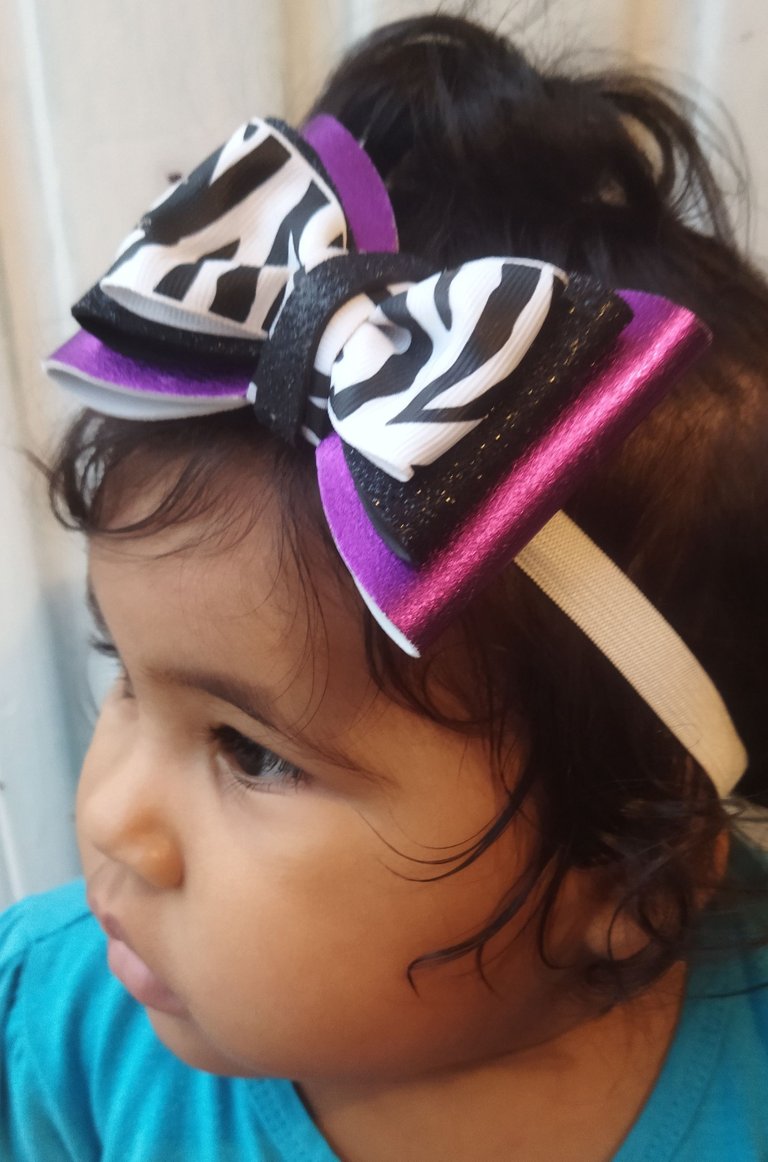
Este es el resultado final de este hermoso lazo cintillo. Espero les haya gustado este paso a paso, mi bebé quedo super contenta con su nuevo cintillo. Si llegaste hasta aquí muchísimas gracias por leerme.
This is the final result of this beautiful ribbon headband. I hope you liked this step by step, my baby was very happy with her new headband. If you made it this far, thank you very much for reading.
All images are my property / Todas las imágenes son de mi propiedad
Camera: Xiaomi Redmi 9T.
Translation: Deepl.com
