¡Hola comunidad de Hive!
Hello Hive community!
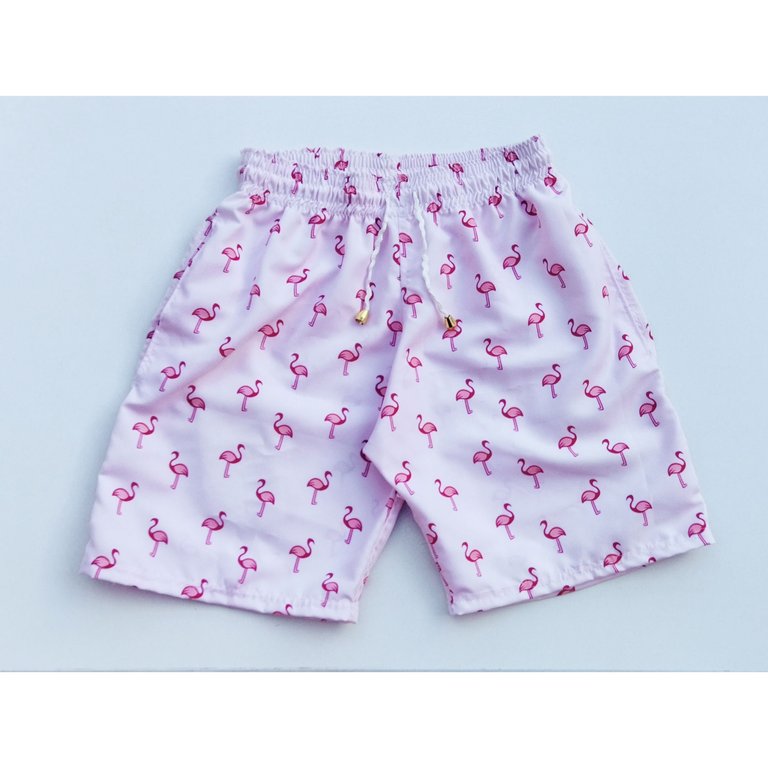
Hola queridos amantes de la costura, espero su día vaya genial. Hoy quiero compartir con ustedes la confección de este short para caballero con estampado de flamenco, si amigos de flamenco 🤭🦩, entre gustos y colores. Bueno este pantalón lo elaboré para mi primo yilbert que es amante de este tipo de short y es que con este calorcito que pega en Cumaná este tipo de short queda muy bien. Espero les guste este proyecto, así que vayan por su hilo y aguja y manos a la costura...
Hello dear sewing lovers, I hope your day is going great. Today I want to share with you the making of this short for men with flamenco print, yes friends of flamenco 🤭🦩, between tastes and colors. Well this pants I made it for my cousin yilbert who is a lover of this type of shorts and is that with this heat that hits in Cumana this type of short looks great. I hope you like this project, so get your thread and needle and get sewing....
Necesitaremos || We will need
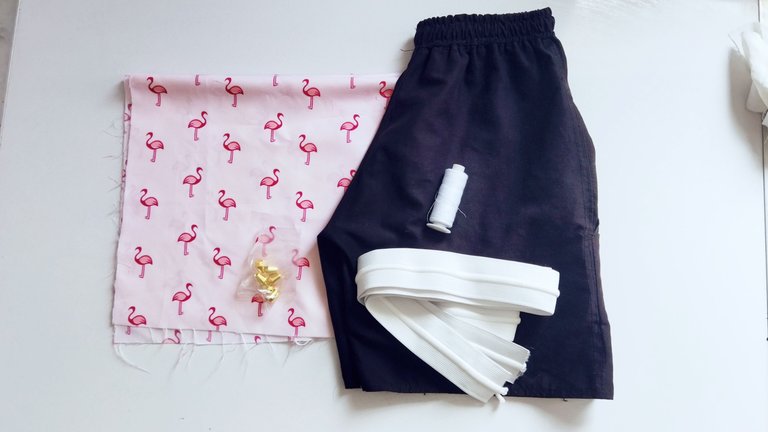
- Tela microfibra
- Hilo a tono
- Elástica
- Pantalón modelo
- Tijera
- Lápiz
- Cinta métrica
- Alfileres
- Aguja y máquina de coser
- Microfiber fabric
- Matching thread
- Elastic
- Model pants
- Scissors
- Pencil
- Tape measure
- Pins
- Needle and sewing machine
Paso 1 || Step 1
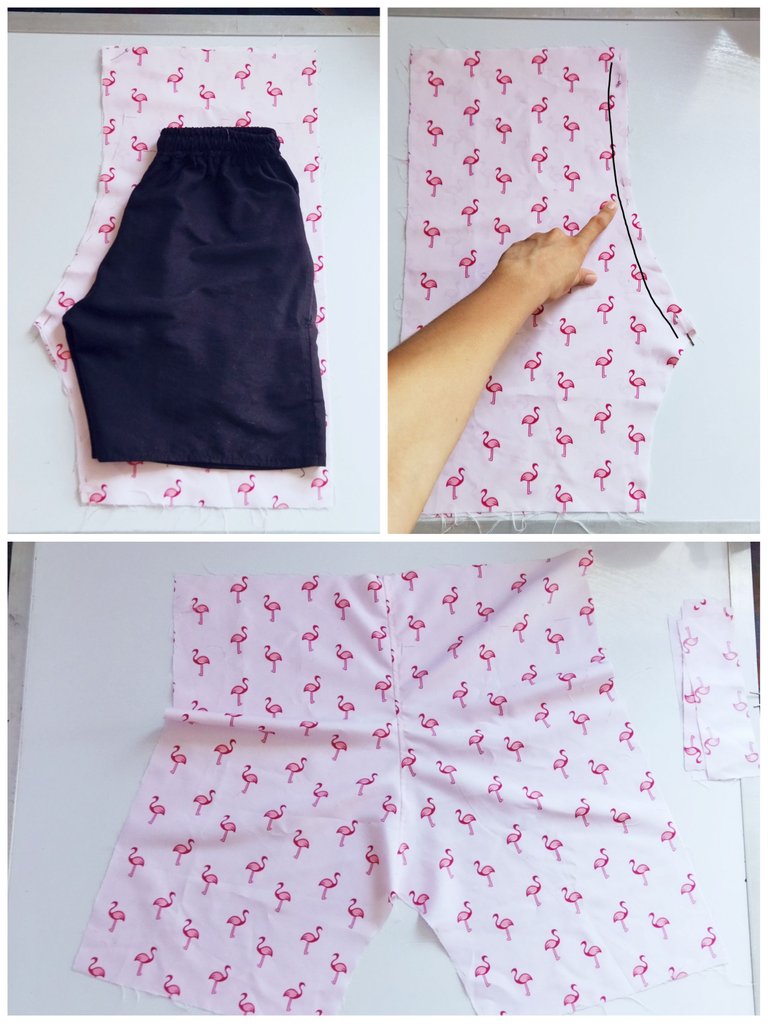
El primer paso es colocar el pantalón modelo sobre la tela, cortamos la parte delantera teniendo en cuenta que debemos agregar 1 o 2 cm de margen de costura, también en la parte de la pretina cortamos 5 cm más alto, de la misma manera cortamos la parte trasera.
👀 ¡¡¡OJO!!!👀 Cuando cortemos las piezas traseras debemos de tener en cuenta que el tiro trasero es más largo.
Comenzamos a coser y nos toca unir los tiros, las piezas delanteras las cosemos por los tiros colocando derecho con derecho y pasando costura recta, lo mismo hacemos para la parte trasera.
The first step is to place the model pants on the fabric, we cut the front part taking into account that we must add 1 or 2 cm of seam allowance, also in the waistband part we cut 5 cm higher, in the same way we cut the back part.
👀 WARNING!!!👀 When we cut the back pieces we must take into account that the back shot is longer.
We start sewing and it's our turn to join the straps, the front pieces we sew them by the straps placing them right sides together and sewing them straight, the same thing we do for the back.
Paso 2 || Step 2
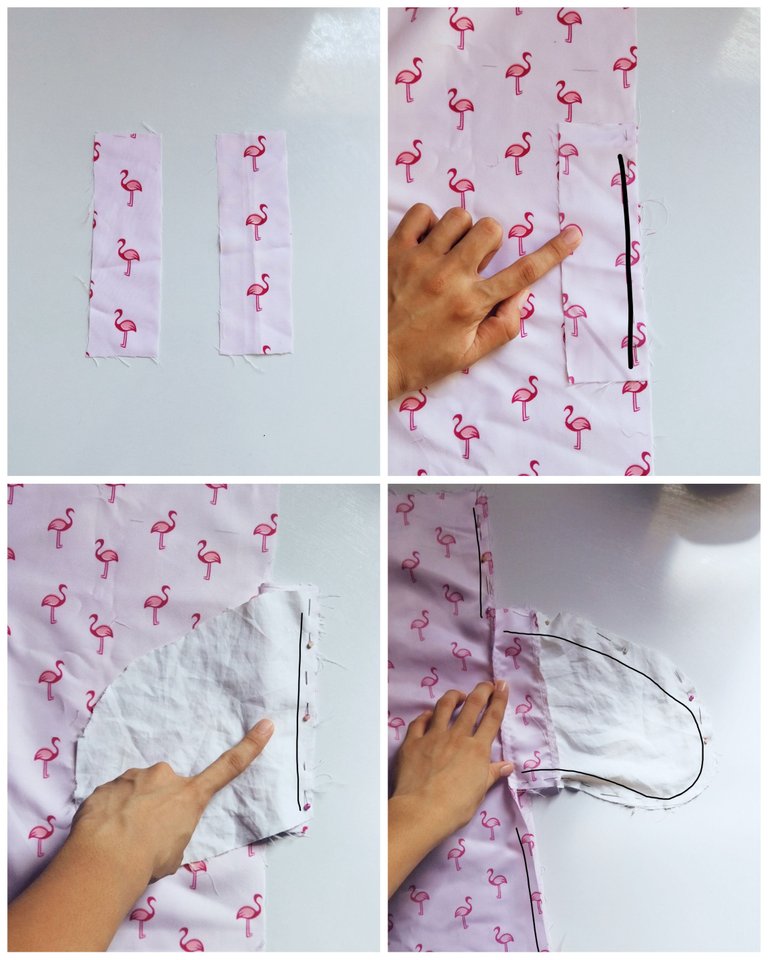
Adicional también debemos cortar de la misma tela 4 tiras de 16 cm de largo y 5 cm de ancho, estás serán las vistas del bolsillo, estás las cosemos a unos 17 cm hacia abajo del contorno de cintura como te muestro en la imágen ☝️☝️☝️
Para los foros de los bolsillos utilicé tela blanca, estos los cosí a las vistas y luego cerré uniendo la pieza delantera con la trasera.
Additionally we must also cut from the same fabric 4 strips of 16 cm long and 5 cm wide, these will be the views of the pocket, these we sew about 17 cm down the waist circumference as I show you in the image ☝️☝️☝️☝️☝️
For the pocket linings I used white fabric, these I sewed to the views and then closed by joining the front piece to the back piece.
Paso 3 || Step 3
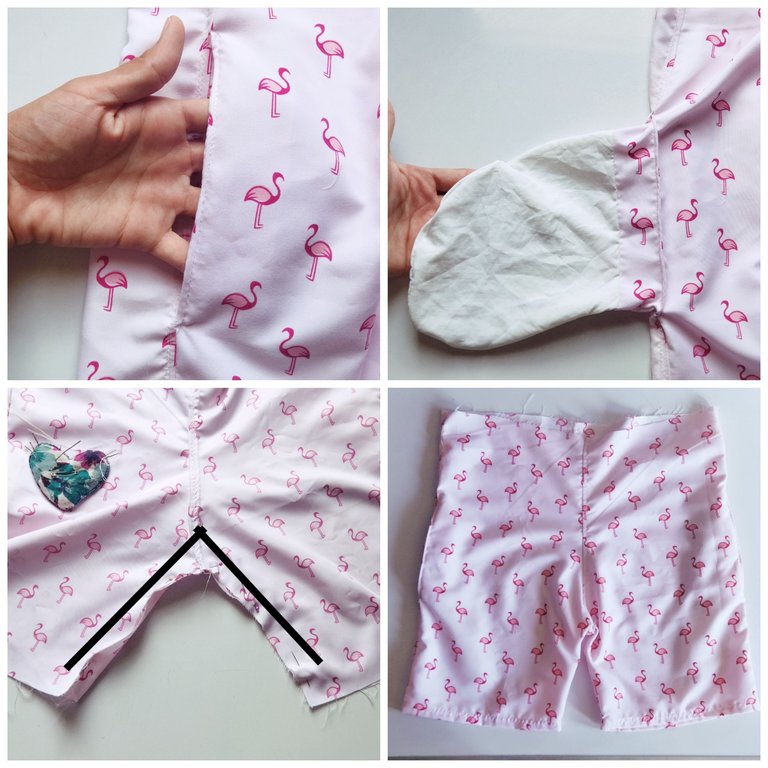
Para terminar esta parte vamos a coser los costados de pantalón pero sin pasar costura por la parte de los bolsillos, luego volteas la pieza y hacemos un remate con costura recta.
Sujetamos con alfileres la parte de la entrepierna y cosemos.
To finish this part we are going to sew the sides of the pants but without sewing through the pockets, then we turn the piece over and finish it with a straight seam.
We pin the crotch part and sew.
Paso 4 || Step 4
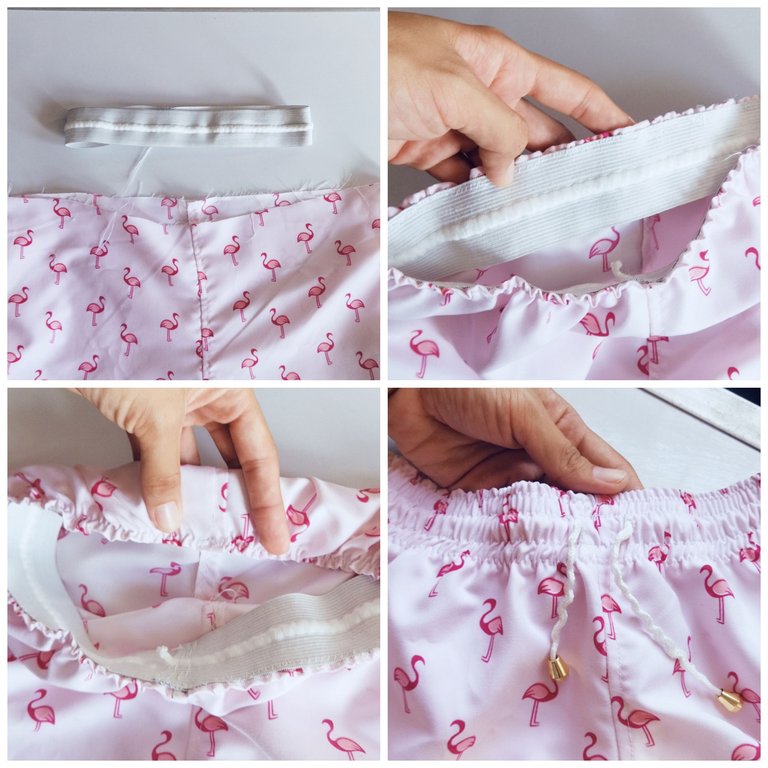
Para la pretina primero hice un doblez en todo el contorno de la cintura y pase costura recta, seguidamente comencé a pegar la elástica con costura en zigzag, primero cosí hacia la orilla para luego doblar hacía adentro y rematar con zigzag. Hice los ojales y saque las tiras estás tiras ya vienen dentro de la pretina.
Por último coloqué un accesorio al final del cordón que cuelga de la pretina. Y muy importante coser las orillas de las piernas con un doble doblez y costura recta, puedes pasarla dos veces para un mejor acabado.
For the waistband I first made a fold all the way around the waistband and sewed a straight seam, then I began to attach the elastic with zigzag stitching, first I sewed towards the edge and then folded inside and finished with zigzag stitching. I made the buttonholes and pulled out the straps, these straps are already inside the waistband.
Finally I placed an accessory at the end of the cord that hangs from the waistband. And very important to sew the edges of the legs with a double fold and straight seam, you can pass it twice for a better finish.
Resultado final.
Final result.
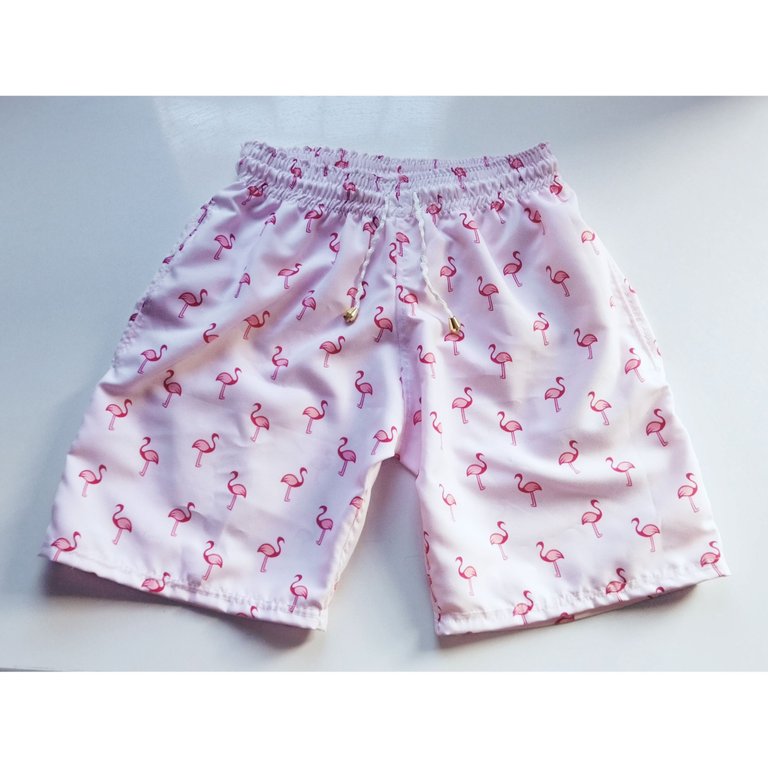
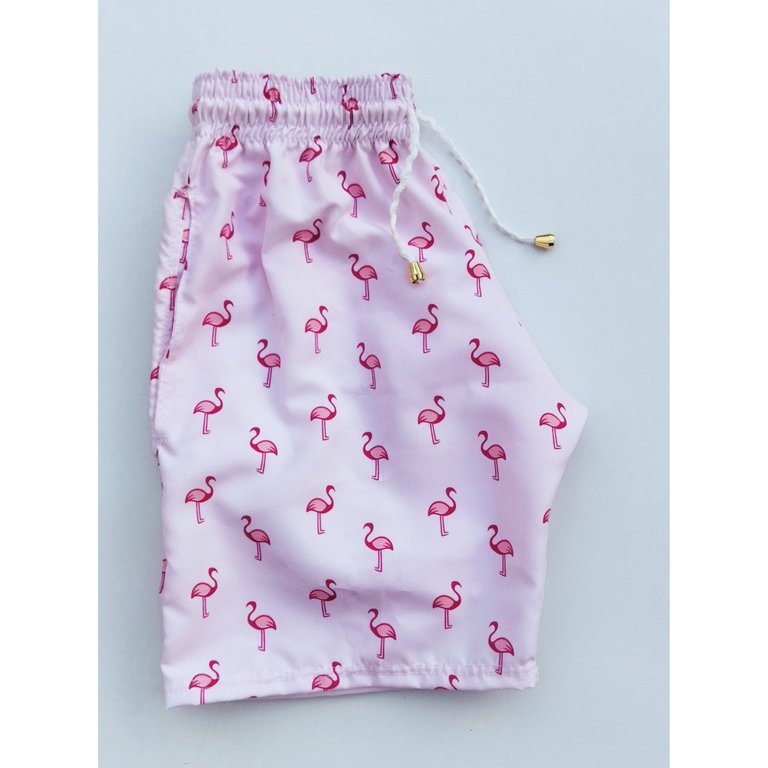
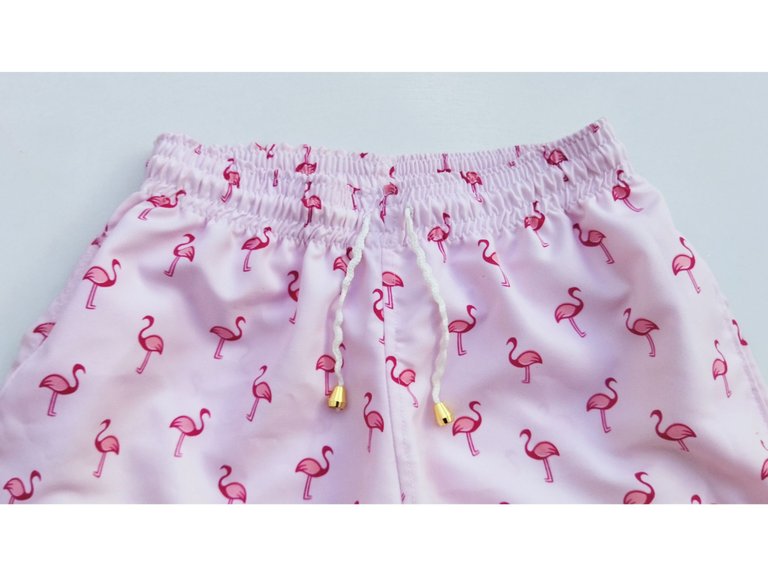
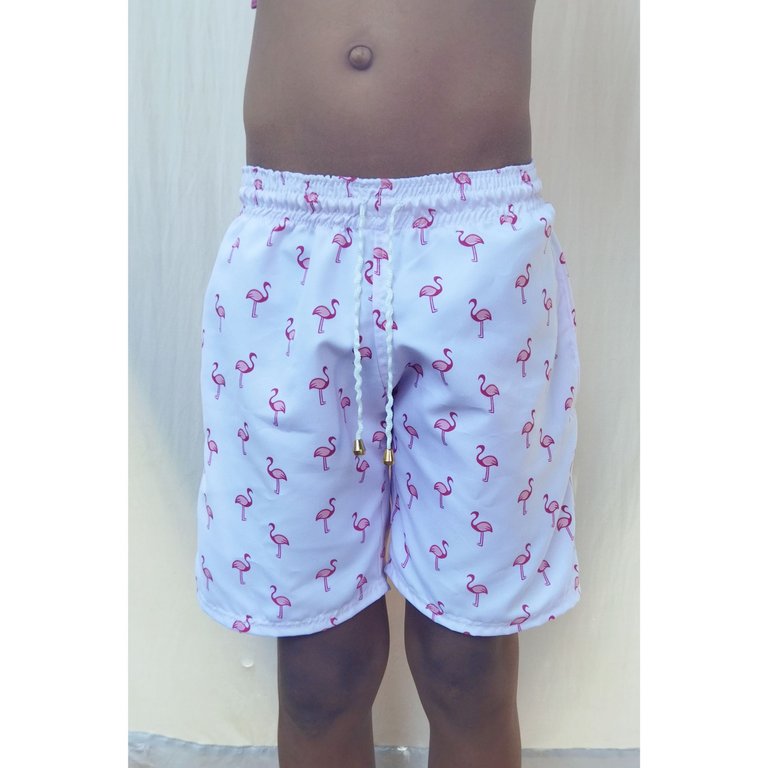
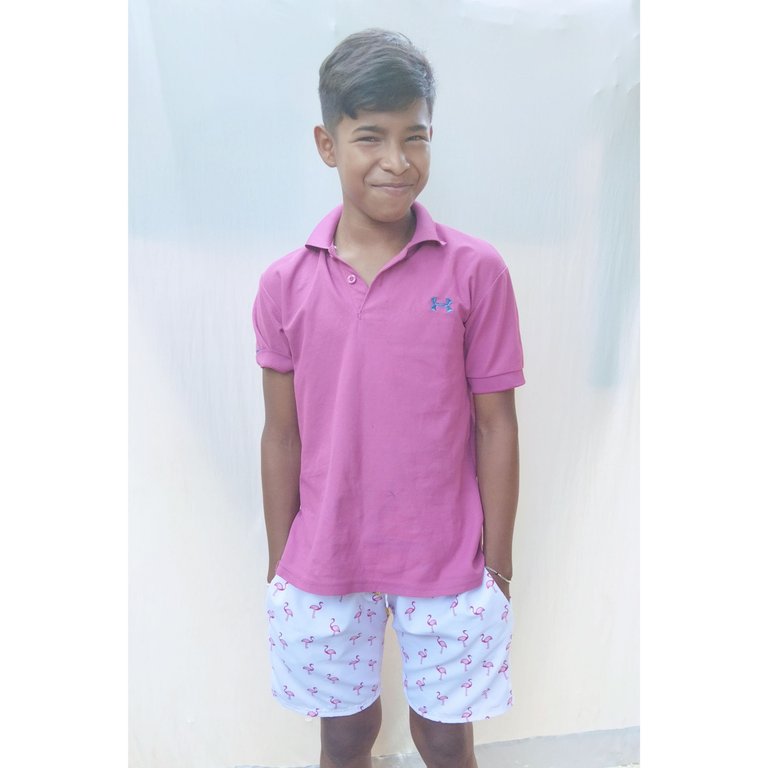
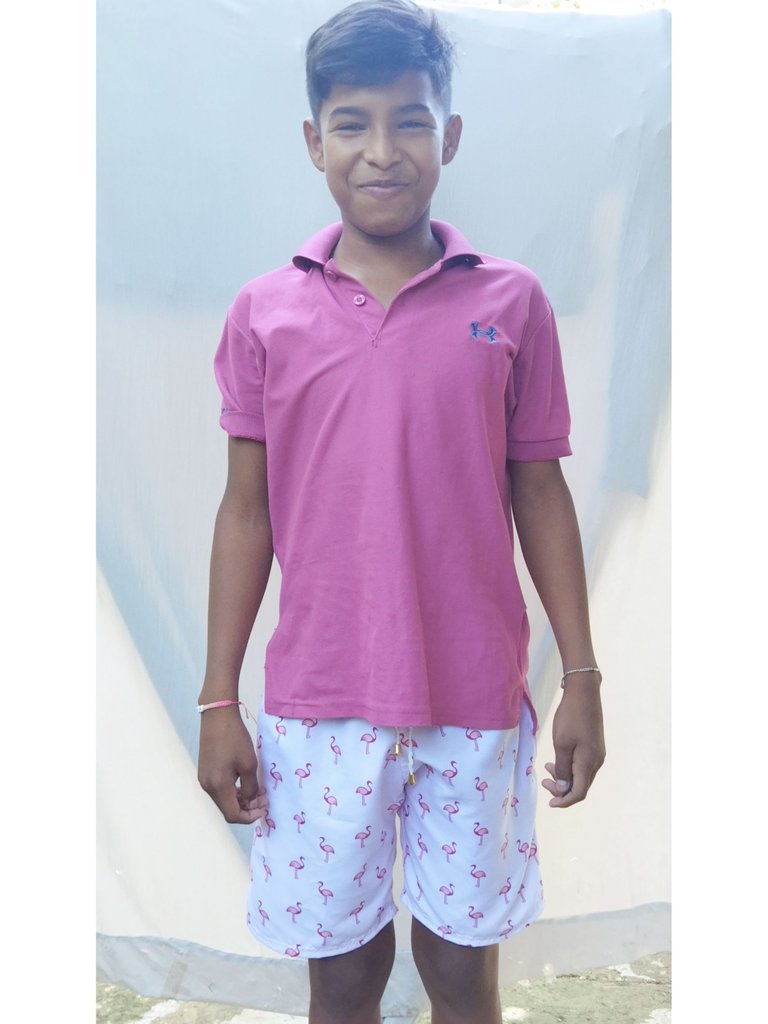
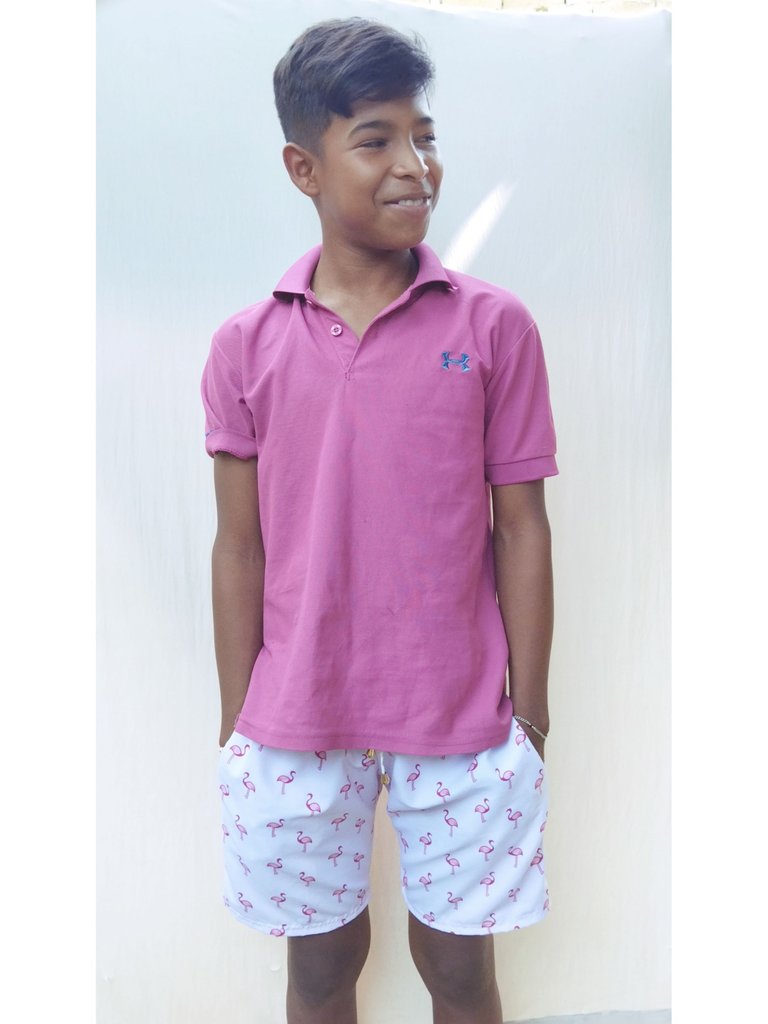
Espero les haya gustado está publicación y haya sido de provecho. Así quedó el resultado final de este short a mi primo le gustó mucho su nuevo short, quedó muy lindo. Si has llegado hasta aquí gracias por leer mí post.
I hope you liked this publication and I hope you found it useful. This is the final result of this short, my cousin really liked his new short, it was very nice. If you've made it this far, thanks for reading my post.
All images are my property / Todas las imágenes son de mi propiedad
Camera: Xiaomi Redmi 9T.
Translation: Deepl.com
