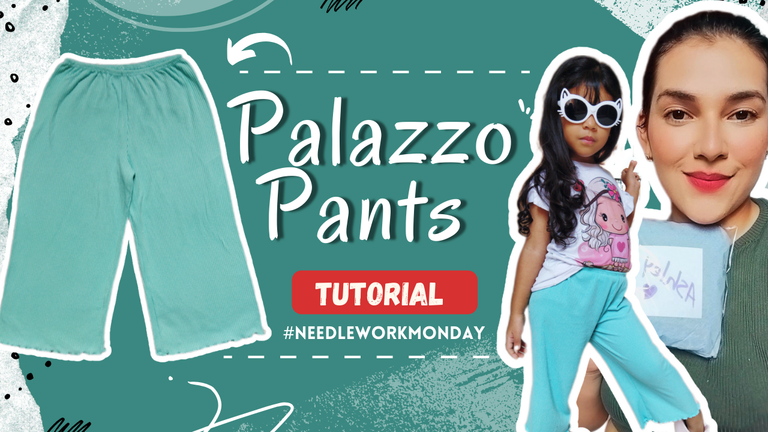
Hola amantes de la costura, feliz lunes de agujas, espero estén bien y tengan un excelente comienzo de semana. Hoy les traigo un proyecto que me tiene muy feliz, hace unos días compré un par de telas pensando en hacerle ropa a mi pequeña Sheyla, ya era hora pues ella está creciendo y la mayoría de su ropa ya no le está quedando sobre todo ropa para estar en la casa o un poco más casual así que compré micro rib para en un principio hacer unas camisetas pero luego pensé que un pantalón quedaría muy bien, así que me puse a trabajar en un pantalón tipo palazzo y el resultado superó mis expectativas, acompañame a ver el proceso...
Hello sewing lovers, happy needlework Monday, I hope you are well and have a great start of the week. Today I bring you a project that has me very happy, a few days ago I bought a couple of fabrics thinking about making clothes for my little Sheyla, it was time because she is growing and most of her clothes are no longer fitting her, especially clothes to be at home or a little more casual so I bought micro rib to initially make some shirts but then I thought that a pair of pants would look great, so I got to work on a palazzo pants and the result exceeded my expectations, join me to see the process...
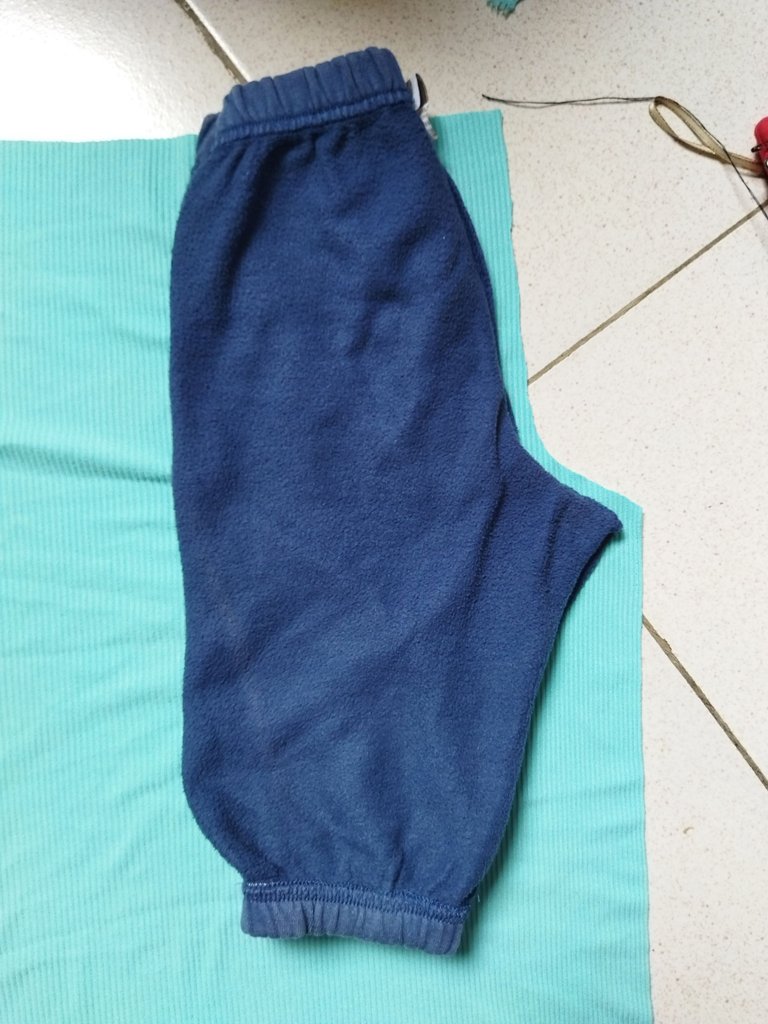
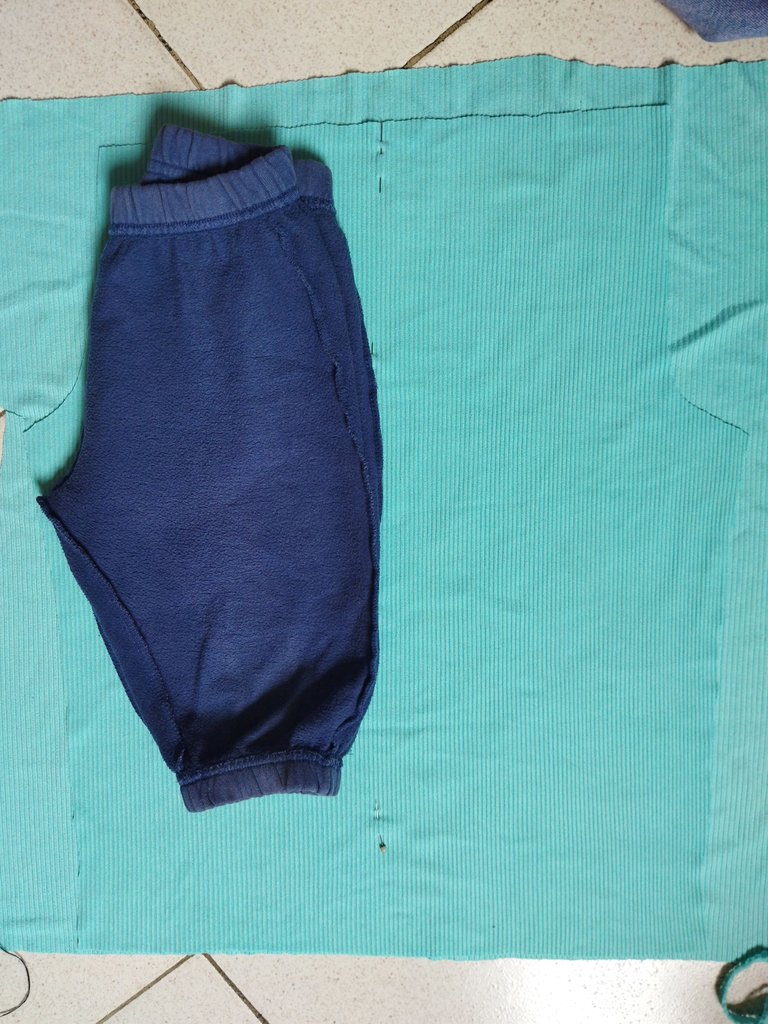
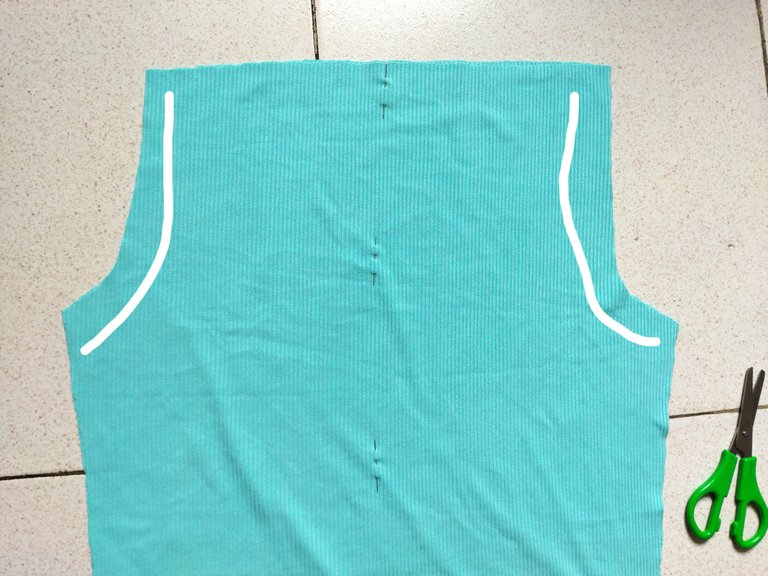
Para cortar las piezas utilicé un pantalón de mi pequeña, a este pantalón le agregué el largo deseado, corté dos piezas unidas con tiro delantero y trasero, esto lo hago con la tela extendida y primero corto un tiro y luego sin mover la tela dobló el pantalón y corto el otro tiro, teniendo ya las dos piezas enfrente derecho con derecho y cosí los tiros del pantalón.
To cut the pieces I used a pair of my little girl's pants, to this pants I added the desired length, I cut two pieces together with a front and back shot, I do this with the fabric extended and first cut one shot and then without moving the fabric I folded the pants and cut the other shot, having the two pieces facing each other right to right and sewed the pant straps together.
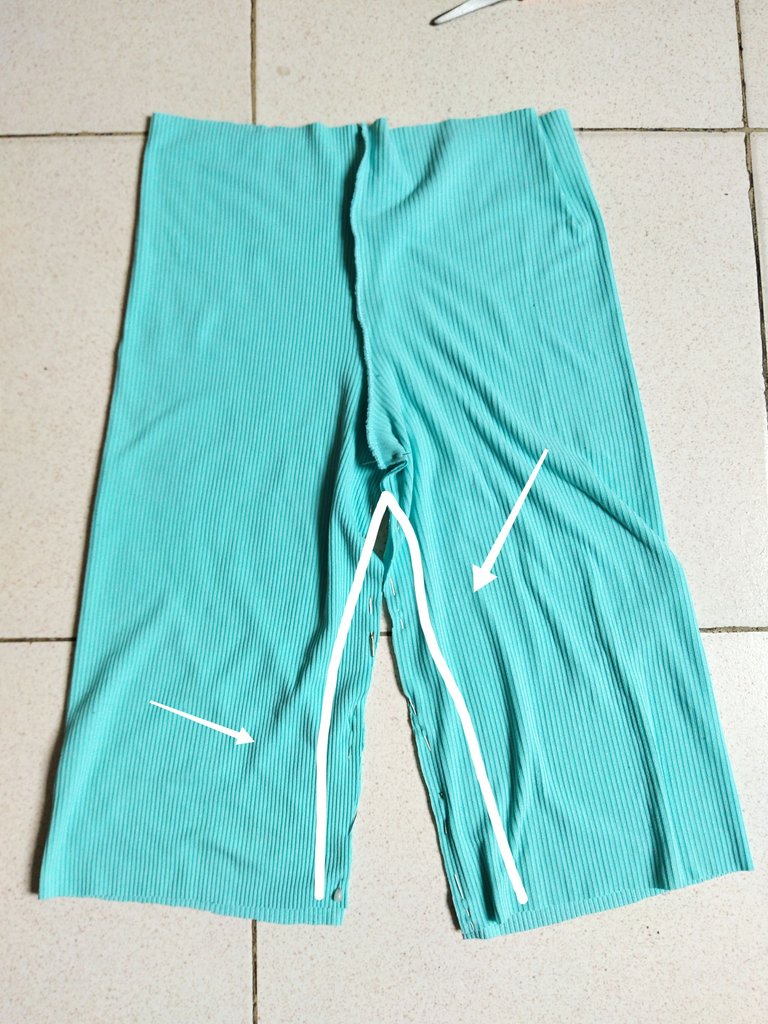
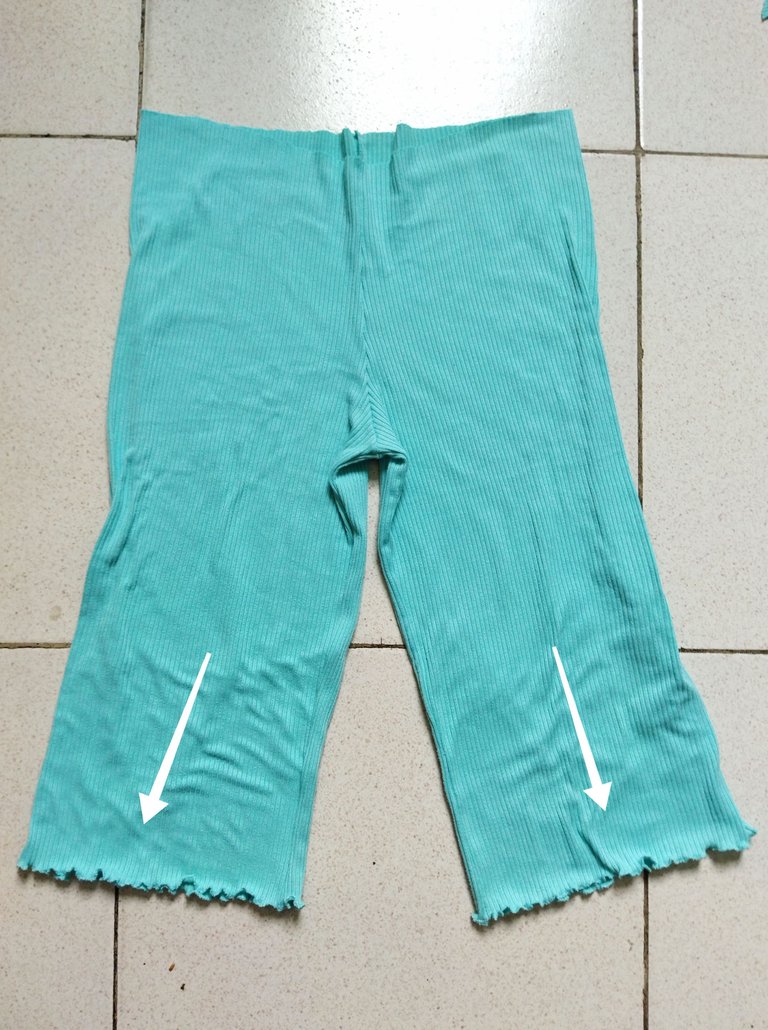
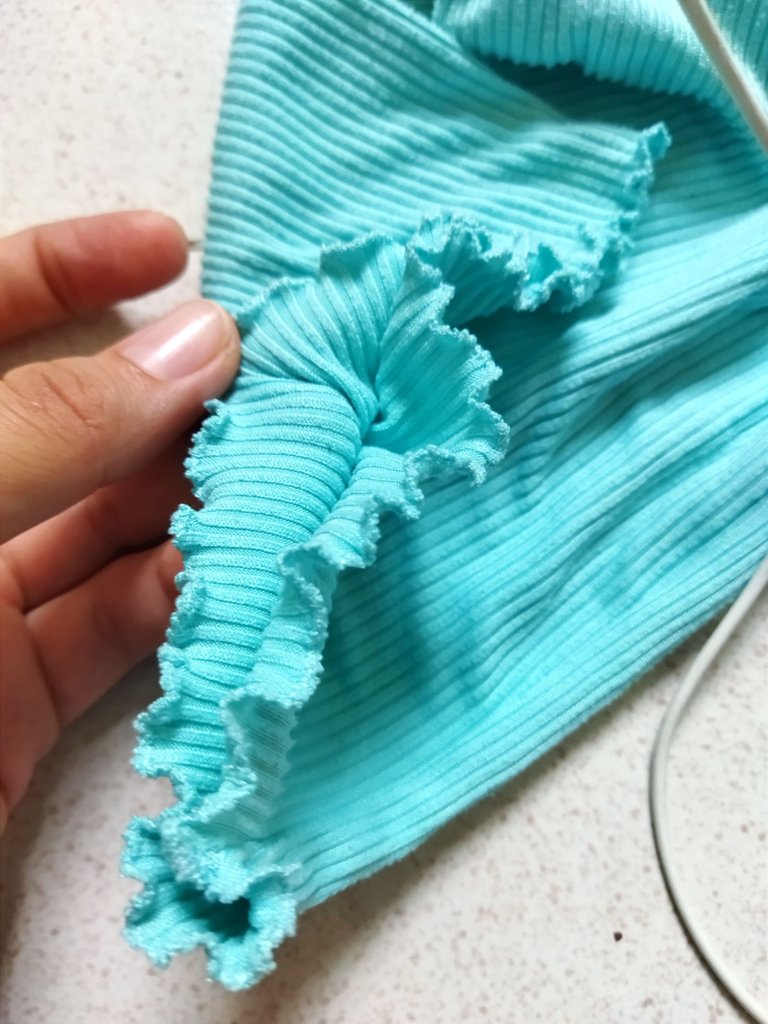
Después de coser los tiros junte las entrepiernas y coloqué alfileres para que no se mueva pase costura nuevamente con recta y zigzag, en los ruedos del pantalón le hice una especie de fruncido, está técnica la hago con la máquina en puntada de ojal y voy estirando la tela mientras pasao la costura, el resultado es hermoso.
After sewing the straps I joined the crotch and placed pins so that it does not move, I sewed the seam again with straight and zigzag, in the hems of the pants I made a kind of pucker, this technique is done with the machine in buttonhole stitch and I stretch the fabric while I pass the seam, the result is beautiful.


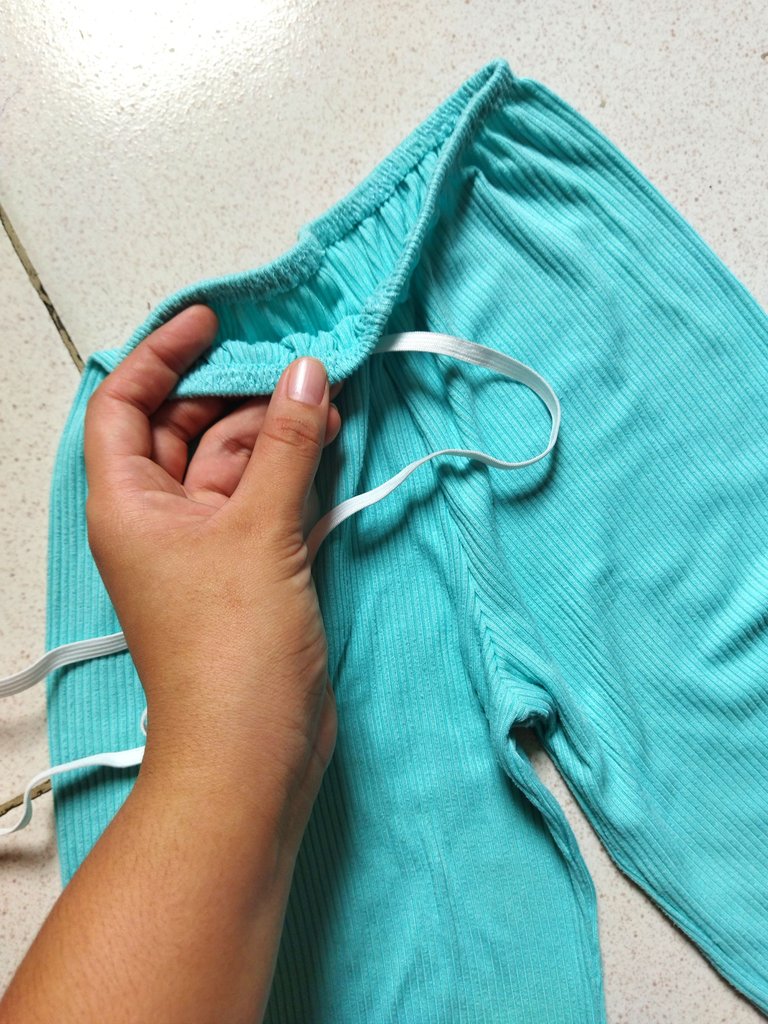
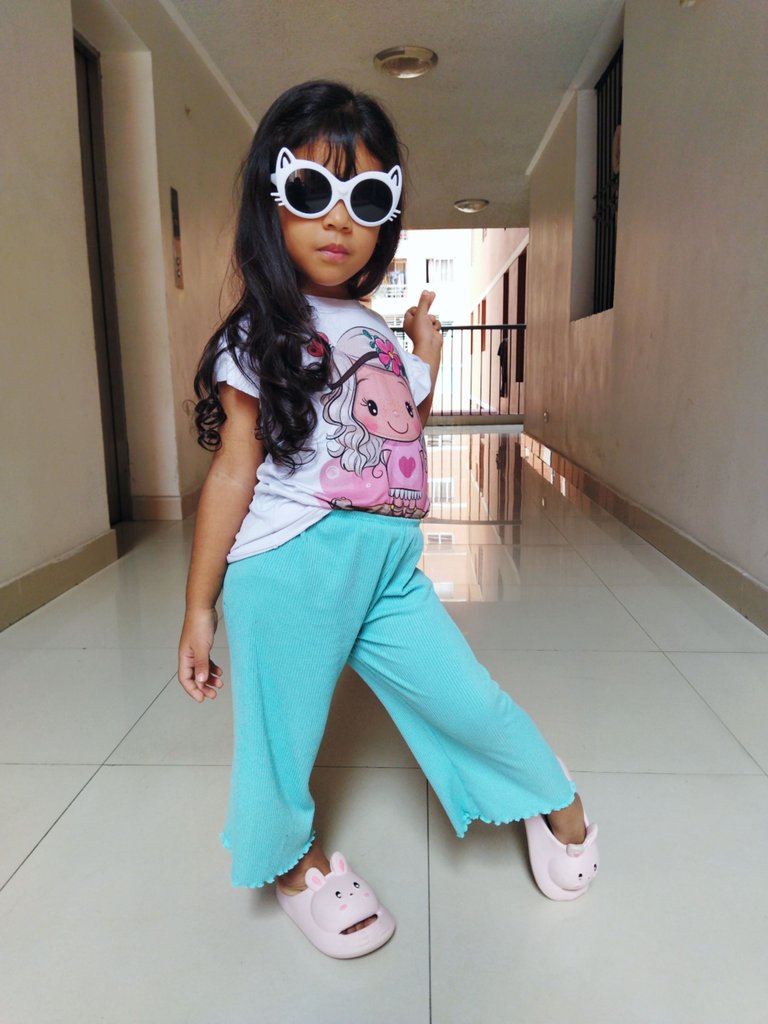
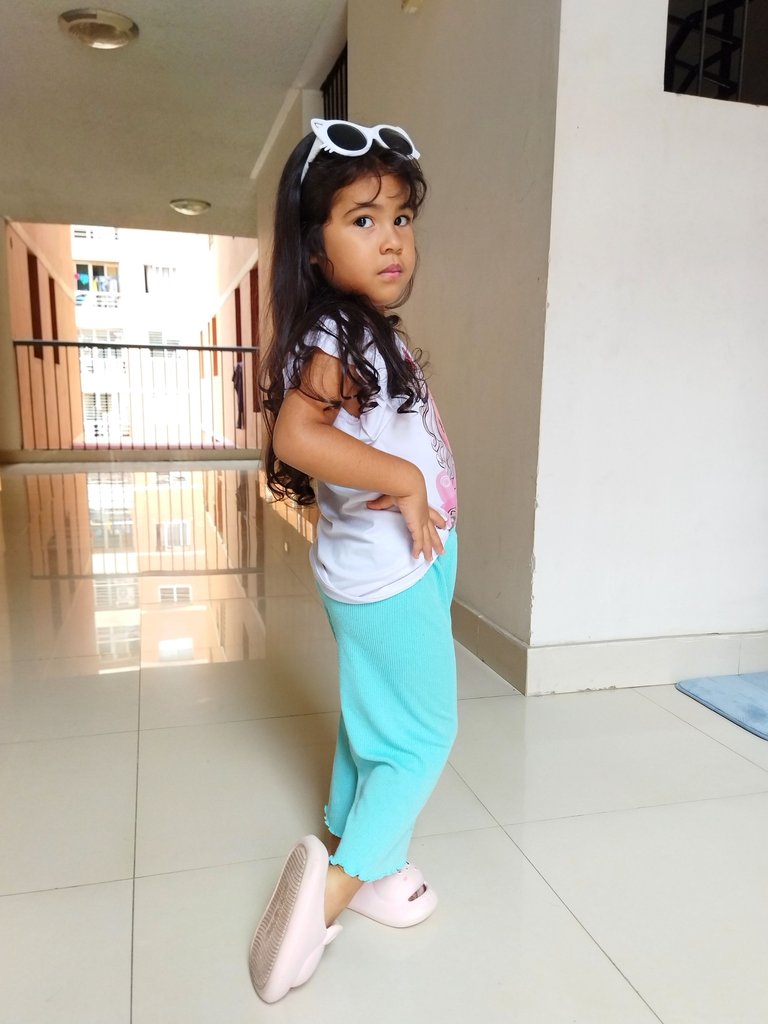
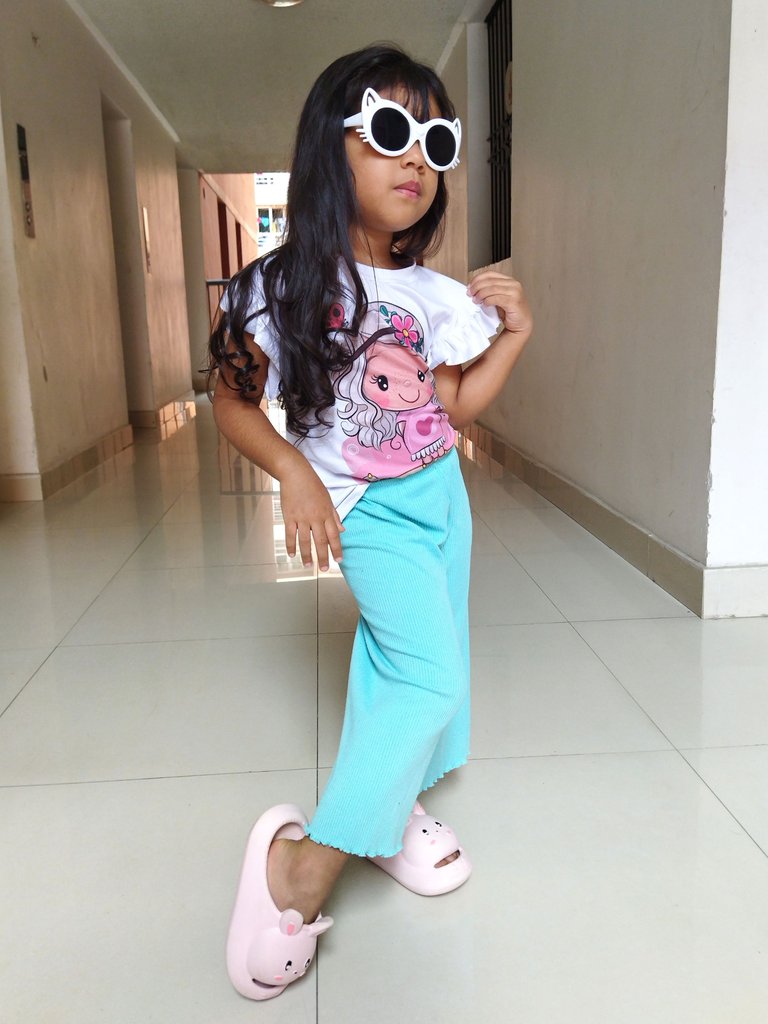
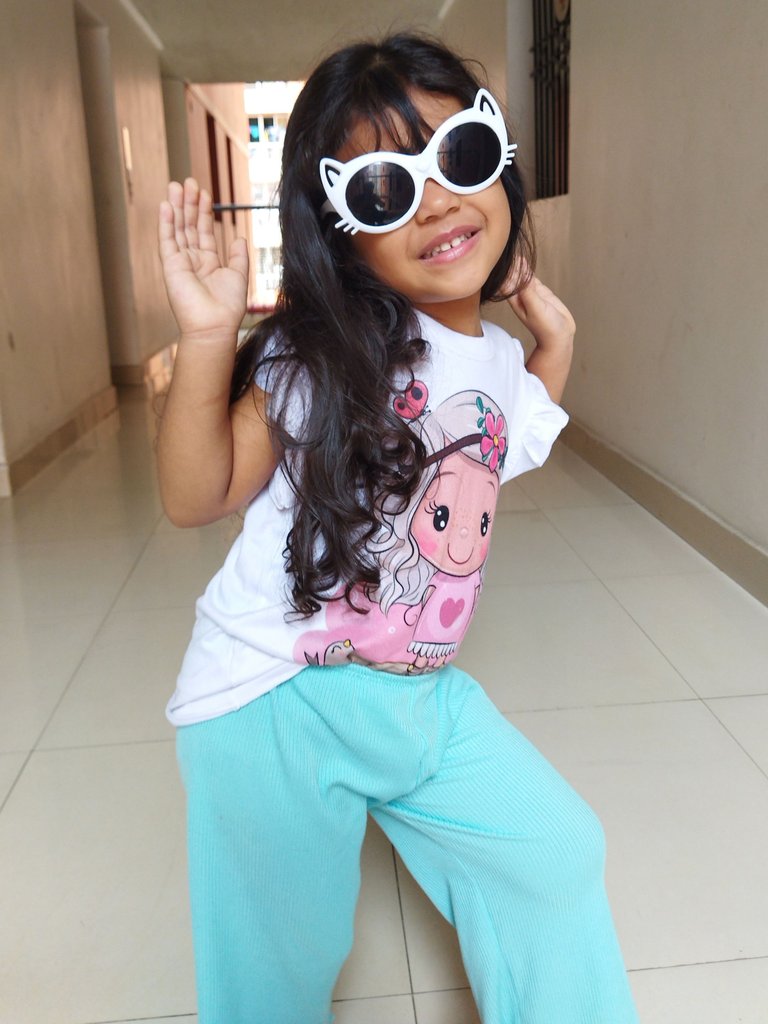
Para la pretina pensé inicialmente en hacer unas sobre pretina y colocarle elástica pero después de hacerlo me dí cuenta que no quedaba bien, más que todo porque la elástica que tenía era negra así que descosi todo y use una elástica más fina que tenia y era blanca, está la cosí directamente al pantalón sin usar sobre pretina, quedó mucho mejor y la idea es que está pantalón sea bastante cómodo, el resultado me gustó muchísimo y mi pequeña está feliz con su nuevo pantalón, hicimos una sesión de fotos y las poses de Sheyla son totalmente naturales 😅 me sorprendió lo mona que se veía, espero les guste mucho este proyecto, nos vemos pronto.
For the waistband I initially thought of making some over waistband and put elastic but after doing it I realized that it did not look good, mostly because the elastic I had was black so I unpicked everything and used a thinner elastic that I had and it was white, I sewed it directly to the pants without using over waistband, it was much better and the idea is that these pants are quite comfortable, the result I liked very much and my little girl is happy with her new pants, we did a photo shoot and Sheyla's poses are totally natural 😅 I was surprised how cute she looked, I hope you like this project, see you soon.
¡Gracias por leerme, hasta luego!
Thank you for reading me, see you later !


Camera: Xiaomi Redmi 9T. | Separadores: Aquí | Edition: CANVA | Translation: Deepl.com
