Hello DIY lovers, it's been a while since I haven't posted here, or should I say it's been a while since I did some paper craft.
I was going through some feeds on my social media when I came across this wall hanging decor, told myself I was gonna recreate it and here it is.
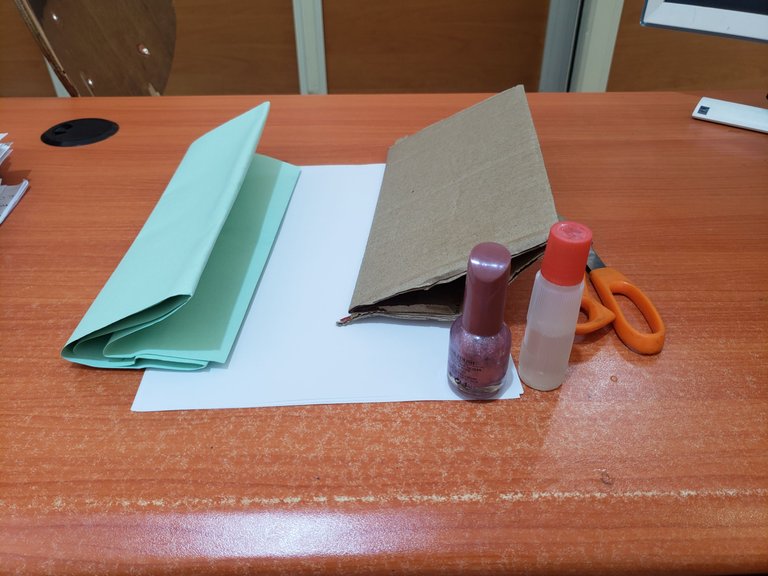
Materials used
Carton paper
cardboard
Light paper
Nail polish
Scissors
Liquid gum
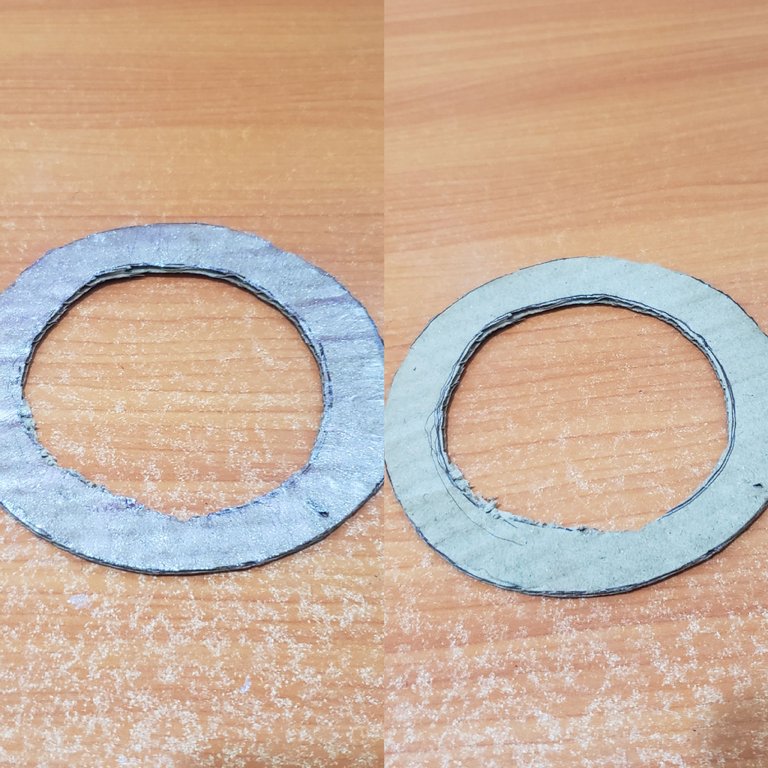
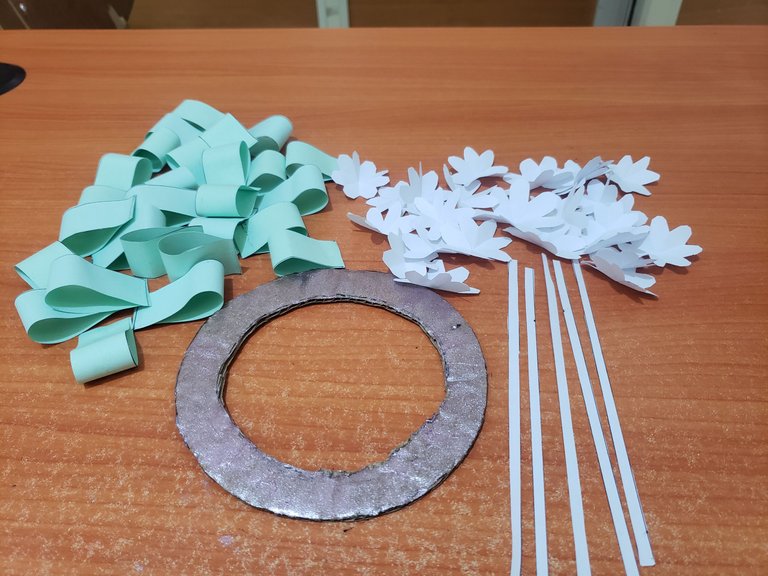
I started by drawing a circle on my carton paper then I used my scissors to carve it out, I drew a smaller circle inside the circle I just carved out, and then I carved out the middle circle again with my scissors which was quite difficult but I got through that stage. After that, I used my nail polish on the circle I'd carved out making look different.
For the second procedure, I used a ruler to draw some straight lines on the cardboard then I used my scissors to cut out the lines I drew then I folded it and used the gum to join the edges.
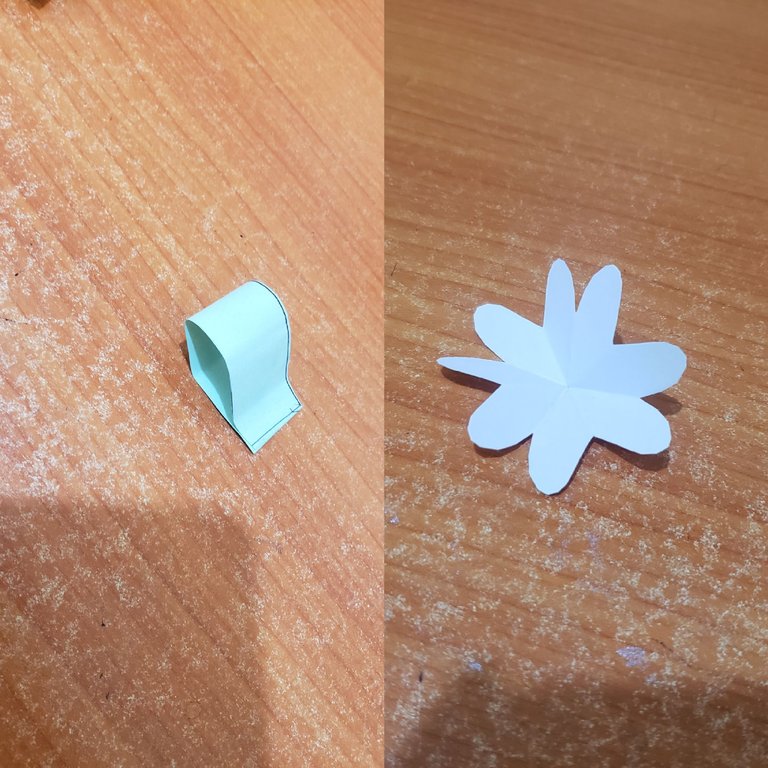
It is time for flowers: fold the light paper in a triangle form then cut it out with my scissors and fold it again with the same triangle pattern till it becomes smaller then I draw the alphabet "c" then I carve out the alphabetical part of it and opened the folding to get the flower shape.
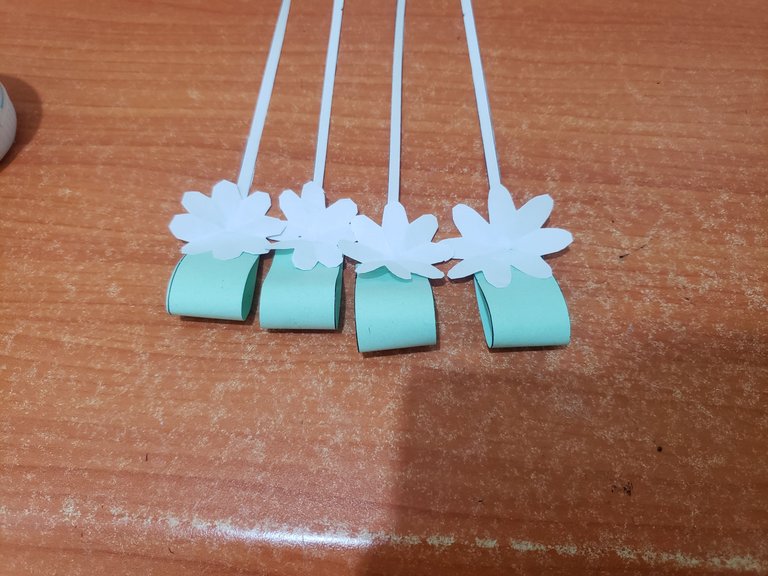
In the next step, I cut out a straight long line from the light paper placed the gum on it, and placed the first cardboard paper I folded and the flower shape on it.
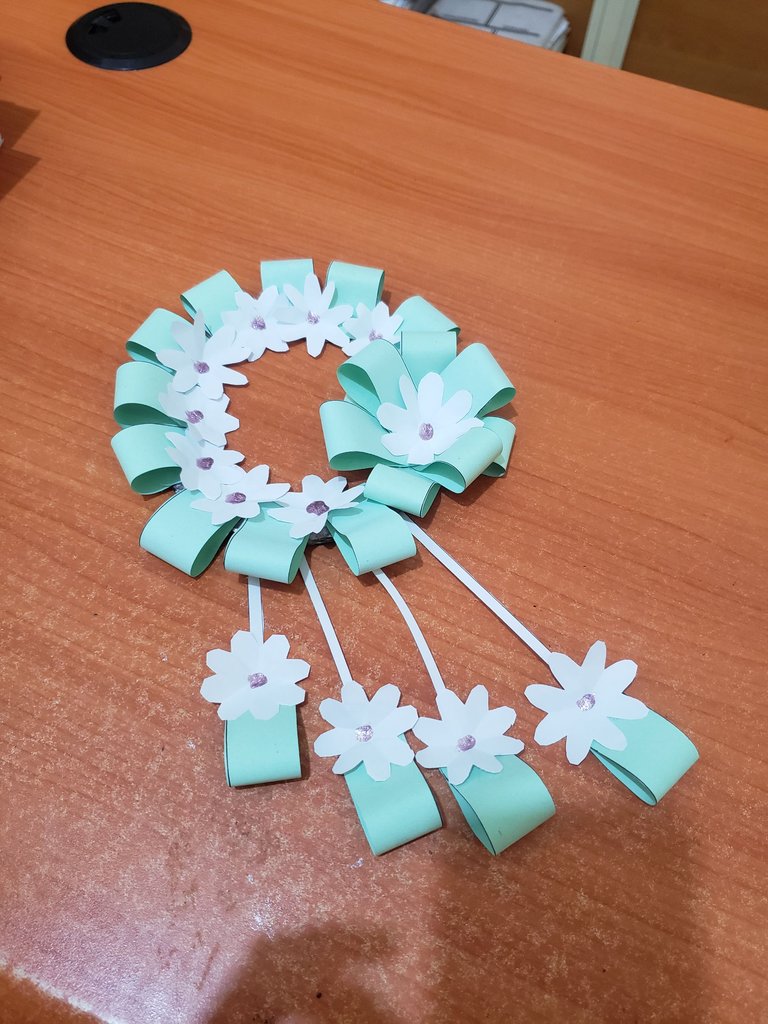
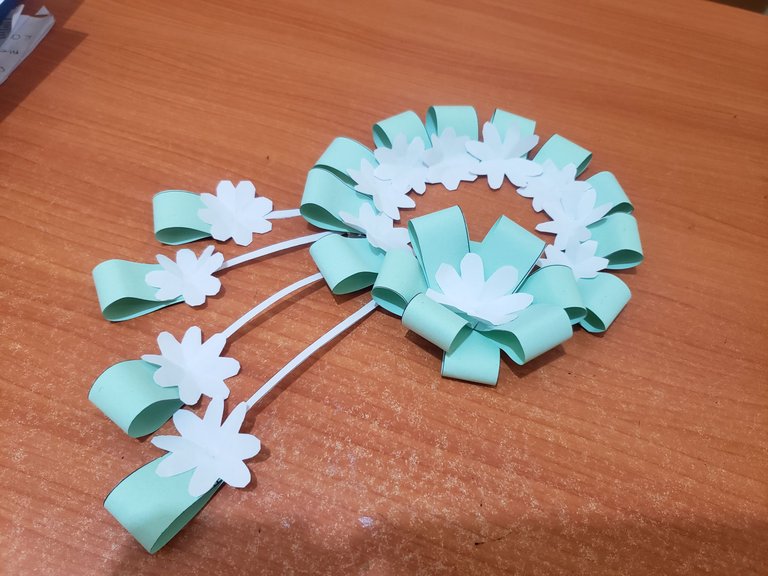
After that, I placed the folded papers on the carton paper circle I carved out earlier and made it look like this.
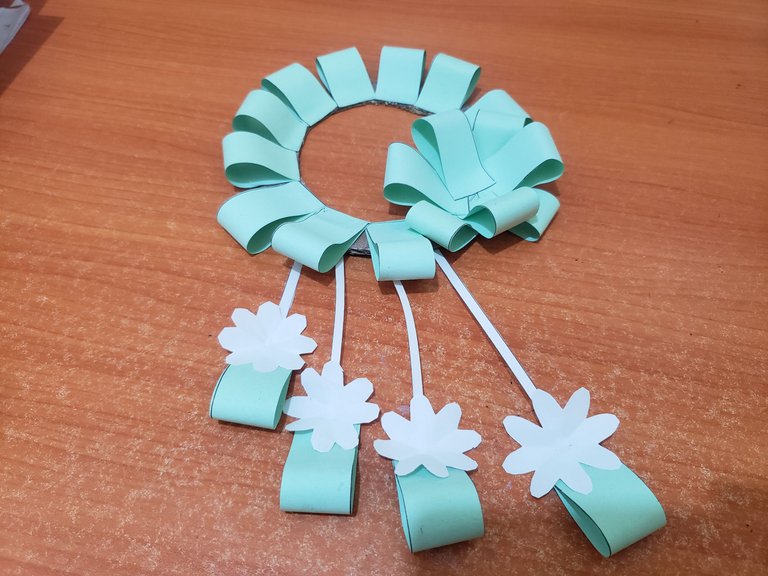
Then I placed the flower shape in all the corners of my wall decor design and after that, I used my nail polish and placed a little drop at the center of each flower.
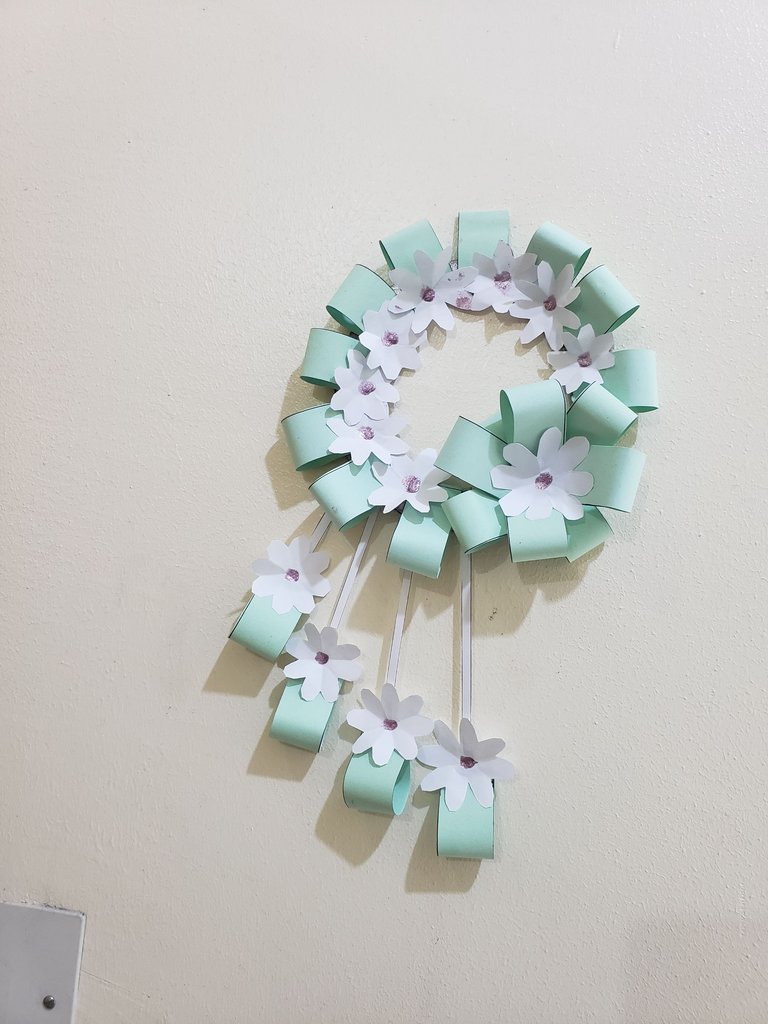
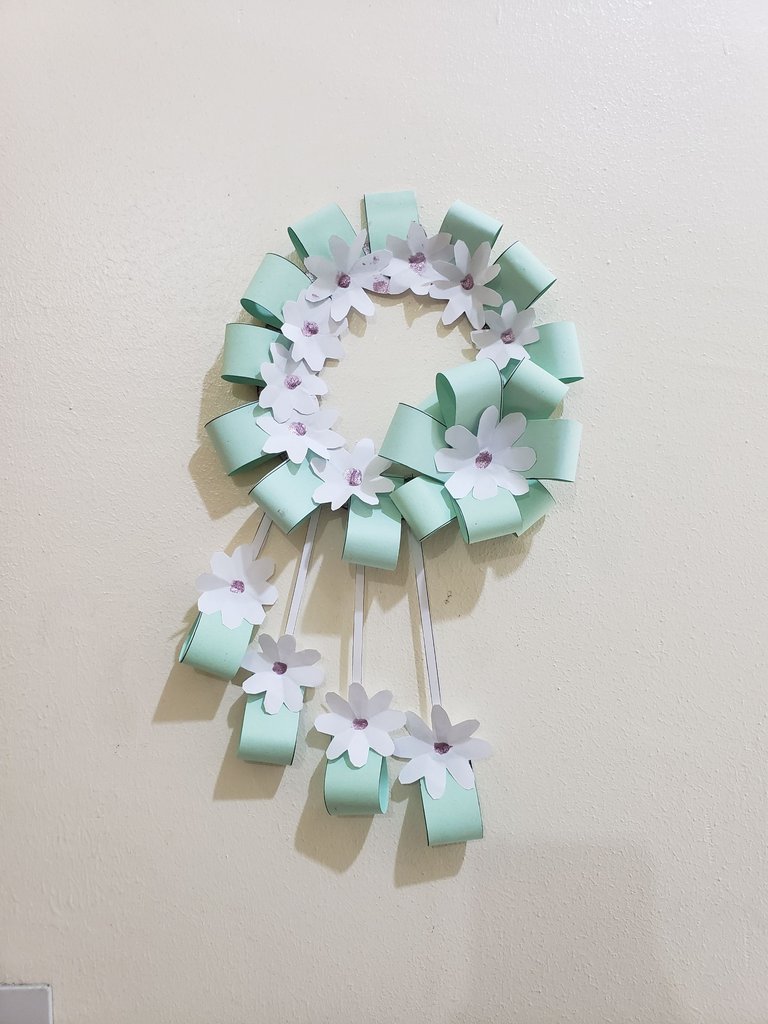
After the whole process, I decided to place it on the wall of my office and it came out looking great, I love my new paper wall hanger.
All images were taken with my phone
thanks for reading🌹

