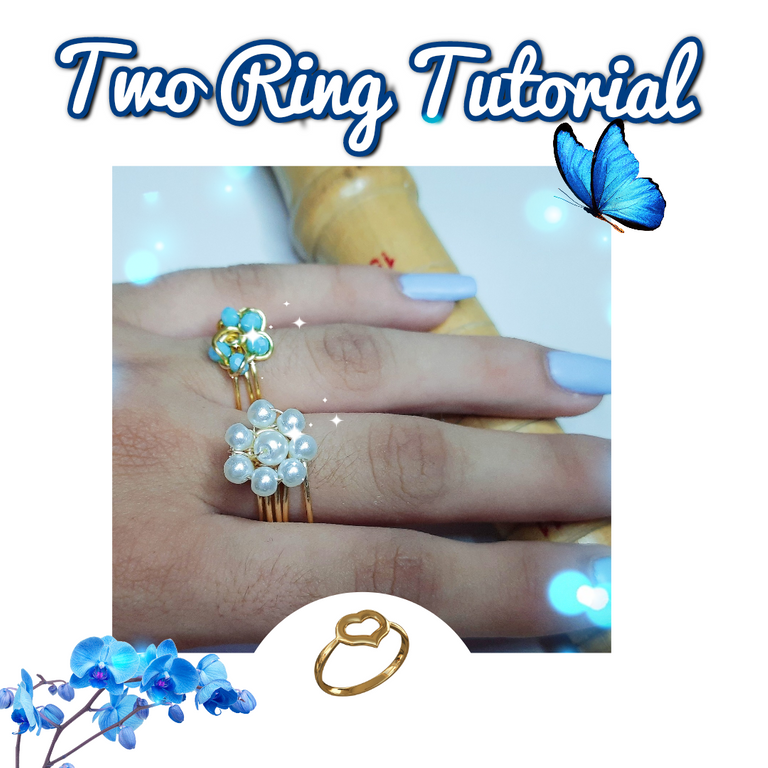


Un saludo, mi gente maravillosa de @jewelry hoy les traigo una nueva creación en alambrismo, en realidad dos anillos, me gustan mucho los anillos aunque los uso poco, no se si les pasa pero a mi se me olvidan ponérselos y como ama de casa siempre uno.suele mojarnos y no me gusta pues eso si le hace daño al alambrismo con el tiempo se pueden decolorar, aunque el alambre que uso es esmaltado puede pasar.
Esta vez decidí realizar dos anillos uno tipo flor y otro media flo, hacer anillos es sencillo.solo.necesitamos creatividad y un buen mandril para hacerlos de la medida que queremos, a mi hija le encantan los anillos en realidad ella si los usa más que yo y por ende me quita los míos de vez en cuando.
Como me ha costado esta semana realizar las manualidades no he tenido mucho tiempo, ☹️ me han salido algunos inconvenientes y el tiempo ha sido limitado por ello decidí crear algo rápido y además tenía tiempo que lo hacía anillos, esta semana espero poder hacer varias cosas pues pronto tendré un bazar y quiero ir con varias cosas, aunque lo que veo que esta de moda es Barbi y el color rosa.
Sin más espero que les guste este pequeño tutorial de dos anillos, así que manos a la obra mis queridos creativos.

Greetings, my wonderful people of @jewelry today I bring you a new creation in wire wrap, actually two rings, I really like the rings but I use them little, I do not know if it happens to them but I forget to put them on and as a housewife always one.usually wet and I do not like it because that if it hurts the wire wrap over time can discolor, although the wire I use is enameled can happen.
This time I decided to make two rings one flower type and another half flo, making rings is simple.solo.solo.necesitamos creativity and a good mandrel to make them the size we want, my daughter loves the rings actually if she uses them more than me and therefore I remove mine from time to time.
As it has cost me this week to make the crafts I have not had much time, ☹️ I have had some inconveniences and the time has been limited so I decided to create something fast and also I had time to make rings, this week I hope to make several things because soon I will have a bazaar and I want to go with several things, although what I see that is fashionable is Barbi and the pink color.
Without further ado I hope you like this little tutorial of two rings, so let's get to work my dear creatives.

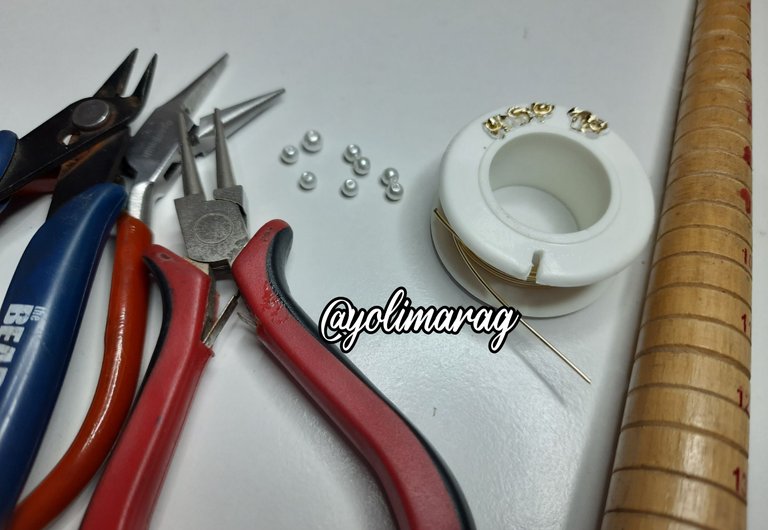
Materiales:
Primer anillo:
💫 Alambre #18 y #16
💫 Mandril de Anillos
💫 7 Perlas #2
💫 1 Perla #4
💫 Pinzas de bisutería
Segundo anillo:
💫 Alambre #20
💫 Mandril de Anillos
💫 5 Piedras de cristal checo
💫 Pinzas de bisutería
Materials
First ring:
💫 Wire #18 and #16.
💫 Ring Mandrel.
💫 7 Pearls #2
💫 1 Bead #4
💫 Costume jewelry pliers.
Second ring:
💫 Wire #20
💫 Ring Mandrel.
💫 5 Czech glass stones.
💫 Costume jewelry tweezers.

Paso a Paso / Step by Step

 |  |
|---|
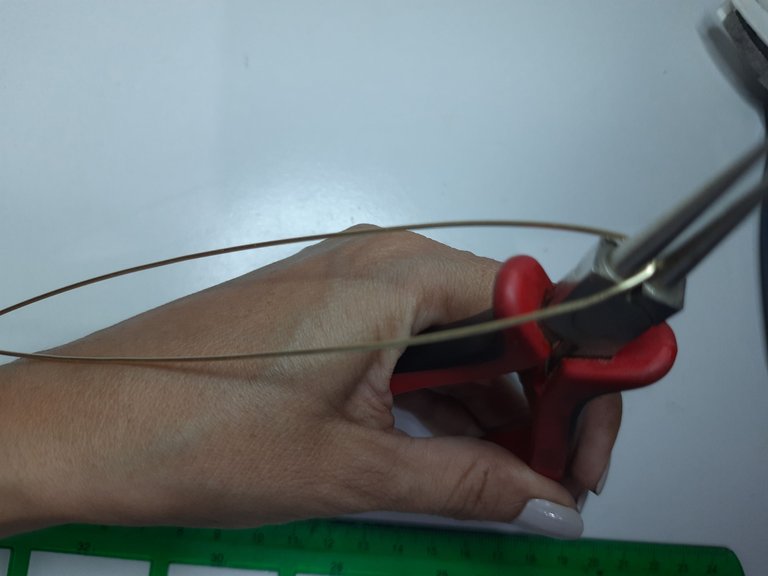
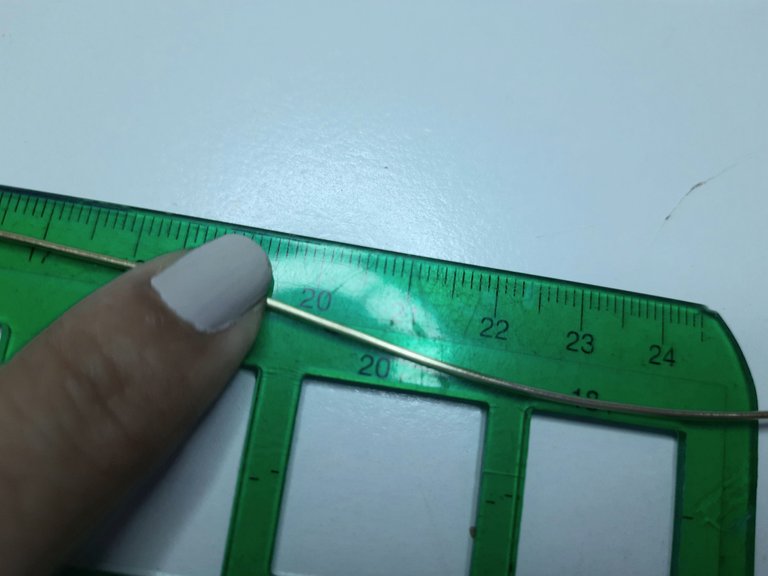
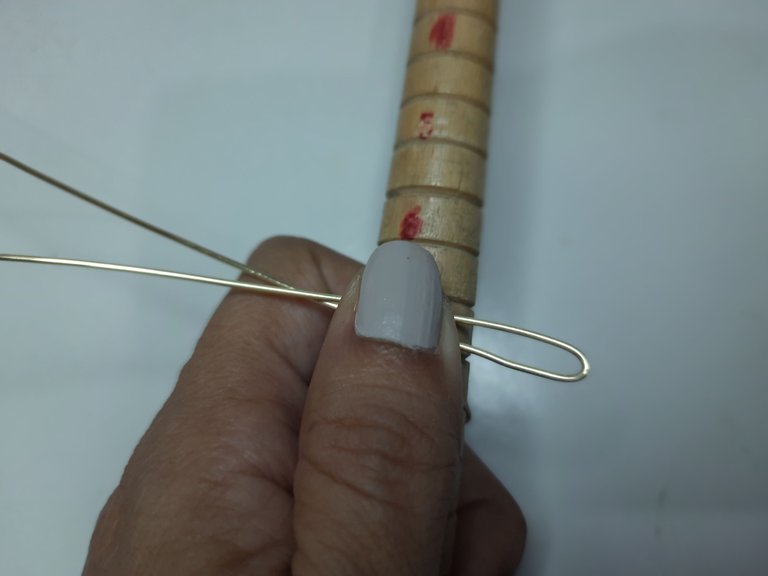
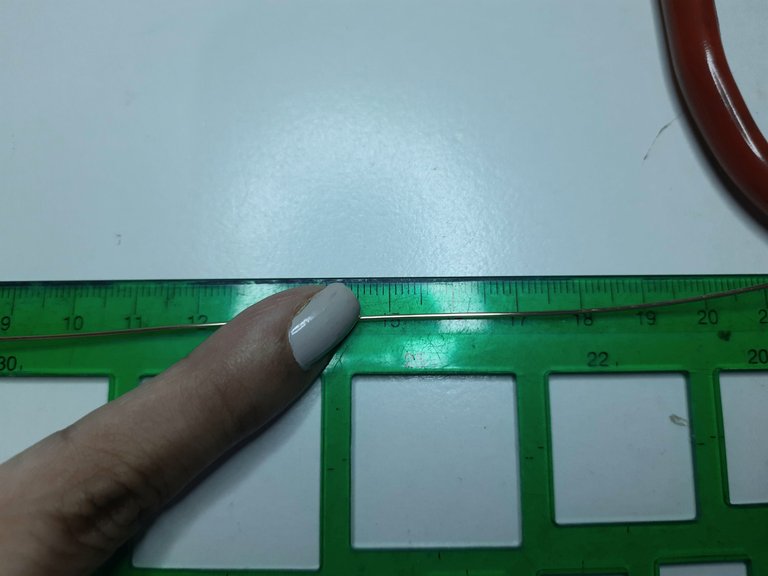
Lo primero que haremos será medir 40cm de alambre #18 y a la mitad a 20cm vamos a doblar nuestro alambre tratando que quede fino.
The first thing we will do is to measure 40cm of wire #18 and halfway to 20cm we will bend our wire trying to make it thin.

 |  |
|---|
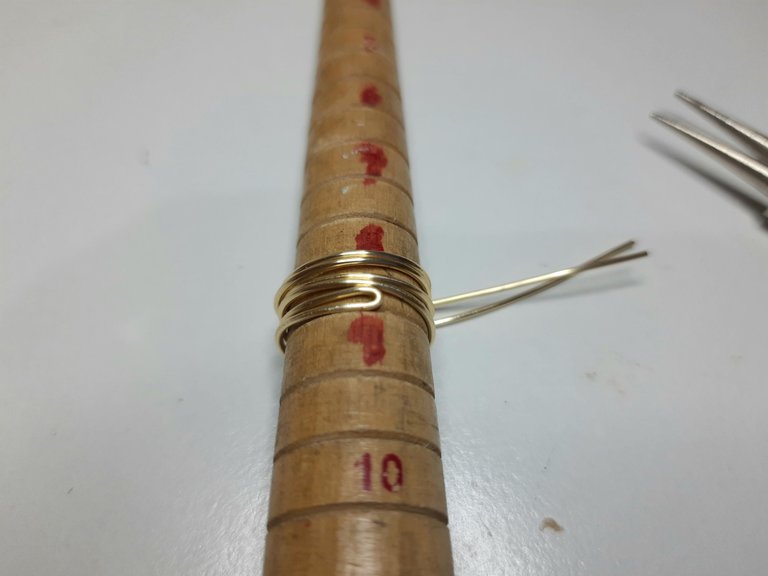
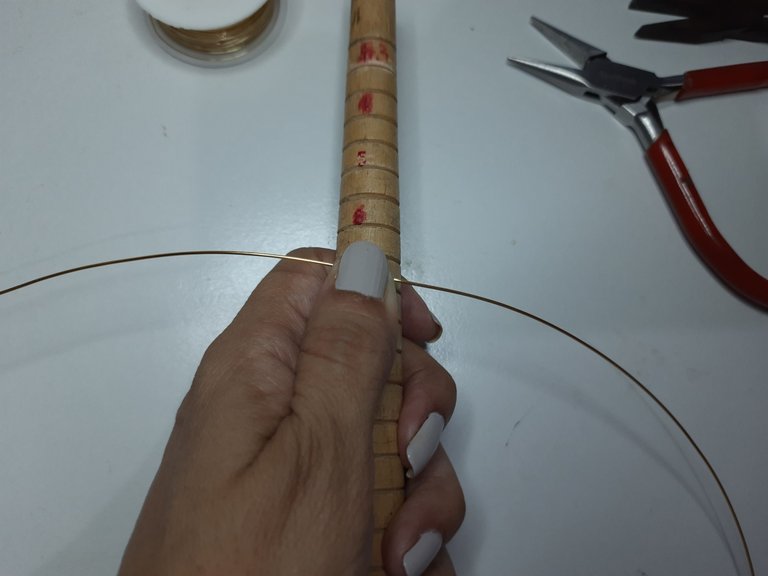
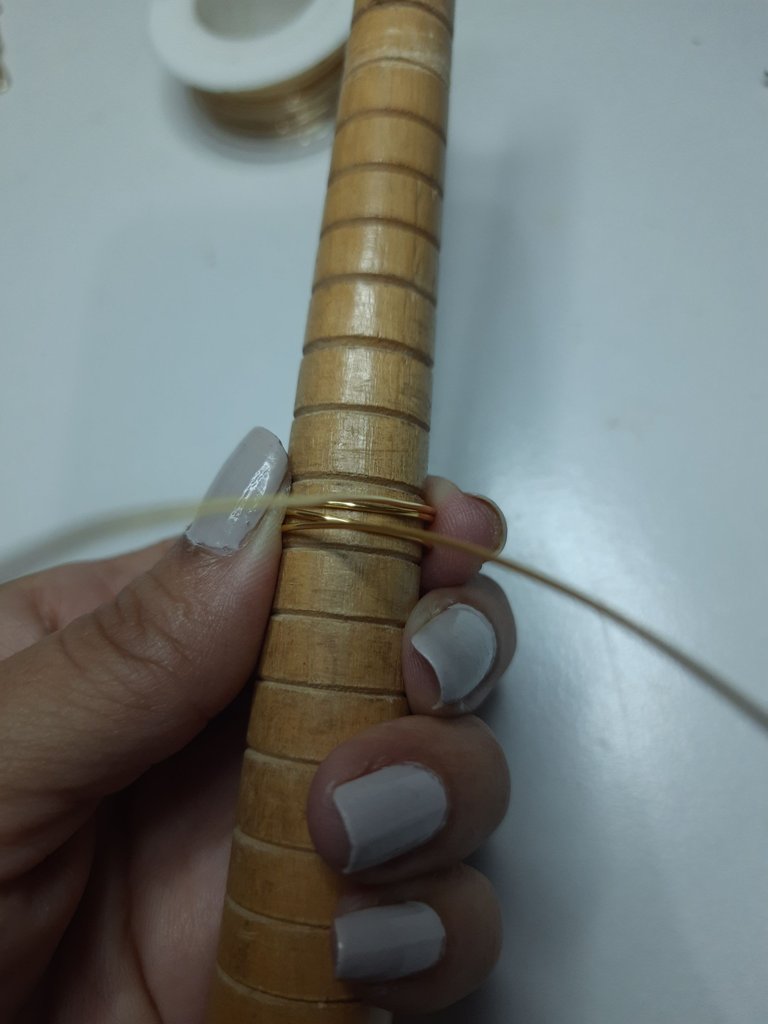
Ahora vamos a colocar esa última parte en el mandril y vamos a darle vueltas para hacer nuestro anillo, dejando aproximadamente unos 6 centímetros de largo de los otros extremos.
Now we are going to place that last part on the mandrel and we are going to turn it to make our ring, leaving approximately 6 centimeters of length of the other ends.

 |  |
|---|
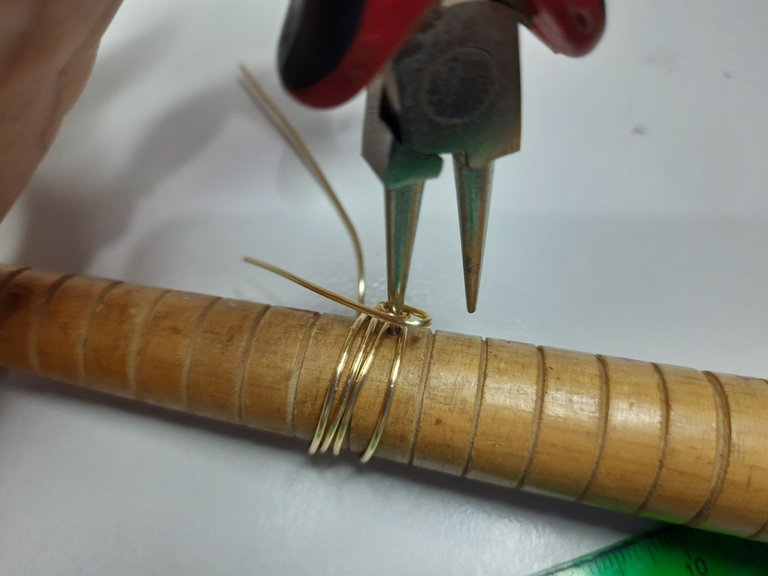
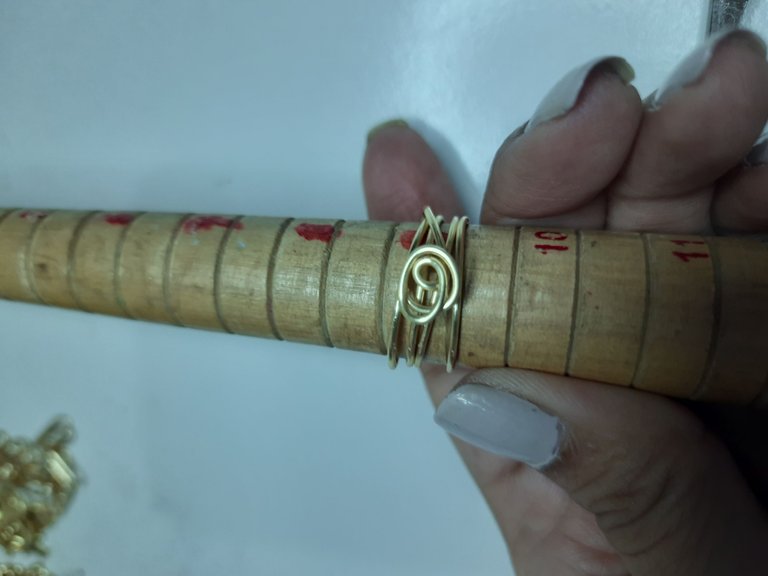
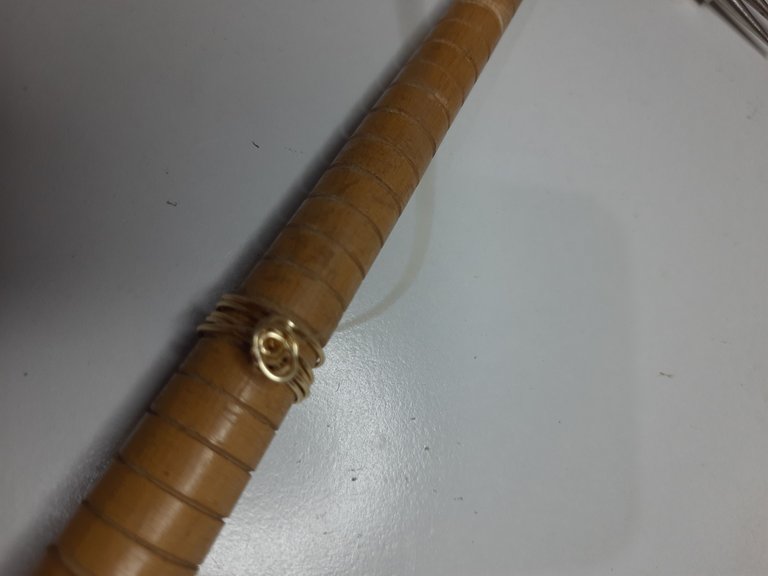
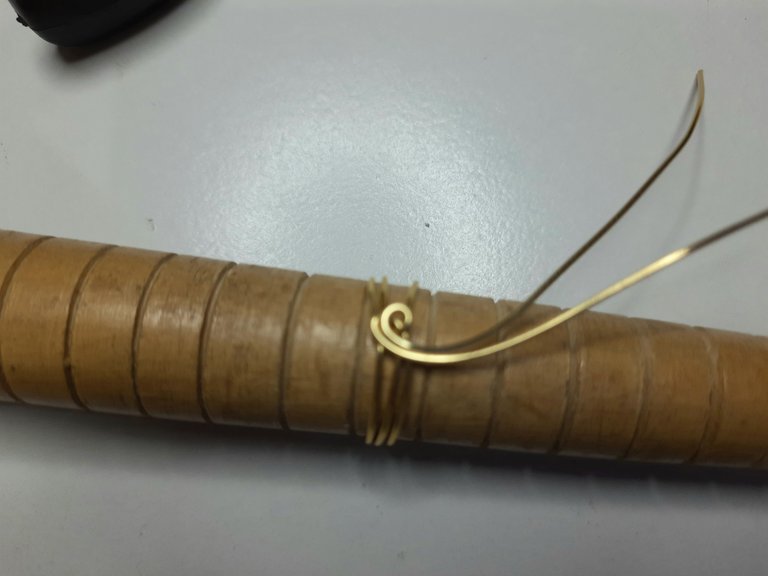
Ahora por el lado de los alambres vamos a darle un vuelta con la pinza redonda y vamos a entrelazar ambos, haciendo una especie de círculo.
Now on the side of the wires we are going to turn them with the round pliers and we are going to intertwine both of them making a kind of circle.

 |  |
|---|
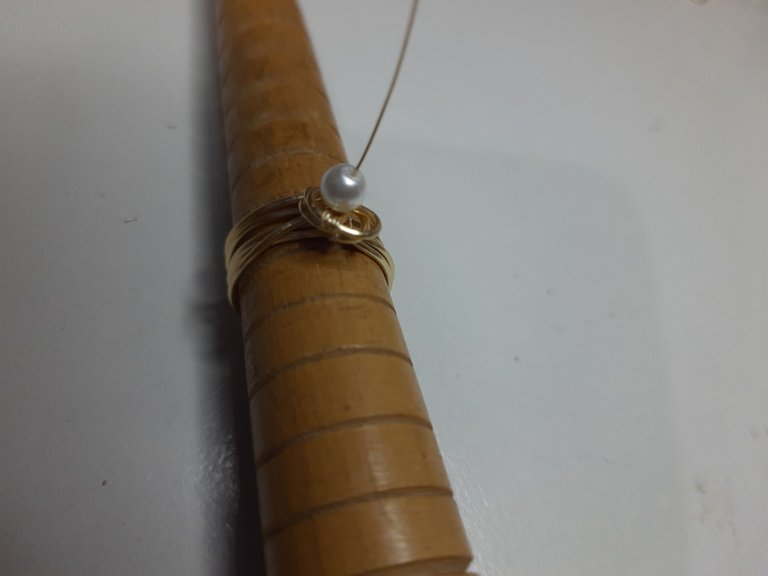
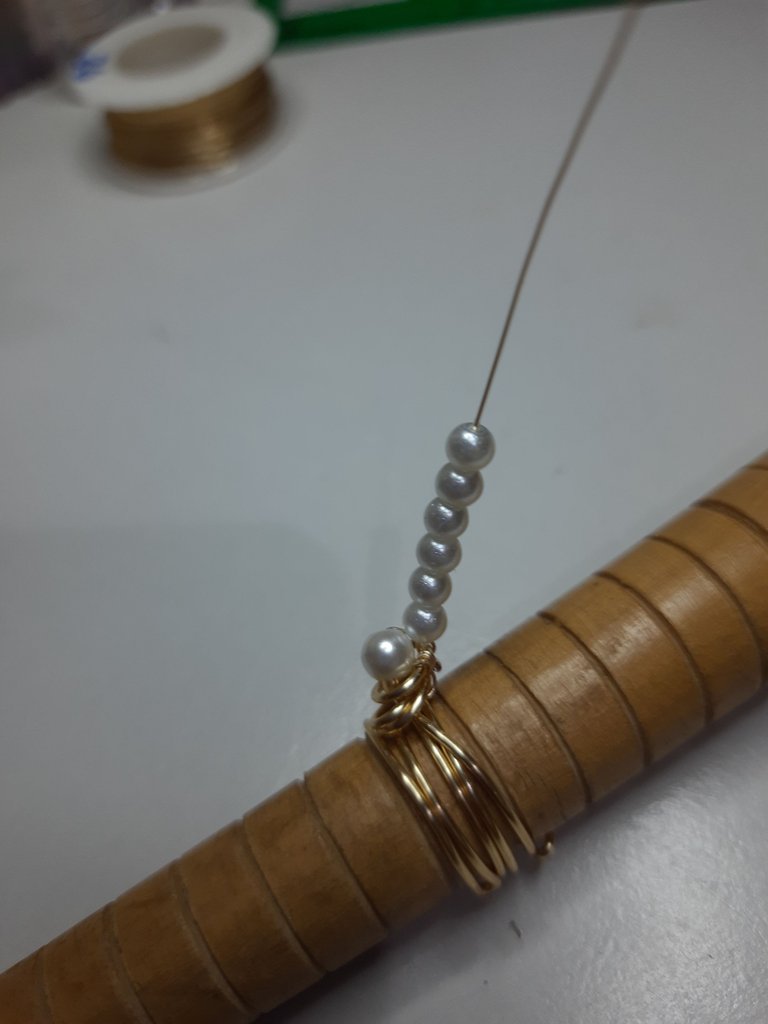
Vamos a utilizar unos 15 cm de alambre #26 y vamos a entrelazar al pequeño círculo y luego introducimos la Perla de #4 en el centro, para que esta sea el centro de la flor.
We are going to use about 15 cm of #26 wire and we are going to weave it into the small circle and then insert the #4 bead in the center, so that it will be the center of the flower.

 |  |
|---|
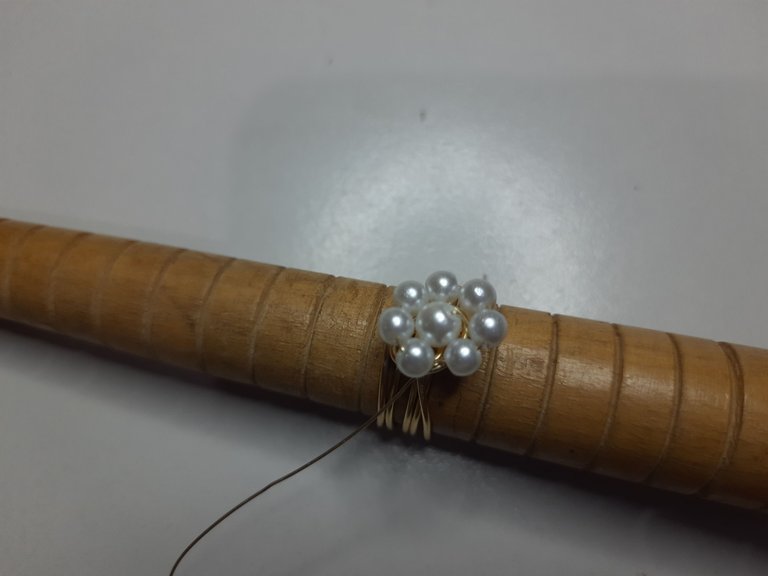
Introducimos el resto de las perlas y rodeamos la grande para formar la flor, luego vamos a hacer nuestro amarre por dentro y de ambos lados, y así terminamos nuestro primer anillo.
We introduce the rest of the beads and surround the big one to form the flower, then we will make our tie on the inside and on both sides, and thus we finish our first ring.

 |  |  |
|---|
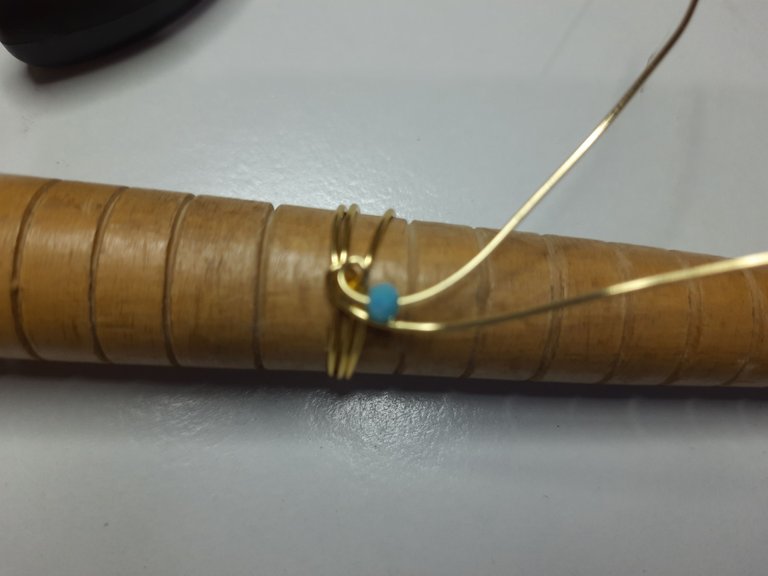
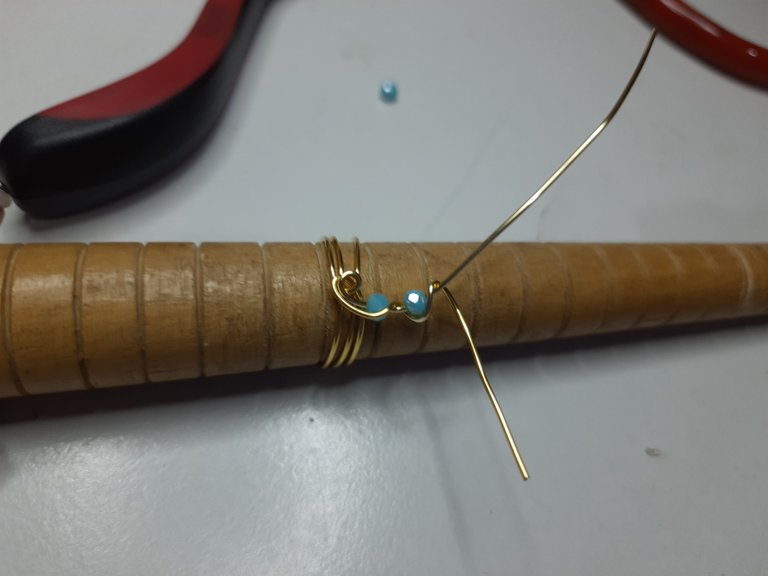
Para nuestro anillo número 2, vamos a necesitar 30cm de alambre y vamos a tomar nuestro mandril y por el medio del alambre vamos a comenzar a dar vueltas, según la medida que elijan.
For our ring number 2, we are going to need 30cm of wire and we are going to take our mandrel and through the middle of the wire we are going to start turning, according to the size you choose.

 |  |  |
|---|
Damos una pequeña vuelta con ambos alambres en la parte de arriba, vamos a introducir un checo en un alambre y damos vuelta con el otro alambre para fijar y así iremos introduciendo hasta que se nos acabe un alambre.
We make a small turn with both wires at the top, we will introduce a Czech in a wire and turn with the other wire to fix and so we will introduce until we run out of wire.

 |  |  |
|---|
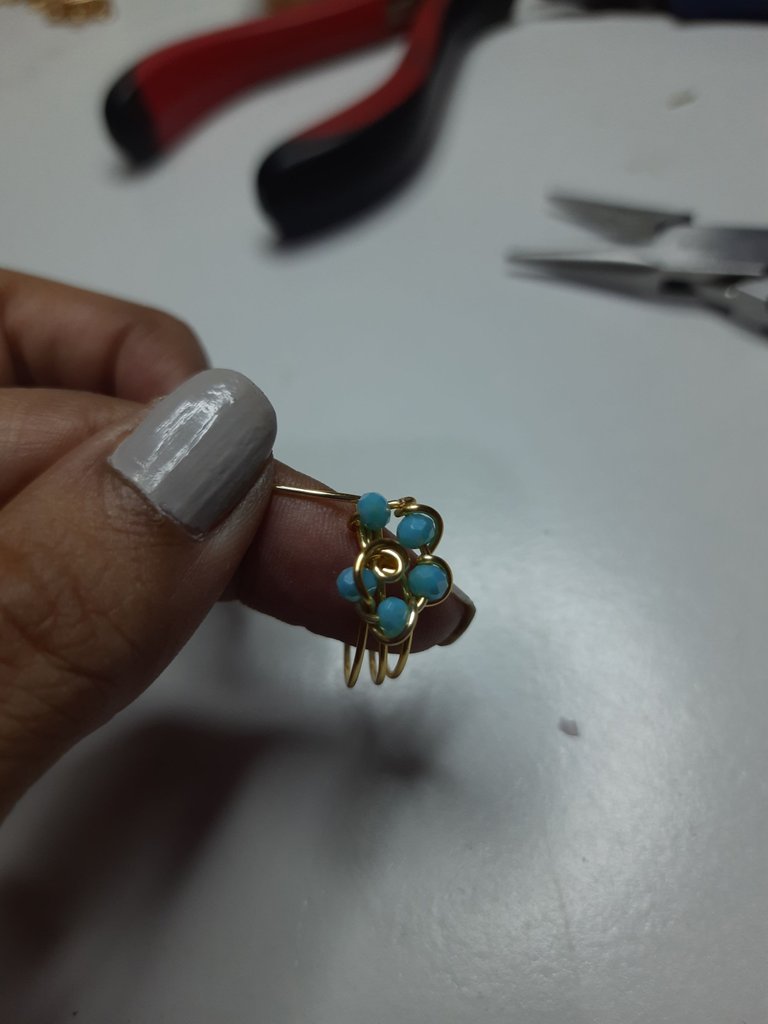
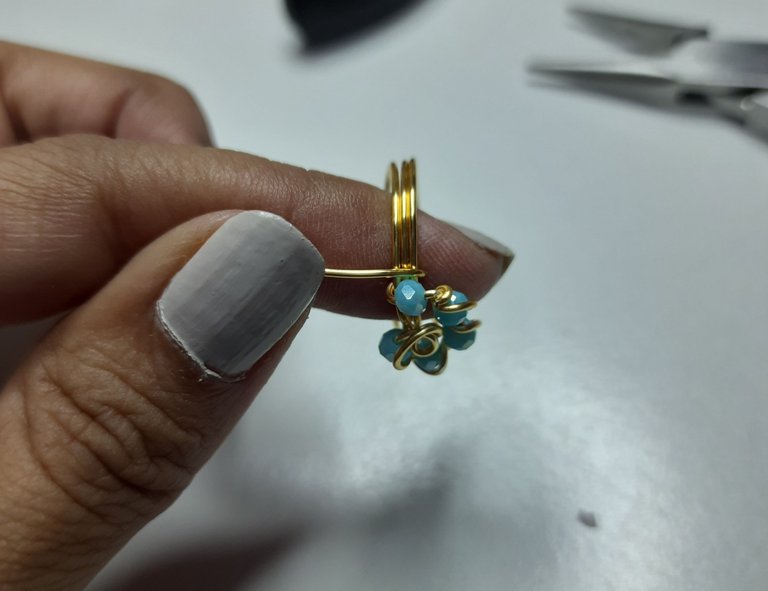
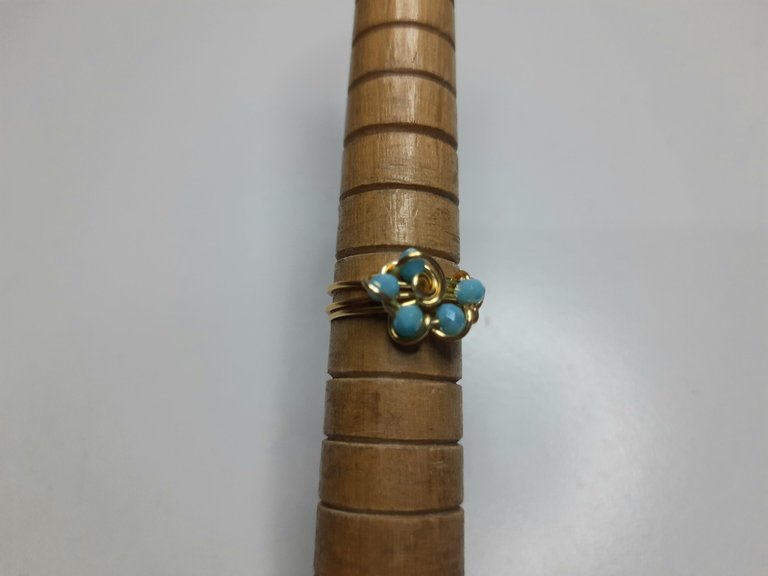
Por último vamos a tomar el alambre con las piedras y vamos a formar una media flor, luego vamos a fijar el alambre sobrante de un lado dándole vueltas y fijando con la pinza plana, y así tendremos listos nuestros dos anillos.
Finally we are going to take the wire with the stones and we are going to form a half flower, then we are going to fix the excess wire on one side turning it around and fixing it with the flat clamp, and thus we will have our two rings ready.

Resultado: / Result:

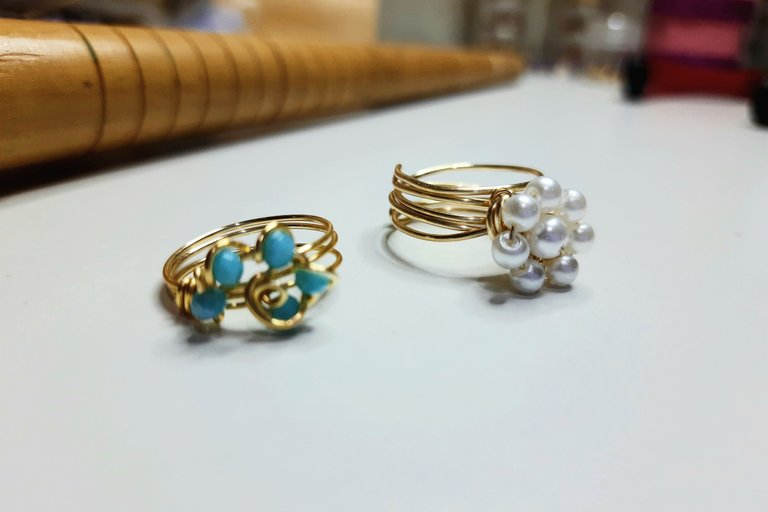
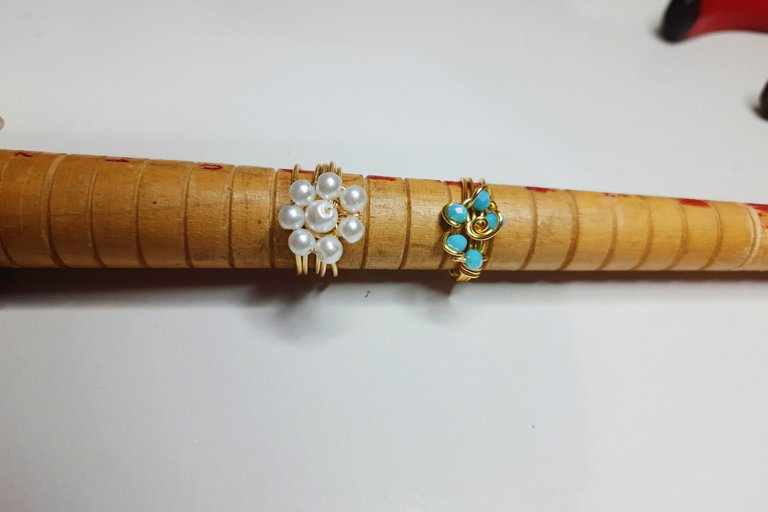
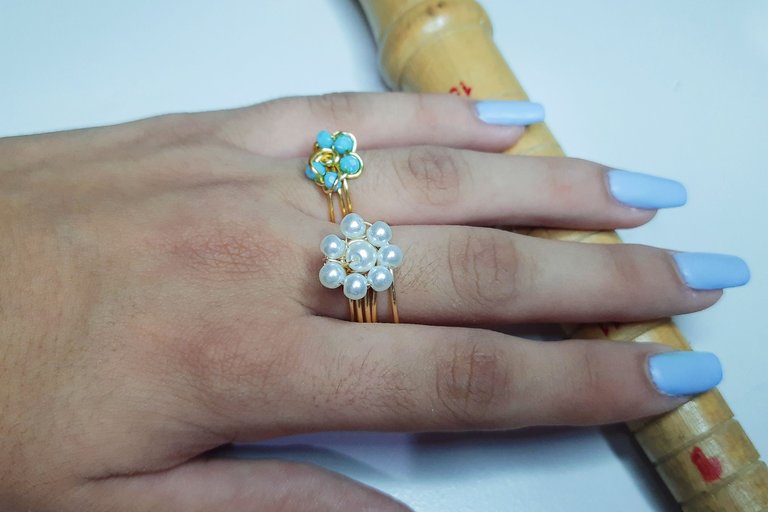
Y así ha quedado nuestro sencillo tutorial, espero que sea de su agrado, tanto como me ha gustado a mi esta pequeña y hermosa creación.
Gracias por estar aquí y ser parte de mi blog y de la comunidad @jewelry 😉
And this is how our simple tutorial turned out, I hope you like it as much as I liked this beautiful little creation.
Thank you for being here and being part of my blog and the @jewelry community 😉.

Les invito a suscribirse a la comunidad de @Jewelry y poder así mostrar todas sus creaciones de accesorios, tanto de adultos como de niños; nos encanta ver y apoyar a todos los artesanos, manualistas y orfebres, puedes crear accesorios para damas, caballeros y niños, así que tu creatividad es el límite 😉
I invite you to subscribe to the @Jewelry community to showcase all your accessory creations for both adults and children; we love to see and support all the artisans, crafters and goldsmiths, you can create accessories for ladies, gents and kids, so your creativity is the limit 😉.
"Los accesorios tienen el poder de hacer sentir a la mujer única y especial"
Accessories have the power to make a woman feel unique and special"
Fotos principal editada con Canva.
Separadores de mi Autoría
Fotos de mi Autoría derechos reservados
Cámara: Samsung M31
Traducido con www.DeepL.com/Translator (versión gratuita)
Photos edited with Canva
Separators by me
Photos by me Author's rights reserved
Camera: Samsung M31
Translated with www.DeepL.com/Translator (free version)


