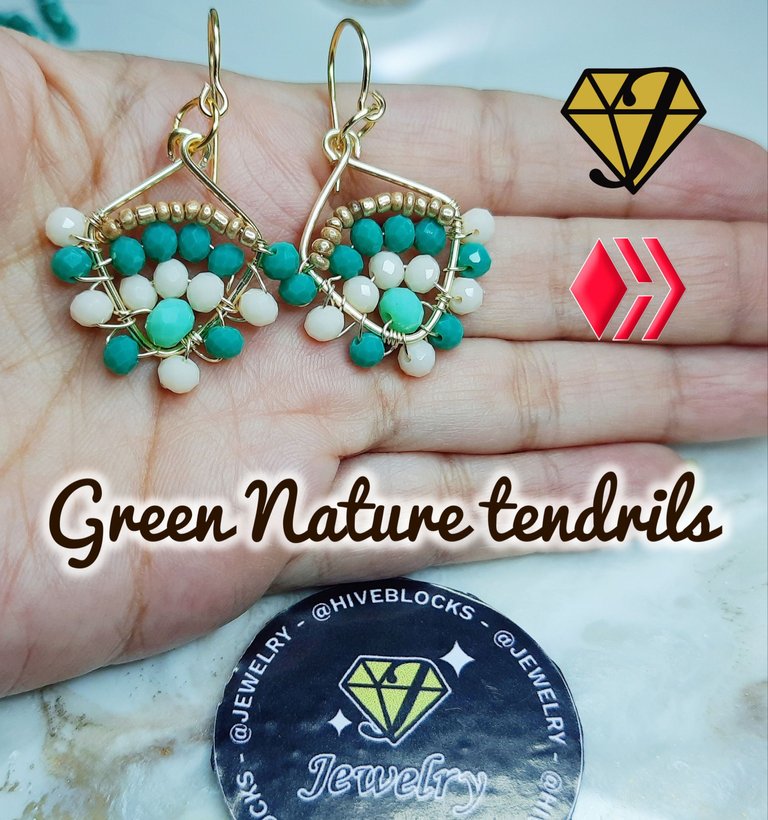


Un saludo, mi gente maravillosa de @jewelry hoy les traigo unos muevos zarcillos, algo fresco, sencillo, y para un uso diario, pues son zarcillos pequeños que pueden usarse cuando gustes, soy amante de los zarcillos pequeños, siempre me han gustado y son de mi uso diario a menos que vaya a una fiesta o algo especial puede que use zarcillos largos.
Esta vez utilice colores verdes que tienen que ver con la naturaleza, un verde pastel, este color es muy bonito y pocos comunes, los colores siempre tienen algo y este me inspira paz y frescura, y si tiene que ver con la naturaleza me gusta mucho más, también lo pude haber combinado con amarillo o marrón seguro le hubiese dado un toque muy hermoso, pero esta combinación con crema me gusta.
Al principio solo iba a rellenar los zarcillos con las piedras y luego pensé que porque no le colocaba piedras también por fuera, así que así lo realice, aunque menos es más en este caso me gustó, siempre me gusta decorar con piedras y mientras vamos creando siempre se nos van ocurriendo nuevas cosas, es cuestión de creatividad de eso se trata.
Así que sin más les invito a ver este pequeño paso a paso, muy sencillo, nivel básico, facil de moldear, manos a la obra mis queridos creativos 😉.

Greetings, my wonderful people of @jewelry today I bring you some new tendrils, something fresh, simple, and for a daily use, because they are small tendrils that can be used whenever you like, I am a lover of small tendrils, I have always liked them and they are my daily use unless I go to a party or something special I might use long tendrils.
This time I used green colors that have to do with nature, a pastel green, this color is very nice and uncommon, colors always have something and this one inspires me peace and freshness, and if it has to do with nature I like it much more, I could also have combined it with yellow or brown sure it would have given a very beautiful touch, but this combination with cream I like.
At first I was only going to fill the tendrils with stones and then I thought why not put stones on the outside too, so that's how I did it, although less is more in this case I liked it, I always like to decorate with stones and while we are creating we are always coming up with new things, it's a matter of creativity, that's what it's all about.
So without further ado I invite you to see this little step by step, very simple, basic level, easy to mold, let's get to work my dear creative 😉.
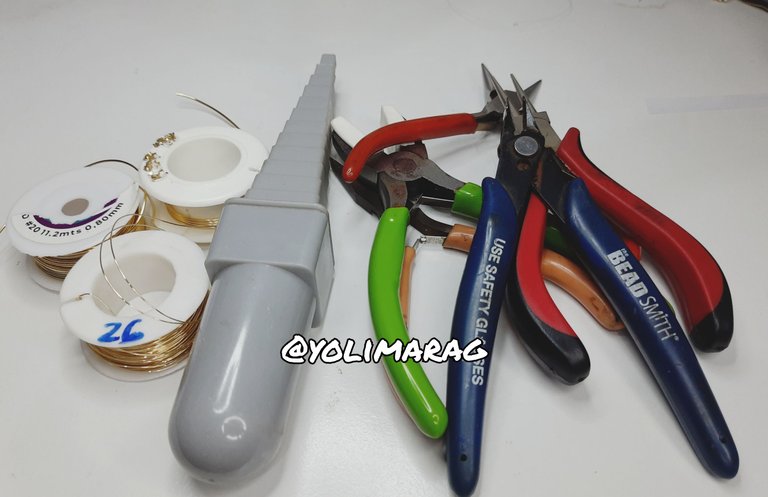
Materiales:
🌼 Pinzas de Bisutería
🌼 Alambre #18 y #16
🌼 Mandril cuadrado
🌼 Cristal checo #3 y #2
Materials
🌼 Fashion Jewelry Clamps
🌼 Wire #18 and #16
🌼 Square mandrel
🌼 Czech glass #3 and #2
Paso a Paso / Step by Step
 |  |  |
|---|
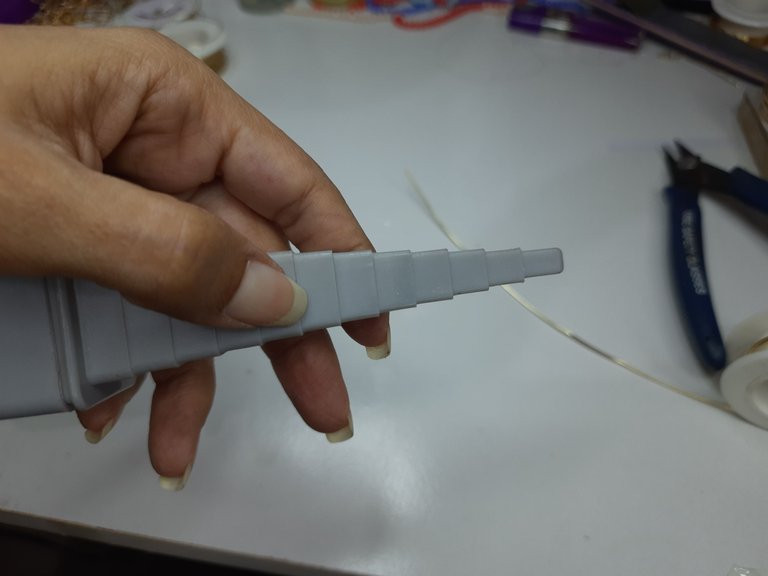
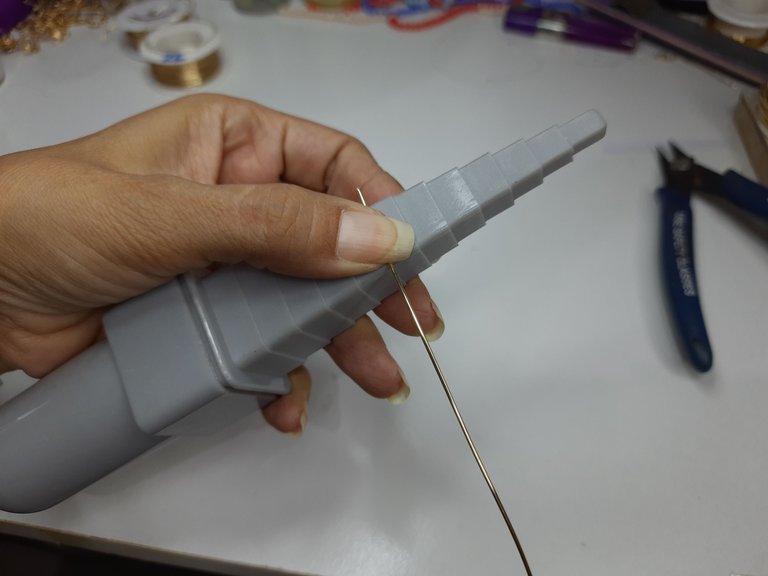
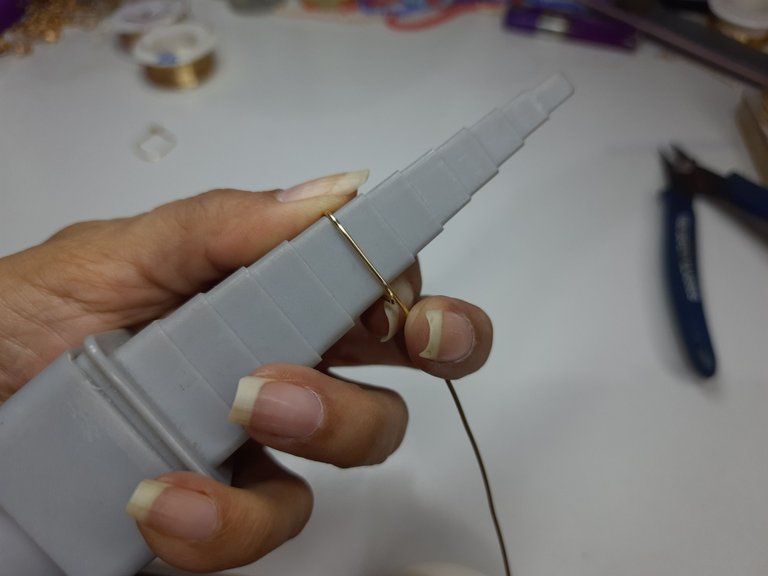
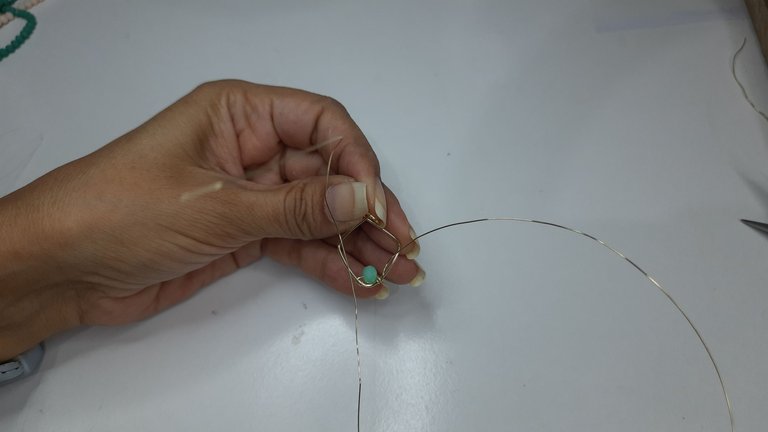
Lo primero que haremos es utilizar el mandril cuadrado y vamos a utilizar el alambre número 18, y comenzaremos a hacer un pequeño cuadrado, en el #7 del mandril, es algo mediano, ni tan grande ni tan pequeño, al llegar al final cortamos el alambre.
The first thing we will do is to use the square mandrel and we are going to use the wire number 18, and we will start making a small square, in #7 of the mandrel, it is something medium, not so big nor so small, when we get to the end we cut the wire.
 |  |
|---|
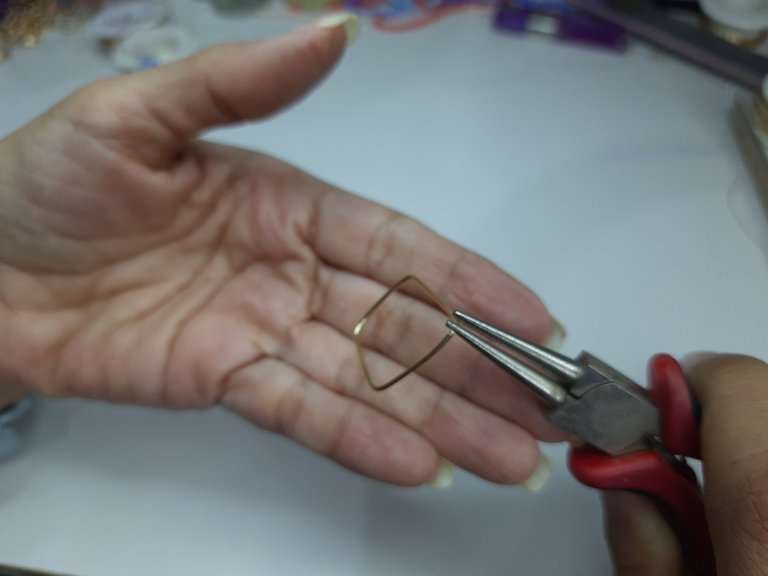
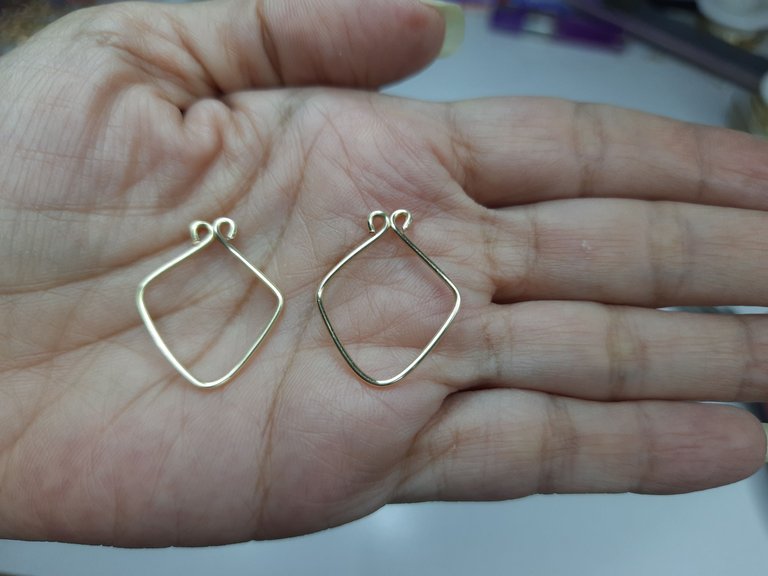
Al cortar el alambre vamos a tomar nuestra pinza redonda y vamos a hacer unos pequeños aros hacia los diferentes lados, uno de cada lado, tal.como se muestra en la foto.
When cutting the wire we are going to take our round pliers and we are going to make some small rings towards the different sides, one on each side, as shown in the picture.

Después de hacer esos pequeños aros, vamos a colocar unas argollas.
After making these small rings, we are going to place some rings.
 |  |
|---|
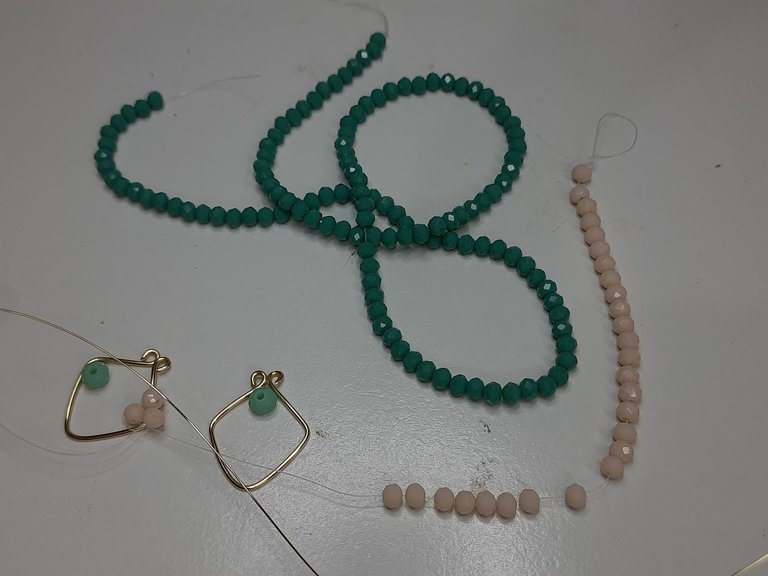
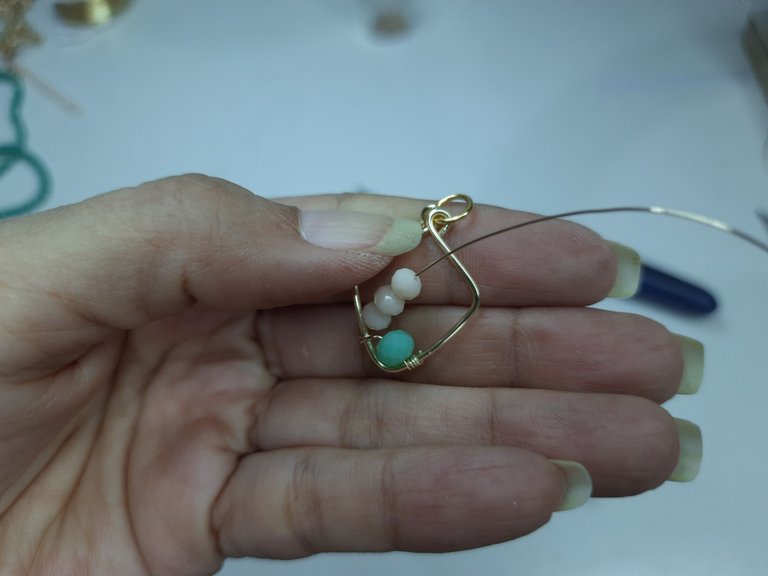
Ahora vamos a colocar piedras de cristal checo, colocamos primero 1 grande con 50cm de alambre #26 para dar dos vueltas entrelazadas y volver a colocar más piedras.
Now we are going to place Czech glass stones, we first place 1 large one with 50cm of wire #26 to give two intertwined laps and then place more stones.
 |  |  |
|---|
-|-|
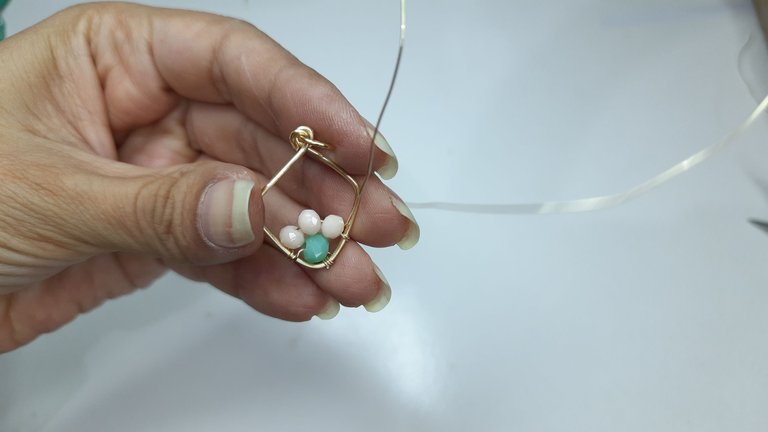
Vamos intercalando piedras y colores, y vamos pasando el alambre y damos dos vueltas.
We are interspersing stones and colors, and we are passing the wire around.
 |  |
|---|
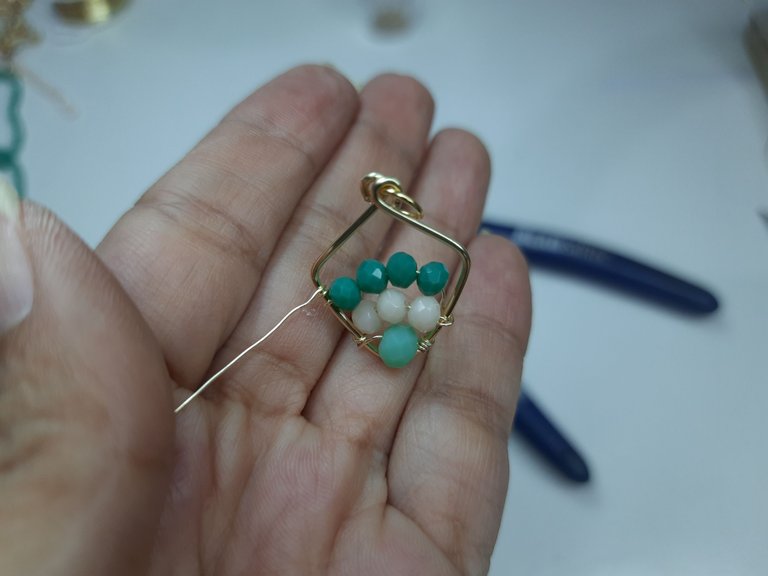
Con el mismo alambre vamos a colocar piedras por el lado de afuera intercalando colores, al terminar cortamos y con la pinza plana sellamos, colocamos los anzuelos en cada uno y listo podemos tener unos hernosos zarcillos.
With the same wire we are going to place stones on the outside side interspersing colors, when we finish we cut and with the flat clamp we seal, we place the hooks in each one and ready we can have some beautiful tendrils.
Resultado: / Result:
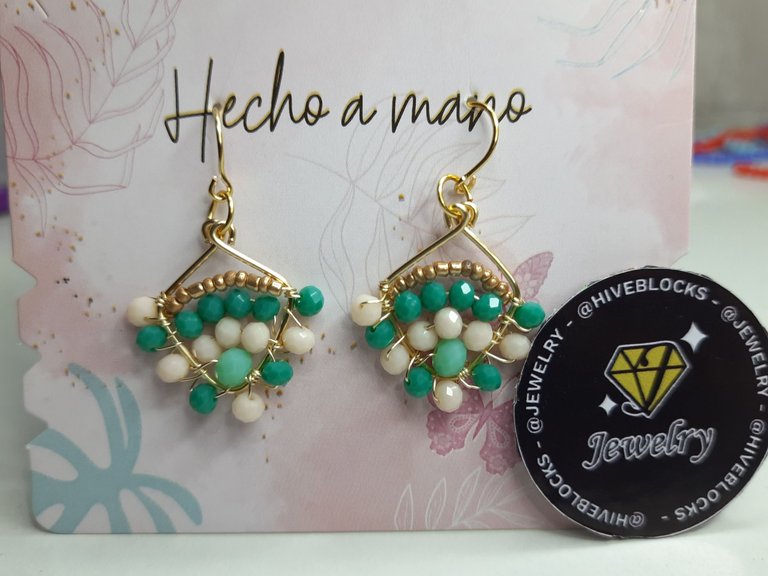
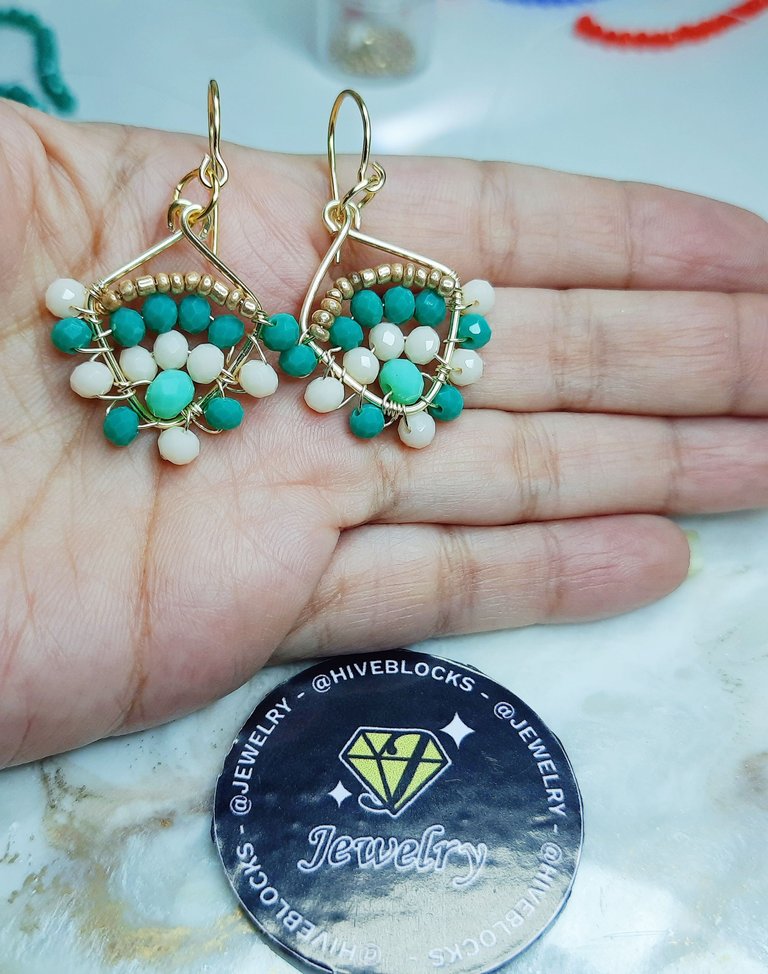
Y así ha quedado nuestro sencillo tutorial, espero que sea de su agrado, tanto como me ha gustado a mi esta pequeña y hermosa creación.
Gracias por estar aquí y ser parte de mi blog y de la comunidad @jewelry 😉
And this is how our simple tutorial turned out, I hope you like it as much as I liked this beautiful little creation.
Thank you for being here and being part of my blog and the @jewelry community 😉.

Les invito a suscribirse a la comunidad de @Jewelry y poder así mostrar todas sus creaciones de accesorios, tanto de adultos como de niños; nos encanta ver y apoyar a todos los artesanos, manualistas y orfebres, puedes crear accesorios para damas, caballeros y niños, así que tu creatividad es el límite 😉
I invite you to subscribe to the @Jewelry community to showcase all your accessory creations for both adults and children; we love to see and support all the artisans, crafters and goldsmiths, you can create accessories for ladies, gents and kids, so your creativity is the limit 😉.
"Los accesorios tienen el poder de hacer sentir a la mujer única y especial"
Accessories have the power to make a woman feel unique and special"
Fotos principal editada con Canva.
Separadores de mi Autoría
Fotos de mi Autoría derechos reservados
Cámara: Samsung M31
Traducido con www.DeepL.com/Translator (versión gratuita)
Photos edited with Canva
Separators by me
Photos by me Author's rights reserved
Camera: Samsung M31
Translated with www.DeepL.com/Translator (free version)