Hola, hola amigos creativos en todo el mundo, bienvenidos a mi blog!
Es grato estar por aca nuevamente con ustedes deseándoles un lindo fin de semana, y compartiendo un #tutorial para elaborar un hermoso porta-lapices, hecho con tubo de papel higiénico, los cuales son muy versátiles a la hora de realizar manualidades.
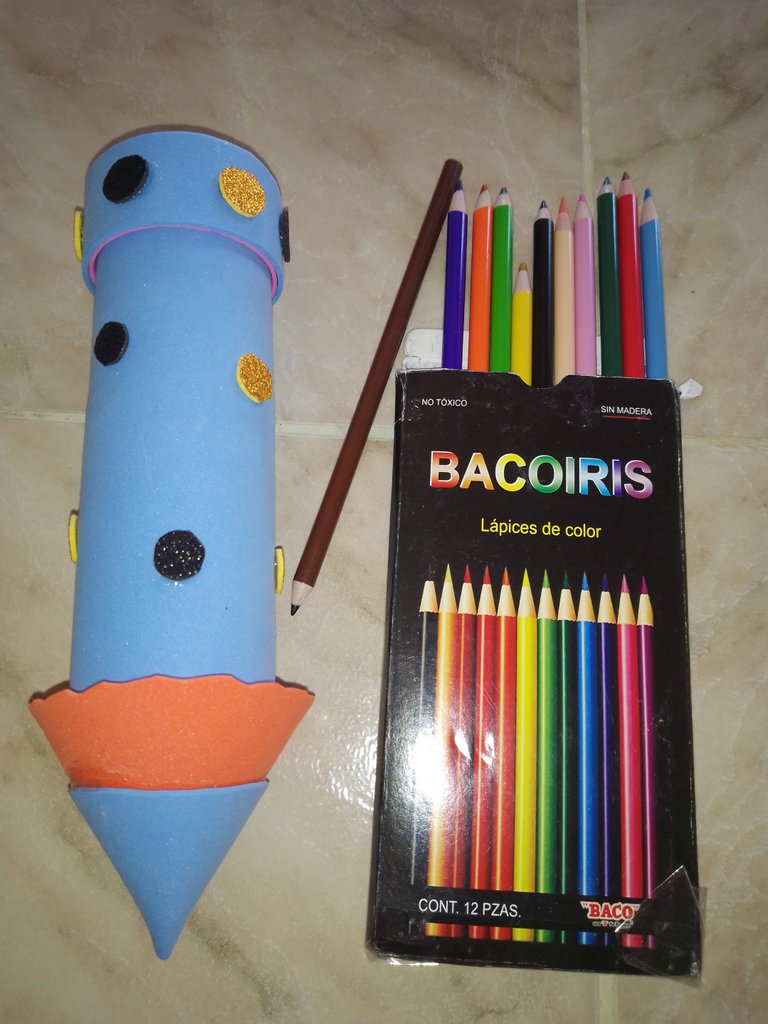
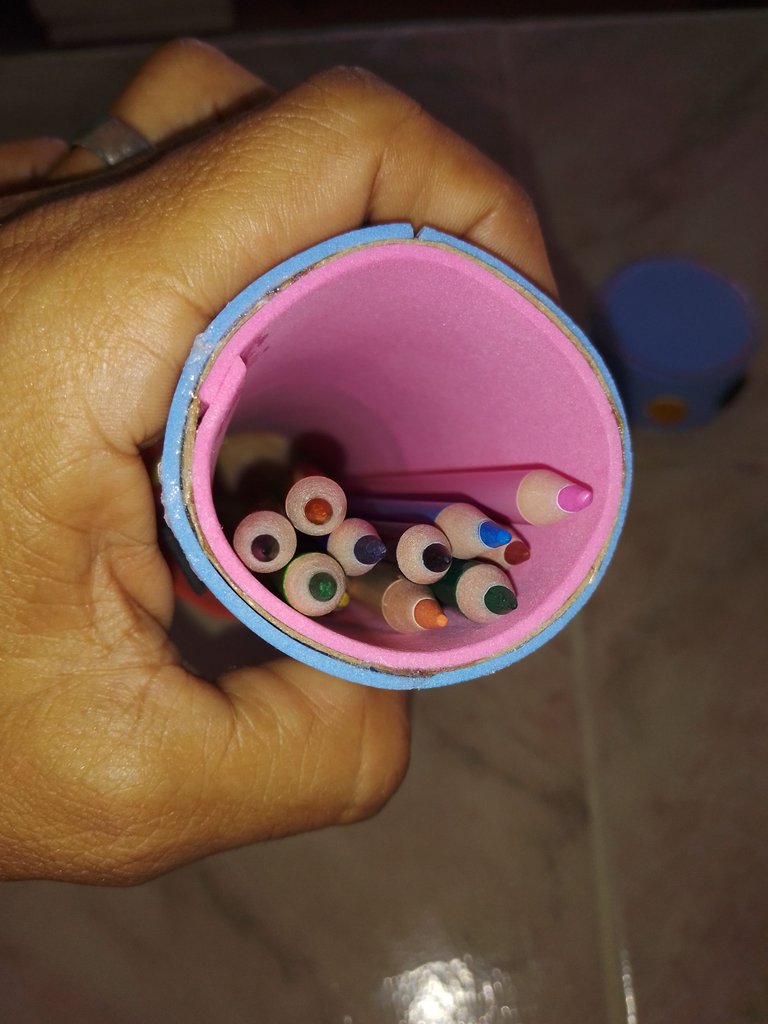
Este porta-lapices es ideal para un regalo, para decorar o para organizar, muy sencillo y económico de realizar, veamos el procedimiento:
Hello, hello creative friends around the world, welcome to my blog!
It's nice to be here again with you wishing you a nice weekend, and sharing a #tutorial to make a beautiful pencil holder, made with toilet paper tubes, which are very versatile when it comes to making crafts.
This pencil holder is ideal for a gift, to decorate or to organize, very simple and inexpensive to make, let's see the procedure:

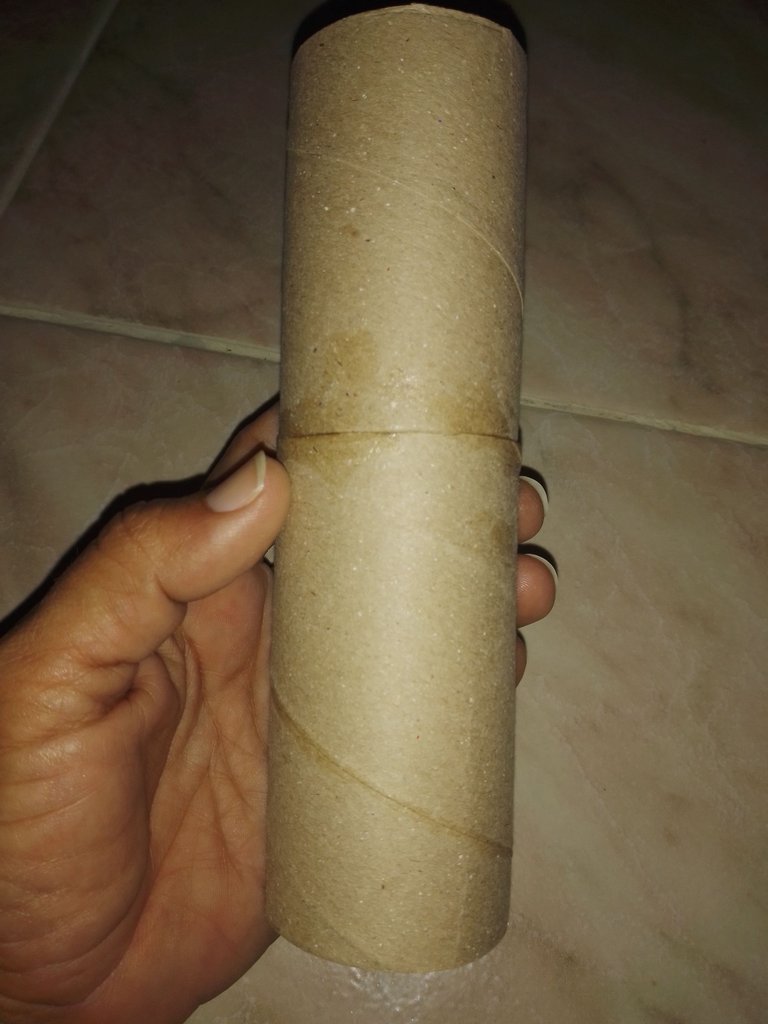
2 tubos de papel higiénico
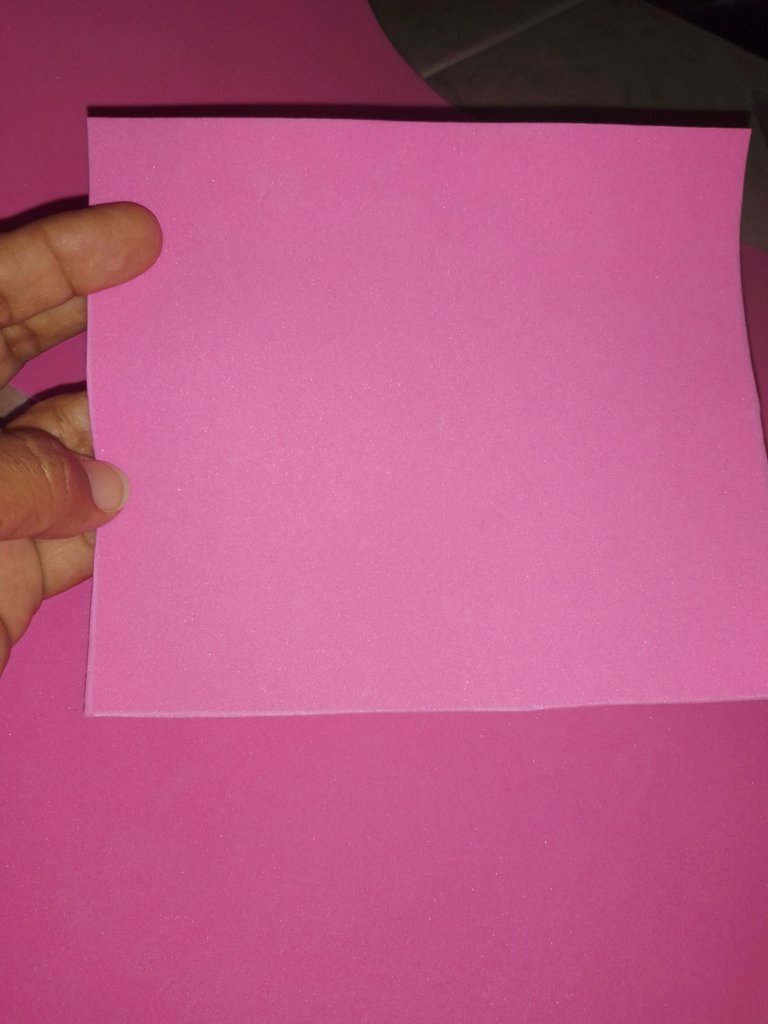
foamis de varios colores
silicon
regla
tijera.
2 tubes of toilet paper
foamis of various colors
silicone
ruler
scissors.

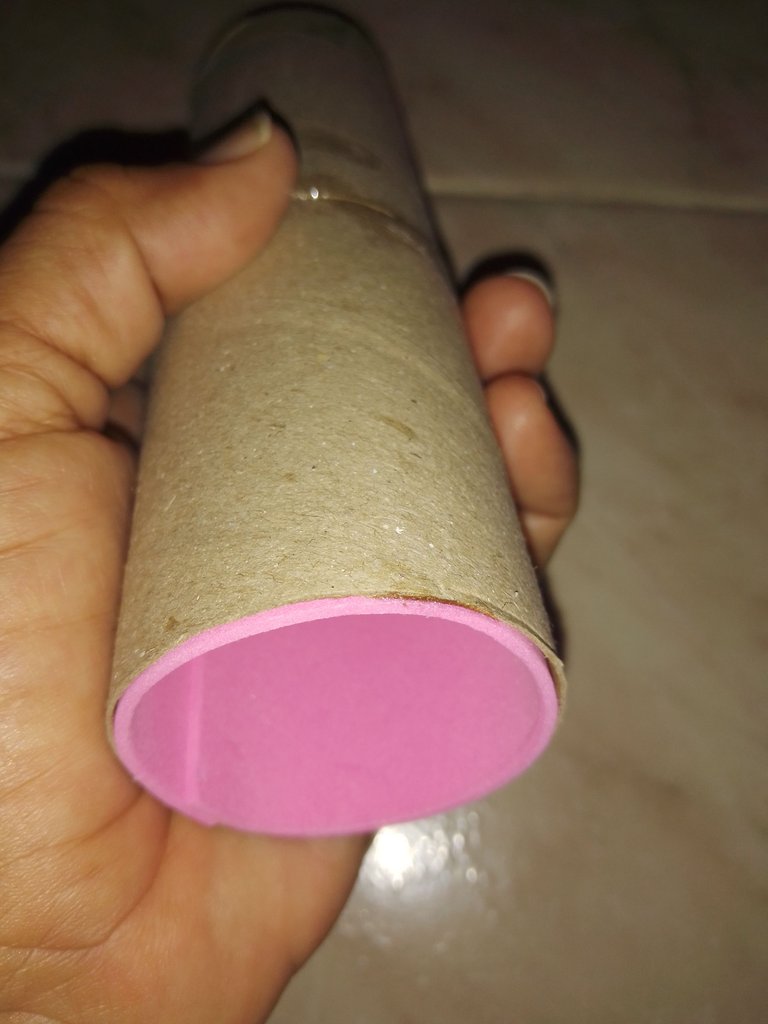
Lo primero que haremos es pegar los 2 tubos uno encima del otro, y recortarlos a una medida de 17cm.
The first thing to do is to glue the 2 tubes one on top of the other, and cut them to a size of 17cm.
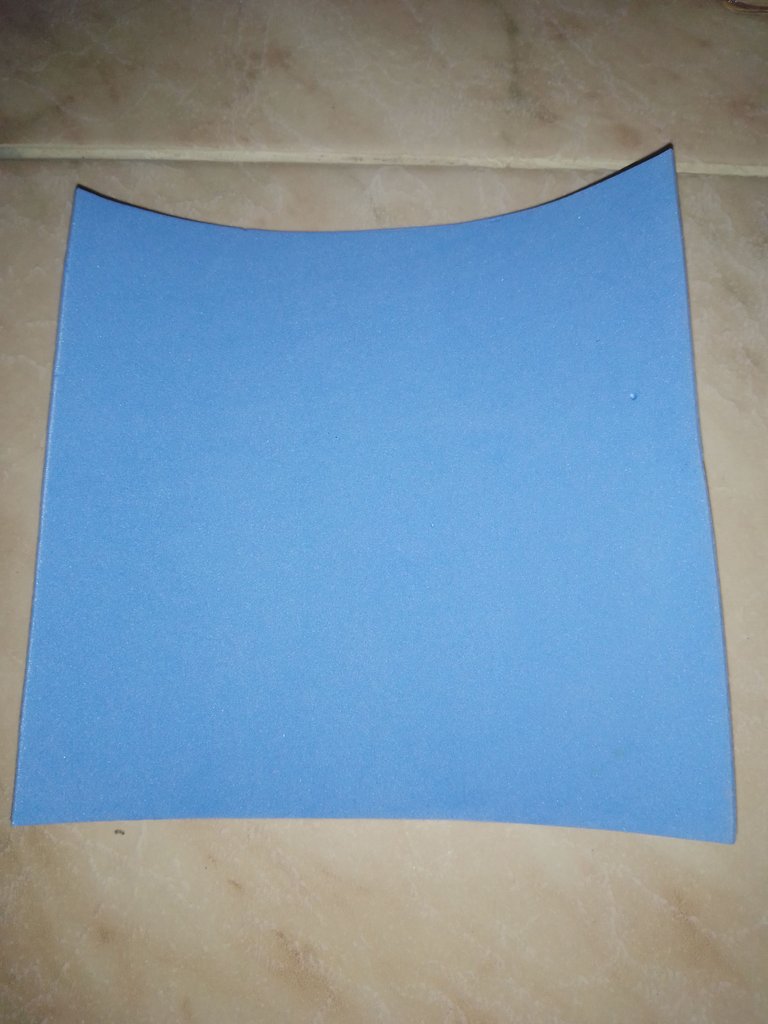
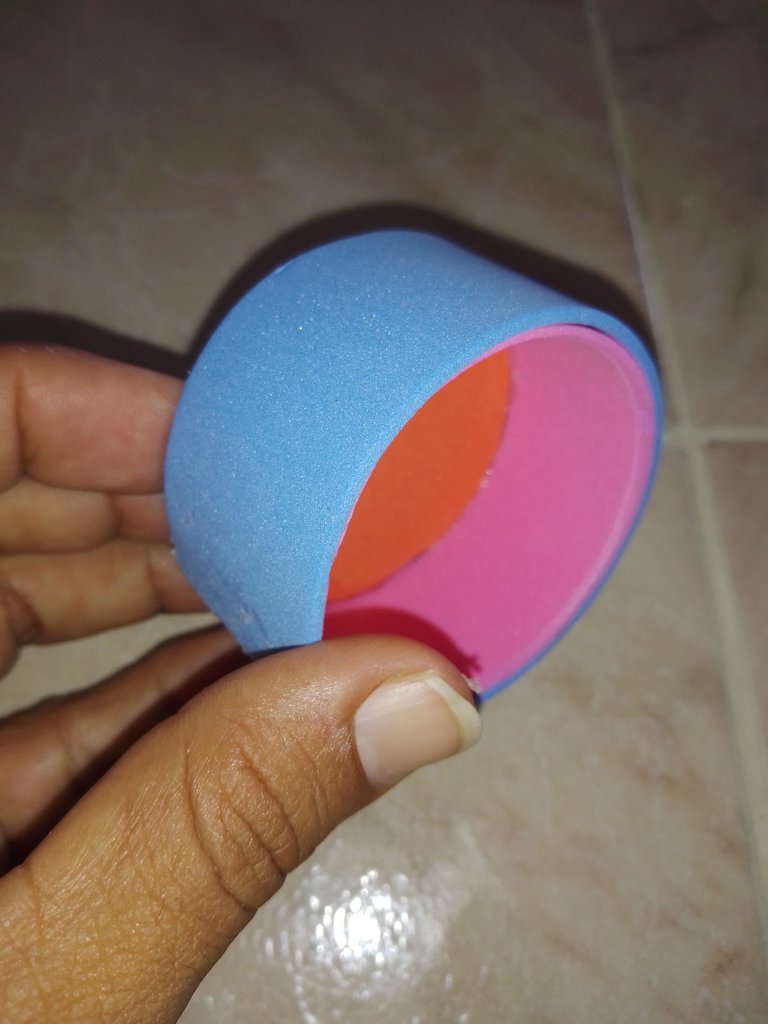
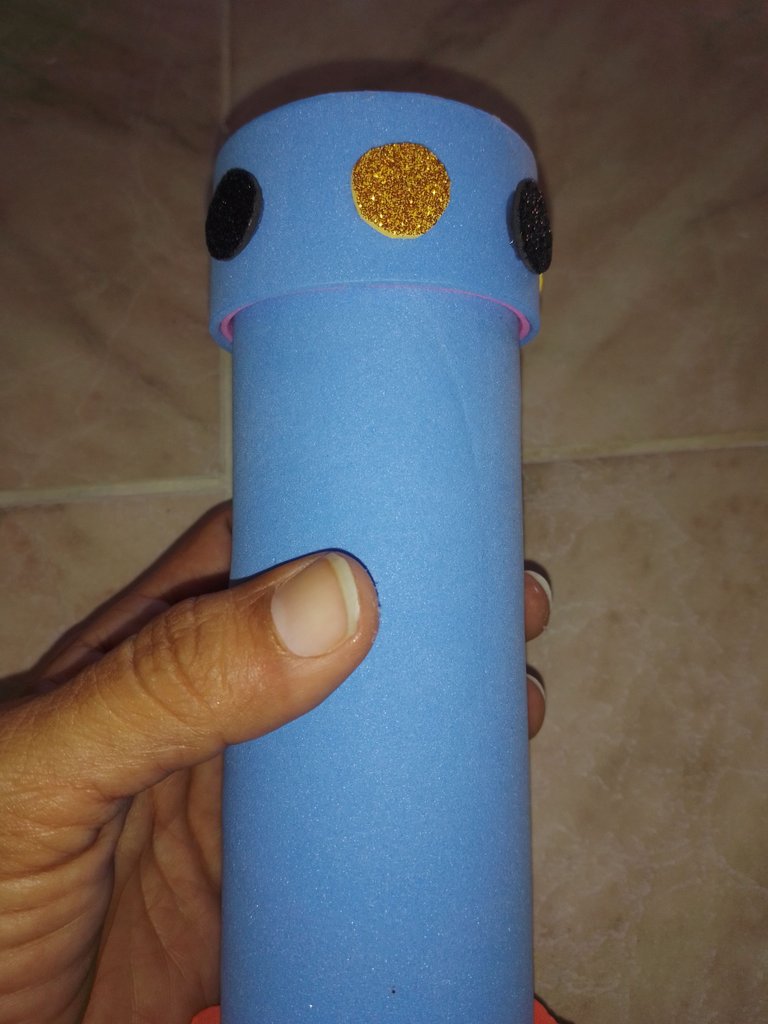
Recortamos un foami de 17cm x 15cm, y lo pegamos por dentro del tubo.
Luego un trozo de 18cm x 15cm, y un circulo del ancho del tubo; forramos el tubo por fuera, y sellamos uno de los extremos con el circulo, que sera la parte superior del lápiz.
We cut a 17cm x 15cm foami, and glue it inside the tube.
Then a piece of 18cm x 15cm, and a circle of the width of the tube; we cover the outside of the tube, and seal one of the ends with the circle, which will be the top of the pencil.

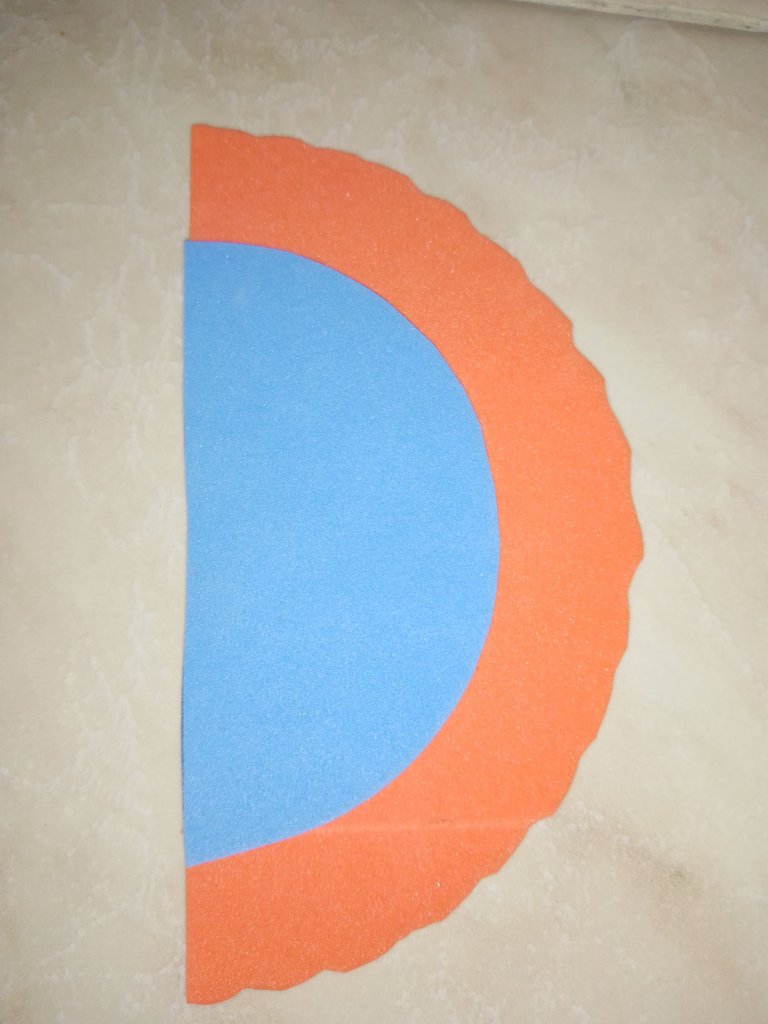
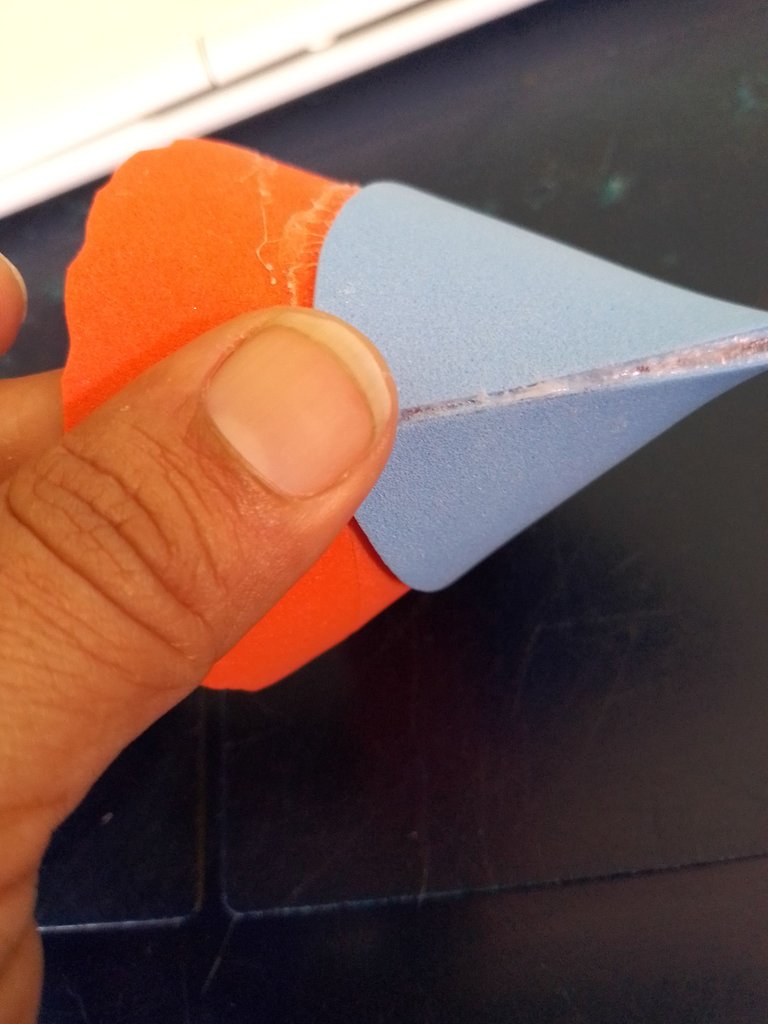
Haremos la punta del lapiz con 2 medios círculos, 1 de 12cm de diámetro y, otro de 6cm.
El pequeño se pega en la mitad del grande y se pega en forma de cono.
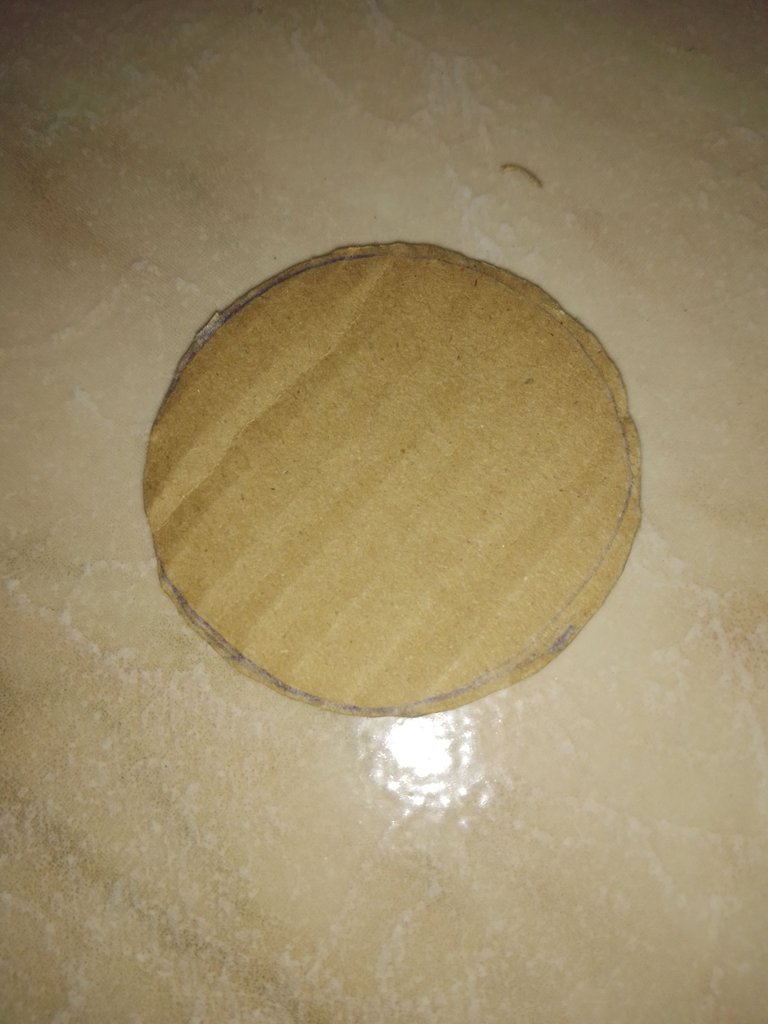
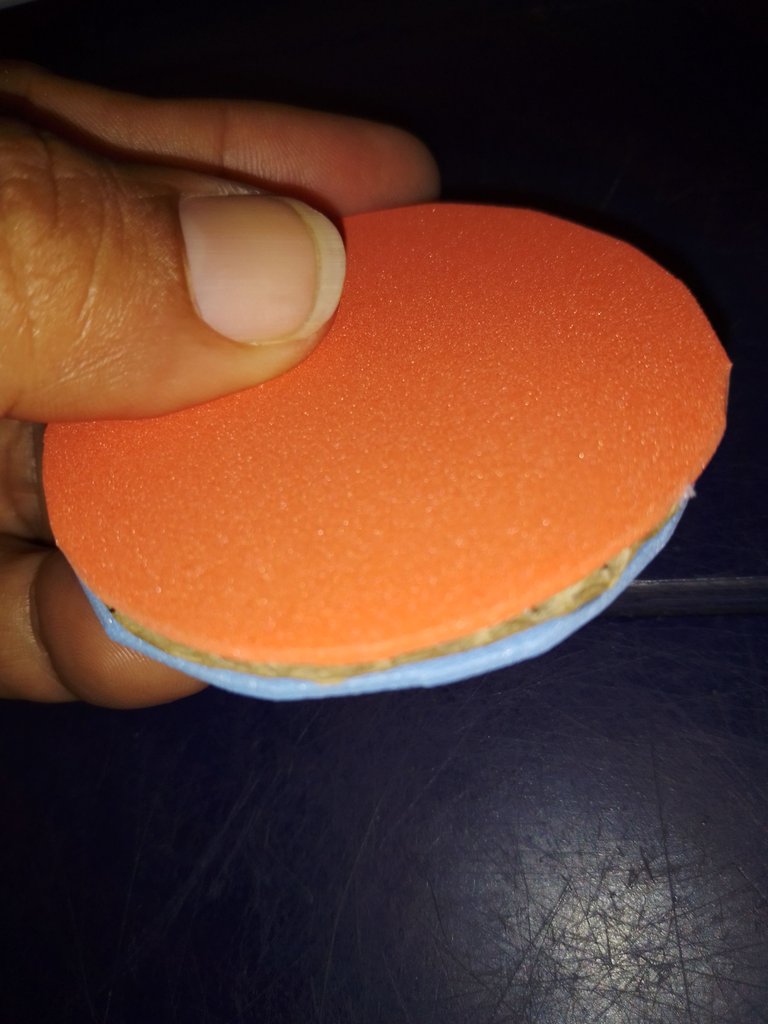
Se corta un circulo de carton de 5cn y se forra por ambos lados, se le pega alrededor una cinta de 3cm de grosor para el borrador.
Se pega la punta en la parte que se sello con el carton, y el extremo abierto sera el borrador.
We will make the tip of the pencil with 2 half circles, 1 of 12cm diameter and another of 6cm.
The small one is glued in the middle of the big one and glued in the shape of a cone.
Cut a 5cn cardboard circle and cover it on both sides, glue around it a 3cm thick ribbon for the eraser.
Glue the tip on the part that was sealed with the cardboard, and the open end will be the eraser.
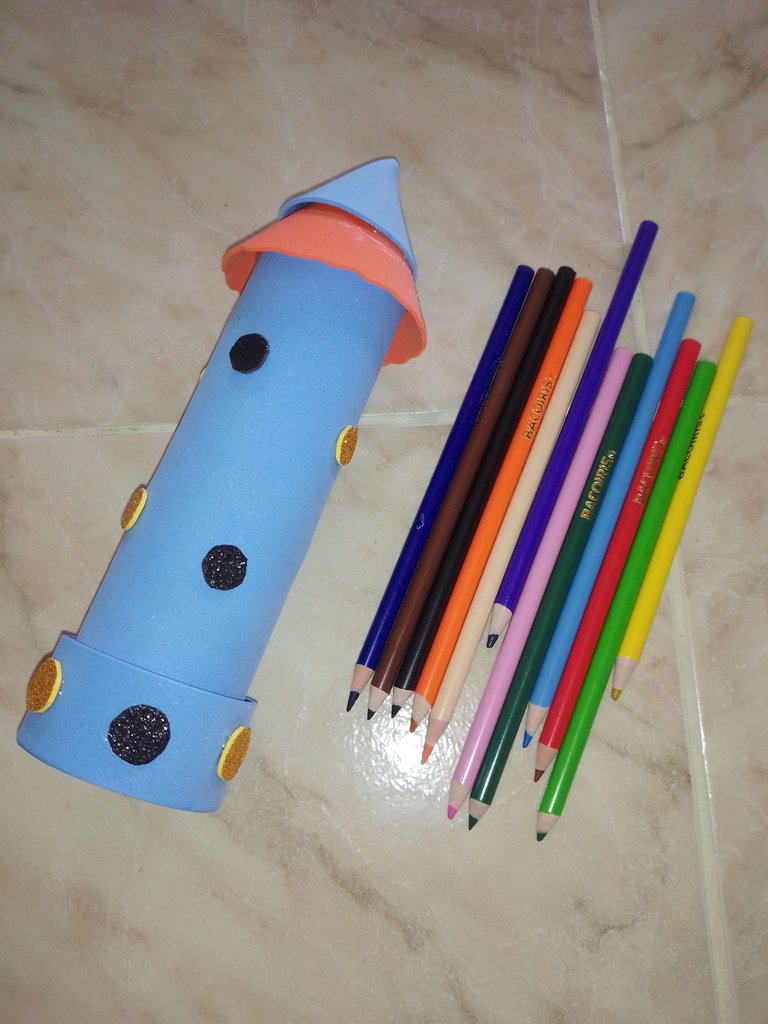
Para finalizar recorto pequeños circulo de colores, y pego en el lápiz.
Finally, I cut out small colored circles and glue them on the pencil.
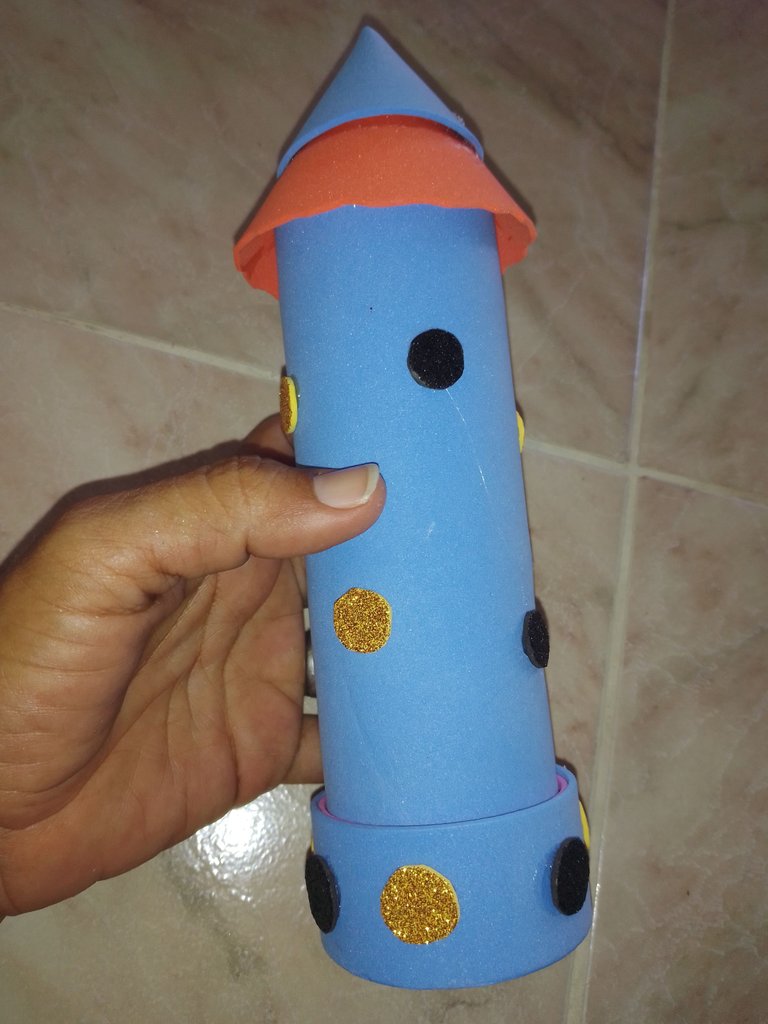
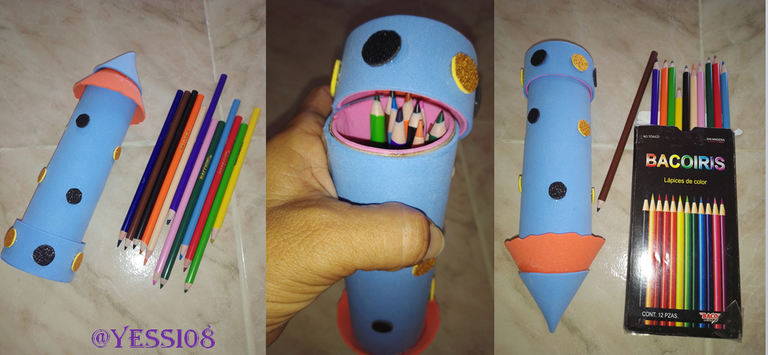
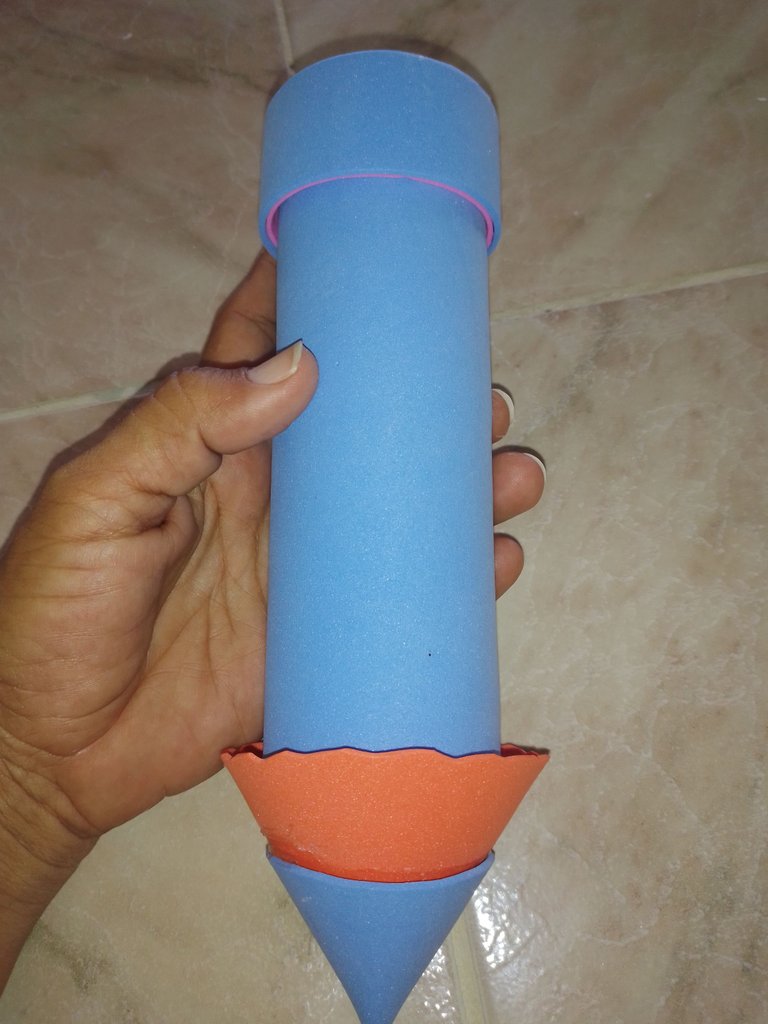
Así, queda nuestro hermoso porta. lapices!
That's how our beautiful pencil holder looks like!
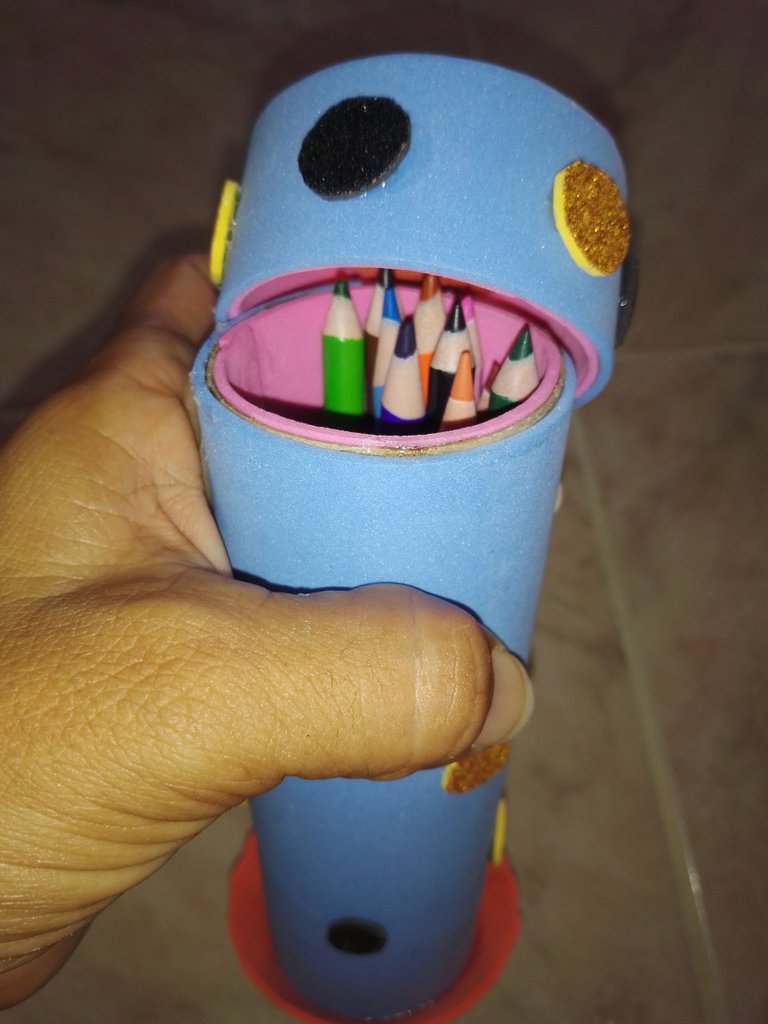
Espero les haya gustado, gracias por pasar.
Dios les bendiga!
I hope you liked it, thanks for stopping by.
God bless you!
Translated with https://www.deepl.com/translator
      Todas las imágenes son de mi autoría, capturadas con mi teléfono ZTE.

   All images are my own, captured with my ZTE phone.