 Hola a todos, Dios los bendiga, quiero compartir con ustedes este fácil y sencillo organizador para cables hecho con material de provecho, a veces tenemos en casa cosas que no sabemoa utilizar y optamos por botar, veamos el paso a paso de este organizador.
Hello everyone, God bless you, I want to share with you this easy and simple cable organizer made with useful material, sometimes we have things at home that we do not know how to use and we choose to throw away, let's see the step by step of this organizer.
.jpg)
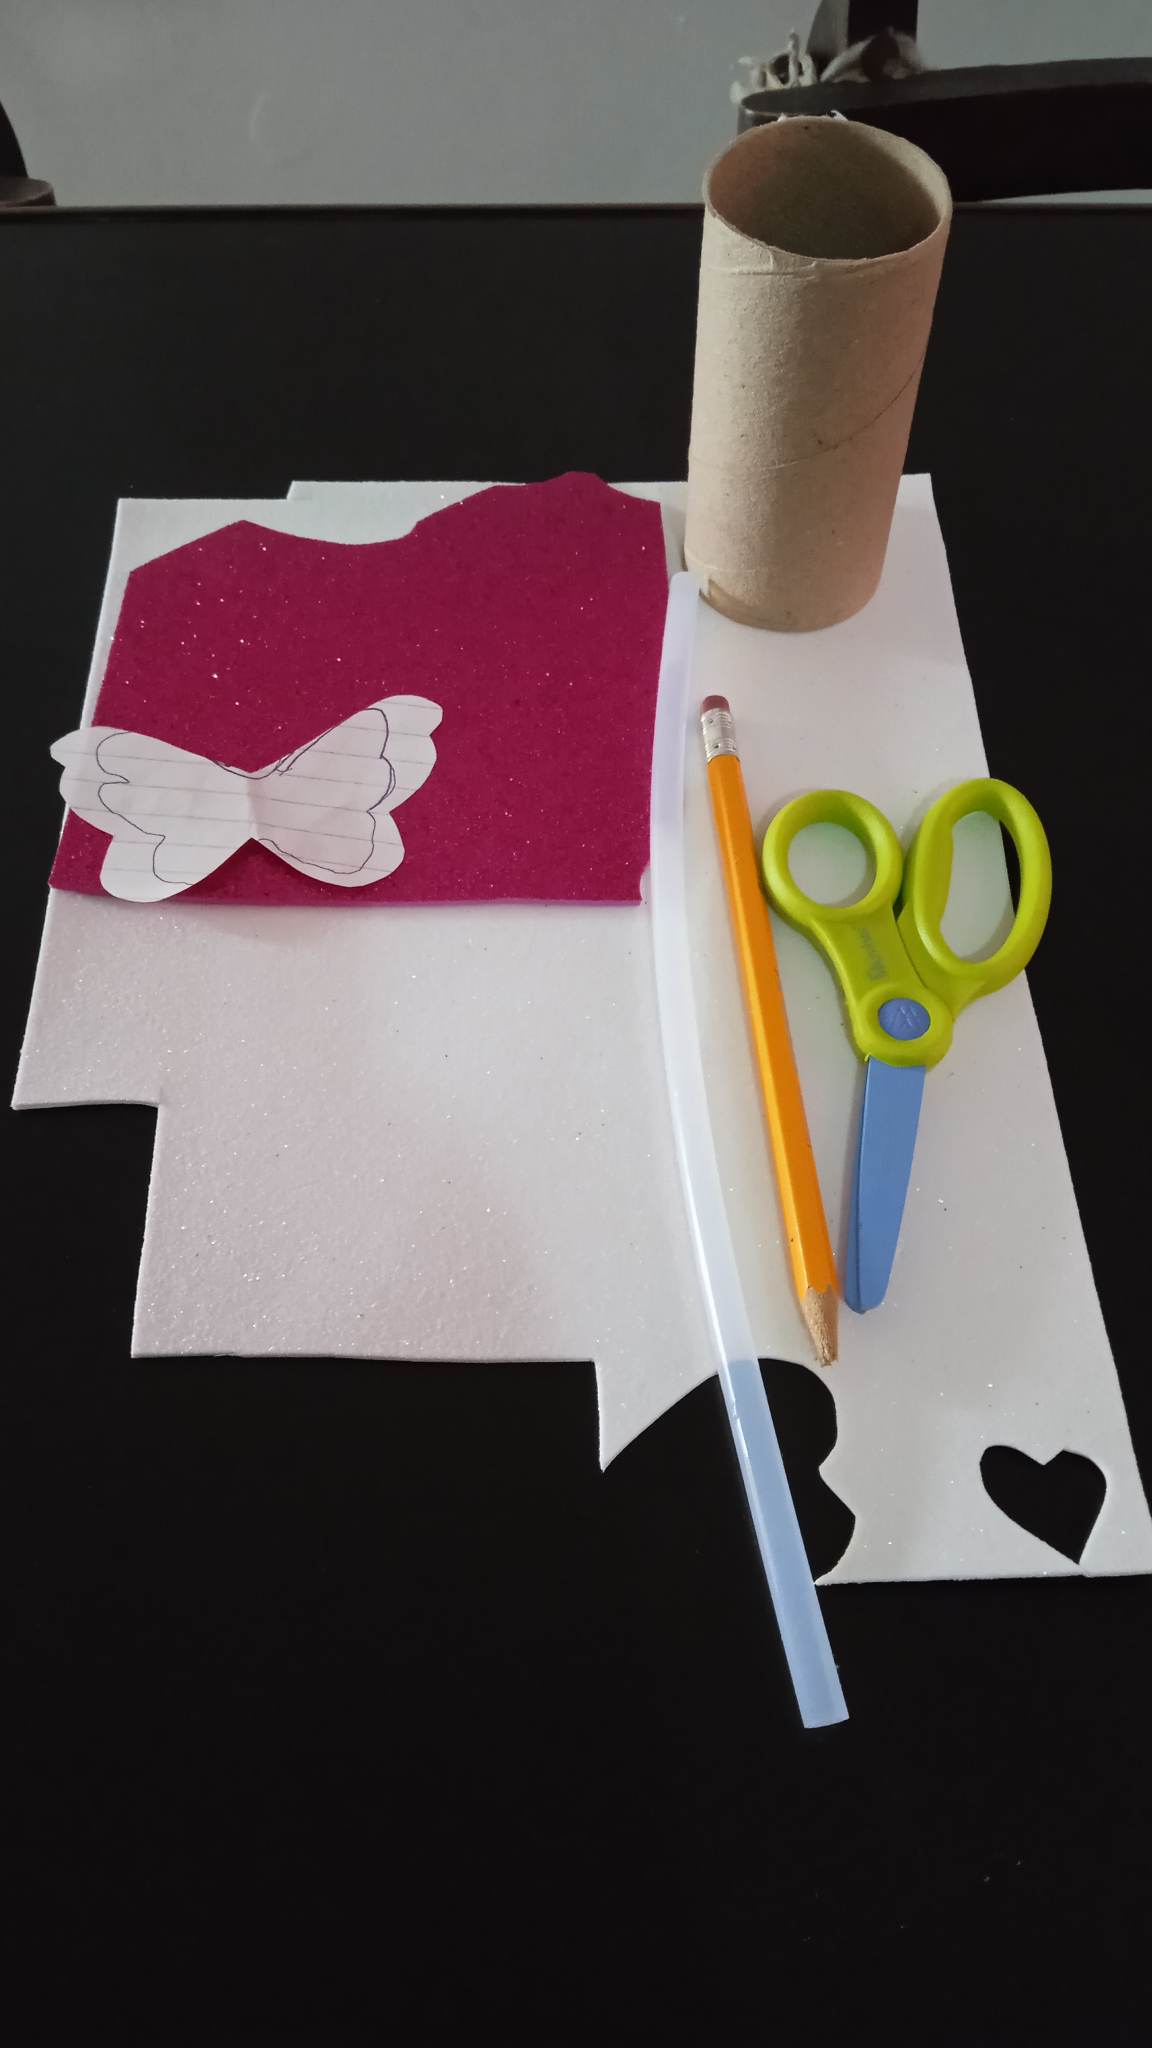
- Los materiales a utilizar son:
- Foami escarchado blanco y rosado.
- 1 tubito de papel higiénico.
- Sillicón en barra.
- Tijera.
- Lápiz.
- Molde de mariposa.
- The materials to be used are:
- White and pink frosted Foami.
- 1 small tube of toilet paper.
- Sillicon stick.
- Scissors.
- Pencil.
- Butterfly mold.
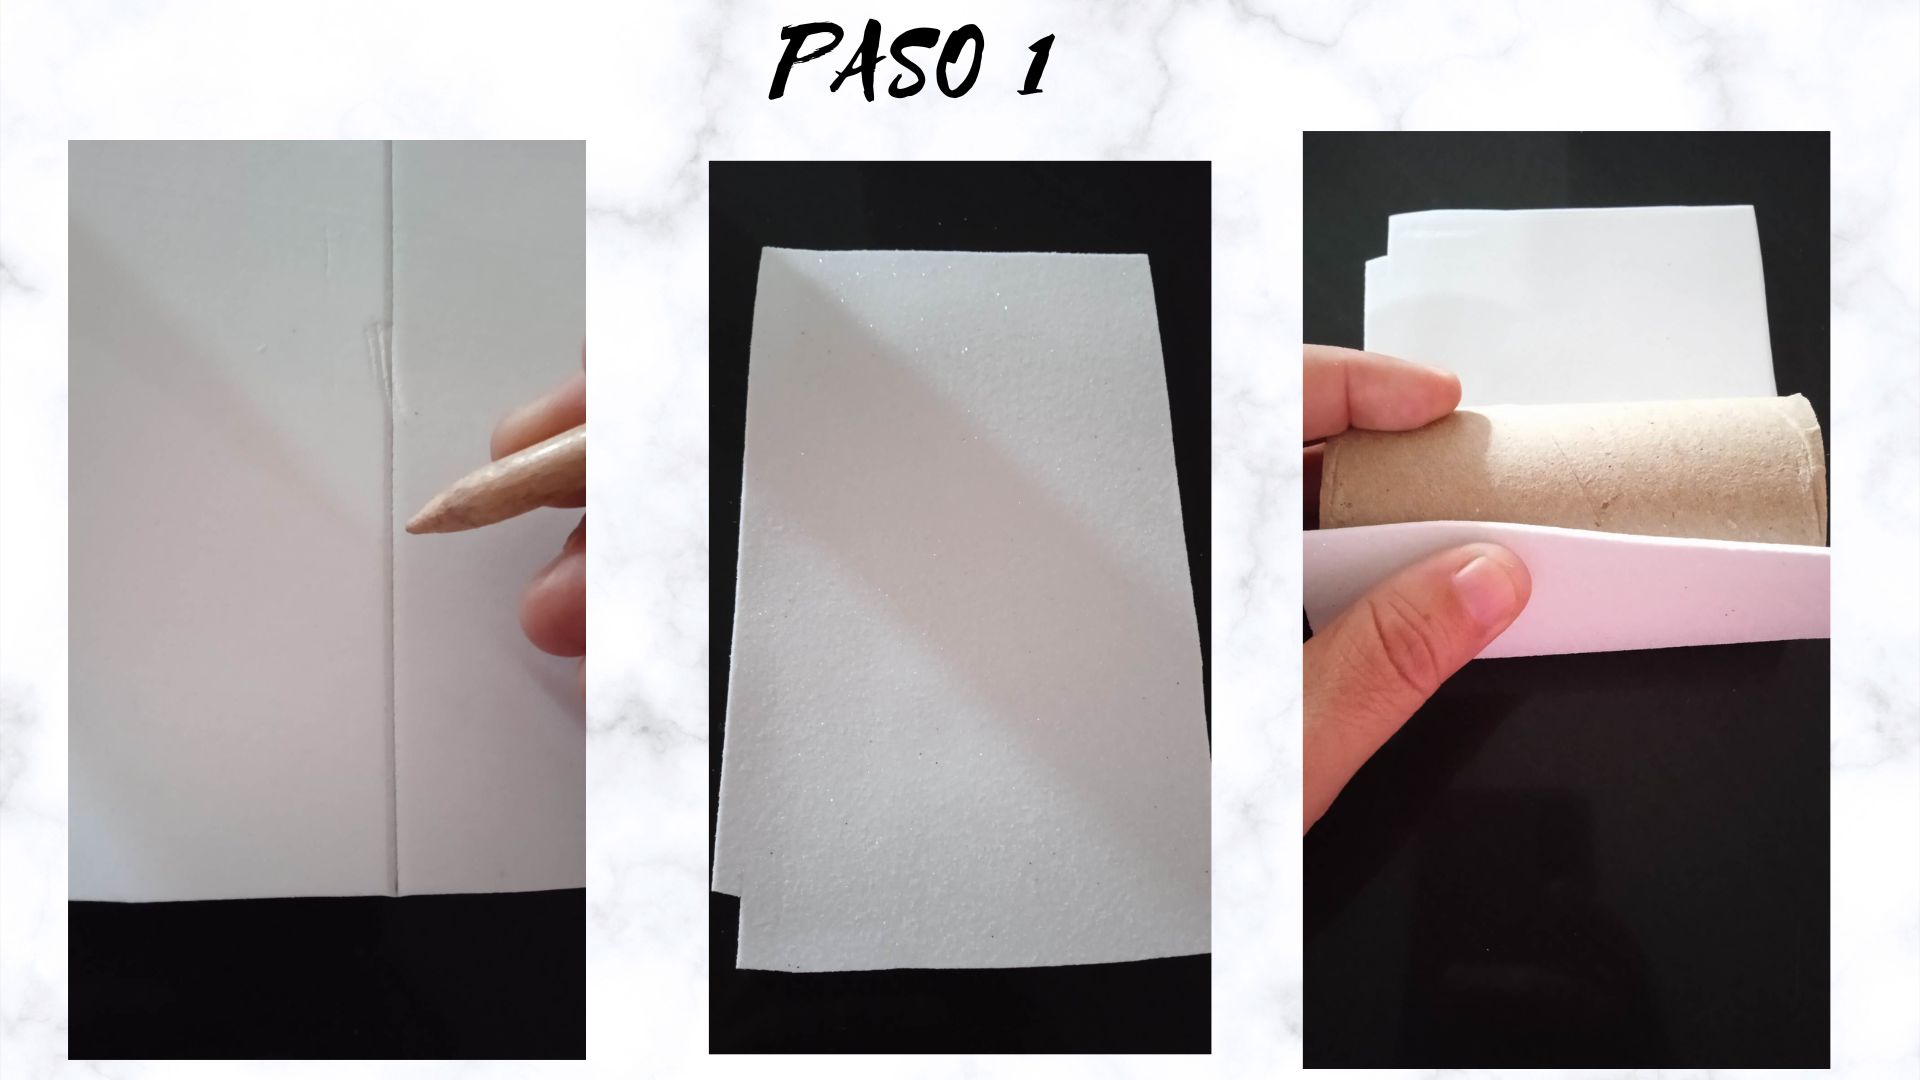
- Paso 1: Primero marcamos en el foami blanco las medidas para el tubito de papel, recortamos y seguidamente procedemos a forrar por completo el tubito de papel higiénico.
- Step 1: First we mark on the white foami the measurements for the paper tube, cut it out and then we proceed to completely cover the toilet paper tube.
.jpg)
- Paso 2: Una vez forrado el tubito de papel, colocamos el molde de mariposa sobre el foami rosado, marcamos y recortamos, debemos sacar 2 partes iguales de diferentes colore y tamaños. una parte más peuqeña que la otra.
- Step 2: Once the paper tube is lined, place the butterfly mold on the pink foami, mark and cut out, we must get 2 equal parts of different colors and sizes, one part smaller than the other.
.jpg)
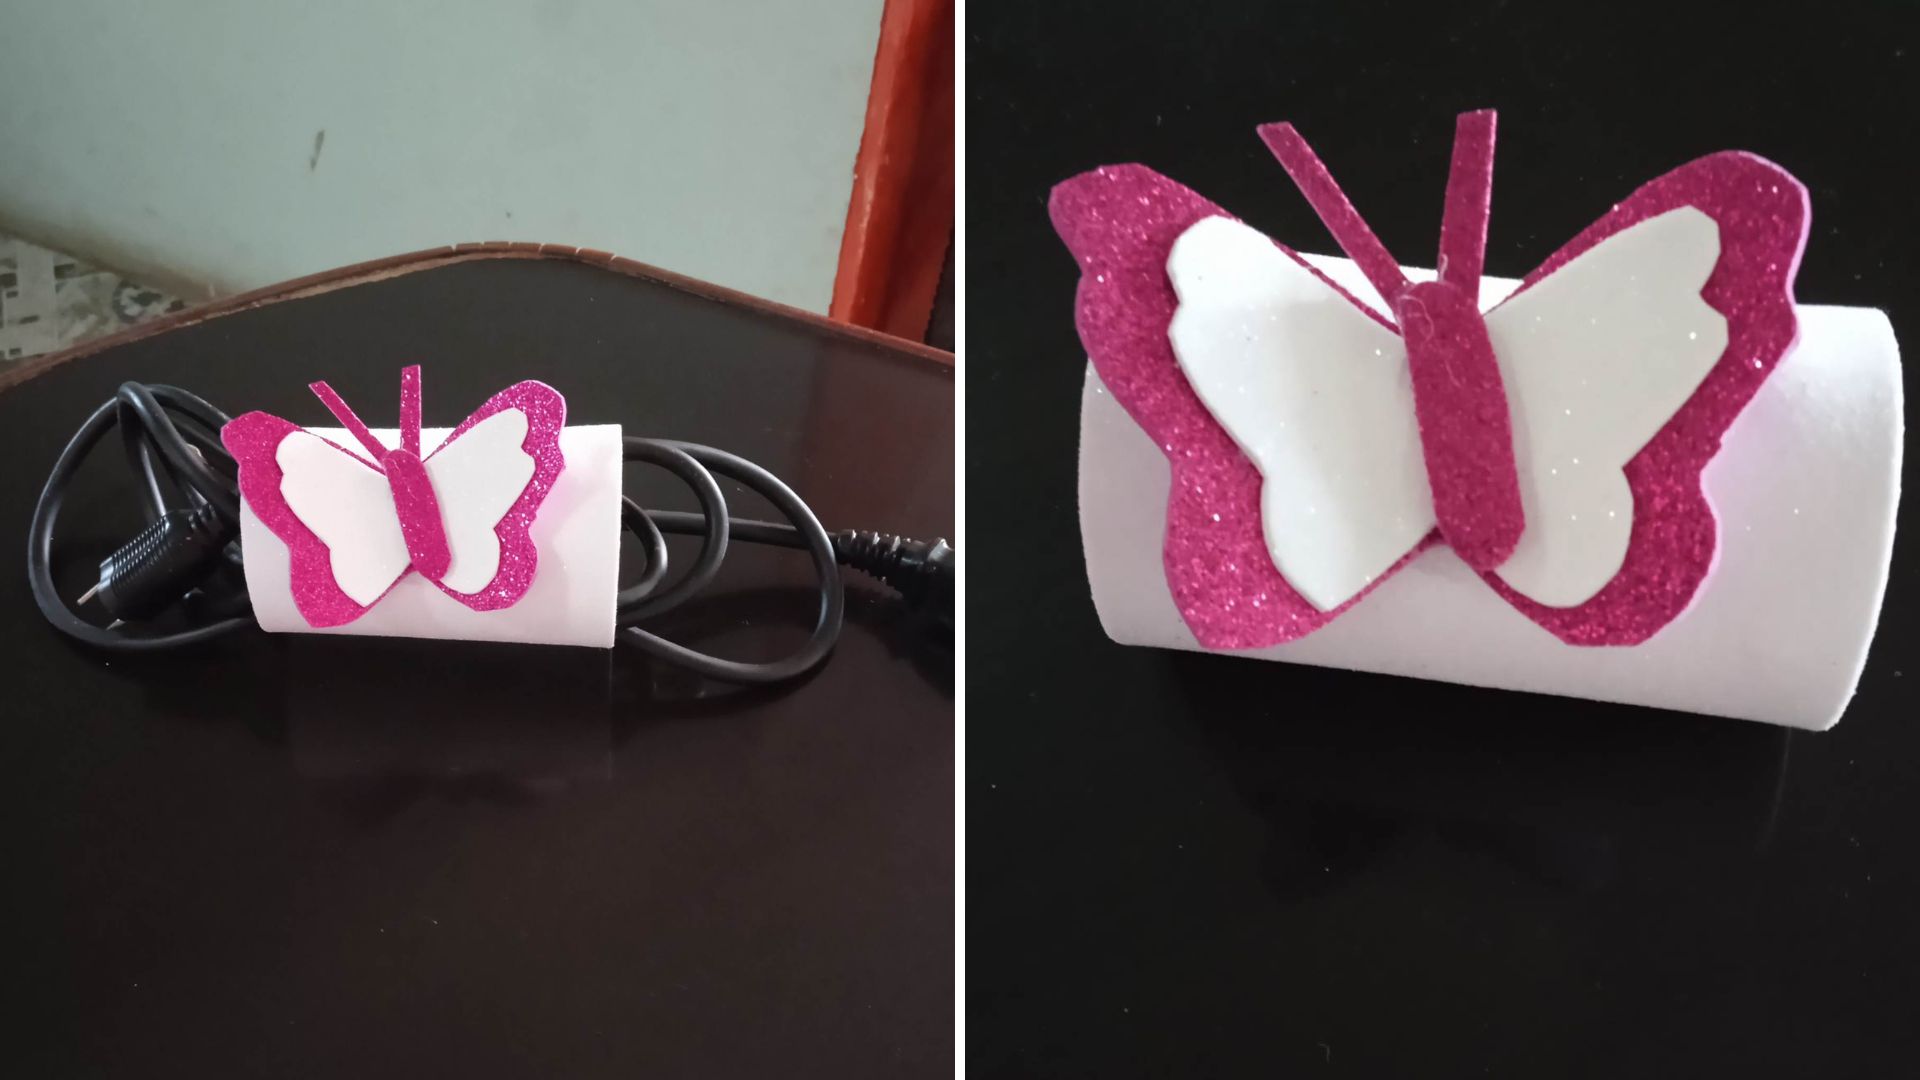
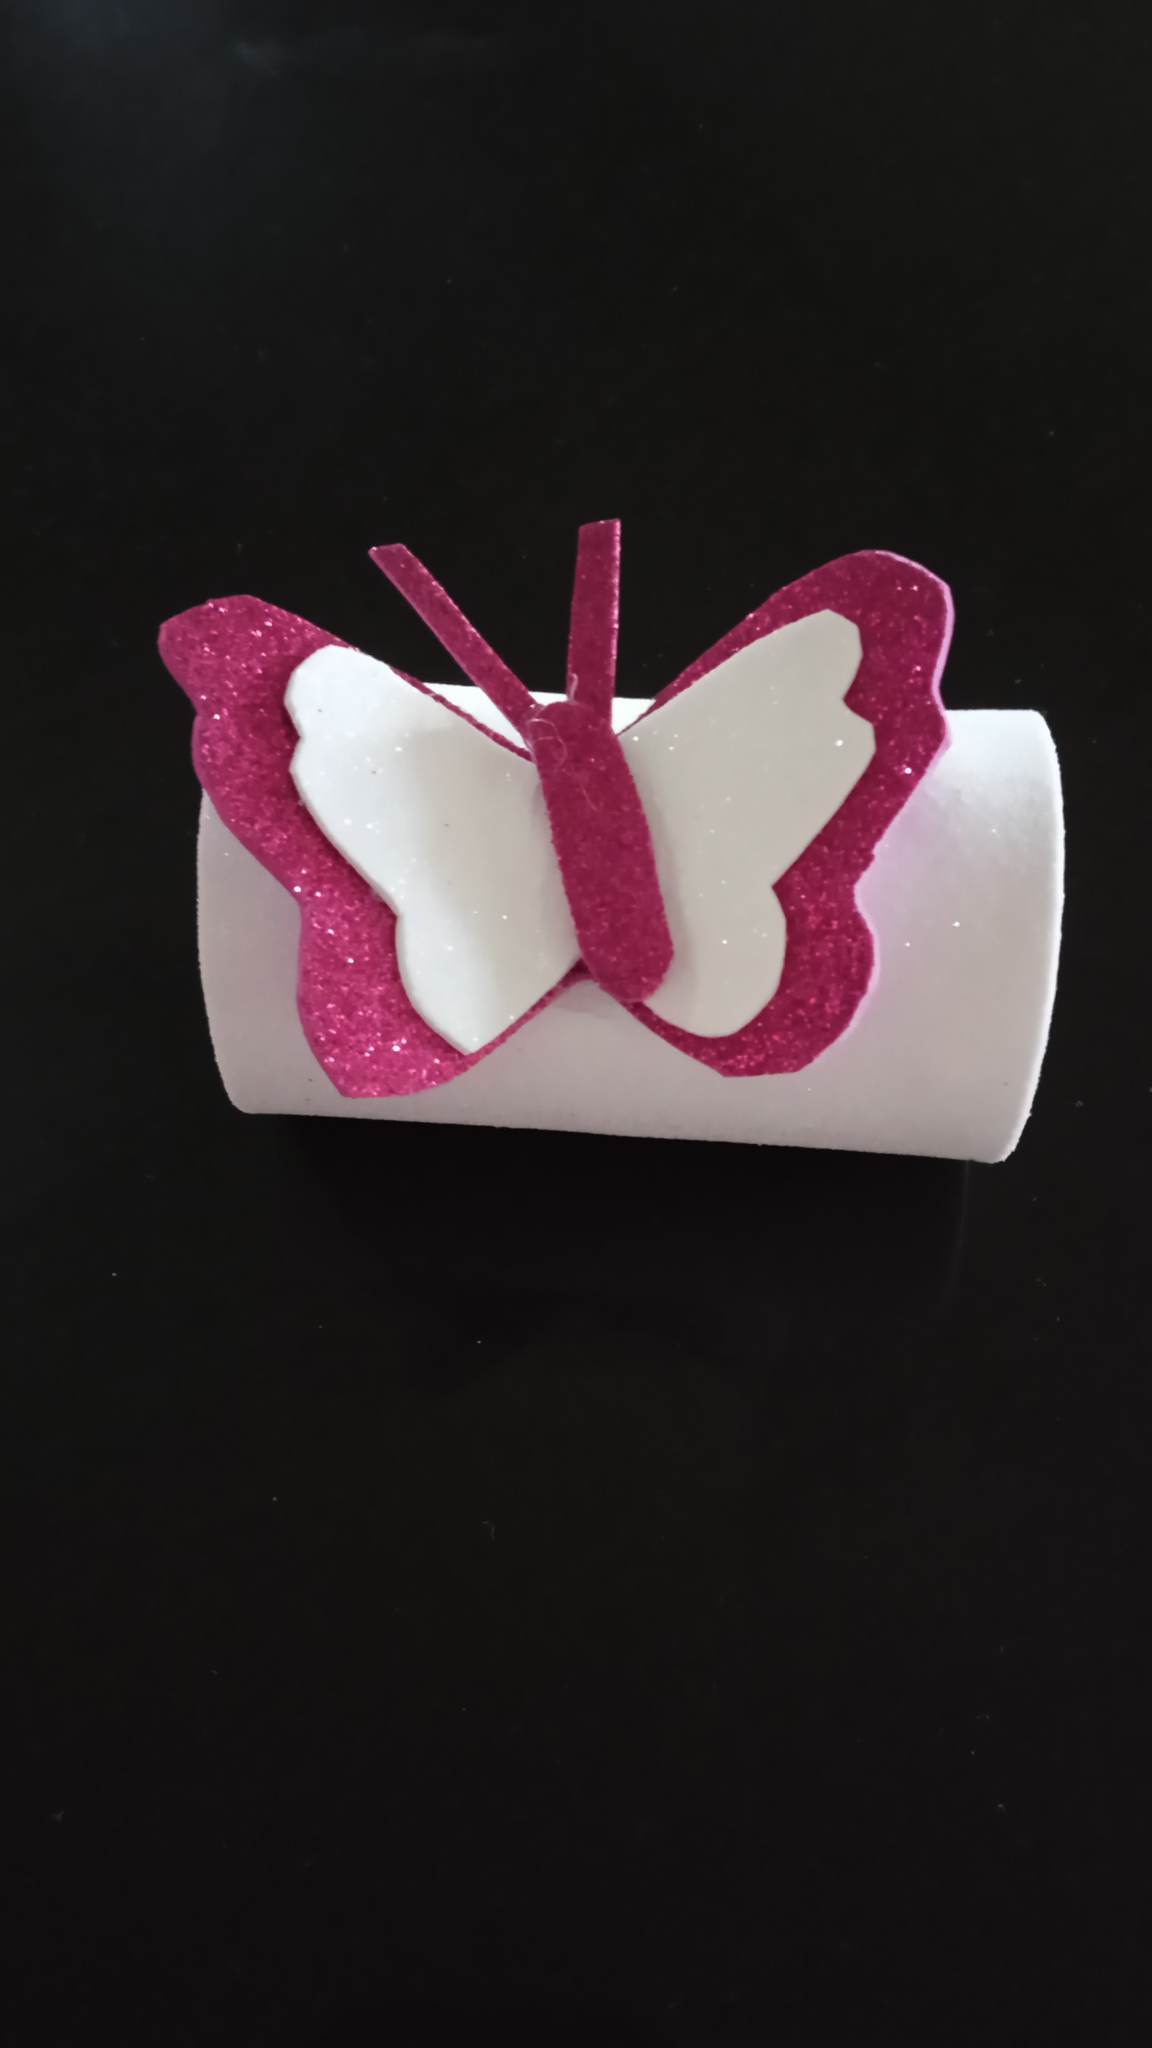
- Paso 3: Luego de recortar la mariposa, la armamos y por último la pegamos en la parte delantera del tubito de papel higiénico, cabe destacar que usted puede utilizar los colores de su preferencia, y los diseños de su preferencia, pegada la mariposa tenemos listo nuestro organizador para cables, podemos colocar dentro esos cables que muchas veces tenemos tirado en cualquier lugar o metidos en una gaveta.
- Step 3: After cutting out the butterfly, we assemble it and finally glue it on the front of the toilet paper tube, note that you can use the colors of your choice, and the designs of your choice, glued the butterfly we have ready our cable organizer, we can place inside those cables that we often have lying anywhere or tucked in a drawer.
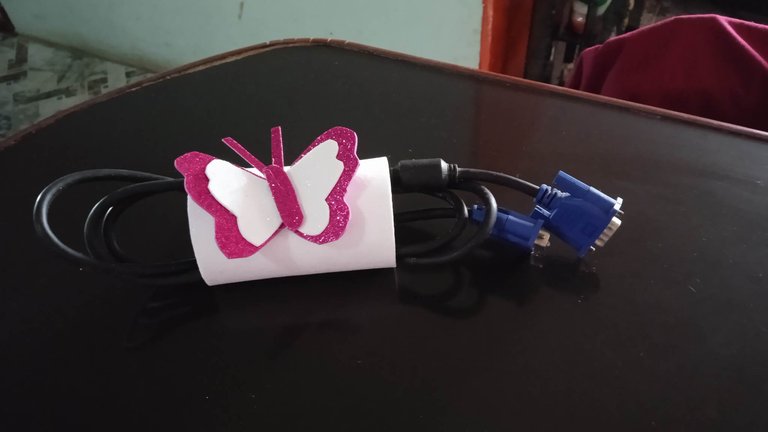
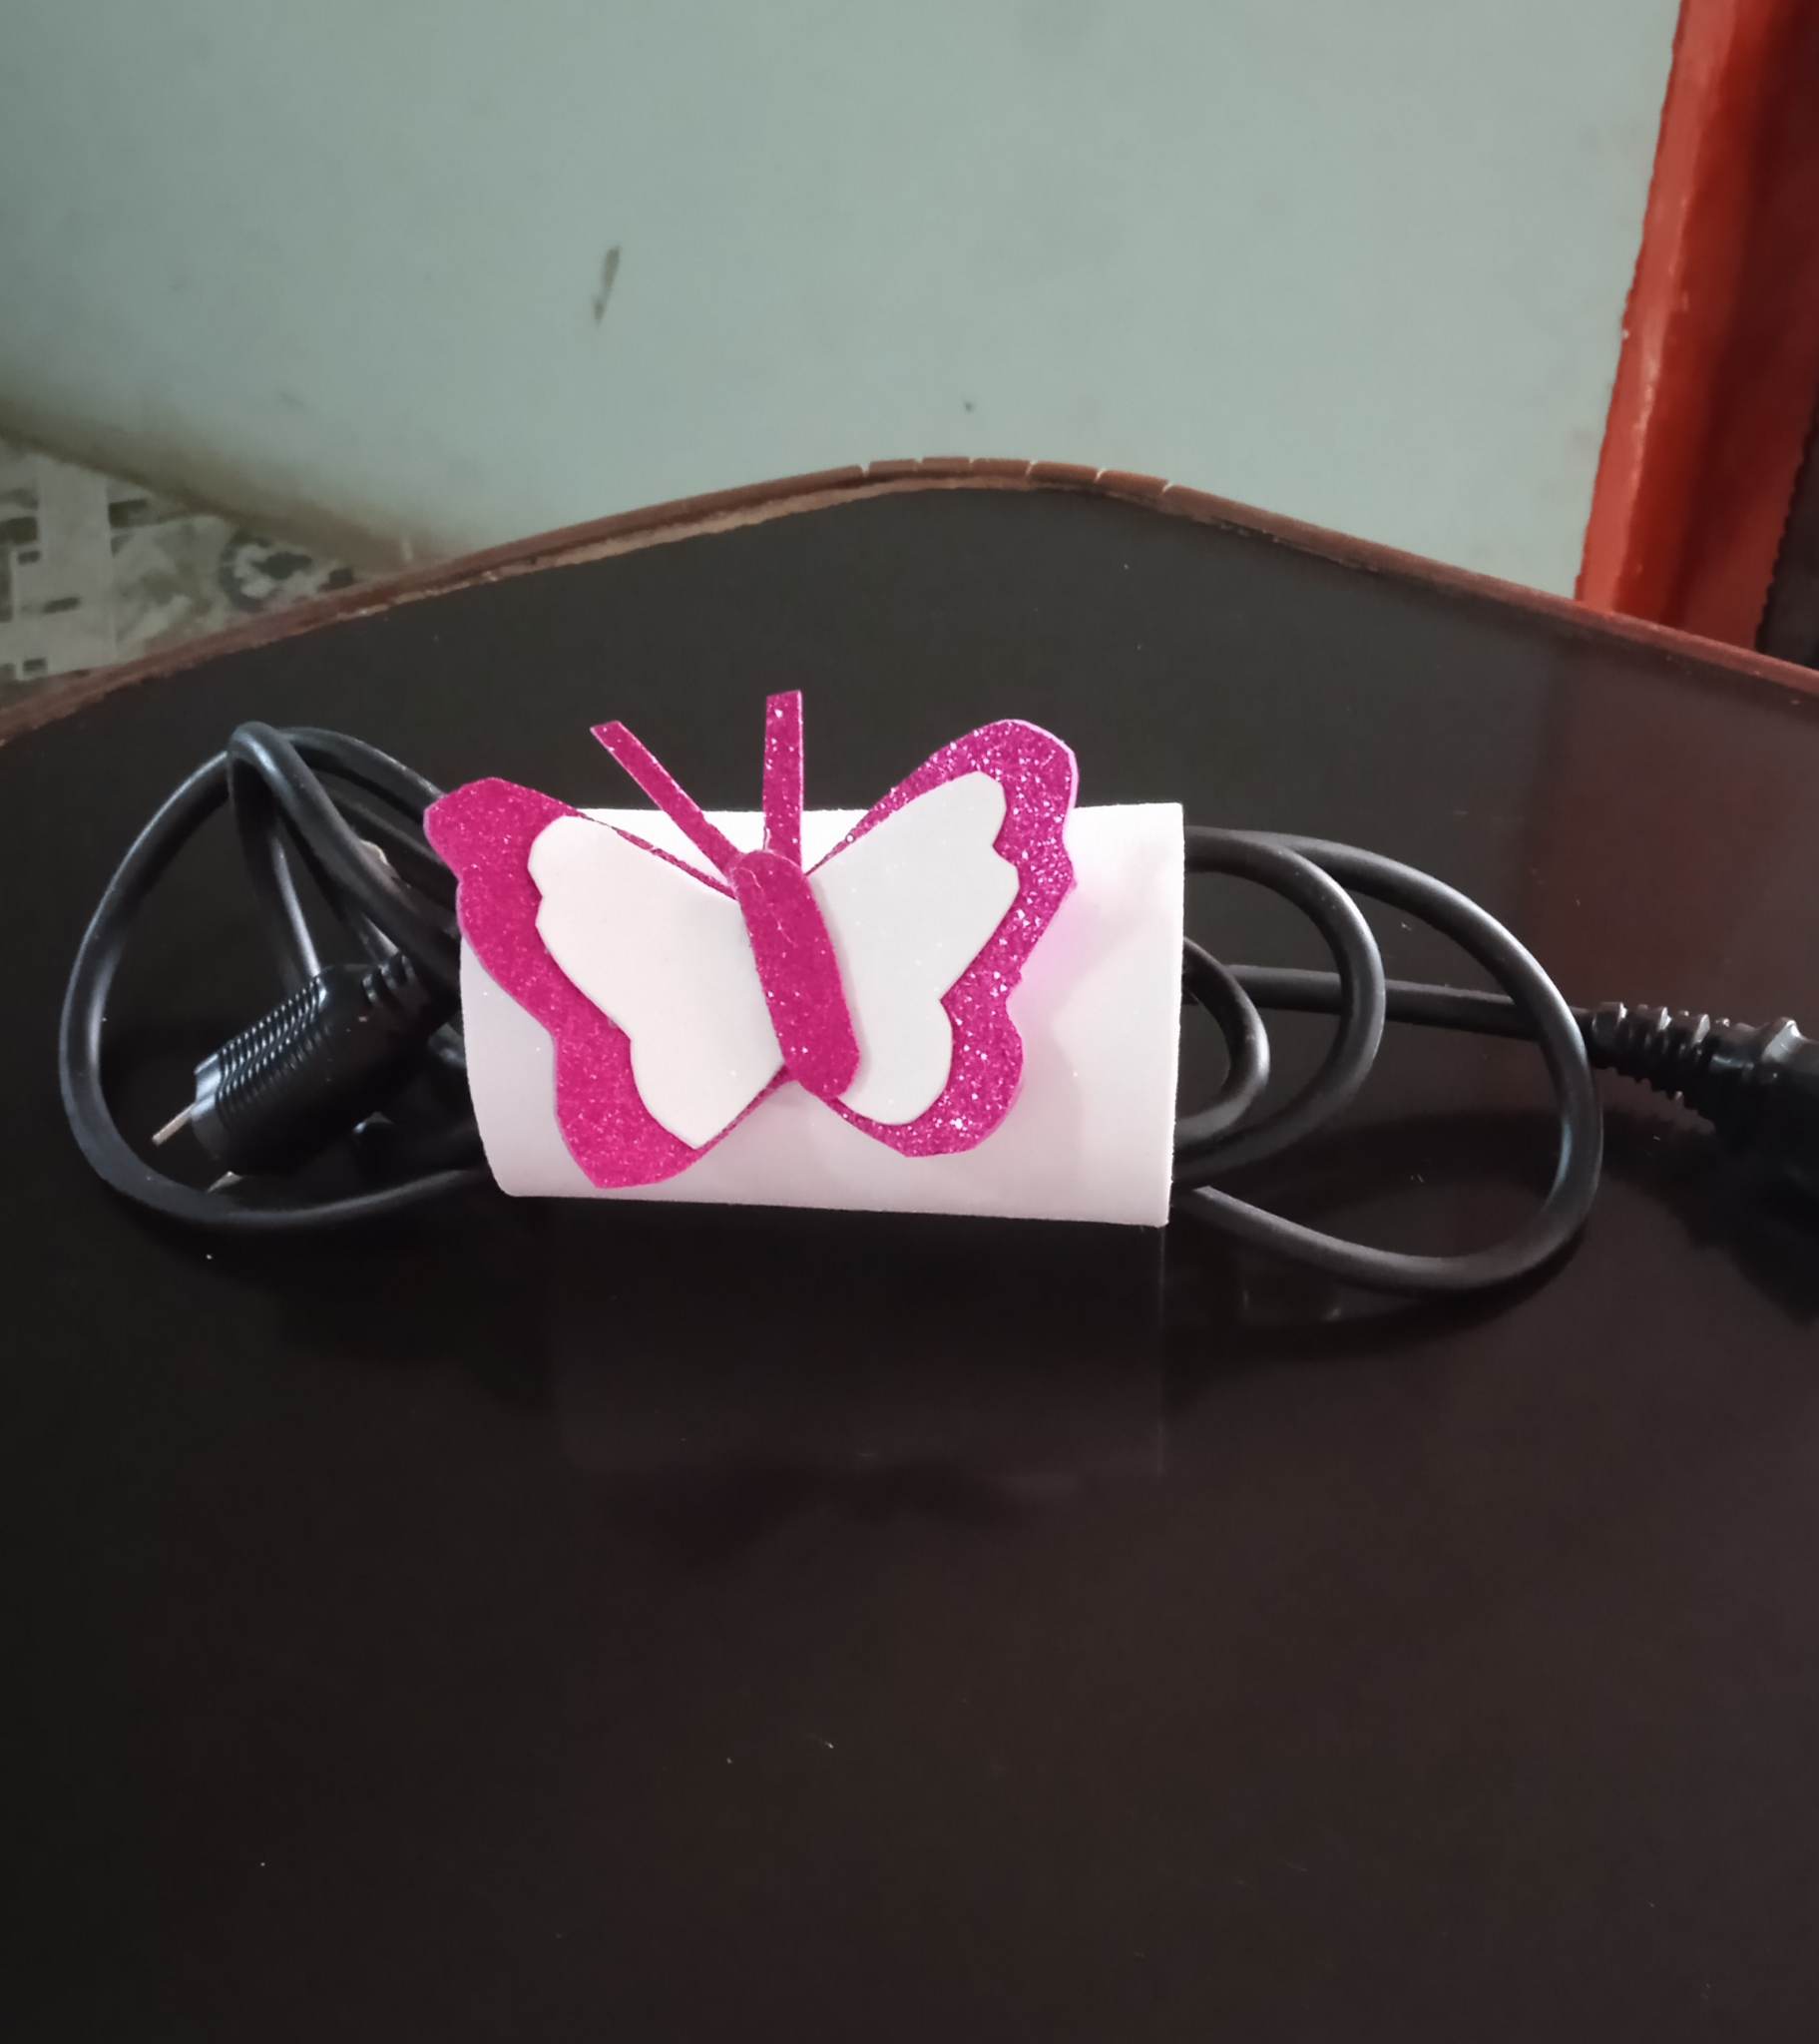
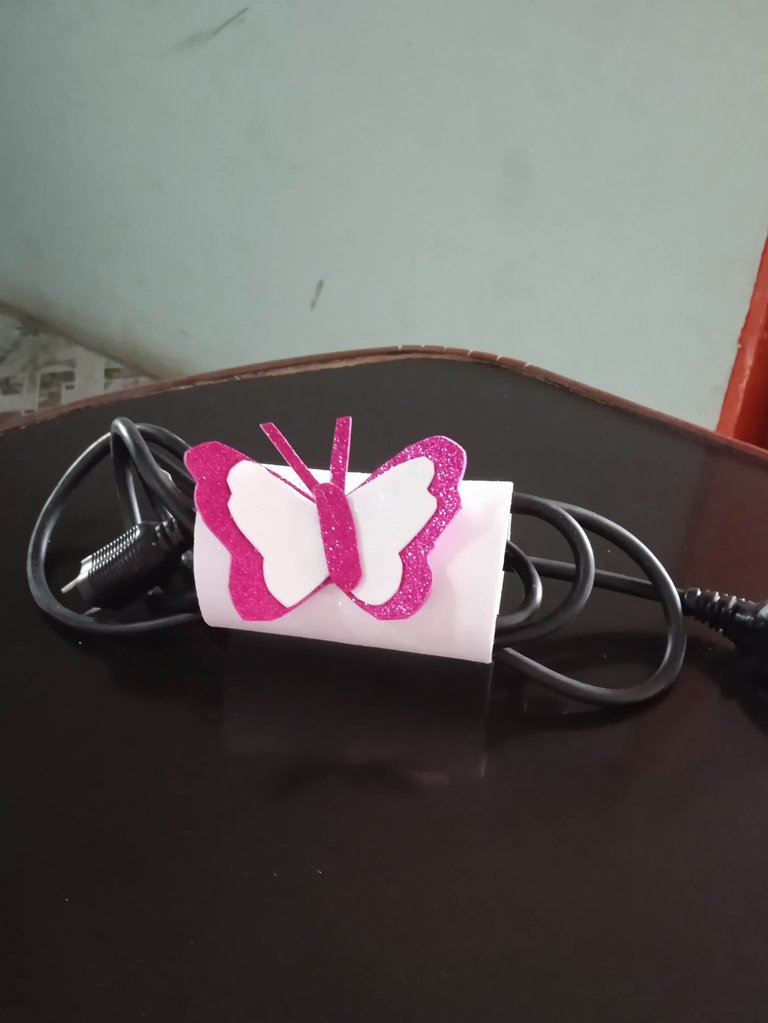
Aqui tenemos nuestro resultado final.
Here we have our final result.
.jpg) Todas las fotos son de mi autoría, y editadas desde canva
All photos are of my authorship, and edited from canva
Todas las fotos son de mi autoría, y editadas desde canva
All photos are of my authorship, and edited from canva