

Hola queridos amigos de esta colmena de @Holozing y @Hive, espero que se encuentren muy bien les deseo lo mejor, dias llenos de prosperidad abundancia y muchas ideas para crear contenido.
El dia de hoy les traigo una bonita idea de como realizar una pulsera solitaria con hermosas piedras inspirada en la Sanadora del bosque, siempre me ha encanto la naturaleza y más si puedo crear cualquier cosa me encanta publicar en esta comunidad ya que puedo inspirarme en personajes.
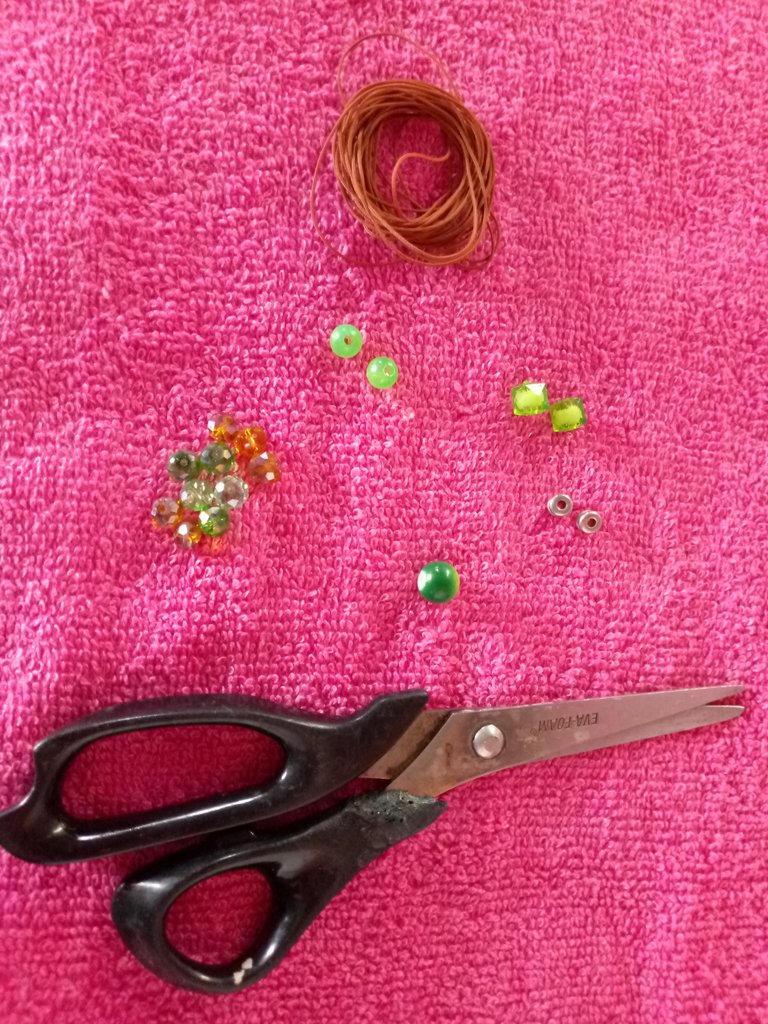
Los materiales que utilice en la elaboración de la pulsera solitaria inspirada en healer forest fueron los siguientes:

✅ SWAROVSKIS VERDES OSCURO Y CLAROS Y MARRON CLARO
✅ SEPARADORES PLATEADOS
✅ PIEDRA GRANDE VERDE
✅ DOS PIEDRAS VERDES CUADRADRAS
✅ ARO
✅ SEGURO
✅ TIJERA
✅ HILO CUERO SERPIENTE
!Ahora comencemos a Elaborar!

Paso 1
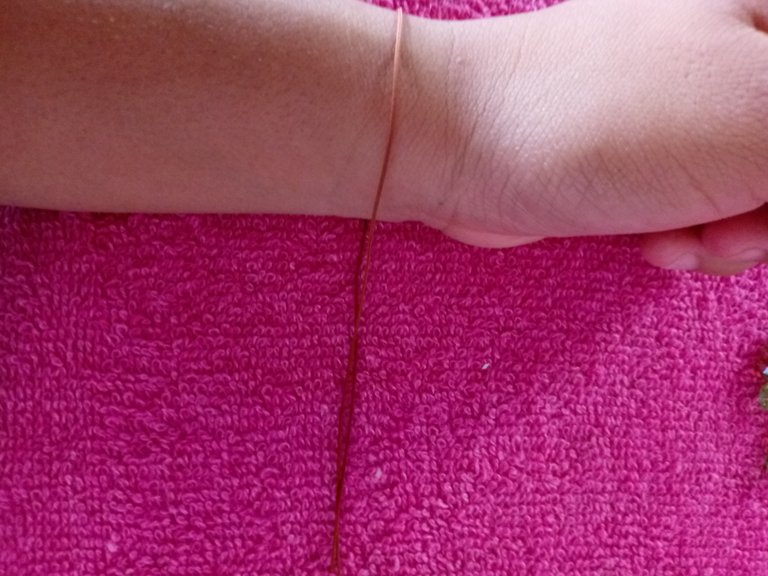
Lo primero que vamos a hacer es medir el nailon en la muñeca de nuestra mano de manera a que quede un poquito sobresaliente para asi poder hacer el cierre.
Tenemos que tener en cuenta que antes de hacer cualquier accesorio tenemos que hacer las medidas.
Paso 2
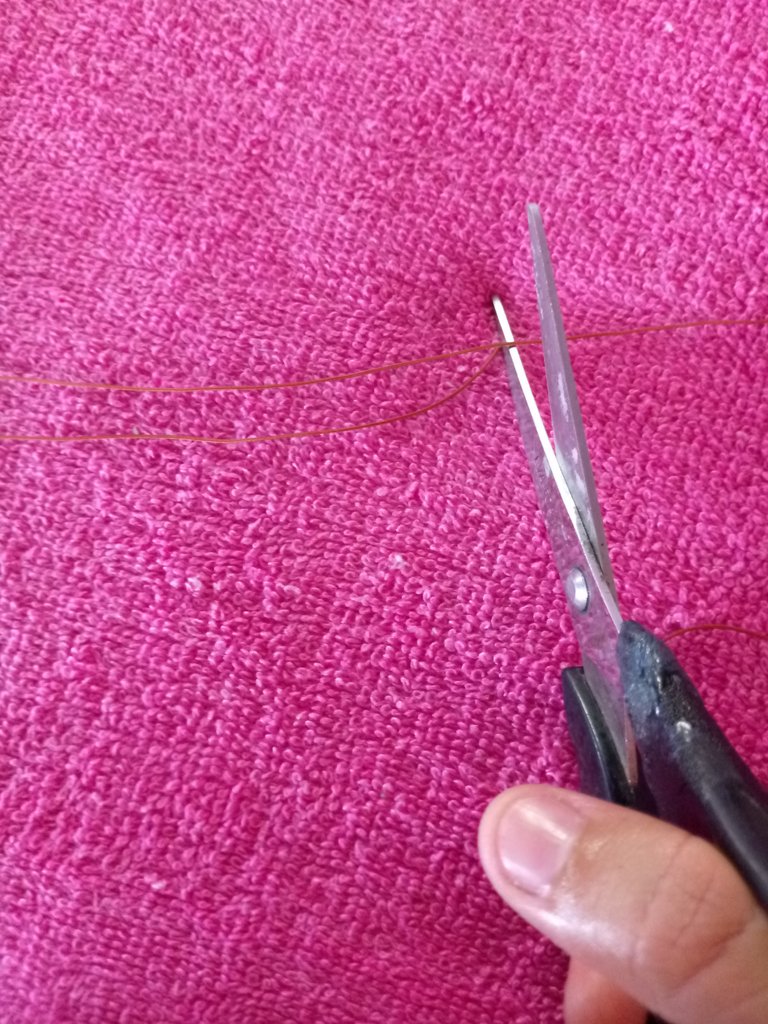
Luego lo que vamos a hacer es cortar el nailon con la tijera, asi de esta manera.
Paso 3
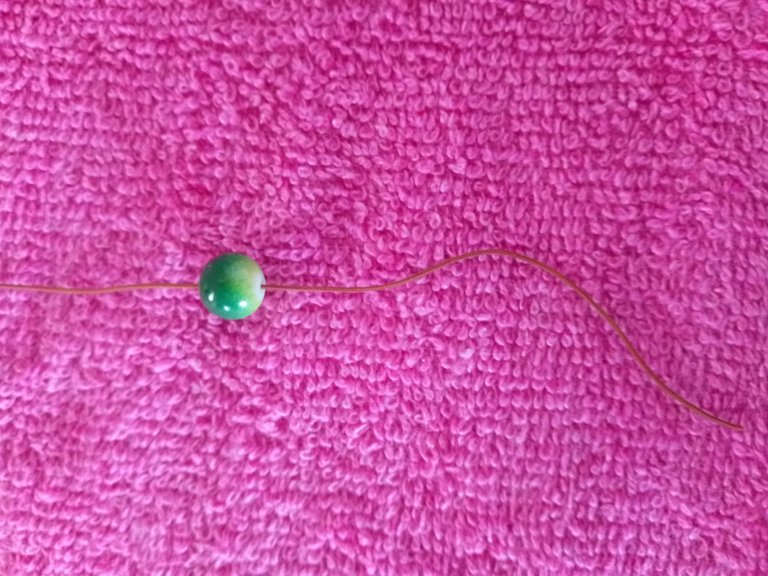
Ahora lo que vamos a hacer es ir introduciendo la piedra verde y luego asi empezamos hacer el procedimiento con nuestra pulsera.
Paso 4
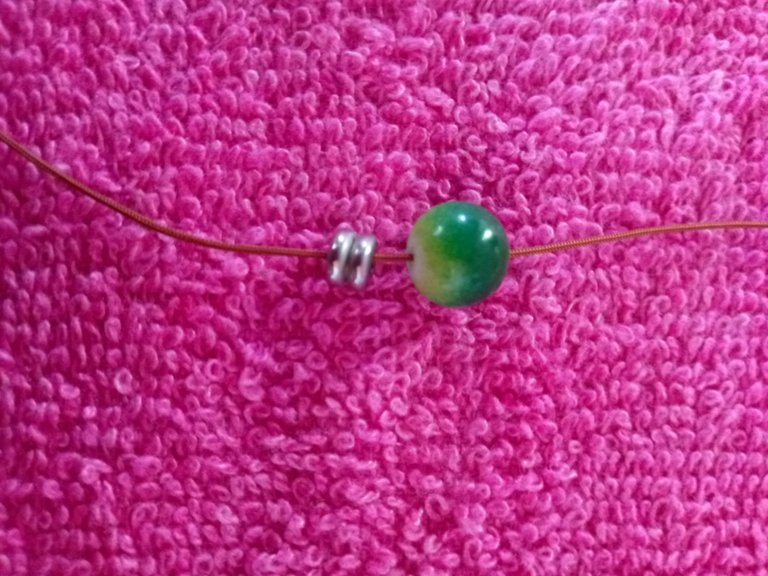
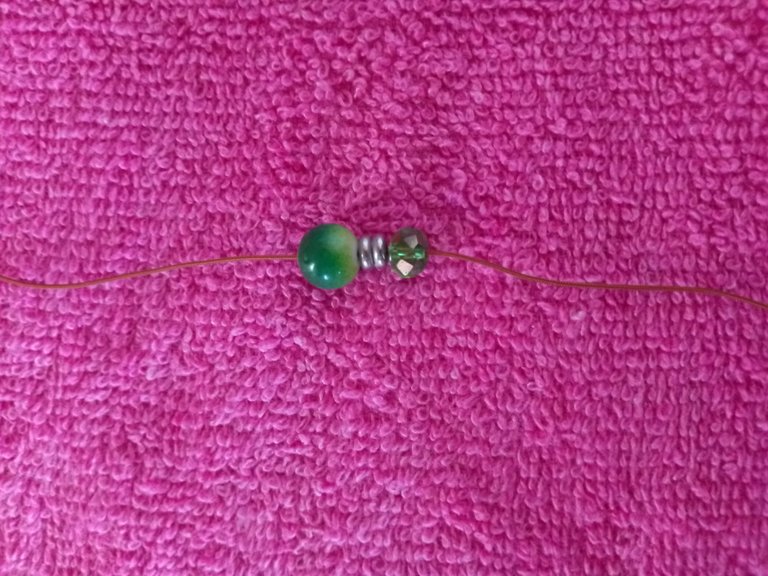
Ahora lo que vamos a hacer es poner el separador junto con el sharoswkis y luego de ese paso vamos a ir colocando piedras diferentes, con una forma de verde y marron verde marron osea las veces repetidas seran las misma veces que querramos colocar la cantidad de pasos.
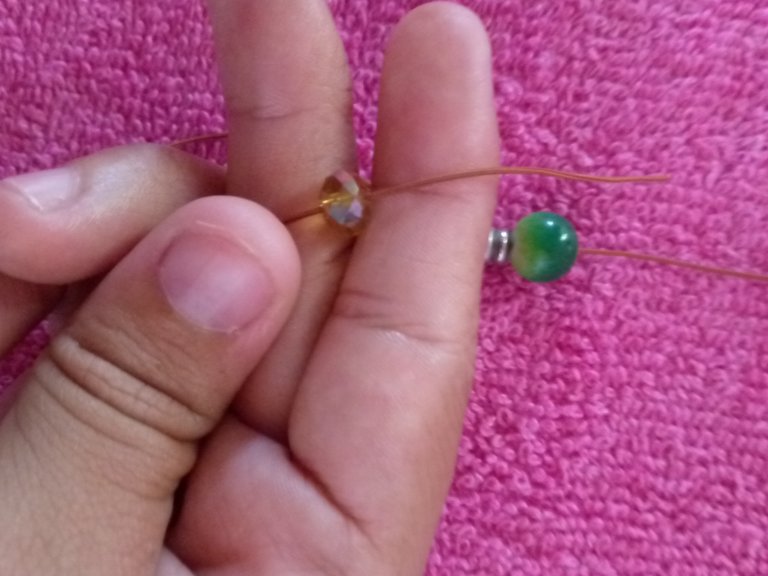

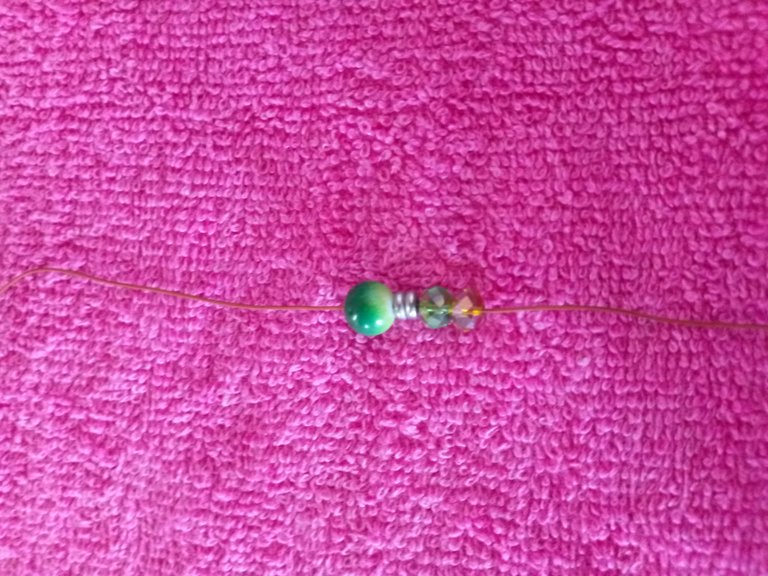
Y luego despues solo vamos a terminar con una de las piedras verdes.
Asi de esta manera lo que quise hacer es inspirado en healer forest ya que es la sanadora del bosque.
Paso 5
Por ahora despues de haber terminado lo que vamos a hacer es realizar un nudo de tres veces ya que es lo que va a permitir que quede estable las piedras en el hilo de manera solo vamos a realizarlo dos veces en cada lado.
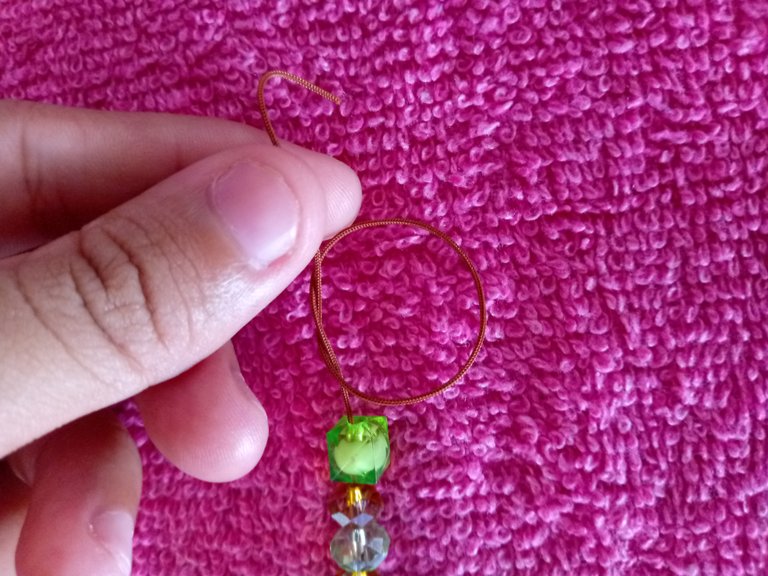
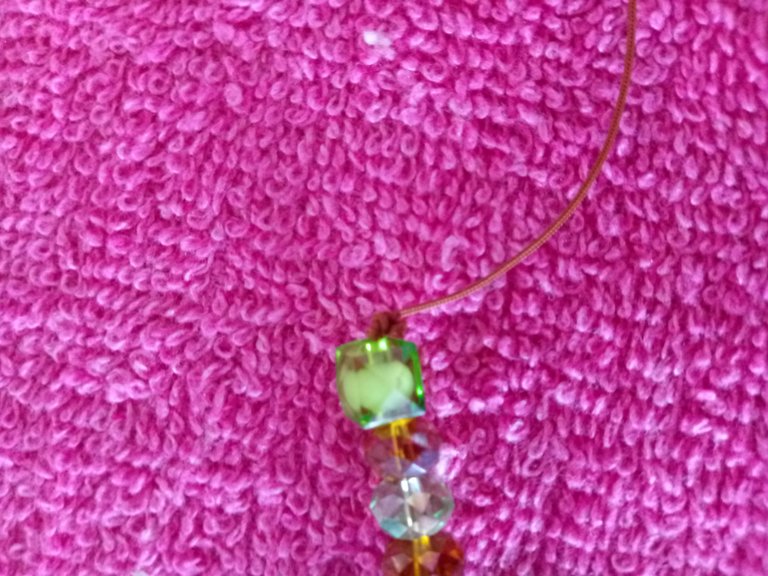

Paso 6
Ahora solo vamos hacer el ultimo paso que seria colocar el aro en uno de los lados colacandolo y realizado dos veces un nudo.
Para que quede estable de manera quw no se ruede y pueda quedar floja la pulsera.
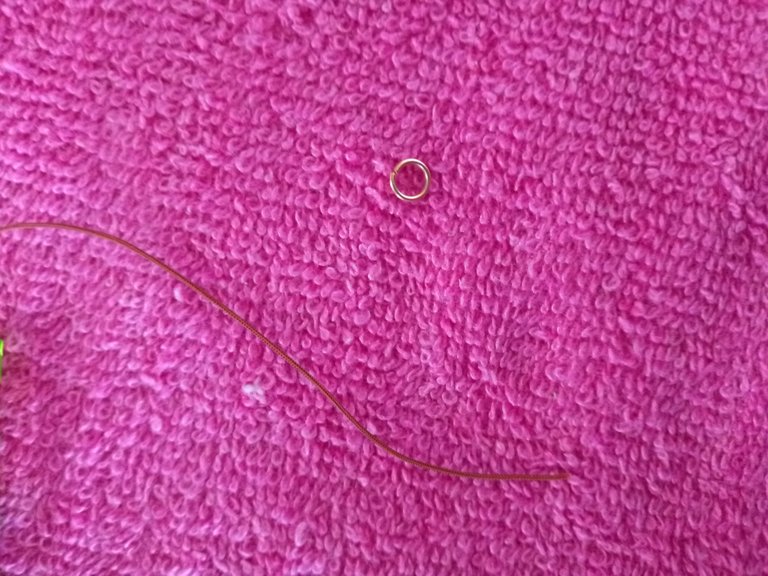

Ahora vamos a hacer el mismo procedimiento con el seguro y luego vamos a recortar el hilo sobrante que quede asi de esta forma.
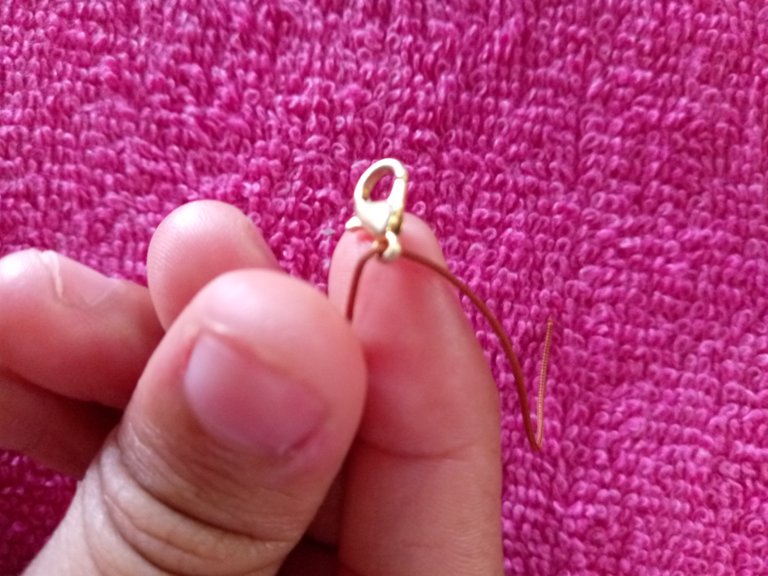
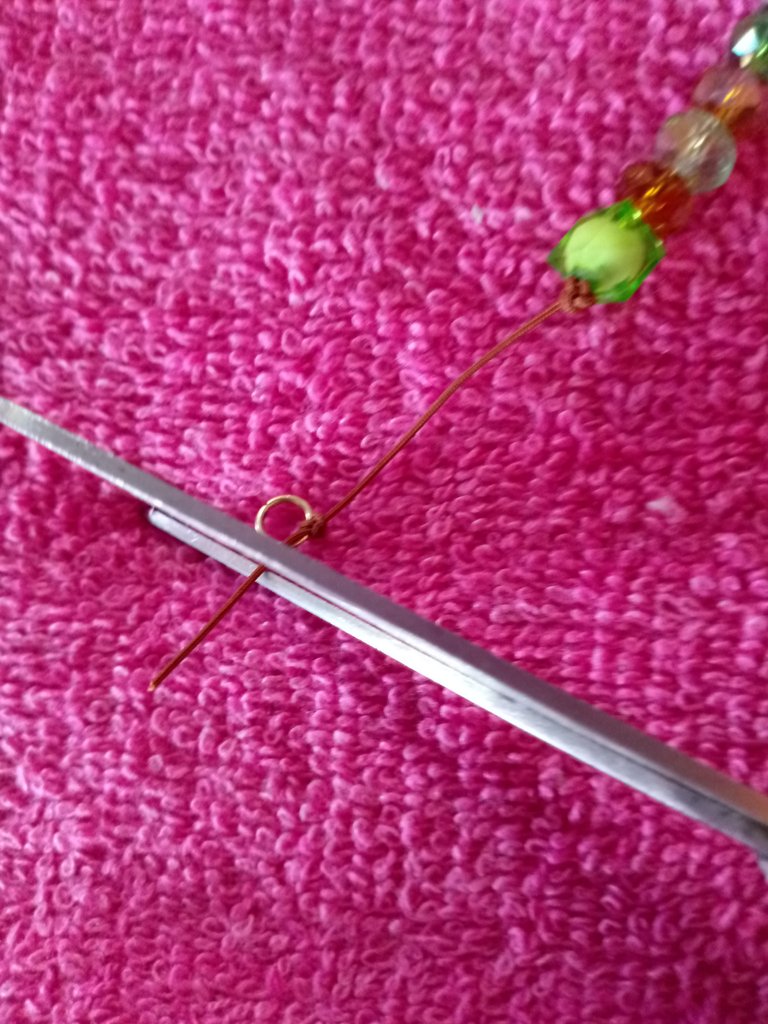
Bueno ahora solo nos queda lucir nuestra pulsera de manera que podamos expresar los bonitos colores, que tiene espero que puedan gustarles.

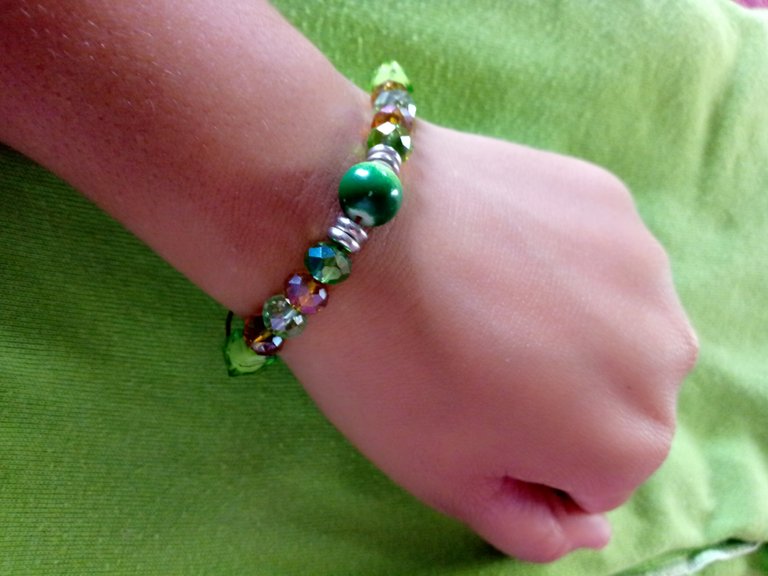
Amigos hasta la próxima les deseo lo mejor, gracias por pasar mis queridos lectores y espero sus comentarios.
Hasta la Próxima!🫂
- Las fotos son de mi autoria y me pertenecen.
- Traductor Utilizado:
- Foto Principal Editada mediante la aplicación de Canva.

🟢🟢🟢🟢🟢🟢🟢🟢🟢🟢🟢🟢🟢🟢


Hello dear friends of this hive of @Holozing and @Hive, I hope you are very well I wish you the best, days full of prosperity, abundance and many ideas to create content.
Today I bring you a nice idea of how to make a solitaire bracelet with beautiful stones inspired by the Healer of the forest, I have always loved nature and more if I can create anything I love to publish in this community because I can be inspired by characters.
The materials I used in the making of the solitaire bracelet inspired by healer forest were the following:

✅ DARK AND LIGHT GREEN AND LIGHT BROWN SWAROVSKIS
✅ SILVER SPACERS
✅ LARGE GREEN STONE
✅ TWO GREEN SQUARE STONES
✅ RING
✅ SECURITY
✅ SCISSOR
✅ SNAKE LEATHER THREAD

Now let's start to elaborate!

Step 1
The first thing we are going to do is to measure the nylon on the wrist of our hand so that it is a little bit protruding so that we can make the clasp.
We have to keep in mind that before making any accessory we have to make the measurements.

Step 2
Then what we are going to do is to cut the nylon with the scissors, like this.

Step 3

Now what we are going to do is to introduce the green stone and then we start the procedure with our bracelet.
Step 4


Now what we are going to do is to put the separator together with the sharoswkis and after that step we will be placing different stones, with a form of green and brown green brown brown osea repeated times will be the same times we want to place the number of steps.


And then we are only going to finish with one of the green stones.
So this way what I wanted to do is inspired by healer forest since she is the healer of the forest.
Step 5
For now after we have finished what we are going to do is to tie a three times knot as this is what will allow the stones to remain stable on the thread so we are only going to tie it twice on each side.


Step 6
Now we are only going to do the last step which would be to place the ring on one of the sides by placing it and tying a knot twice.
To make it stable so that it does not roll and can be loose bracelet.


Now we are going to do the same procedure with the latch and then we are going to trim the excess thread so that it looks like this.


Well now we just have to show off our bracelet so that we can express the beautiful colors that it has, I hope you like it.


I wish you all the best until next time, thank you for stopping by my dear readers and I look forward to your comments.
See you next time!🫂
- The photos are of my authorship and belong to me.
- Translator Used:
- Main Photo Edited using Canva application.

