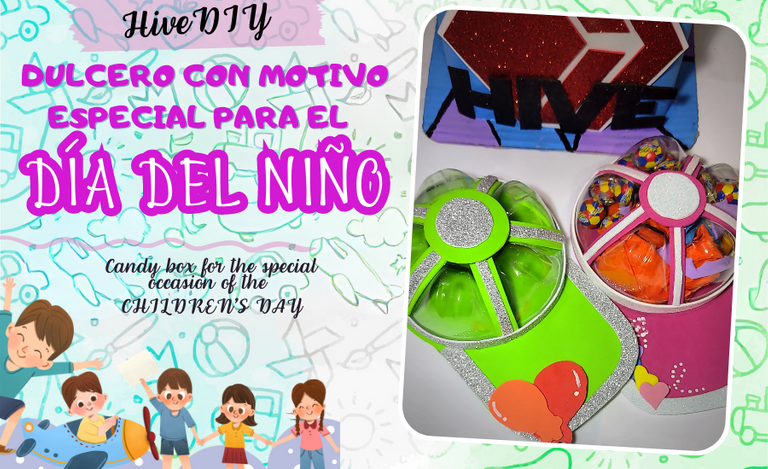
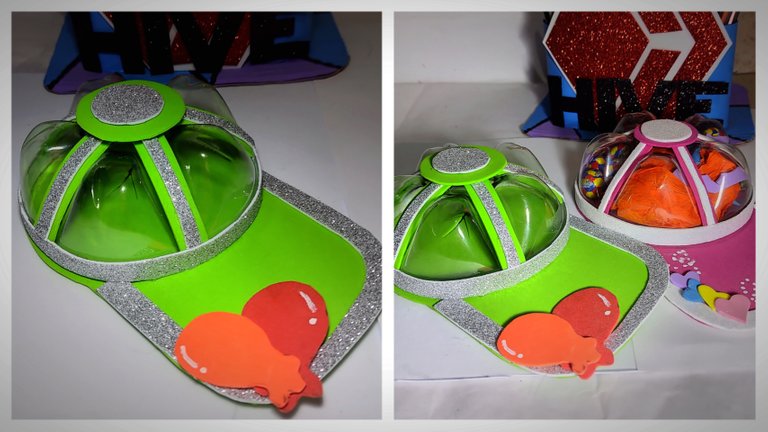
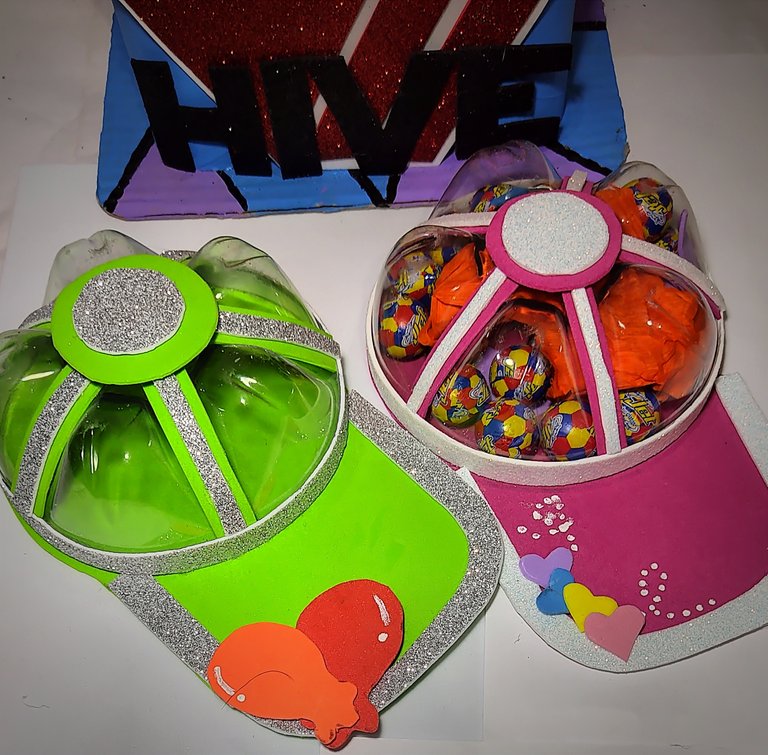
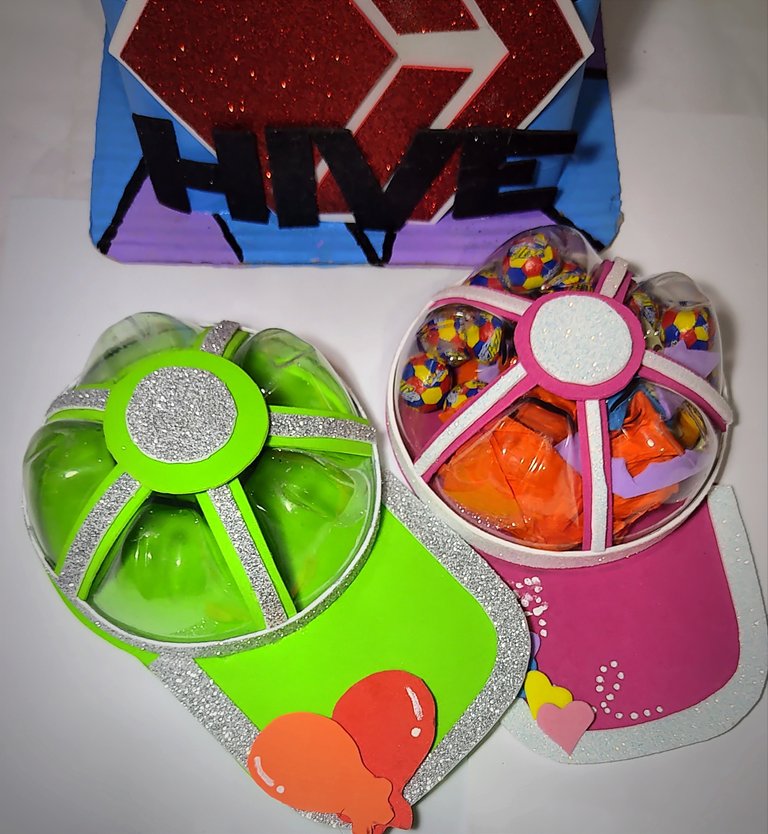
En Venezuela el tercer domingo de Julio, es celebrado como el día del niño, para este año es el domingo 16 de julio, esta es una fecha que en casa recibíamos con emoción no importaba la edad que nosotros tengamos, mamá y papá siempre se encargan de despertarnos con un rico desayuno especial, siempre diciendo para ellos siempre seríamos los niños de la casa. En esta ocasión te quiero mostrar una idea fácil para sorprender a los más chiquitos y de esta forma no dejes pasar ese gran momento incluso hasta sorprender ese niño interior que llevamos. Sin más preámbulos los materiales a utilizar son:
Welcome, creative friends🎨💜
Happy beginning of the weekend! I wish and hope from the bottom of my heart that you have a few days full of prosperity💜✨.
In Venezuela the third Sunday of July is celebrated as the day of the child, this year it is Sunday July 16, this is a date that at home we received with excitement no matter how old we are, mom and dad always take care of waking us up with a special breakfast, always saying that for them we would always be the children of the house. This time I want to show you an easy idea to surprise the little ones and in this way do not miss that great moment and even surprise that inner child that we carry. Without further ado, the materials to use are:
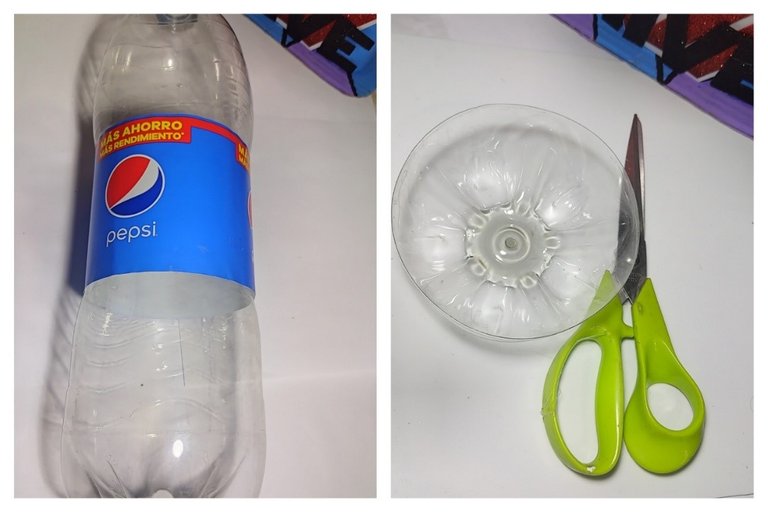
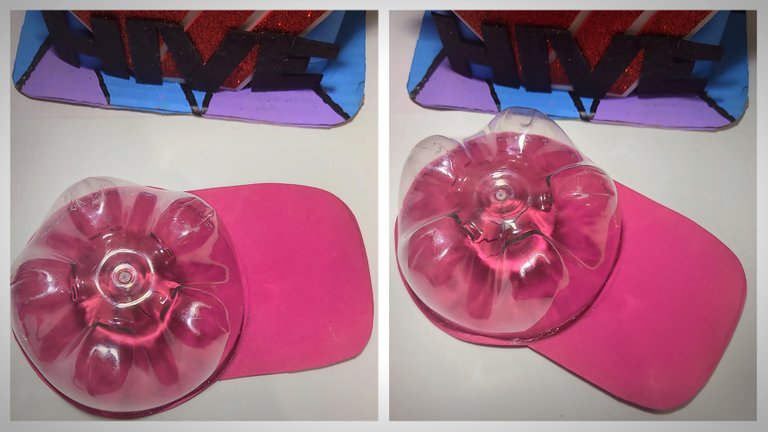
🧢 Paso 1: En mi caso utilice una botella de plástico de 2,5 litros y con ayuda de una tijera retire la parte final del mismo, justo en la primera línea que se aprecia en la botella pero en su parte final. .
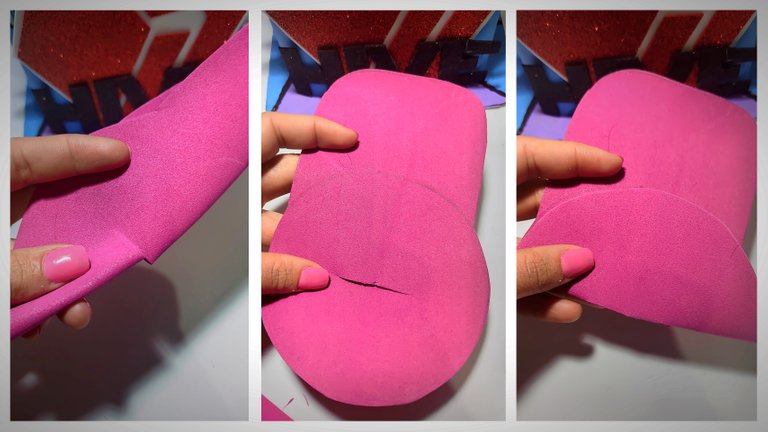
🧢 Paso 2: Ya recortado el plástico lo lleve al foami de color fucsia el cual presione un poco dejando la silueta del mismo. Seguidamente con ayuda de un compás realice el circule un poco más grande que la silueta. Luego realice unas pequeñas líneas y luego curva para unir estás y así formar por completo el dibujo de una gorra y después recorte.
🧢 Step 2: Once the plastic is cut out, take it to the fuchsia colored foami and press it a little, leaving the silhouette of it. Then with the help of a compass make the circle a little bigger than the silhouette. Then make a few small lines and then curve to join them and thus completely form the drawing of a cap and then cut it out.
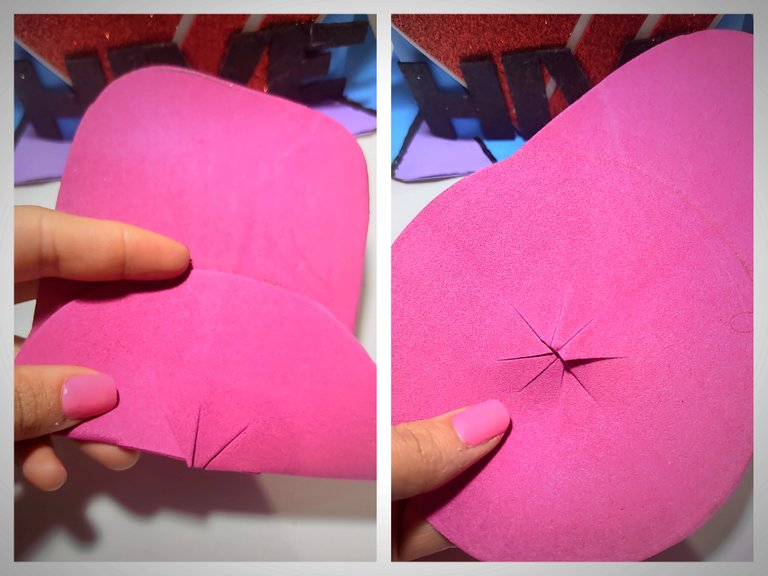
🧢 Paso 3: Uní las puntas de los círculos doblando el mismo a la mitad primero haciéndolo de un lado a otro, y realice un pequeño corte con la tijera. Luego doble de abajo hasta arriba, para luego hacer varios cortes quedando en forma de asterisco.
🧢 Step 3: I joined the ends of the circles by folding the circle in half first from one side to the other, and make a small cut with the scissors. Then fold from the bottom to the top, and then make several cuts in the shape of an asterisk.
🧢 Paso 4: Teniendo listo el corte en el centro de la gorra, pegue la botella de plástico que había sacado en el paso número uno.
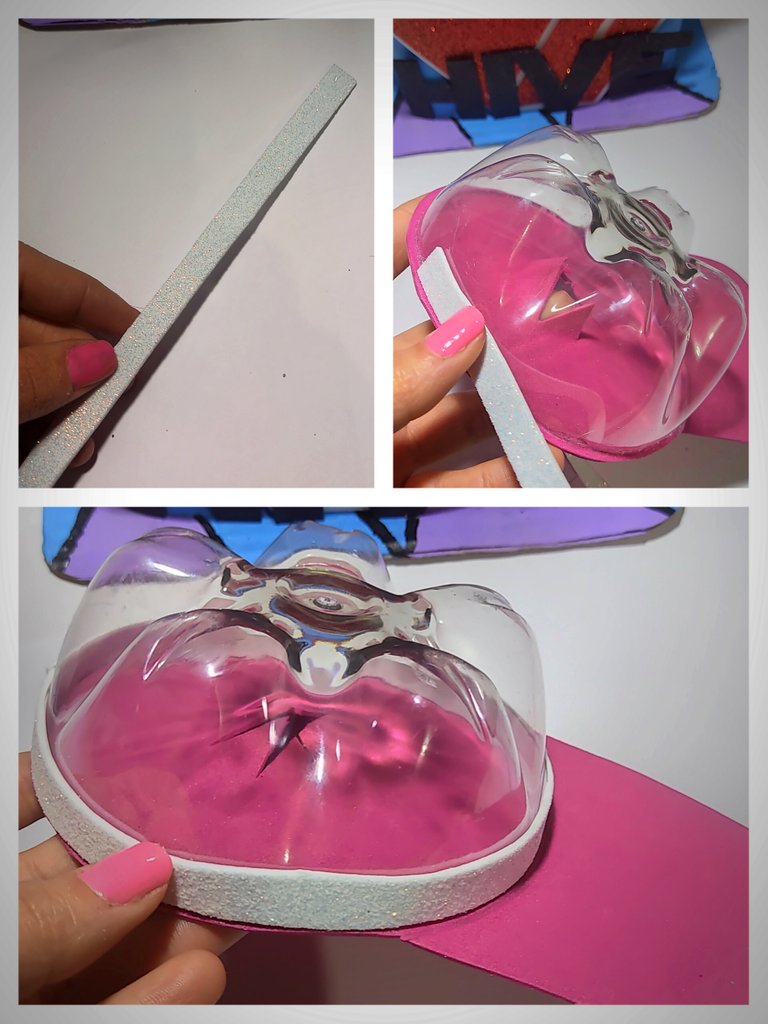
🧢 Paso 5: En un foami color blanco escarchado recorte una tira de 1cm de ancho x 35cm de largo, seguidamente pegue en todo alrededor del borde de la botella de plástico.
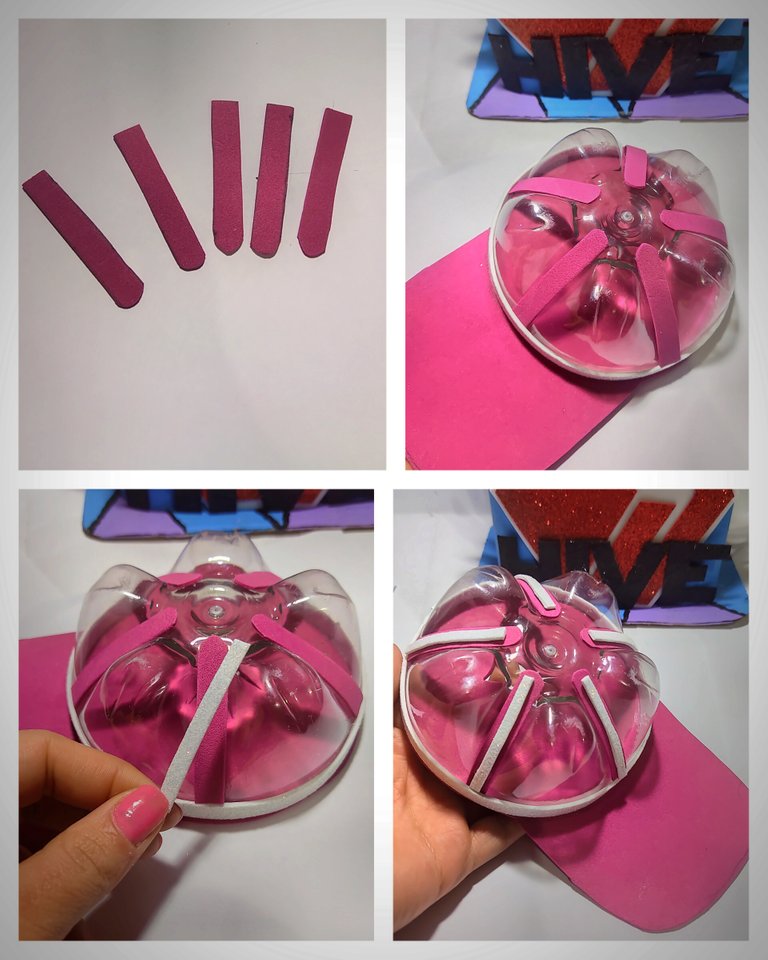
🧢 Paso 6: De foami color fucsia hice 5 tiras con un ancho de 1cm x 5,5cm de largo y pegue encima de la botella en esos espacios que van hondos, luego hice tiras en foami blanco escarchado más finas que las anteriores y pegue encima de las fucsias.
🧢 Step 6: I made 5 strips of fuchsia colored foami with a width of 1cm x 5.5cm long and glued them on top of the bottle in those spaces that go deep, then I made strips in frosted white foami thinner than the previous ones and glued them on top of the fuchsia ones.
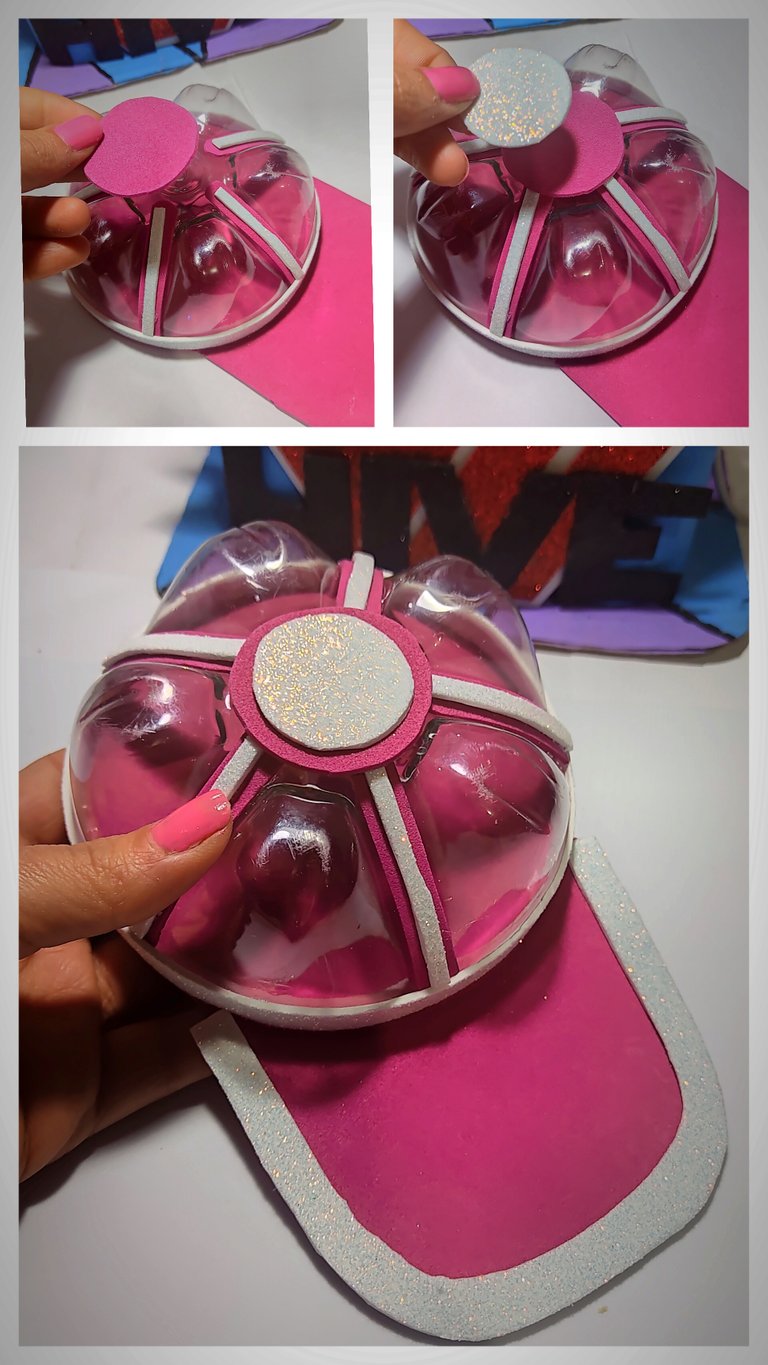
🧢 Paso 7: Realice dos círculos uno en color fucsia y el otro más pequeño en blanco escarchado y pegue. También realice un borde para la parte delantera de la gorra.
🧢 Paso 8: Como último detalle para decorar hice cuatro corazones en foami de colores diferentes y pegue en el borde de la gorra, luego con pintura al frio realice unos pequeños puntos.
🧢 Paso 9: Y para finalizar lo siguiente es rellenar el dulcero, en el cual los dulces entrarán por la parte de debajo de la gorra.
🧢 Step 8:As a last detail to decorate I made four hearts in foami of different colors and glued them on the edge of the cap, then with cold paint I made some small dots.
🧢 Step 9: And finally, the next thing to do is to fill the candy box, in which the candy will enter through the bottom of the cap.
Espero que te haya gustado este tutorial y que te animes a hacer tu propio dulcero con los colores y el relleno de tu preferencia. Deseo un pasen un grandioso Día del Niño💜
