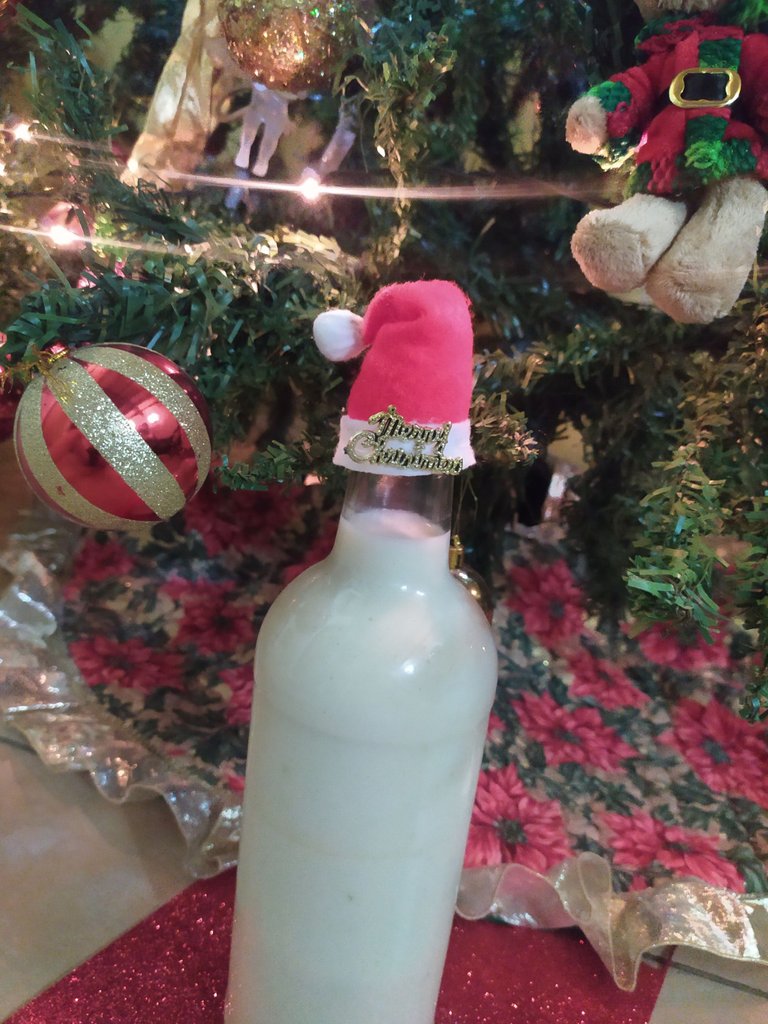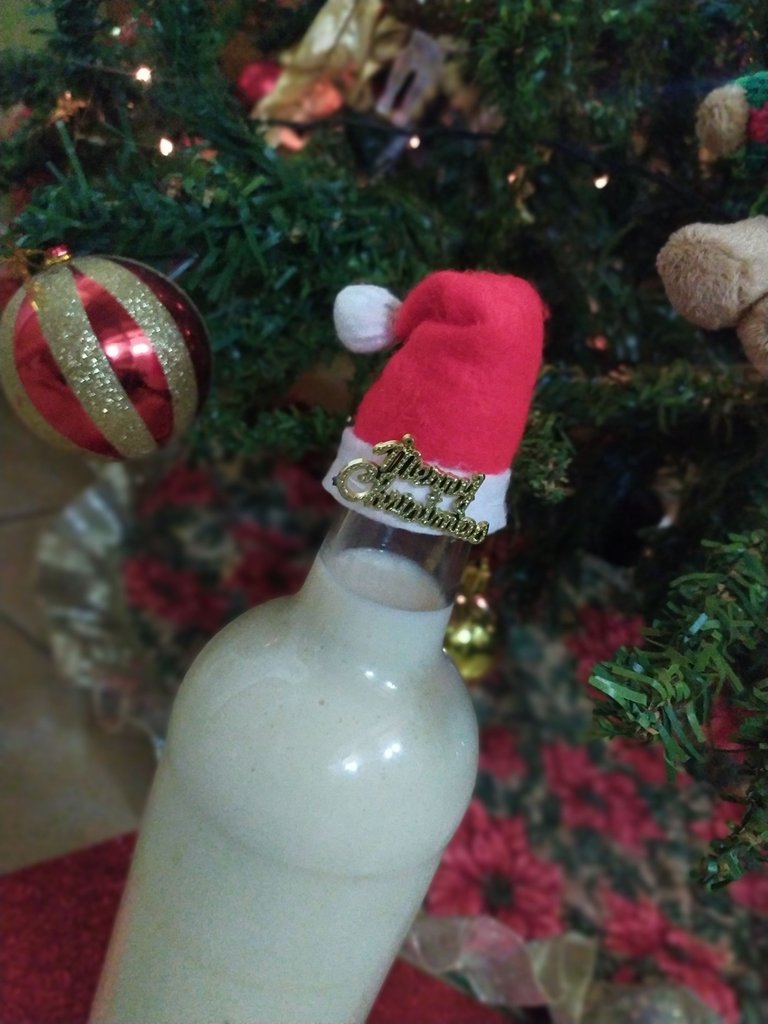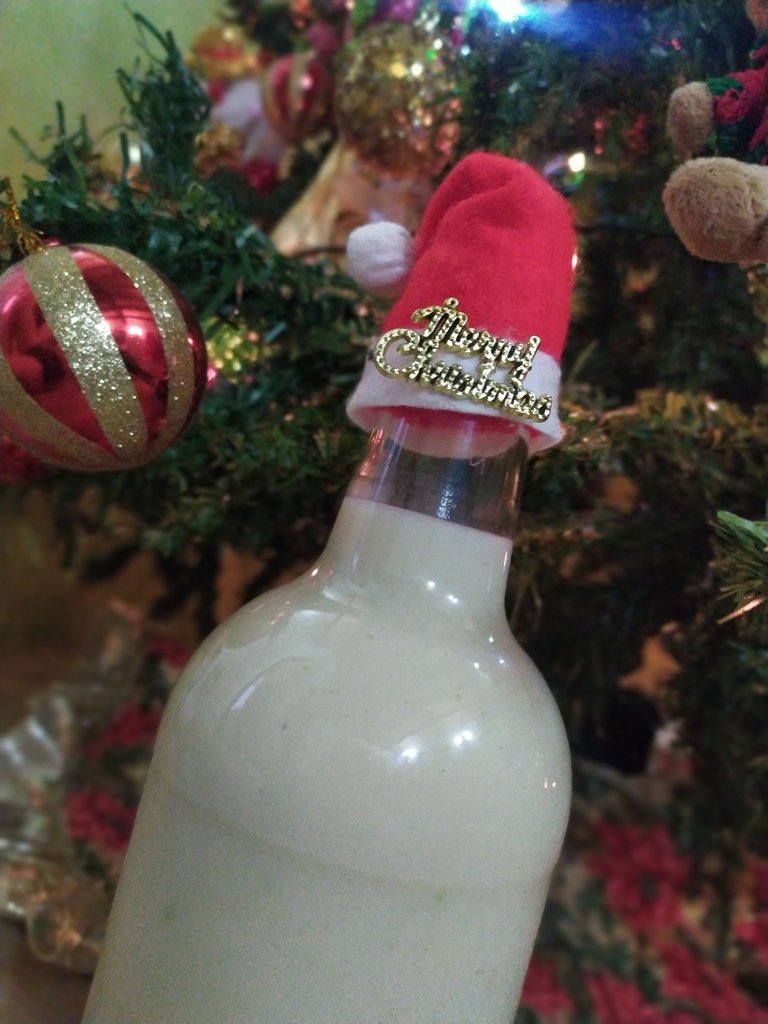
Hola queridos Hivers, espero que se encuentren súper genial. El día 24 de diciembre es un día especial, para disfrutar en familia, compartir y degustar exquisitos platillos y bebidas, es por ello que para ese día tan lindo, mi madre y yo preparamos un ponche crema casero, una vez lista, lo agregamos en una botella de vidrio rehusada, pero lucia un poco aburrida, y que mejor que decorarla con algún adorno navideño? Fue ahí cuando se me ocurrió la magnífica idea de realizar un pequeño gorrito de navideño para colocarla en la tapa de dicha botella y de esa manera darle una linda apariencia acorde al día y la ocasión. Les explico los procedimientos para la realización.
Hello dear Hivers, I hope you are super cool. December 24 is a special day, to enjoy with the family, share and taste exquisite dishes and drinks, that is why for that beautiful day, my mother and I prepare a homemade cream punch, once ready, we add it in A declined glass bottle, but it looked a bit boring, and what better way to decorate it with a Christmas ornament? It was there when I came up with the magnificent idea of making a small Christmas hat to place on the top of said bottle and thus give it a nice appearance according to the day and the occasion. I explain the procedures for the realization.

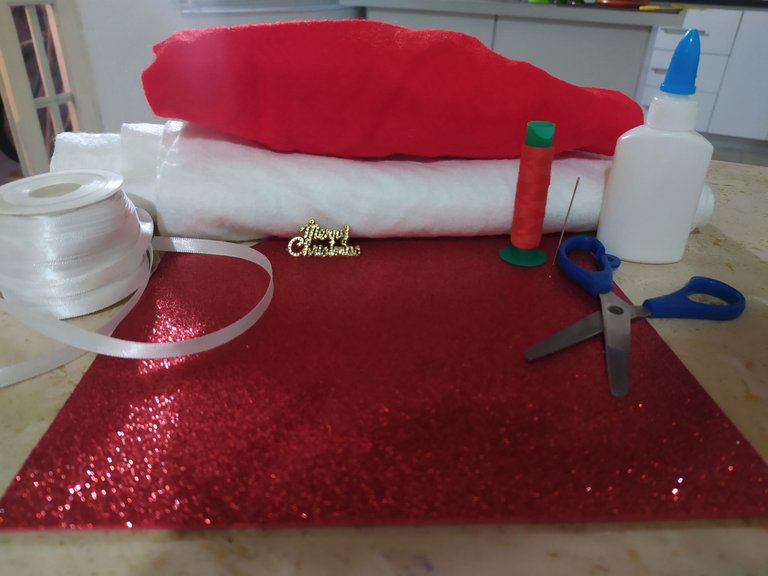
✓Materiales:
•Pegamento
•Tijera
•Hilo rojo y blanco
•Aguja
•Fieltro blanco y rojo
•Algodón
•Lápiz
•Adorno navideño reciclado
✓Materials:
•Glue
•Scissor
•Red and white thread
•Needle
•White and red felt
•Cotton
•Pencil
•Recycled Christmas ornament

✓Procedimiento:
✓Process:
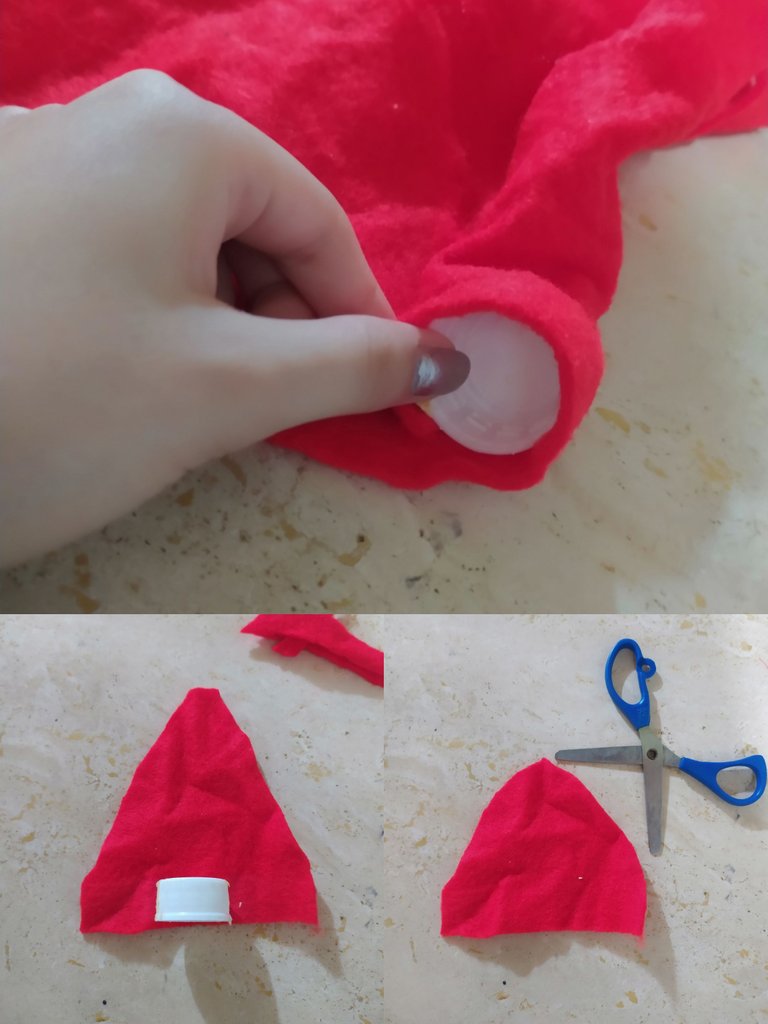
Paso 1: En el fieltro rojo debes medir el tamaño de la tapita que se pretende decorar y cortar en forma de triángulo.
Step 1: On the red felt, you must measure the size of the cap that you intend to decorate and cut into the shape of a triangle.
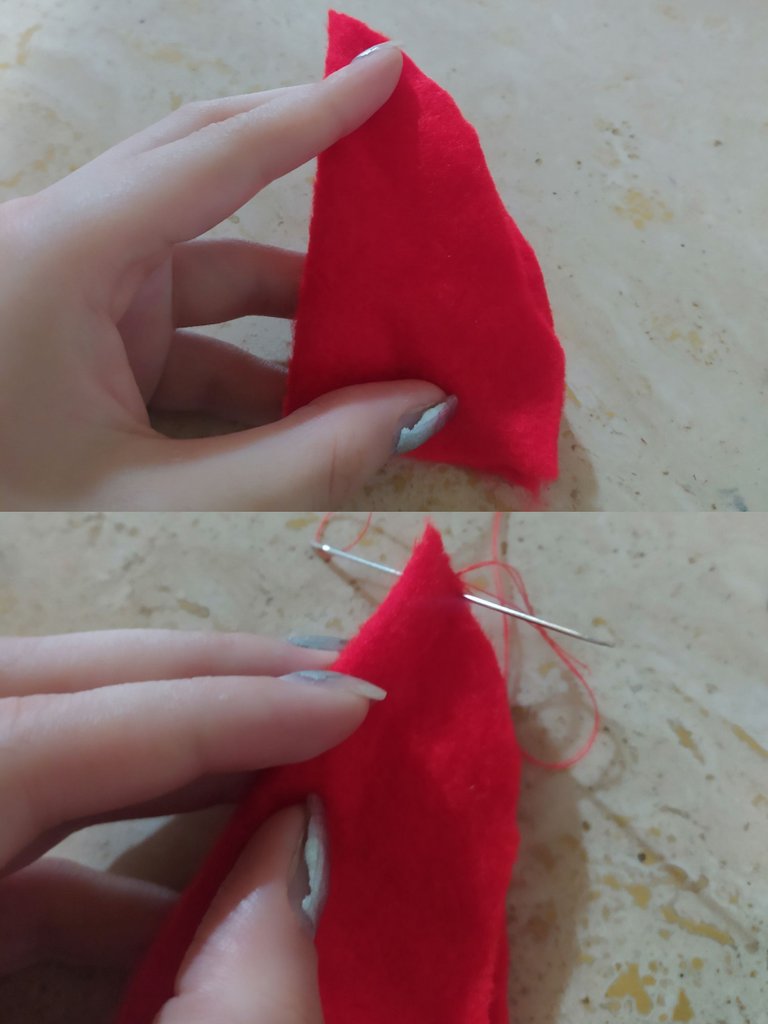
Paso 2: Debes doblar en dos la figura recortada y coser todo el lateral con hilo rojo. Una vez que hayas terminado, voltea el gorrito.
Step 2: You must fold the cut-out figure in two and sew the entire side with red thread. Once you're done, flip the hat over.
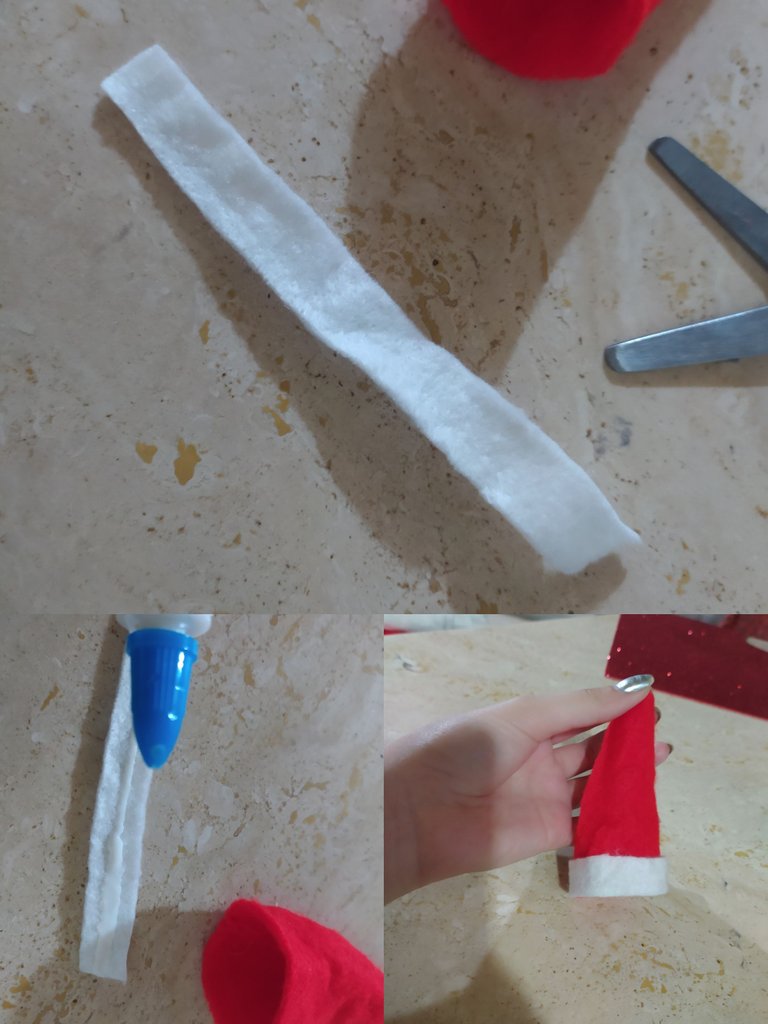
Paso 3: Mide la circunferencia de tu gorrito y de acuerdo a la medida, recorta una tira en fieltro blanco. El mismo, lo debes pegar al rededor del gorrito en la parte baja.
Step 3: Measure the circumference of your hat and according to the measurement, cut out a strip of white felt. You must stick it around the hat at the bottom.
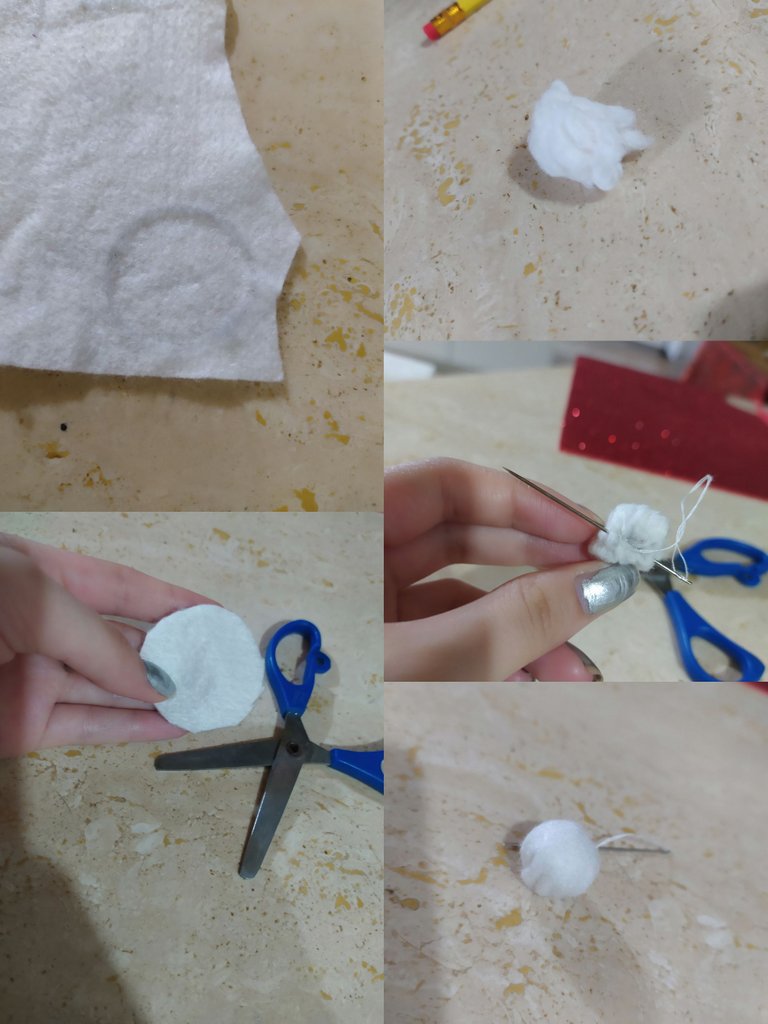
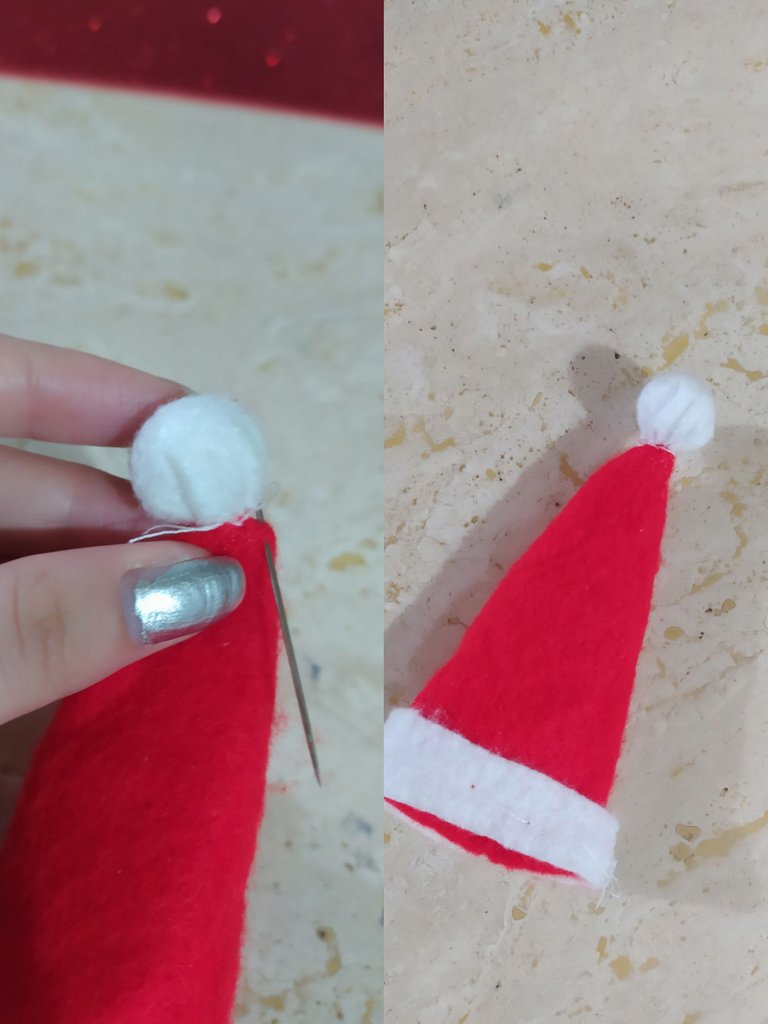
Paso 4: En fieltro blanco dibuja con lápiz un pequeño círculo y recórtalo. Colócale en medio un poco de algodón como relleno y coselo hasta que quede una pelotita bien firme.
$Step 4:* On white felt, draw a small circle with a pencil and cut it out. Put a little cotton in the middle as a filling and sew it until it is a very firm ball.
Paso 5: Cose tu pequeña bolita blanca en la punta de tu gorrito.
Step 5: Sew your little white ball to the end of your hat.
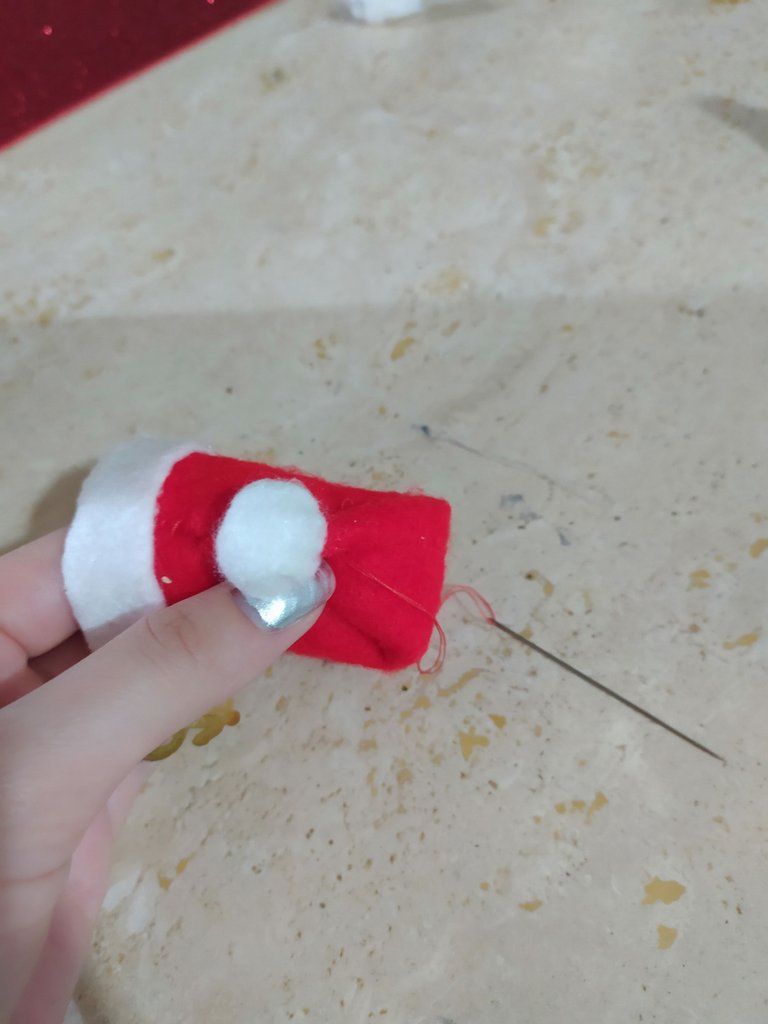
Paso 6: Dobla un poco la punta de tu gorrito y con hilo rojo y aguja coselo dos puntos para darle apariencia doblada.
Step 6: Fold the tip of your hat a little and with red thread and needle sew two stitches to give it a folded appearance.
Paso 7: Pégale algún adorno navideño reciclado a tu gorrito para darle vida. En lo particular, yo le pegué un toper que dice ¡Feliz Navidad!.
Step 7: Attach a recycled Christmas ornament to your hat to bring it to life. In particular, I hit him a cap that says Merry Christmas !.
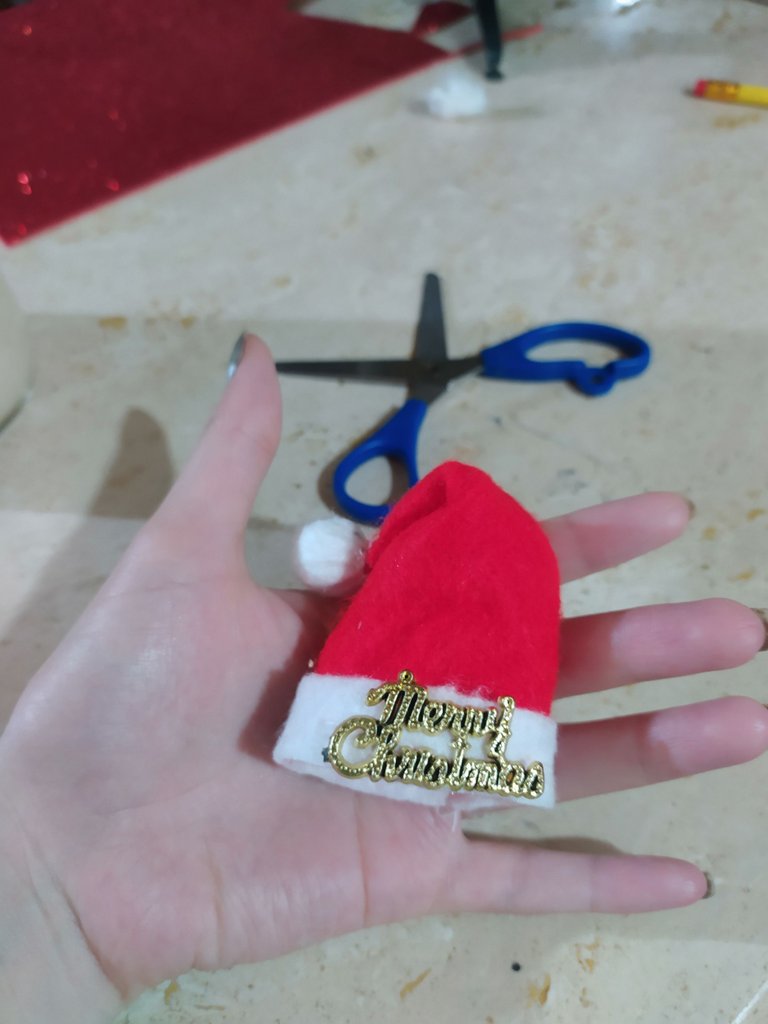
Y listo, una vez terminado así luce nuestro gorrito. Dándole creatividad y originalidad a nuestra botella que antes lucia apagada.
And voila, once finished this is how our hat looks. Giving creativity and originality to our bottle that previously looked off.
