✨🕯🎄¡Hola amigos amantes de la creatividad! Espero que hayan pasado un muy buen comienzo de semana.🎄🕯✨
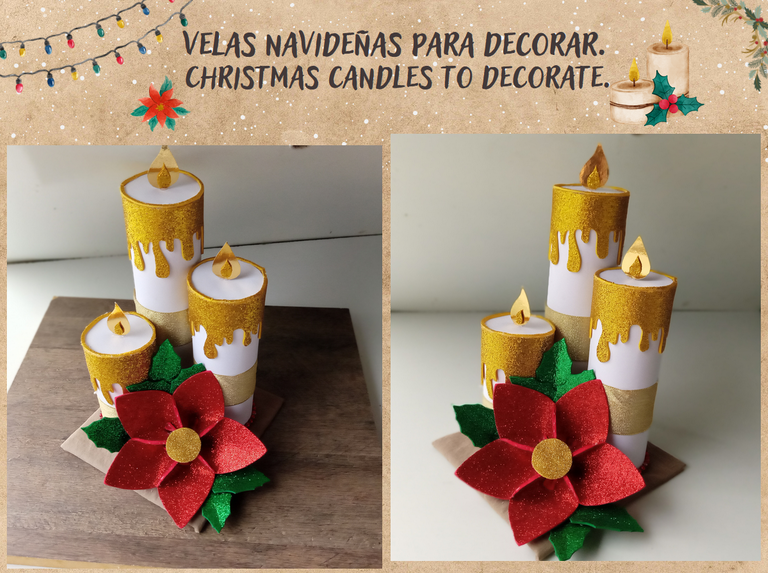
Hoy comparto con ustedes un nuevo tutorial sobre unas hermosas velas navideñas para decorar. Se acerca la Navidad y no puedo resistir mis ganas de crear contenido sobre esta hermosa época. Hice esta bonita decoración, porque si bien creo contenido para #hive, también hay que tener en cuenta que todo lo hago pensando en qué parte de mi casa se verá mejor o a quién le parecería un lindo detalle. Me parece una idea genial para decorar un centro de mesa o un rincón en concreto.
Estas velas fueron elaboradas con rollos de papel higiénico, me parece una gran idea porque es un material que todos tenemos al alcance de la mano, en cuanto al resto de materiales siempre recalco que depende de lo que quieras quitar o agrega al tutorial que les presentó, al final se trata de usar nuestra creatividad y cambiar o combinar materiales. Además, aunque siempre intentó utilizar materiales que sean bastante asequibles, cambiar estos materiales por otros es una buena opción e igualmente obtendrás un resultado muy bonito.
🔸A continuación, los dejo con el paso a paso:
✨🕯🎄¡Hello friends who love creativity! I hope you had a very good start to the week.🎄🕯✨
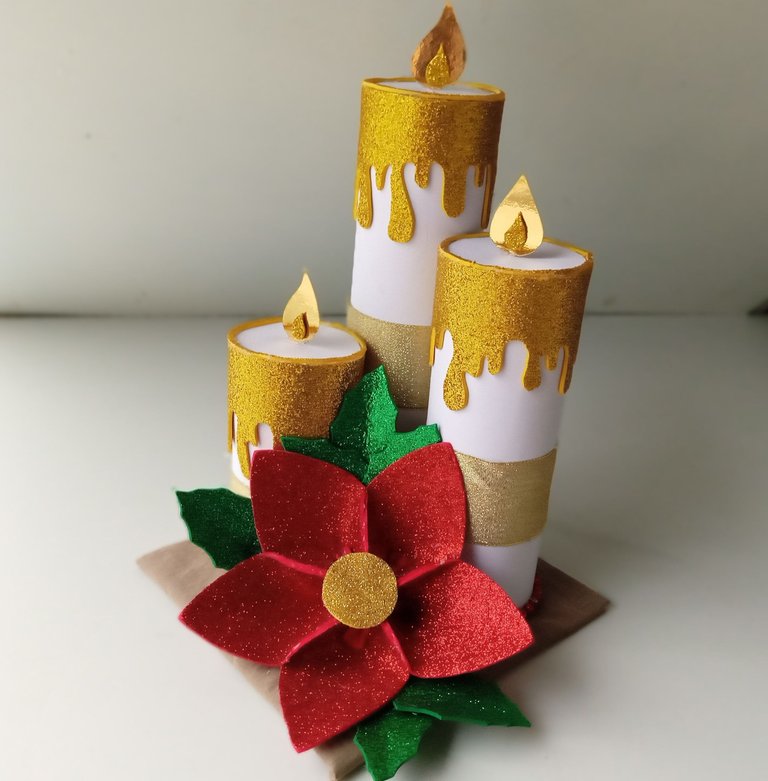
Today I share with you a new tutorial about some beautiful Christmas candles to decorate. Christmas is coming and I can't resist my desire to create content about this beautiful time. I made this beautiful decoration, because although I create content for #hive, you also have to keep in mind that everything I do is thinking about which part of my house will look better or who would think it would be a nice detail. I think it's a great idea to decorate a centerpiece or a specific corner.
These candles were made with toilet paper rolls, it seems like a great idea to me because it is a material that we all have at our fingertips, as for the rest of the materials I always emphasize that it depends on what you want to remove or add to the tutorial that I presented , in the end it is about using our creativity and changing or combining materials. Also, although you have always tried to use materials that are quite affordable, swapping these materials for others is a good option and you will still get a very nice result.
🔸Here I leave you with the step by step:
♥️ESPERO QUE TE GUSTE,
¡Empecemos!
♥️I HOPE YOU LIKE IT,
Let's start!

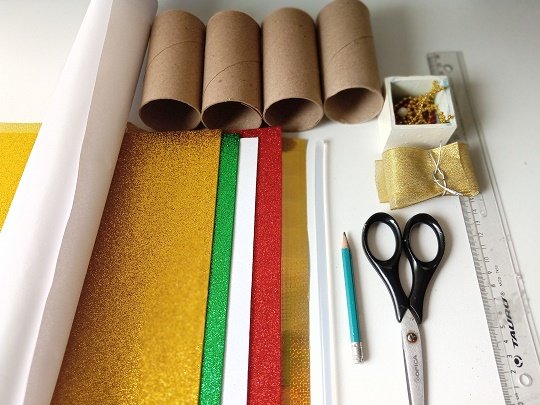
❄️ MATERIALES | ❄️ MATERIALS
- 5 rollos de papel higiénico.
- Cartulina escolar blanca.
- Cartulina metalizada dorada.
- Foami escarchado dorado.
- Guirnaldas de perlas (color deseado).
- Tela (color deseado).
- Cinta.
- Silicona caliente.
- Cartón.
- Lápiz.
- Tijeras.
- Regla.
💐Para la flor:
- Foami escarchado rojo, verde y dorado.
- 5 rolls of toilet paper.
- White school cardboard.
- Gold metallic cardboard.
- Gold frosty foami.
- Pearl garlands (desired color).
- Fabric (desired color).
- Christmas ribbon.
- Hot silicone.
- Paperboard.
- Pencil.
- Scissors.
- Rule.
💐For the flower:
- Red, green and gold frosty foami.
🕯 PROCEDIMIENTO | 🕯 PROCESS
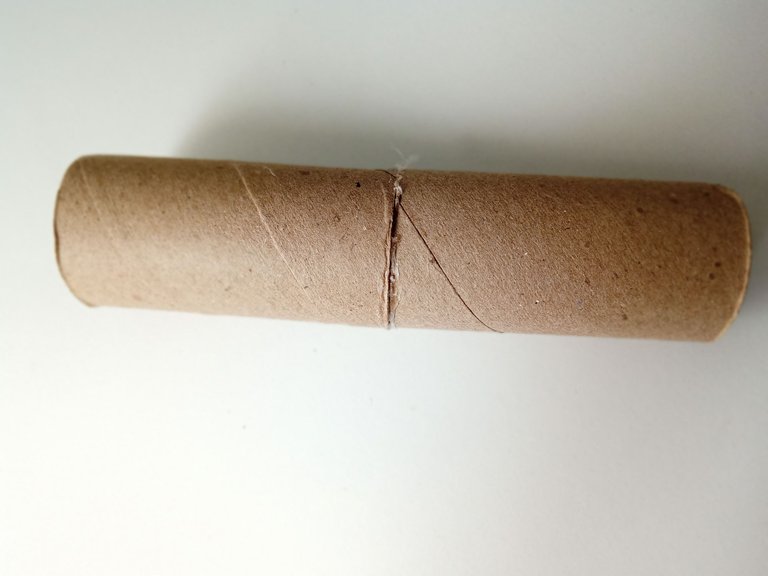
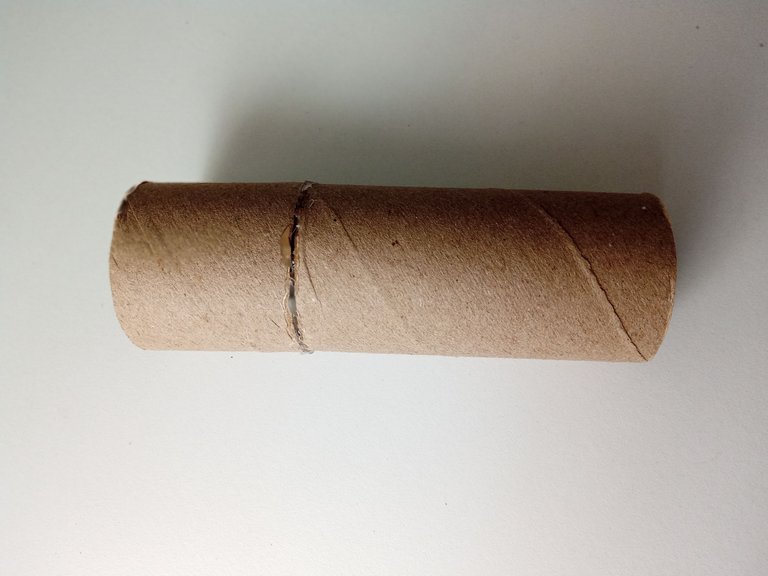
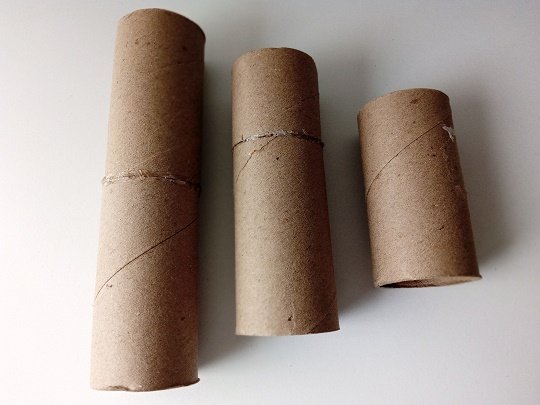
- PASO 1:
Para darle a las velas diferentes alturas, debemos tomar 2 rollos de papel higiénico, unirlos verticalmente con un poco de silicona caliente, uno encima del otro, y reservarlos. Tomar los otros 2 rollos, cortamos uno por la mitad, pegamos uno encima del otro verticalmente con silicona caliente y nos queda solo 1 rollo, que dejaremos en su tamaño original.
- STEP 1:
To give the candles different heights, we must take 2 rolls of toilet paper, join them vertically with a little hot silicone, one on top of the other, and put them aside. Take the other 2 rolls, cut one in half, glue one on top of the other vertically with hot silicone and we only have 1 roll left, which we will leave at its original size.
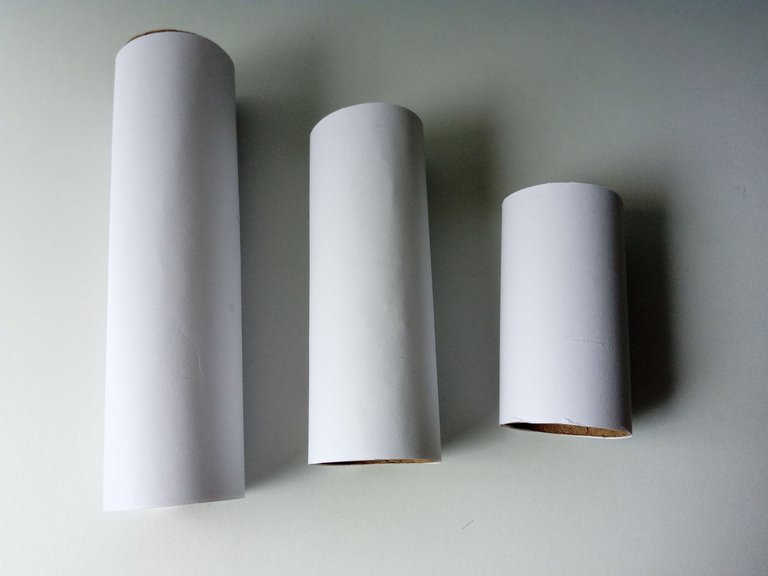
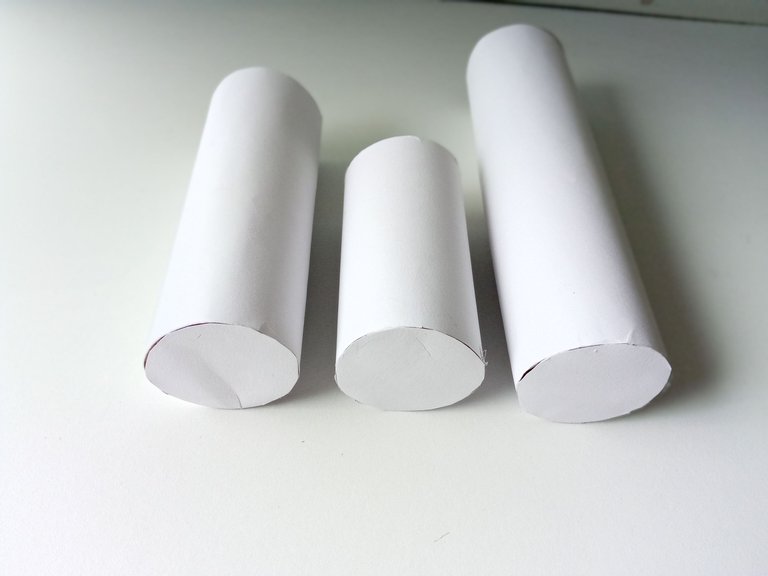
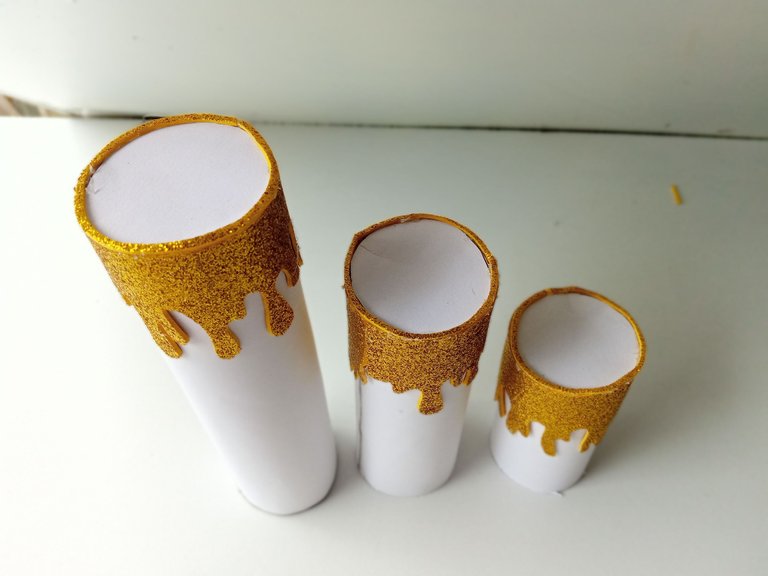
- PASO 2:
Luego toma las medidas de las piezas, transfiérelas a la cartulina blanca, recórtalas y pégalas a las piezas cubriendo completamente cada una. En cuanto a los agujeros, recorta círculos y pégalos en la parte superior e inferior de cada pieza.
- STEP 2:
Then take the measurements of the pieces, transfer them to the white cardboard, cut them out and glue them to the pieces, completely covering each one. As for the holes, cut out circles and glue them to the top and bottom of each piece.
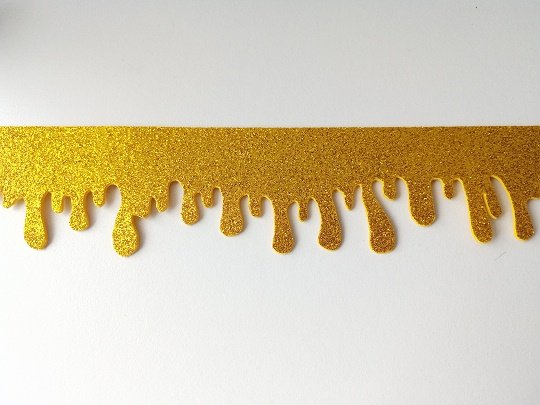
- PASO 3:
Para darle un efecto de vela derretida, puedes hacerlo a tu gusto directamente sobre el foami escarchado dorado o buscar una imagen de referencia. Una vez listo, corta y pega con silicona caliente en el borde superior. Luego, corta una tira fina con el mismo foami y pega cubriendo todo el borde superior.
- STEP 3:
To give it a melted candle effect, you can do it to your liking directly on the gold frosted foami or look for a reference image. Once ready, cut and paste with hot silicone on the top edge. Then, cut a thin strip with the same foami and paste covering the entire upper edge.

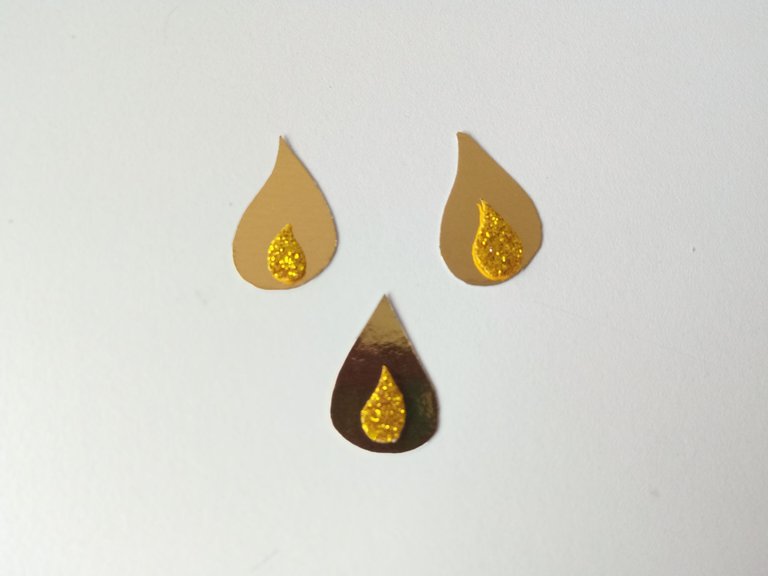
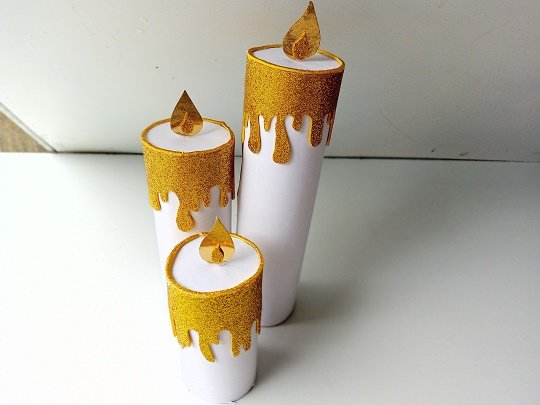
- PASO 4:
Para las llamas de las velas, dibuja 6 llamas en papel de aluminio dorado, córtalas y únelas espalda con espalda para formar 3 llamas. Por otro lado, dibuja 3 llamas mucho más pequeñas en foami dorado, recórtalas y pégalas en la mitad inferior de las 3 llamas hechas anteriormente. Luego agrega un poco de pegamento debajo de las llamas y pégalas verticalmente al centro de cada uno de los cilindros, formando las velas.
- STEP 4:
For the candle flames, draw 6 flames on gold construction paper, cut them out, and join them back to back to make 3 flames. On the other hand, he draws 3 much smaller llamas on gold foami, cuts out and glues on the bottom half of the 3 llamas made earlier. Then add a bit of glue under the flames and glue them vertically to the center of each of the cylinders, forming the candles.

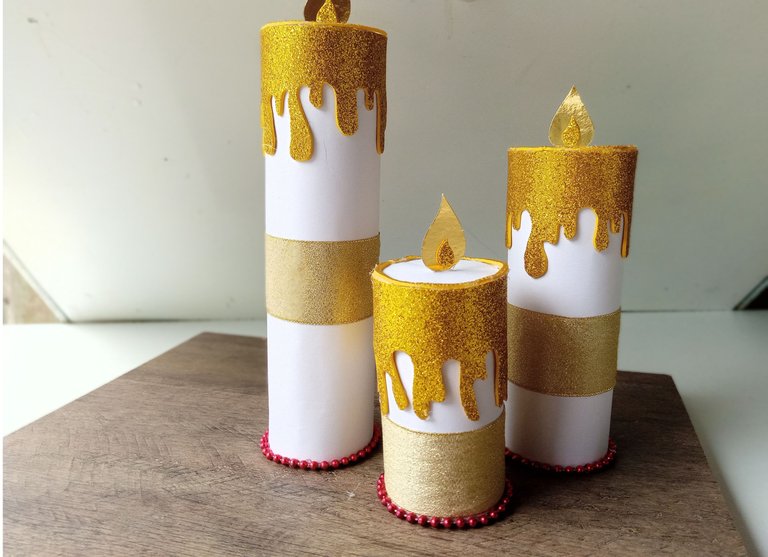
- PASO 5:
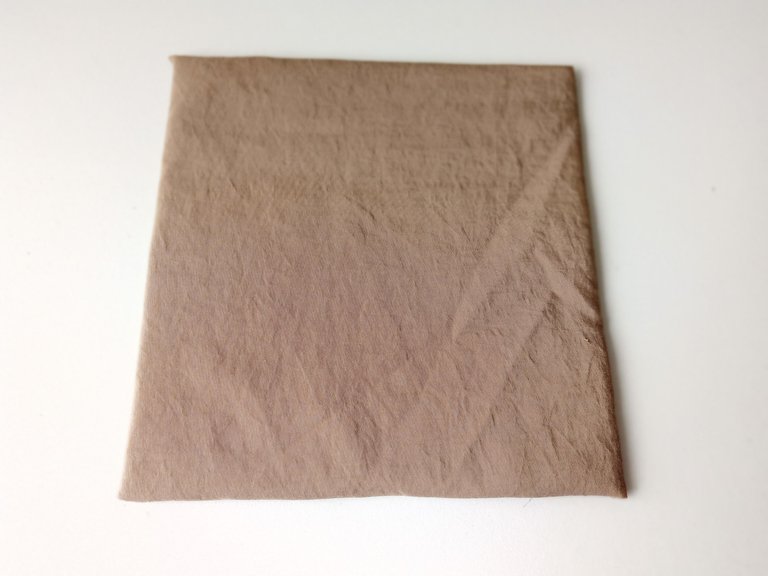
Como detalles extra para las velas, pega cintas doradas en el centro de cada una y pega guirnaldas o perlas cubriendo la base de las velas. También corta una cartulina de 14,5cm de ancho por 14cm de largo, cubre con tela del color o diseño que prefieras y pega las velas en una de las esquinas formando un triángulo en el orden deseado.
- STEP 5:
As extra details for the candles, stick gold ribbon in the center of each one and stick garlands or pearls covering the bottom of the candles. Also, cut a cardboard 14.5cm wide by 14cm long, cover with fabric of the color or design of your choice and stick the candles in one of the corners forming a triangle in the desired order.
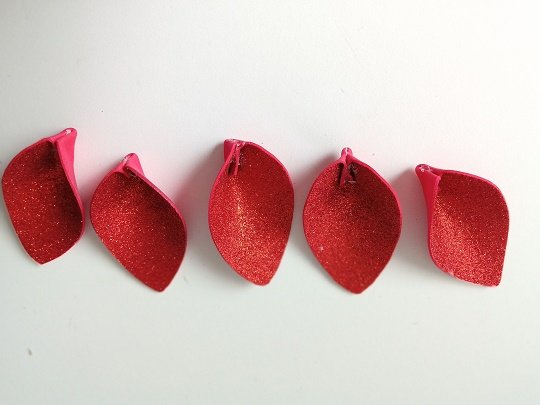
- PASO 6:
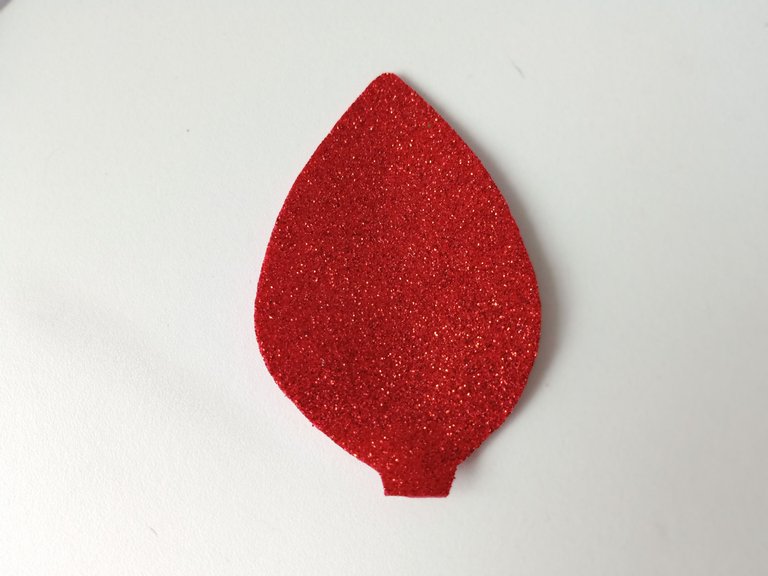
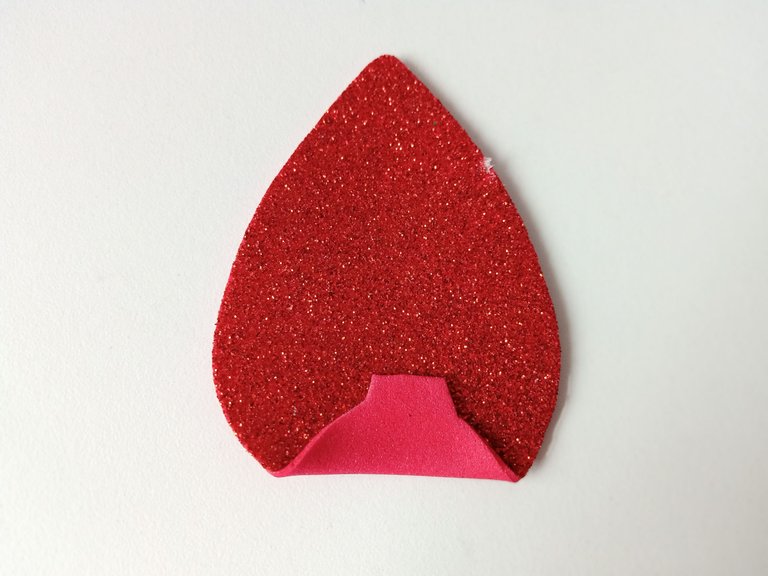
Por último hacer la flor, dibujar y cortar 5 pétalos en foami escarchado rojo (dejo el patrón en un link al final del post). Luego, para la parte escarchada del foami, coloca un poco de silicona en la base de los pétalos y dobla aproximadamente 1 cm hacia arriba, agrega un poco de pegamento en el centro del pliegue y une los extremos doblando por la mitad. Repita con cada pétalo.
- STEP 6:
Finally make the flower, draw and cut 5 petals in red frosted foami (I leave the pattern in a link at the end of the post). Then, for the frosty part of the foami, place a little silicone at the base of the petals and fold about 1 cm up, add a little glue in the center of the fold and join the ends by folding in half. Repeat with each petal.
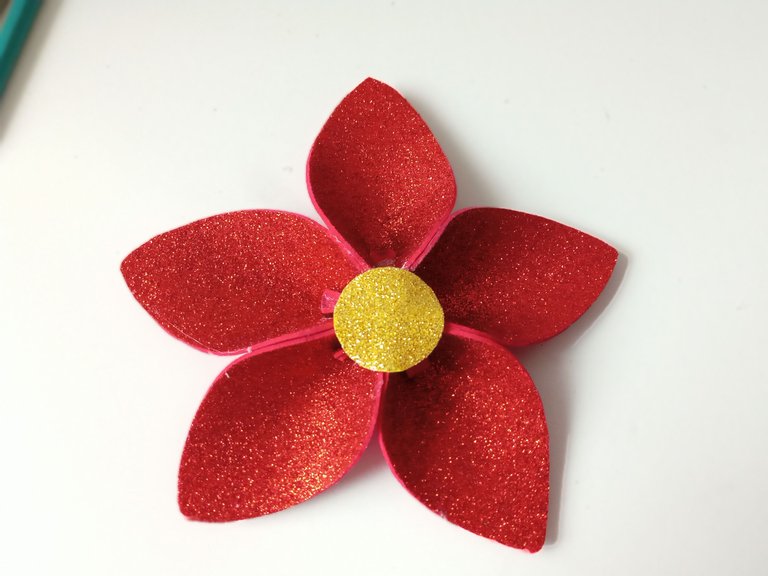
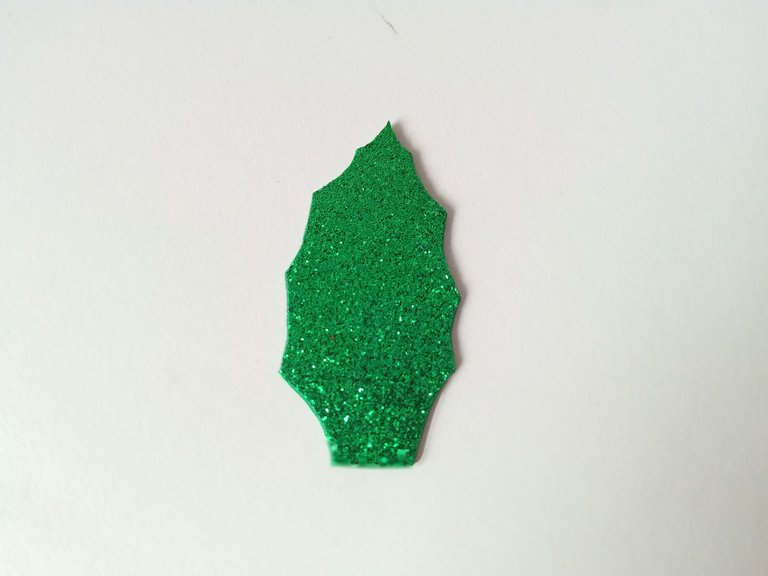
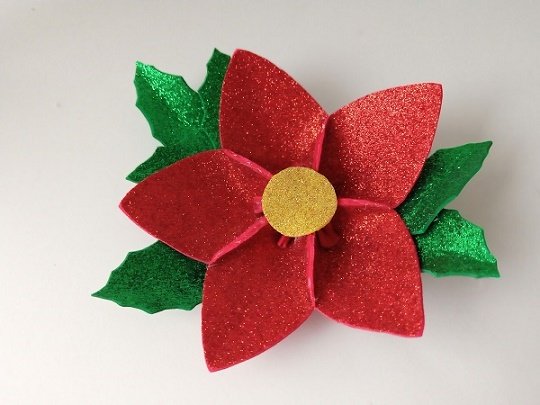
- PASO 7:
Una vez que los 5 pétalos estén listos, pega uno al lado del otro agregando pegamento en los bordes inferiores, hasta que se forme la flor. Para cubrir el centro, corta un círculo con foami dorado y pega. Luego, dibuja las típicas hojas de acebo sobre foami escarchado verde, recórtalas, dóblalas por la mitad para darles forma y pégalas alrededor de la flor en el orden deseado. Para terminar, pega junto a las velas en el espacio restante de la base.
- STEP 7:
Once all 5 petals are ready, glue them side by side adding glue to the bottom edges, until the flower forms. To cover the center, cut a circle with gold foami and glue. Next, draw typical holly leaves on green frosted foami, cut them out, fold them in half to shape them, and glue them around the flower in the desired order. To finish, glue next to the candles in the remaining space of the base.
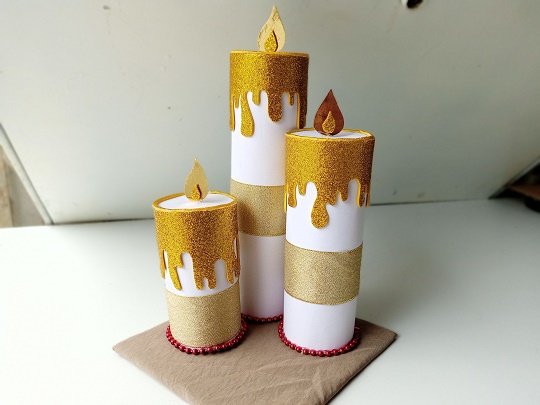
✨🕯🎄¡Y listo!🎄🕯✨ Ya puedes colocarlo esta Navidad en el lugar deseado, ideal para decorar una mesa, debajo del árbol o en un rincón del hogar. Disfruté mucho hacer esta decoración, fue bastante entretenida, usé poca cantidad de materiales y la verdad fue bastante sencilla, pues no tuve que hacer muchas medidas, se trata de armar las velas al tamaño deseado sinceramente, pueden ser mucho más grande o mucho más pequeñas. Espero que te animes a hacer el tutorial, les funcione y lo disfruten.
❤️Hasta la próxima publicación.
✨🕯🎄¡And ready!🎄🕯✨ You can now place it this Christmas in the desired place, ideal for decorating a table, under the tree or in a corner of the home. I really enjoyed making this decoration, it was quite entertaining, I used a small amount of materials and the truth was quite simple, because I did not have to do many measurements, it is about assembling the candles to the desired size honestly, they can be much larger or much more little. I hope you are encouraged to do the tutorial, serve them and enjoy it.
❤️Until the next post.


Todas las fotografías son de mi propiedad.
Separador y Fotos editadas en Canva
All photographs are my property.
Photos edited in Canva