✨🎈🦕¡Hola amigos amantes de la creatividad! Espero que hayan pasado un muy buen comienzo de semana.✨
🔸Sin más que añadir, a continuación los dejo con el paso a paso:
✨🎈🦕¡Hello friends who love creativity! I hope you had a very good start to the week.✨
Good afternoon friends. I hope you are having a great week. Today I share with you the step by step to make a beautiful dinosaur-themed centerpiece. I am very happy, since I never usually make decorations for birthday parties and, although I love toppers, it is a bit complicated for me, but when I buy materials again I will try to make more similar decorations for birthdays.
I must say that I didn't have much of an idea of what I was going to make, well... Although I always write a list of ideas every month, this was not the case, because I haven't had time or when I do, nothing comes to mind, so It was one of those days when I didn't really know what to make. After a while, I saw a drawing of a dinosaur and I thought it would be a great idea, since I have never made anything with this theme and out of nowhere, creativity arose.
🔸Without more to add, then I leave you with the step by step:
♥️ESPERO QUE TE GUSTE,
¡Empecemos!
♥️I HOPE YOU LIKE IT,
Let's start!

✂️ MATERIALES | ✂️ MATERIALS

- Cartón grueso.
- Foami verde y crema
- Foami escarchado dorado y verde.
- Foami metalizado dorado.
- Cintas para lazo.
- Pinturas y marcadores.
- Pegamento.
- Hoja blanca.
- Regla.
- Tijeras.
- Lápiz.
- Thick cardboard.
- Green and cream foami
- Gold and green frosted foam.
- Gold metallic foam.
- Bow ribbons.
- Paints and markers.
- Glue.
- White sheet.
- Ruler.
- Scissors.
- Pencil.

🎈 PROCEDIMIENTO | 🎈 PROCESS

- PASO 1:
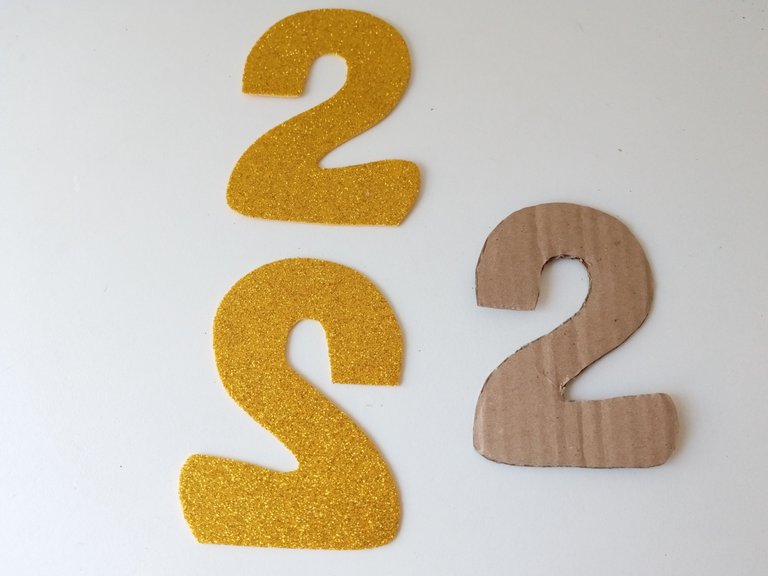
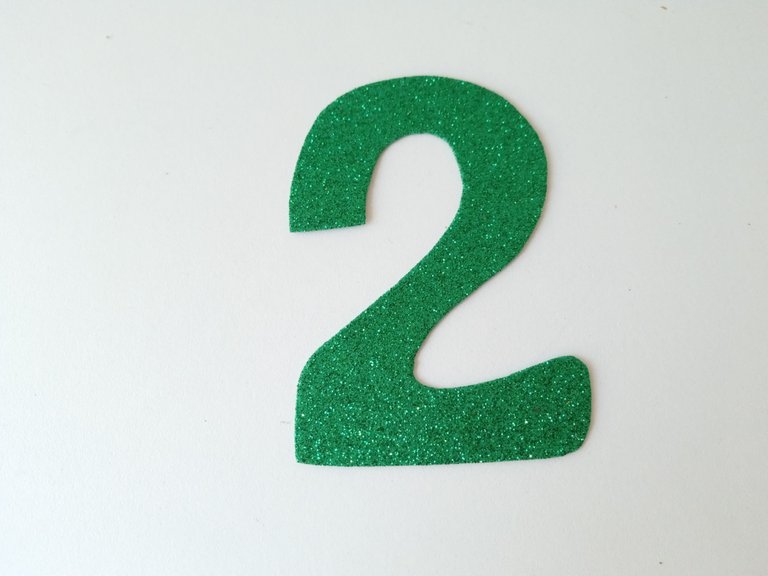
Lo primero que hice fue dibujar y recortar el número en cartón grueso con el tamaño deseado, yo lo hice pequeño porque solo es un ejemplo, pero ustedes pueden elaborarlo mucho más grande. Luego de esto, para forrar el cartón, recorté dos piezas del mismo número en foami escarchado dorado y otra pieza con el mismo número, pero 0.5 cm más pequeño que los otros.
- STEP 1:
The first thing I did was draw and cut out the number in thick cardboard with the desired size. I made it small because it is only an example, but you can make it much larger. After this, to cover the cardboard, I cut out two pieces of the same number in gold frosted foam and another piece with the same number, but 0.5 cm smaller than the others.


- PASO 2:
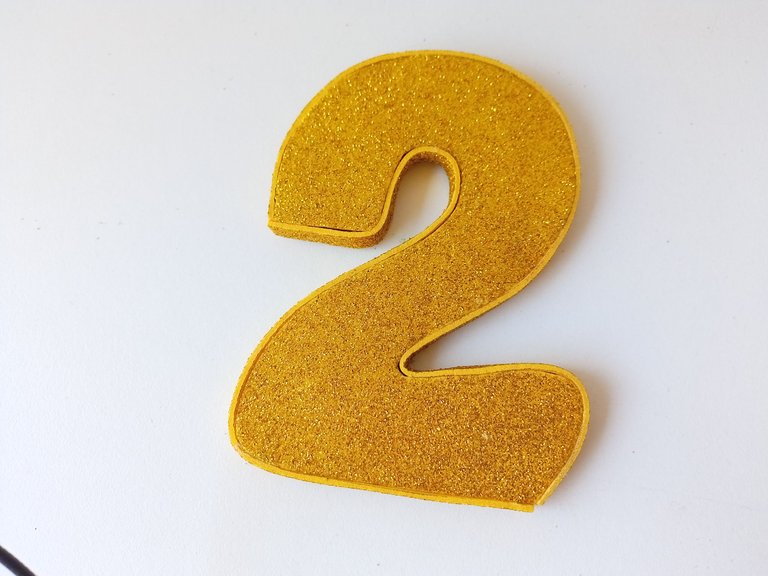
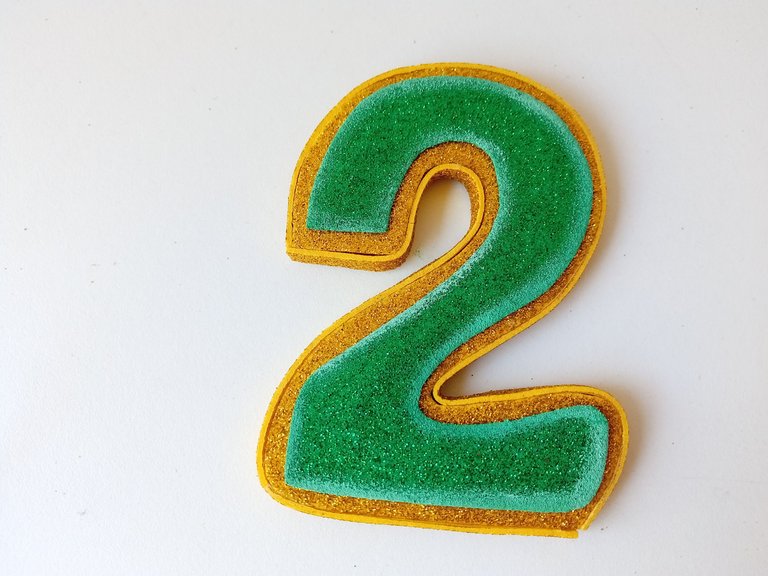
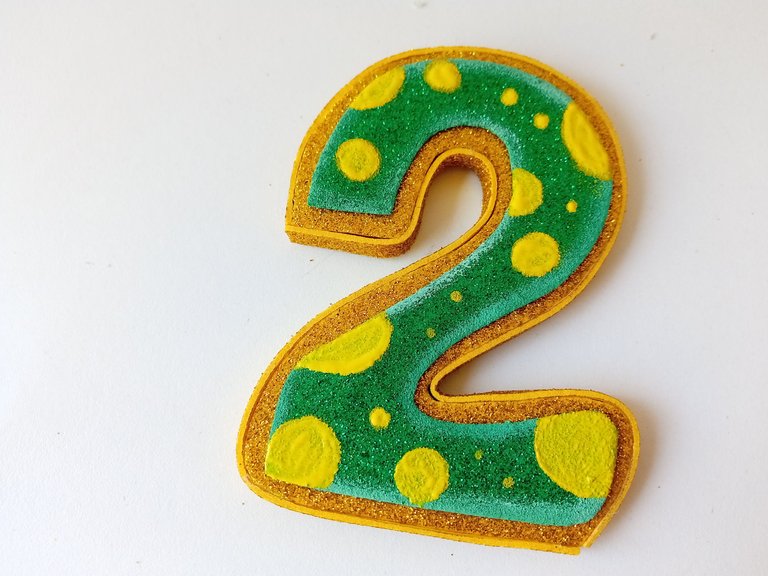
Pegué los números dorados en cada lado del cartón, tomé el ancho de las medidas del borde y recorté una tira larga del mismo color con ese ancho y cubrí todo el borde del número. Después, pegué en medio el número de foami escarchado verde, pasé por la borde tiza, pinté círculos amarillos de diferentes tamaños y desordenados.
- STEP 2:
I glued the gold numbers on each side of the cardboard, took the width of the border measurements and cut a long strip of the same color to that width and covered the entire border of the number. Afterwards, I glued the green frosty foam number in the middle, went over the chalk border, and painted yellow circles of different sizes and out of order.


- PASO 3:
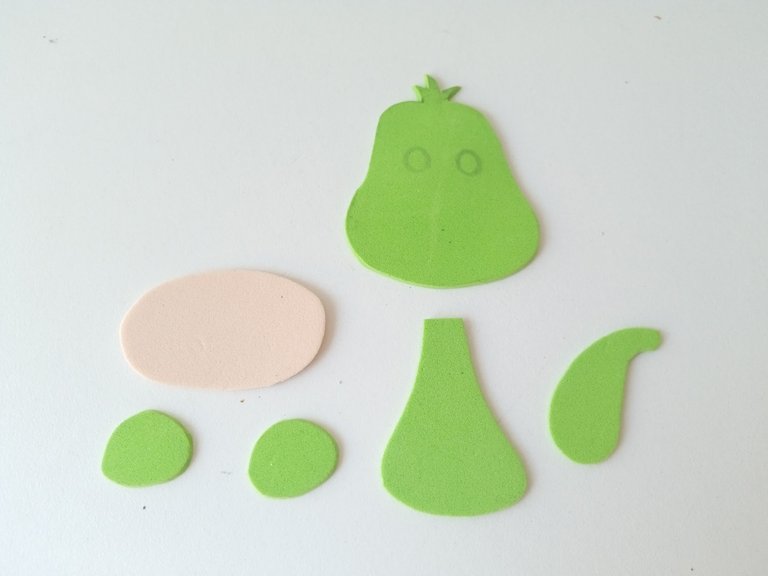
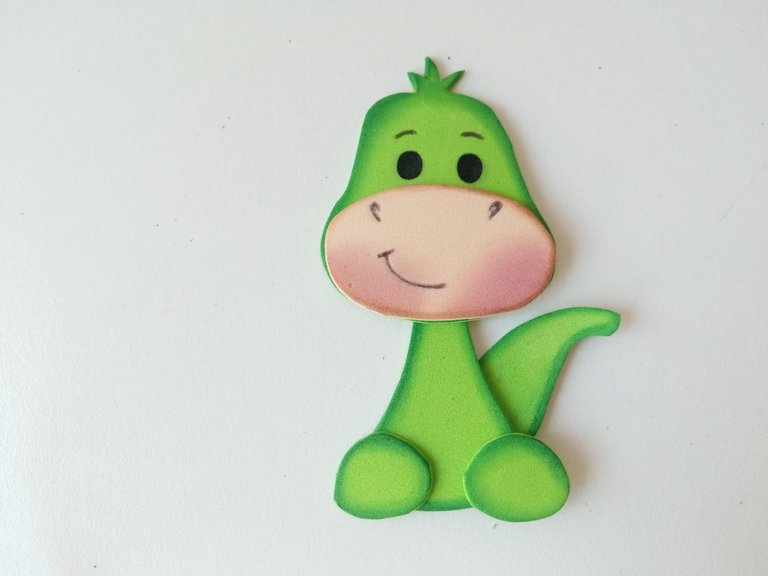
Luego, dibujé el patrón del dinosaurio en una hoja blanca, intentando que este fuera más pequeño que el número y lo transferí a los colores correspondientes de foami de la siguiente manera: para la cabeza y cuerpo en foami verde claro, para la mitad de la cabeza que es el área de la boca, en foami color crema o piel. Seguidamente, recorté todas las piezas.
- STEP 3:
Then, I drew the dinosaur pattern on a white sheet, trying to make it smaller than the number and transferred it to the corresponding colors of foam as follows: for the head and body in light green foam, for the middle of the head, which is the mouth area, in cream or skin-colored foam. Next, I cut out all the pieces.


- PASO 4:
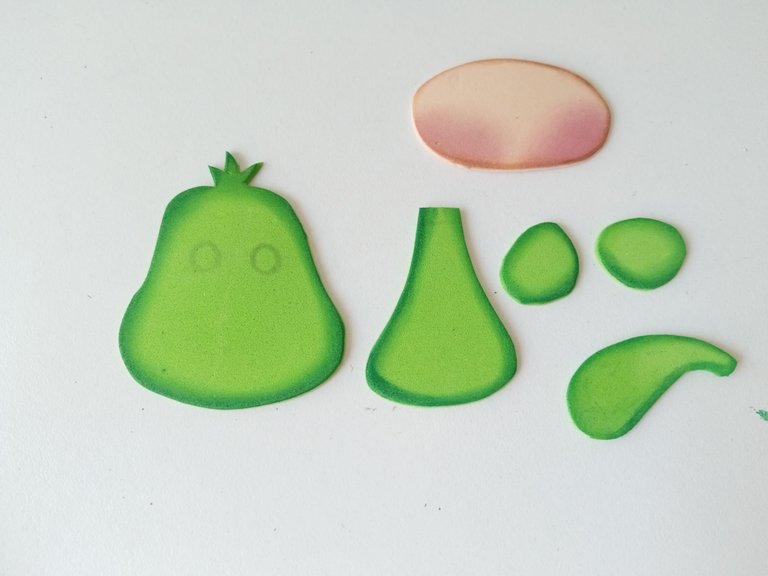
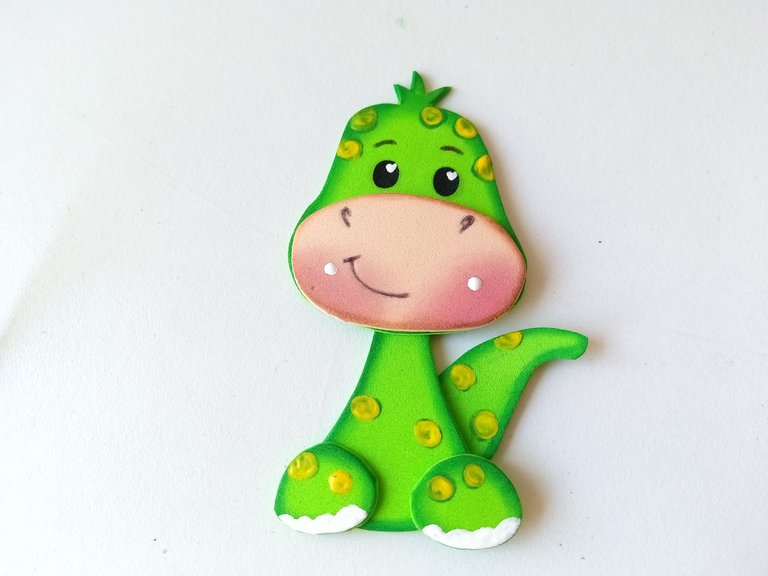
Para darles color a las piezas, tomé un poco de pintura, un tono más oscuro o que hiciera contraste y froté con un pañito por todo el borde de cada pieza. Luego, pegué las piezas, di color a las mejillas con pintura y dibujé el rostro. En seguida, di toques de luz en los ojos, en las mejillas, pinté las pesuñas y círculos amarillos en distintas partes del cuerpo.
- STEP 4:
To give color to the pieces, I took a little paint, a darker or contrasting tone, and rubbed it with a cloth all over the edge of each piece. Then, I glued the pieces together, colored the cheeks with paint, and drew the face. Next, I highlighted the eyes and cheeks, painted the hooves and yellow circles on different parts of the body.


- PASO 5:
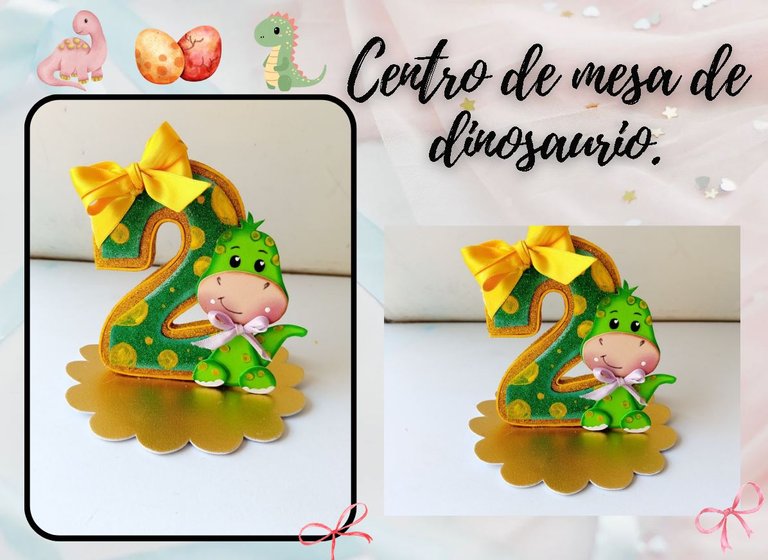
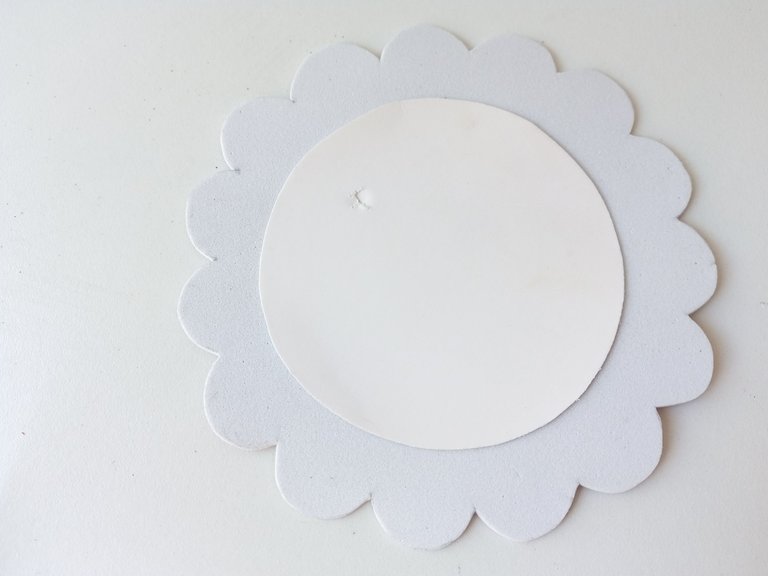
Para finalizar, pegué el dinosaurio en un borde del número, elaboré dos lacitos de diferente tamaño, el cual pegué uno en el dinosaurio y el otro más grande en la esquina superior del número. Para finalizar, recorté la base con forma circular, que fuera un poco más grande que la decoración y al cual le pegué un círculo más pequeño en cartón por abajo para que se mantuviera firme. Por último, pegué la decoración en medio
- STEP 5:
To finish, I glued the dinosaur on one edge of the number, I made two little bows of different sizes, which I glued one on the dinosaur and the other larger one in the upper corner of the number. To finish, I cut out the base in a circular shape, making it a little larger than the decoration and to which I glued a smaller circle on cardboard at the bottom so that it would remain firm. Finally, I glued the decoration in the middle

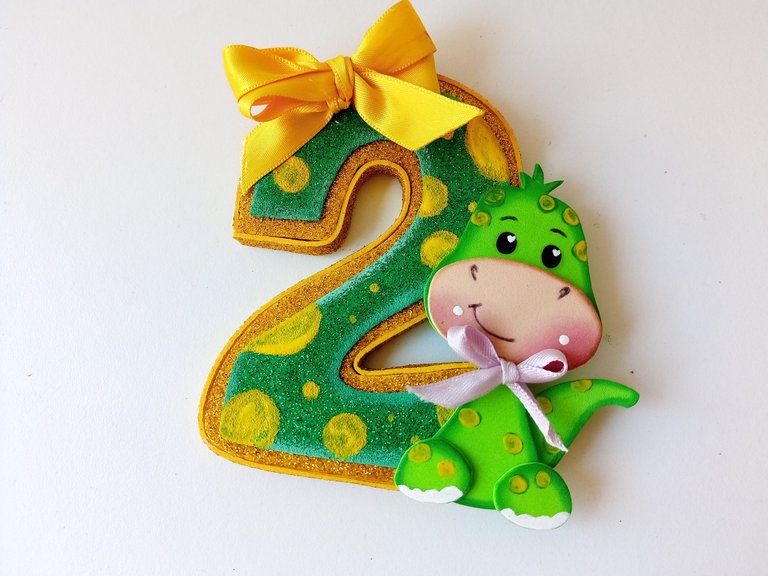
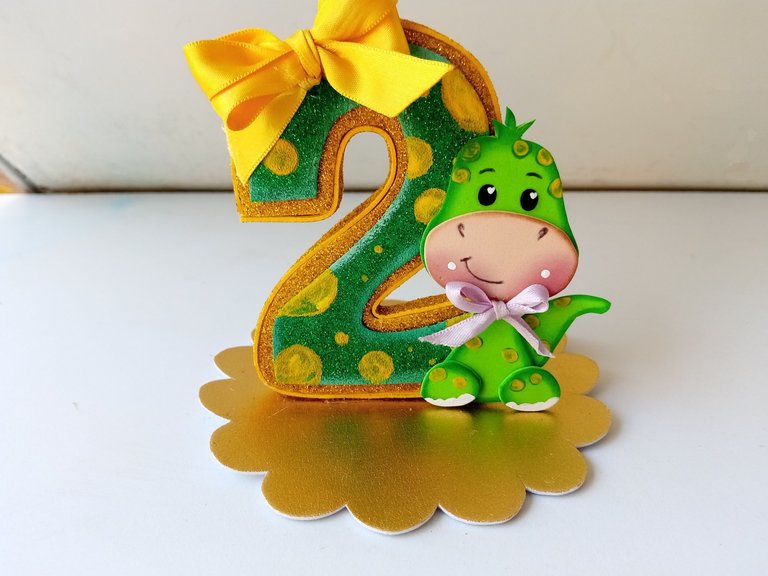

✨🎈¡And ready!🎈✨ In this simple way you can make a beautiful centerpiece for children's parties or any celebration you want. It seems to me that this is a very simple idea that does not require many materials, I know that I used different materials, but you can easily use less or repeat some and make it a slightly simpler decoration. I hope you liked this step by step and are encouraged to make it.
❤️Until the next post.

✨RESULTADO: | ✨RESULT:


Todas las fotografías son de mi propiedad.
Separador y Fotos editadas en Canva
All photographs are my property.
Photos edited in Canva


