✨🎁♥️¡Hola amigos amantes de la creatividad! Espero hayan tenido un muy buen inicio de semana.♥️🎁✨
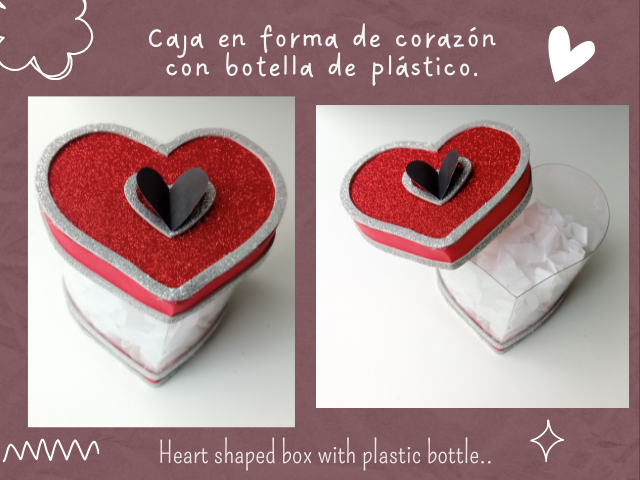
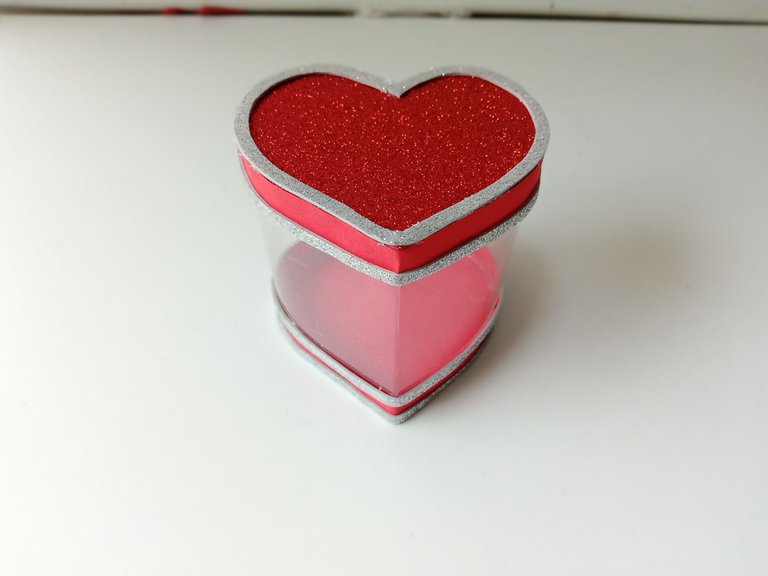
Hoy comparto cómo elaborar una cajita en forma de corazón con botellas de plástico. Esta idea me parece fascinante, hace unos meses intente hacer algo parecido, no salió como esperaba, pero como me gustaba tanto la idea decidí darle una segunda oportunidad y aplicando otras técnicas puesto que en ese entonces aplicaba el silicón caliente al plástico y éste se derretía, en esta oportunidad aplique el silicón caliente en los materiales y me funcionó. Esta cajita de corazón me parece una idea muy bonita y elegante para dar algún detalle, la veo más como cajita para bombones ya que es una cajita transparente y se vería muy elegante con bombones, chocolates, caramelos, etc… también es una gran idea para regalar galletas o cualquier otro detalle de tú elección.
🔸A continuación, los dejo con el paso a paso:
✨🎁Hello friends who love creativity! I hope you had a very good start to the week.🎁✨
Today I share how to make a heart-shaped box with plastic bottles. This idea seems fascinating to me, a few months ago I tried to do something similar, it didn't work out as expected, but since I liked the idea so much, I decided to give it a second chance and applying other techniques since at that time he applied hot silicone to the plastic and it melted , this time apply the hot silicone on the materials and melt me. I think this heart box is a very nice and elegant idea to give some detail, I see it more as a box for chocolates since it is a transparent box and it would look very elegant with chocolates, chocolates, candies, etc... it is also a great idea for give away cookies or any other detail of your choice.
🔸Here I leave you with the step by step:
♥️ESPERO QUE TE GUSTE,
¡Empecemos!
♥️I HOPE YOU LIKE IT,
Let's start!

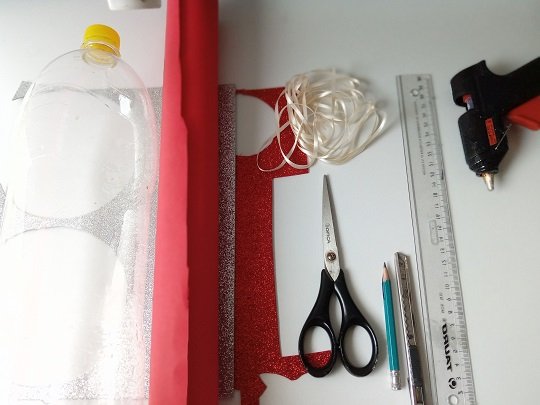
✂️ MATERIALES | ✂️ MATERIALS

- Botella grande de refresco.
- Cartulina escolar roja.
- Foami plateado escarchado.
- Foami rojo escarchado.
- Cartón.
- Silicón caliente.
- Tijera.
- Regla.
- Lápiz.
- Exacto.
- Large bottle of soft drink.
- Red school cardboard.
- Frosted silver foami.
- Frosty red foami.
- piece of cardboard.
- Hot silicone.
- Scissors.
- Rule.
- Pencil.
- Exact.


♥️ PROCEDIMIENTO | ♥️ PROCESS

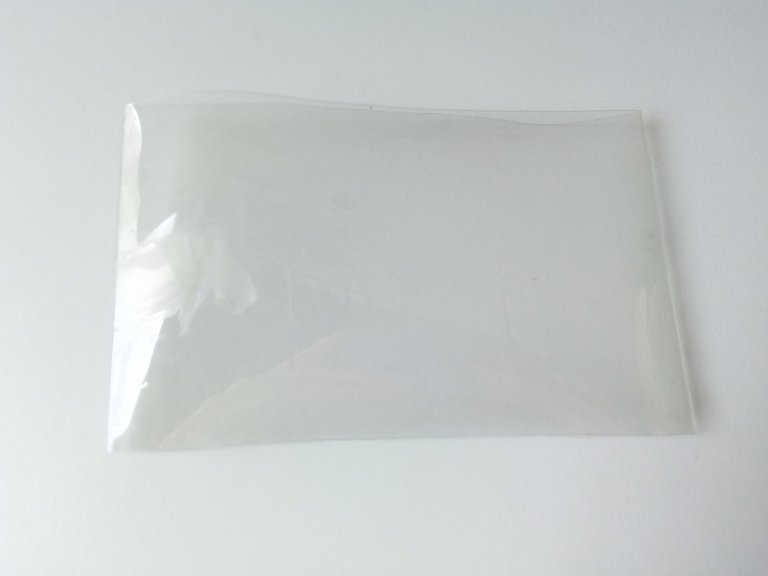
- PASO 1:
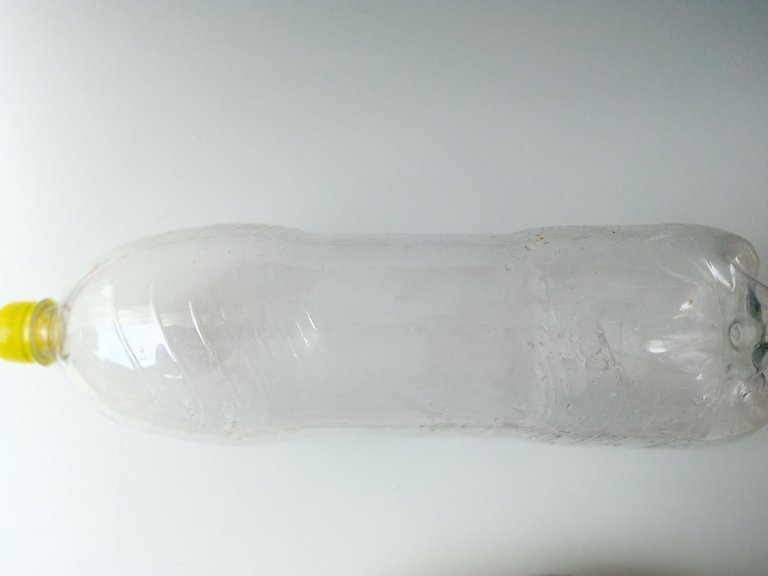
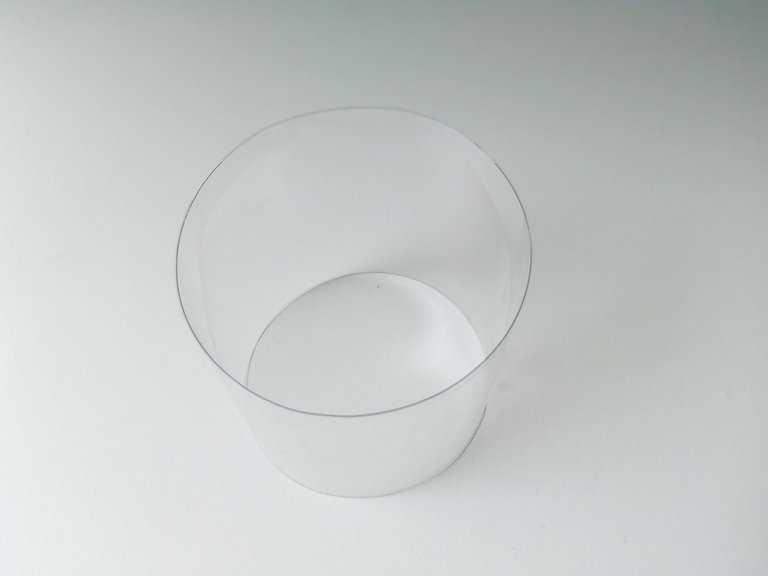
Comenzar retirando la etiqueta de la botella, la marca de pegamento se puede retirar frotando con un poco de alcohol o vinagre. Una vez hecho eso, con el exacto cortar ese círculo donde estaba la etiqueta.
- STEP 1:
Start by removing the label from the bottle, the glue mark can be removed by rubbing with a little alcohol or vinegar. Once this is done, with the exact cut that circle where the label was.


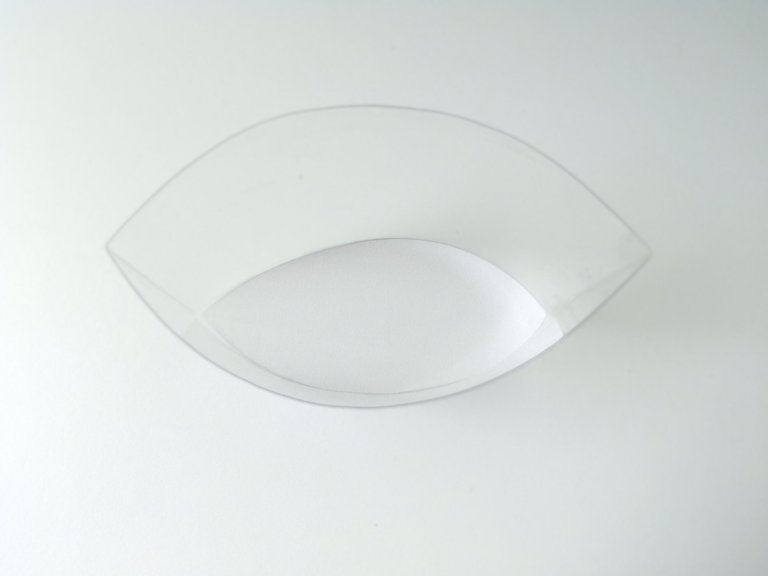
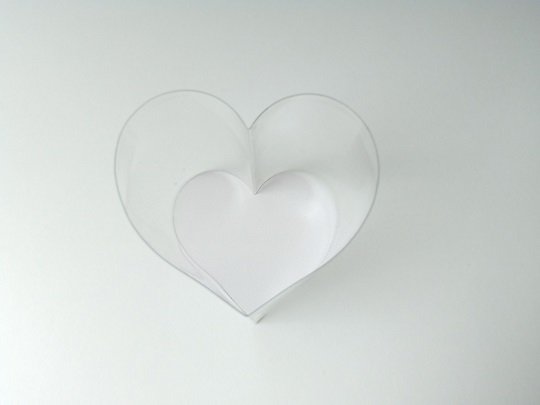
- PASO 2:
Dobla el círculo por la mitad, marca muy bien los bordes con ayuda del mango de las tijeras, abre un poco, elige uno de los pliegues, dobla hacia adentro, dejando un pliegue frente al otro y remarca muy bien, puedes moldear la forma del corazón.
- STEP 2:
Fold the circle in half, mark the edges very well with the help of the handle of the scissors, open a little, choose one of the fold, fold inwards, leaving one fold in front of the other and remark very well, you can mold the shape a little from the heart.


- PASO 3:
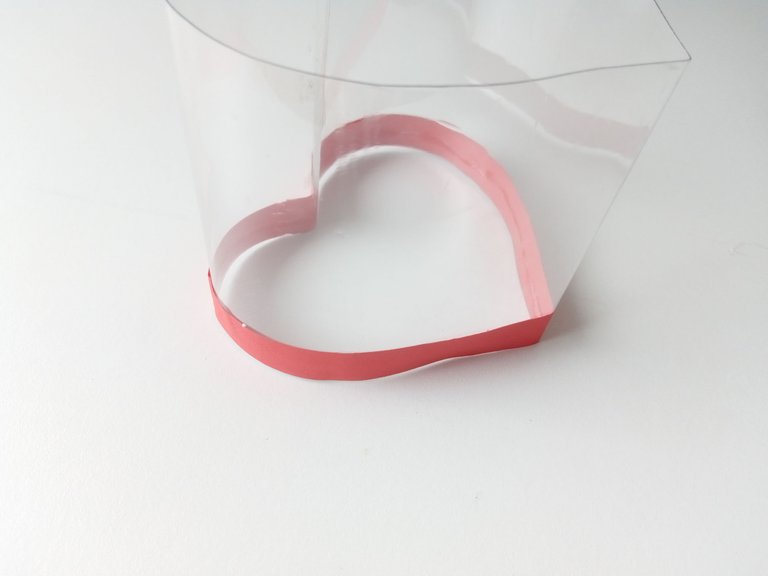
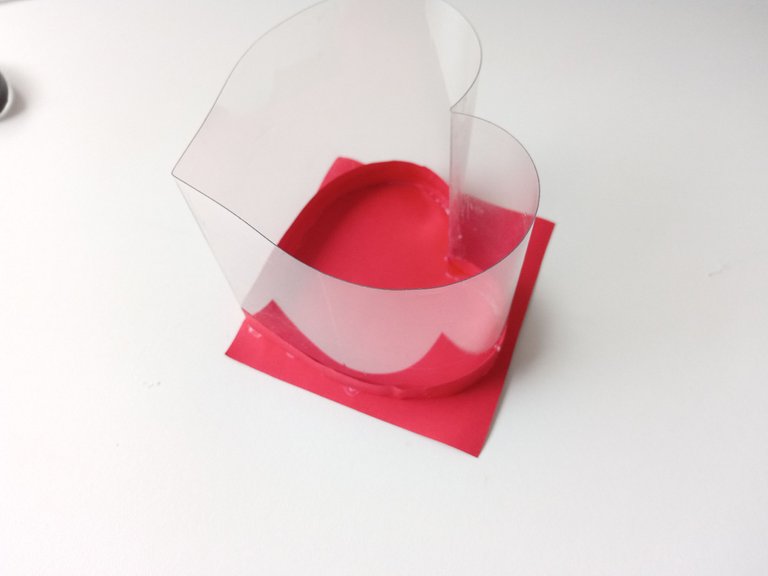
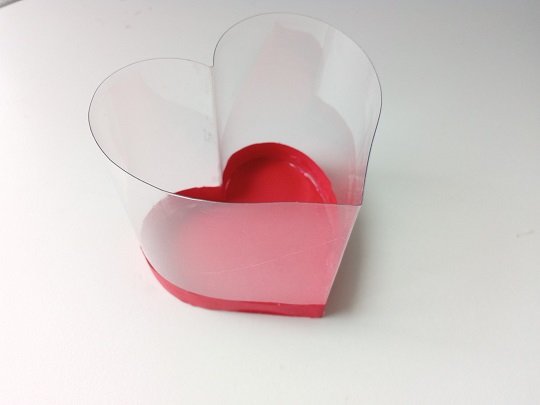
Luego, toma la cartulina escolar roja y corta dos tiras de 1,5 cm de ancho cada una. Tome una tira, agregue pegamento y péguela a lo largo del borde inferior. Para la base, pega cartulina escolar roja y corta el exceso.
- STEP 3:
Then, take the red school cardboard and cut two strips 1.5cm wide each. Take a strip, add glue and paste along the bottom edge. For the base, paste red school cardboard and cut off the excess.


- PASO 4:
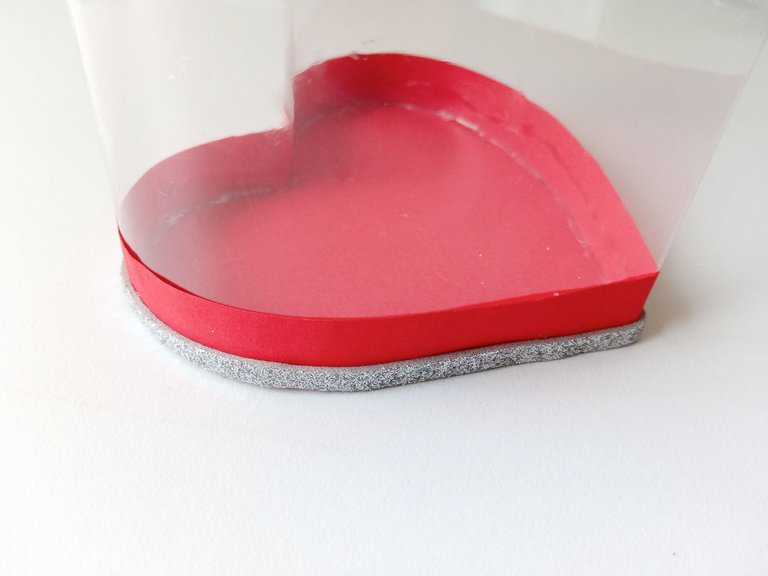
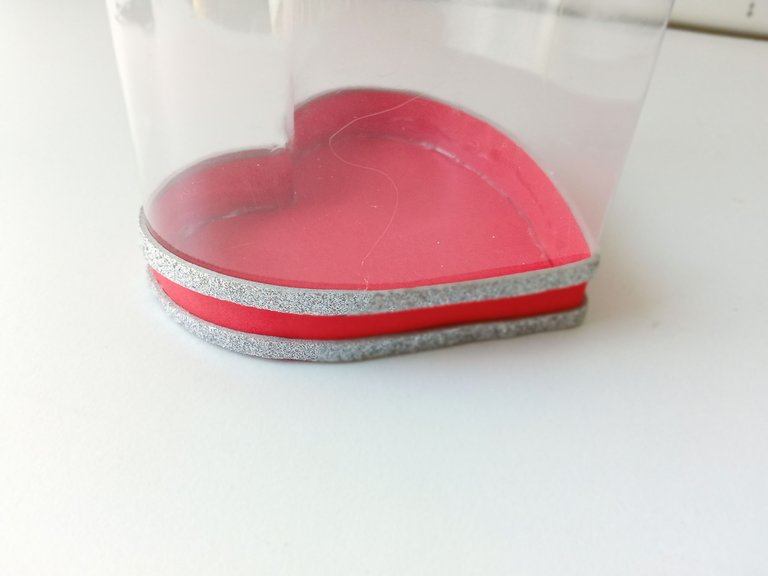
Por otra parte, tomar el foami plateado escarchado, cortar tiras de 0.5 cm cada una y pegar dos tiras en la parte superior e inferior de la tira roja.
- STEP 4:
On the other hand, take the frosted silver foam, cut strips of 0.5 cm each and glue two strips on the top and bottom of the red strip.


- PASO 5:
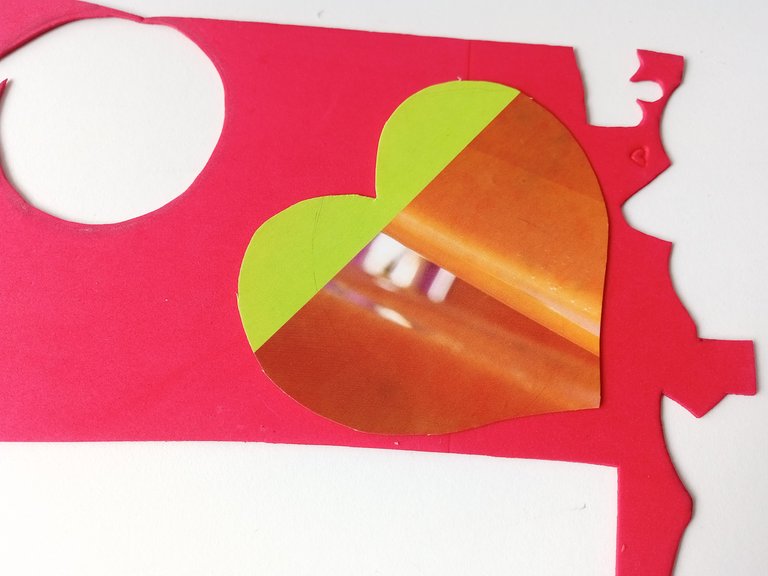
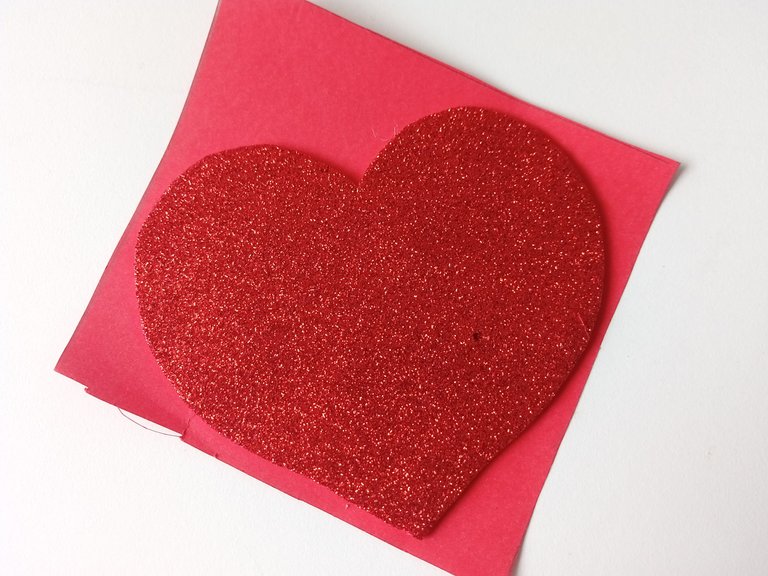
Para la tapa de la caja, dibuja la forma de la caja en cartón o cartulina gruesa, recorta y pega un lado del foami rojo escarchado, recórtalo y del otro lado del corazón pega cartulina escolar roja.
- STEP 5:
For the lid of the box, draw the shape of the box on cardboard or thick cardboard, cut out and glue one side of the frosted red foami, cut it out and on the other side of the heart, glue red school cardboard.


- PASO 6:
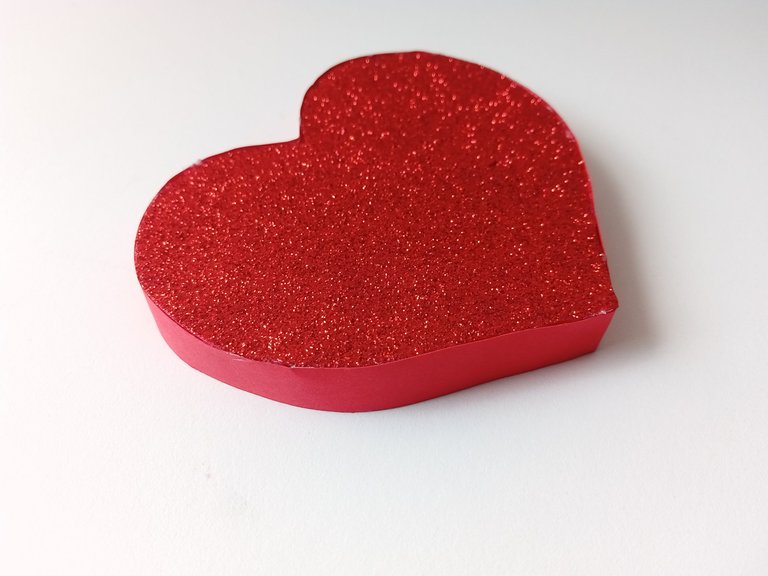
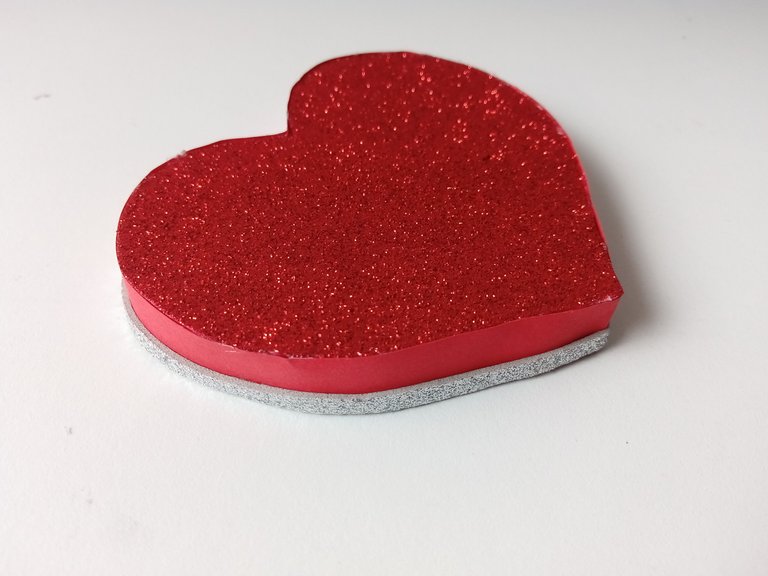
En el borde de la misma, pega la otra tira de cartulina roja que cortamos anteriormente y la otra tira de foami escarchado plateado y coloca la tapa sobre la caja.
- STEP 6:
On the edge of it, stick the other strip of red cardboard that we cut earlier and the other strip of silver frosted foami and place the lid on the box.


- PASO 7:
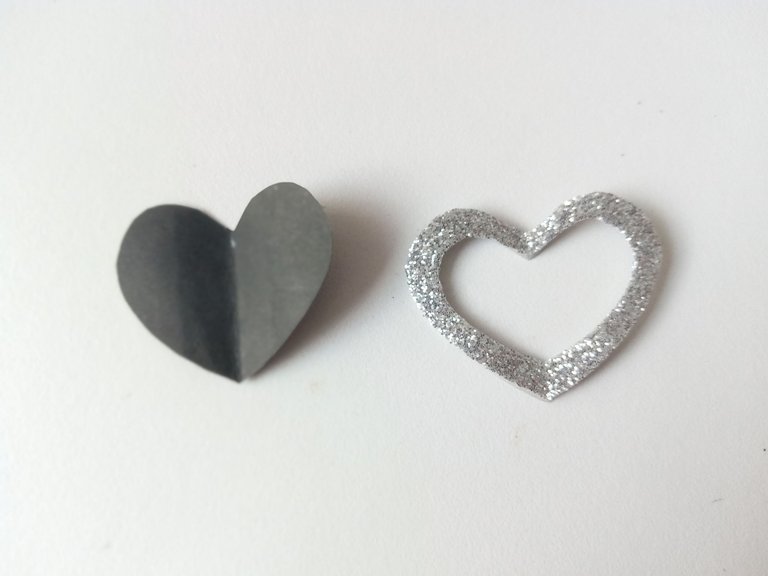
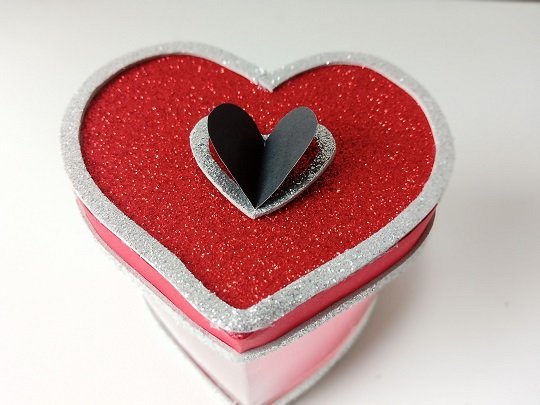
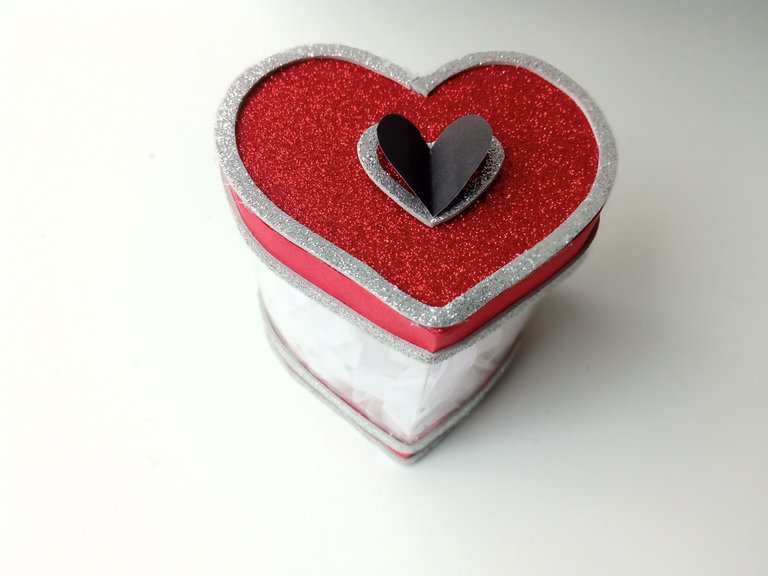
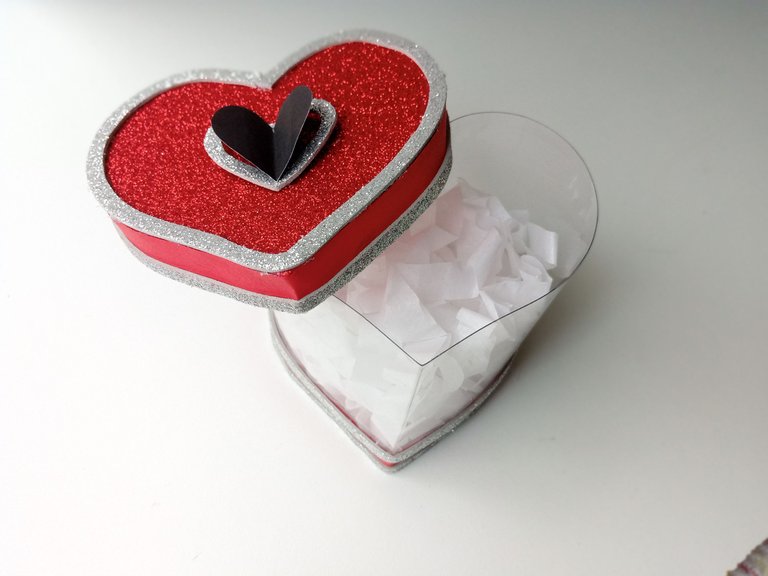
Para decorar, pegué una tira de foami plateado escarchado alrededor del borde de la tapa, luego recorté un corazón quitando la parte central y otro corazón de cartulina negra, doblando ambos por la mitad y pegando cada pliegue uno encima del otro. Agrega también tiras de papel de seda blanco para decorar el interior de la caja.
- STEP 7:
To decorate, I glued a strip of silver frosted foami around the edge of the lid, then cut out a heart by removing the center part and another heart from black cardstock, folding both in half and gluing each fold on top of each other. Also add strips of white tissue paper to decorate the inside of the box.


✨🎁♥️¡Y listo!♥️🎁✨ así es como se realiza esta linda cajita de corazón usando una botella de refresco, súper fácil, rápido y bastante económico, puedes decorarla con el color y diseño que prefieras, también puedes dejarla en la forma original y hacer una caja redonda o hacer una caja cuadrada. Estas cajitas son perfectas para dar un bonito detalle. Espero que les haya gustado y se animen a hacer esta preciosa cajita.
✨🎁♥️¡And ready!♥️🎁✨ this is how to make this cute little heart box using a soda bottle, super easy, fast and quite cheap, you can decorate it with the color and design you prefer, you can also leave it in the original shape and make a round box or make a square box. These boxes are perfect to give a nice detail. I hope you liked it and are encouraged to make this beautiful little box.



Todas las fotografías son de mi propiedad.
Separador y Fotos editadas en Canva
All photographs are my property.
Photos edited in Canva
