✨🎁💌¡Hola amigos amantes de la creatividad! Espero que hayan pasado un muy buen comienzo de semana.💌🎁✨
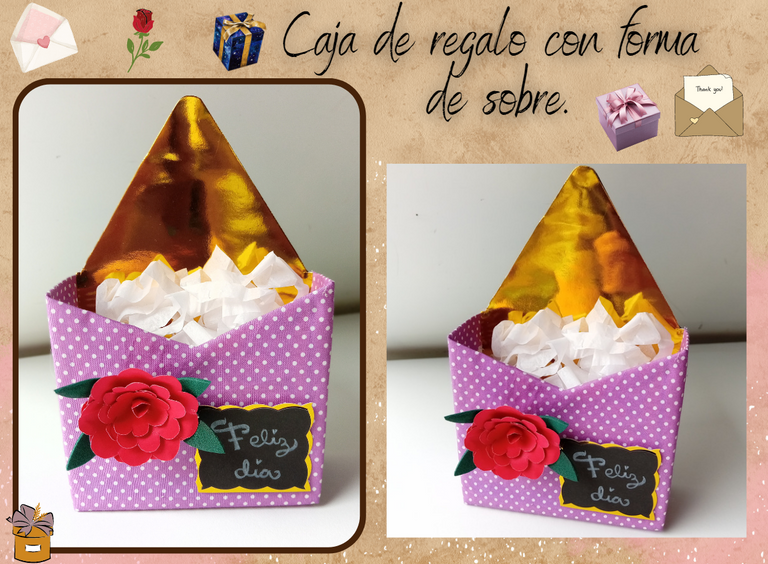
Espero que estén de lo mejor, amigos. Que su semana siga de la mejor manera. En esta ocasión quise hacer algo que puedo decir que es una de las cosas que más disfruto hacer en cuanto a manualidades y es que cuando empecé en hive era una de las creaciones que más les compartí pero nuevamente les comparto el paso a paso para hacer una caja de regalo, esta vez en forma de sobre. Desde hace tiempo he notado que esta forma de cajitas se ha puesto de moda, ya sea para decorar con flores o dulces para un cumpleaños o detalle en general. Después de un rato pensando cómo decorar mi caja, por fin les comparto el paso a paso de esta hermosa caja.
🔸Sin más que añadir, a continuación los dejo con el paso a paso:
✨🎁💌¡Hello friends who love creativity! I hope you had a very good start to the week.💌🎁✨
I hope you are well, friends. May your week continue in the best way. On this occasion I wanted to do something that I can say is one of the things that I enjoy doing the most in terms of crafts and that is that when I started in beehive it was one of the creations that I shared the most with you but again I share the step by step to make a gift box, this time in the form of an envelope. For a long time I have noticed that this form of boxes has become fashionable, either to decorate with flowers or sweets for a birthday or detail in general. After a while thinking about how to decorate my box, I finally share the step by step of this beautiful box.
🔸Without more to add, then I leave you with the step by step:
♥️ESPERO QUE TE GUSTE,
¡Empecemos!
♥️I HOPE YOU LIKE IT,
Let's start!

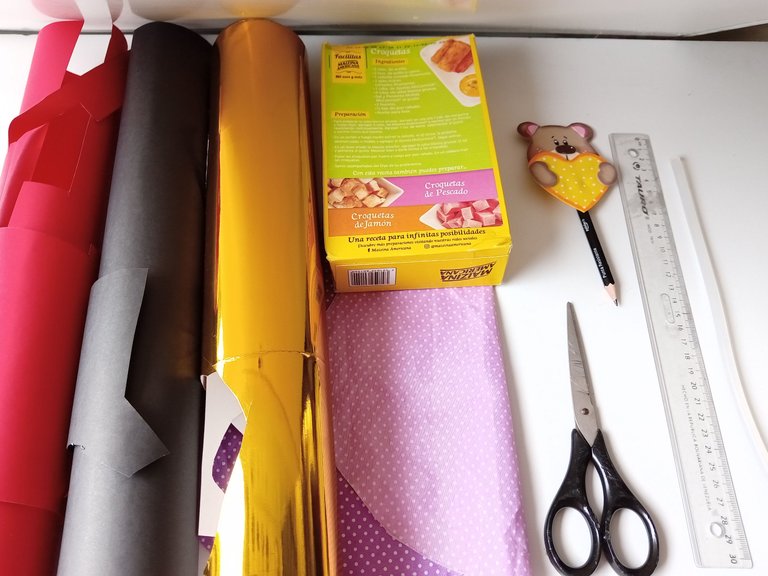
📦 MATERIALES | 📦 MATERIALS

- Caja de cartón alargada.
- Tela del color deseado.
- Cartulina metalizada dorada.
- Cartulina escolar roja.
- Cartulina escolar negra.
- Foami o cartulina verde.
- Creyón blanco.
- Pegamento.
- Regla.
- Tijera.
- Lápiz.
- Long cardboard box.
- Fabric of the desired color.
- Gold metallic cardboard.
- Red school cardboard.
- Black school cardboard.
- Foami or green cardboard.
- white crayon
- Glue.
- Ruler.
- Scissors.
- Pencil.


💌 PROCEDIMIENTO | 💌 PROCESS

- PASO 1:
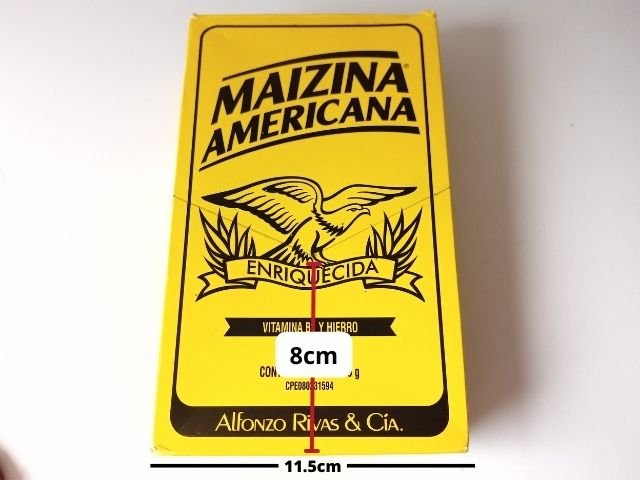
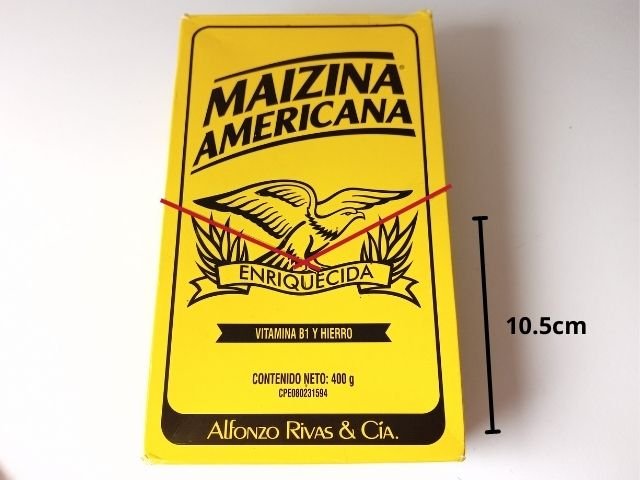
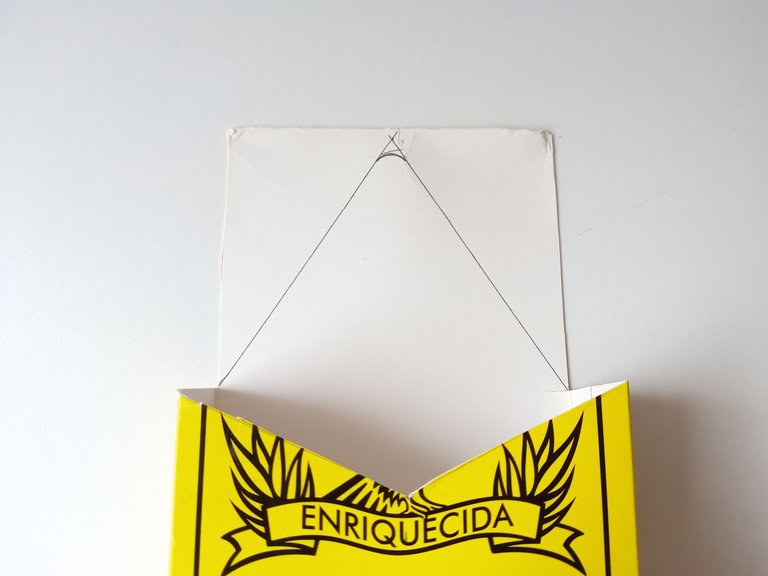
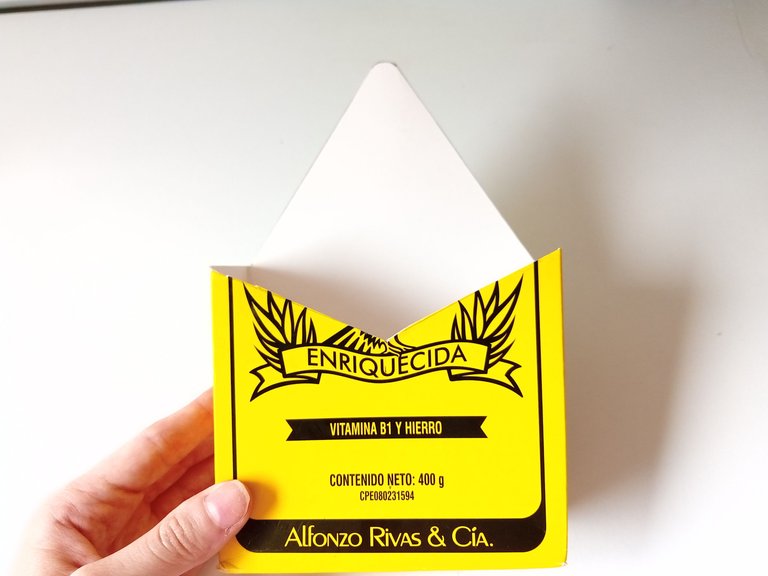
Lo primero que debemos hacer es darle forma de sobre a la caja. Vamos a medir y marcar el centro de la caja, en mi caso: mi caja mide 11,5 cm de ancho, lo que quiere decir que la mitad serian 5,7 cm. Haz la marca a 8 cm de alto. por otra parte, dibuja dos líneas desde los lados que se conecten a la marca que hiciste de 10,5 cm de alto en ambos lados.
📌Si no entendiste, abajo están las fotos.
- STEP 1:
The first thing we must do is shape the box into an envelope. We are going to measure and mark the center of the box, in my case: my box is 11.5 cm wide, which means that the middle would be 5.7 cm. Make the mark 8 cm high. Then, draw two lines from the sides that connect to the mark you made 10.5 cm tall on both sides.
📌If you didn't understand, below are the photos.


- PASO 2:
Recortar el exceso y las paredes laterales. Para la pared de fondo, haz un triángulo centrado, siguiendo la medida anterior. Dibuja un semicírculo en la punta y recorta.
- STEP 2:
Trim the excess and side walls. For the back wall, make a centered triangle, following the previous measurement. Draw a semicircle in point and cut out.


- PASO 3:
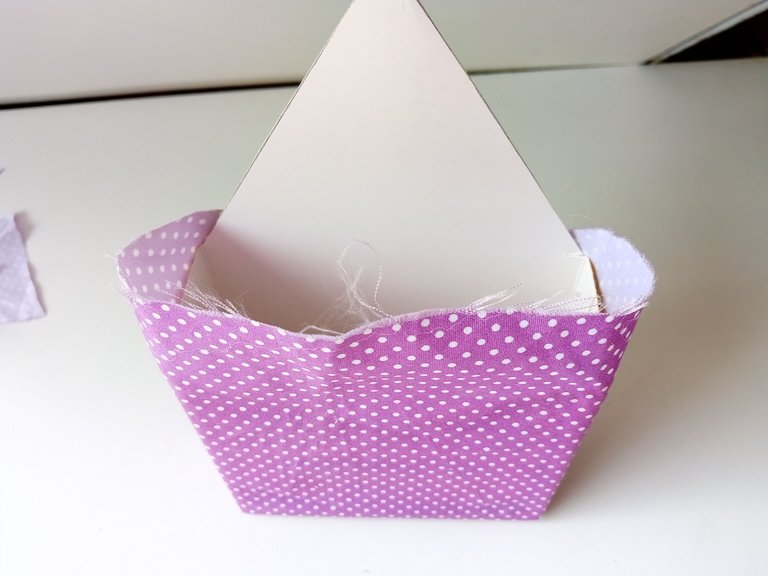
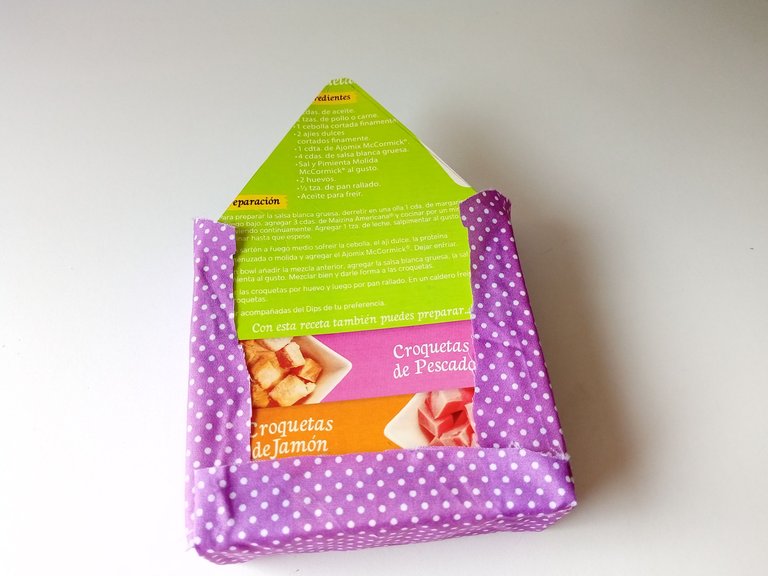
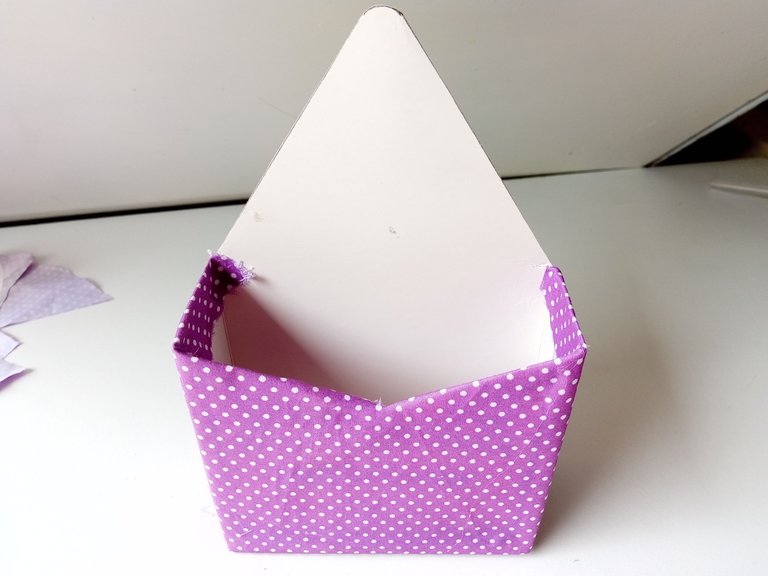
Ahora es el momento de hacer magia. Tomar una tela del color deseado y forrar el frente y laterales de la caja, asegurate de pegar todo en la parte posterior, como se muestra en las imágenes. Luego, pega el exceso de tela dentro de la caja, tratando de que quede prolijo.
- STEP 3:
Now is the time to make magic. Take a fabric of the desired color and line the front and sides of the box, making sure to glue everything on the back, as shown in the images. Then, glue the excess fabric inside the box, trying to keep it neat.


- PASO 4:
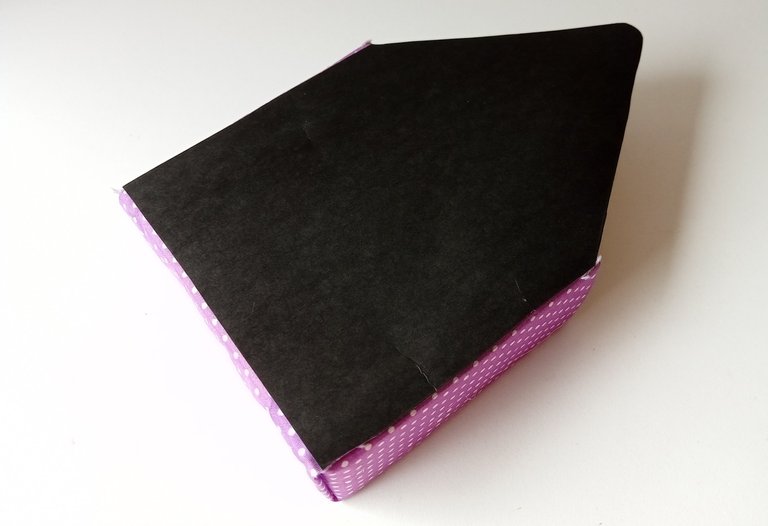
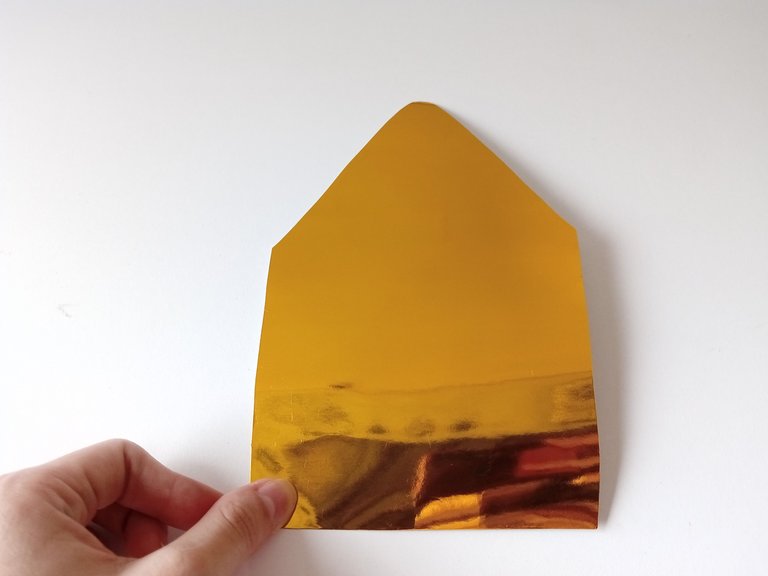
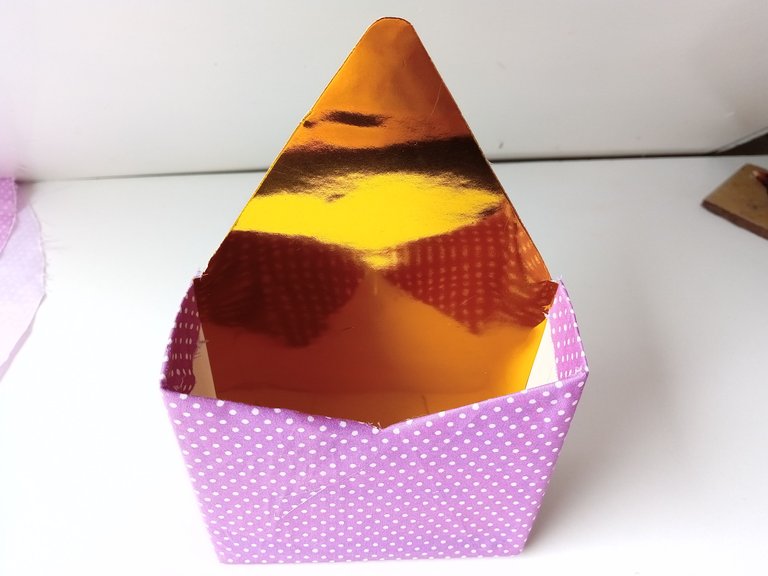
Para tapar las imperfecciones, toma las medidas de la pared de fondo y transfiérelas a la cartulina escolar negra, corta y pega. Repite lo mismo para el interior de la caja, pero esta vez en cartulina dorado. Cortar y pegar.
- STEP 4:
To cover the imperfections, take the measurements of the back wall and transfer them to the black school cardboard, cut and paste. Repeat the same for the inside of the box, but this time in gold cardboard. Cut and paste.


- PASO 5:
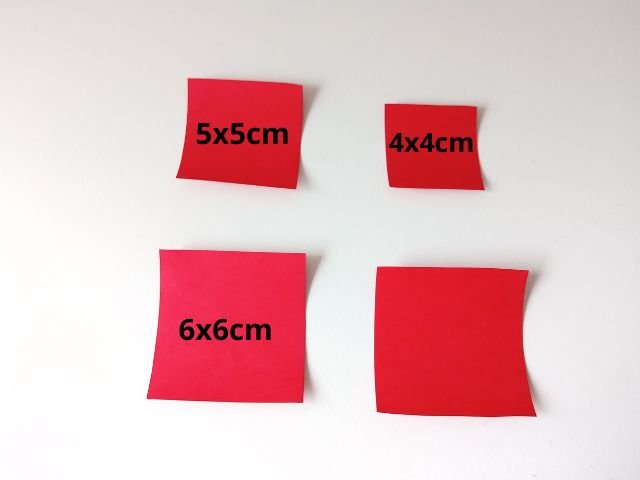
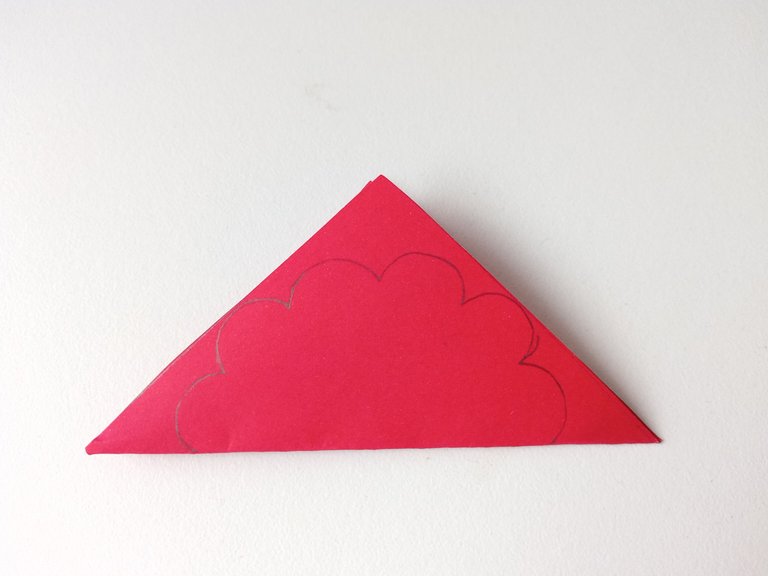
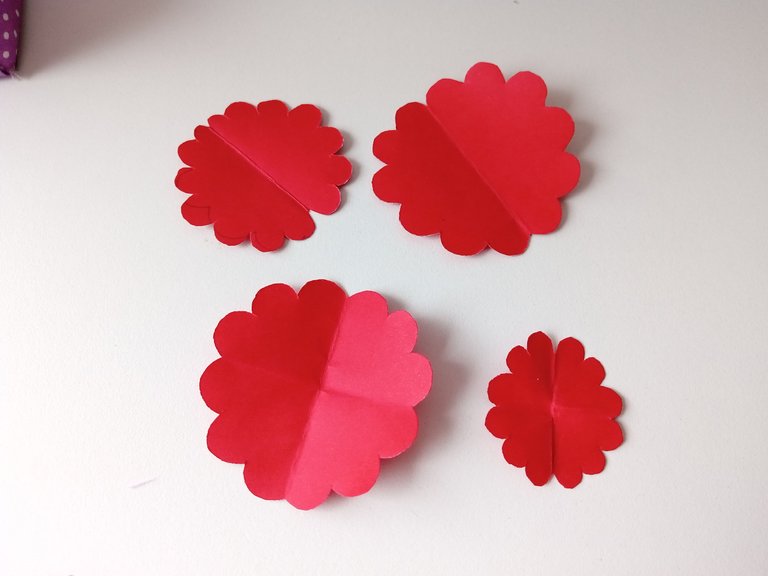
Ahora es el momento de decorar, corta 2 cuadrados de 6 cm x 6 cm, otro de 5 cm x 5 cm y por último uno de 4 cm. Dobla todos ellos formando un triángulo y dibuja la mitad de una flor. Recorta y repite con todos los cuadrados.
- STEP 5:
Now it is time to decorate, cut 2 squares of 6 cm x 6 cm, another of 5 cm x 5 cm and finally one of 4 cm. Fold all of them forming a triangle and draw half of a flower. Cut out and repeat with all the squares.


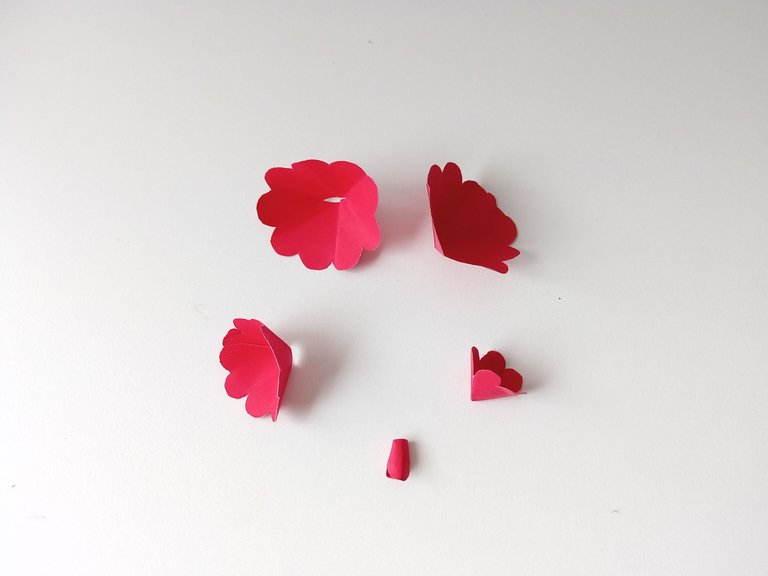
- PASO 6:
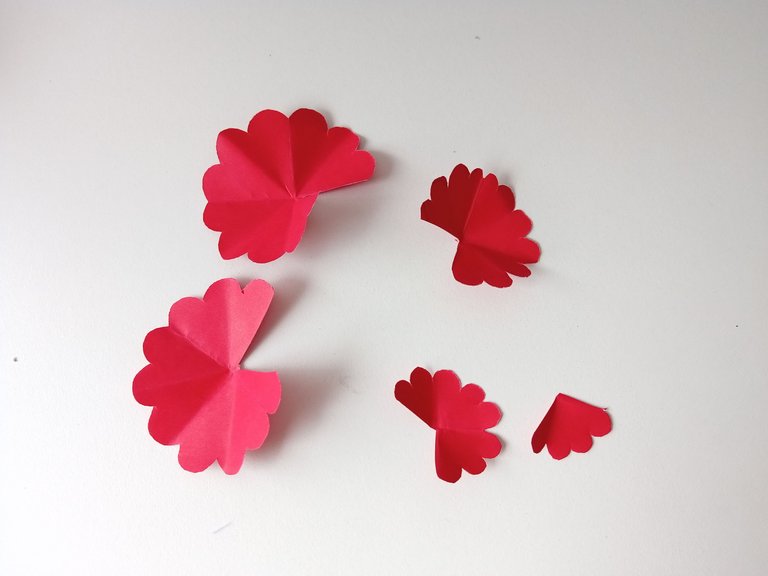
Una vez lista, corta los pétalos de la siguiente manera: 1 pétalo a una de las flores más grandes, 2 pétalos a la que le sigue y así sucesivamente, hasta cortar 4 pétalos a la más pequeña. Reservamos los pétalos que cortamos de la flor pequeña. Vamos a empezar a unir las piezas individualmente pegando un pétalo encima del otro, se formará una especie de embudo. Para la pieza de los 4 pétalos, simplemente enrollar y pegar.
- STEP 6:
Once ready, cut the petals as follows: 1 petal to one of the largest flowers, 2 petals to the one that follows it and so on, until cutting 4 petals to the smallest. We reserve the petals that we cut from the small flower. We are going to start joining the pieces individually by gluing one petal on top of the other, it will form a kind of funnel. The piece of the 4 petals, simply roll up and glue.


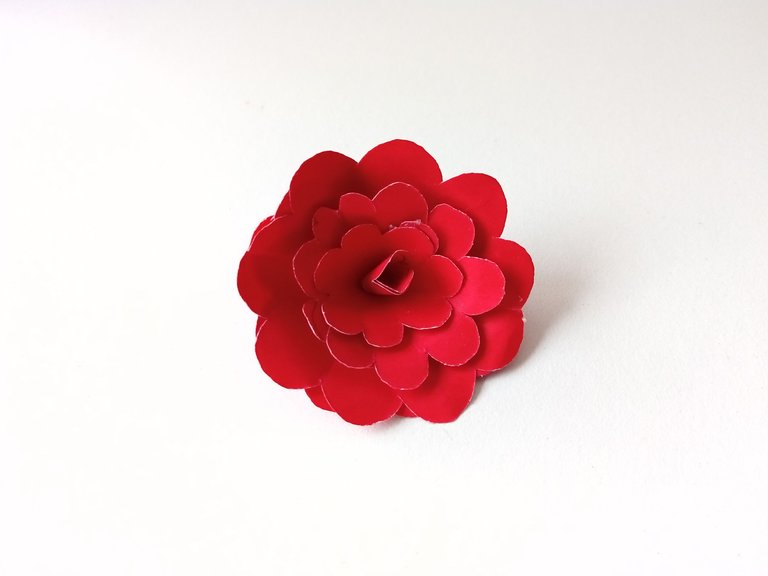
- PASO 7:
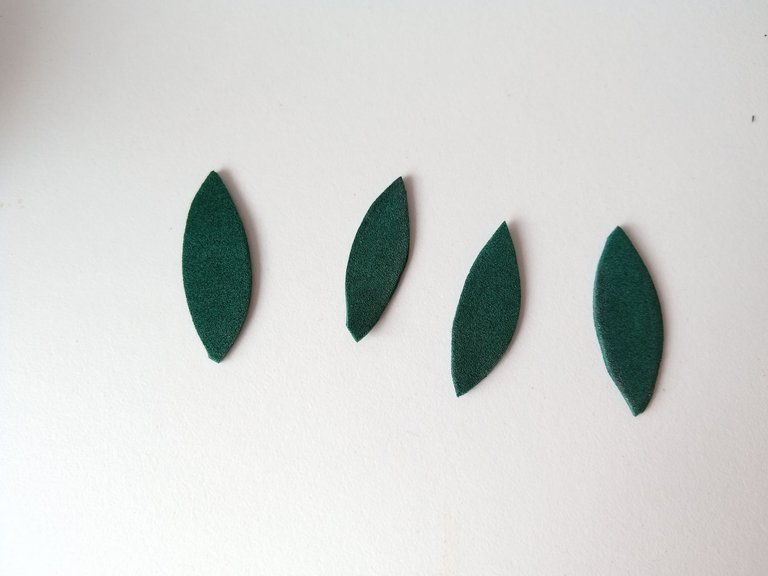
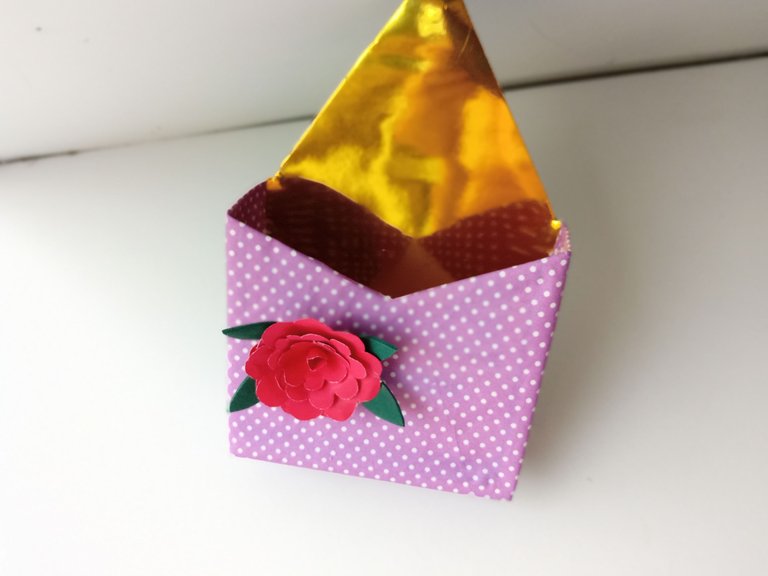
Empieza a pegar las flores una dentro de otra, de la más grande a la más pequeña, hasta formar una sola flor. Para dar más detalle, dibuja y recorta 4 hojas sencillas, en foami o cartulina verde. Pegar la flor en la caja y pegar las hojas.
- STEP 7:
Begin to glue the flowers one inside the other, from the largest to the smallest, until you form a single flower. To give more detail, draw and cut 4 simple leaves, in foami or green cardboard. Glue the flower on the box and glue the leaves.


- PASO 8:
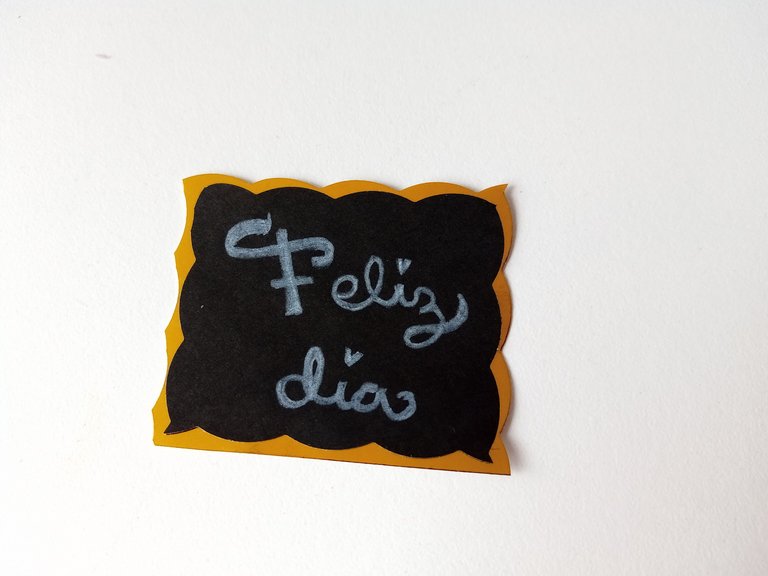
Finalmente, escribe un mensaje o frase en cartulina negra, utilizando el creyón blanco. Cortar y pegar sobre cartulina metalizada. (Si quieres puedes darle forma ovalada a los bordes al cortar). Por último, pegar a la caja.
- STEP 8:
Finally, write a message or phrase on black cardboard, using the white crayon. Cut and paste on metallic cardboard. (If you want you can give the edges an oval shape when cutting). Finally, glue to the box.

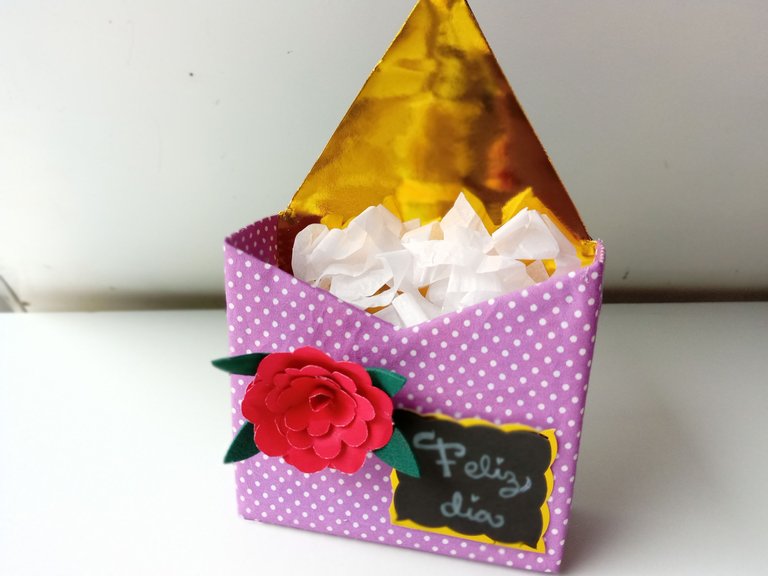

✨🎁💌¡Y listo!💌🎁✨ Así de fácil podemos hacer una bonita caja de regalo en forma de sobre, Ideal para dar un lindo detalle. Puedes agregar tiras de papel de seda para llenar la cajita y agregar dulces. También puedes hacer un mini arreglo floral o si lo prefieres, hacer esta cajita con las medidas deseadas. Espero que les haya gustado y se animen a elaborarlo.
❤️Hasta la próxima publicación.
✨🎁💌¡And ready!💌🎁✨ That's how easy we can make a beautiful gift box in the form of an envelope, Ideal to give a nice detail, you can add strips of tissue paper to fill the box and add sweets. You can also make a mini floral arrangement or if you prefer, make this box with the desired measurements. I hope you liked the step by step and are encouraged to elaborate it.
❤️Until the next post.

✨RESULTADO: | ✨RESULT:

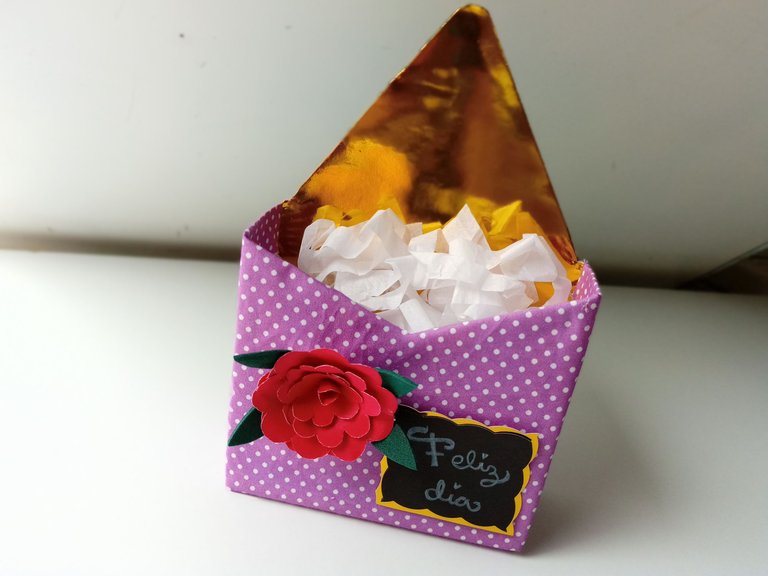
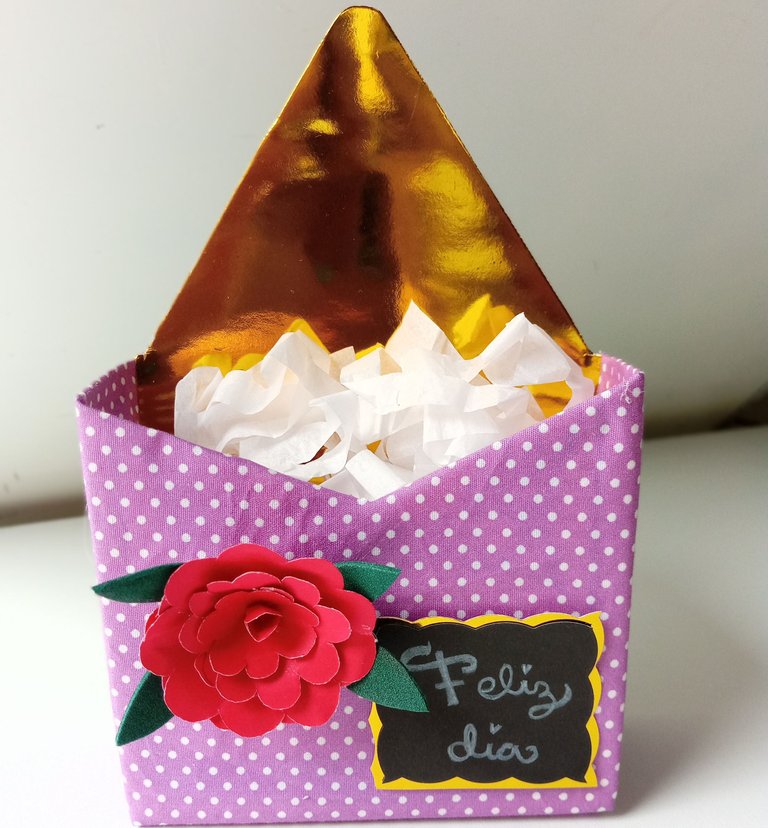


Todas las fotografías son de mi propiedad.
Separador y Fotos editadas en Canva
All photographs are my property.
Photos edited in Canva
