Hola a todos✨
Hello everyone ✨
Every day in the community is quite interesting, all the creators are always presenting a great diversity of content and you never get bored, I even saw a frog🐸 made with shells in the community, I honestly don't think I would have come up with something like that, they are amazing.💗

I am always thinking about what to do to present in the community, many times I try to think what I need, what I can recycle or what accessory I would like to create, I think my mind is always working on new ideas and for that very reason sometimes I run out of inspiration, but it always comes back soon.✨

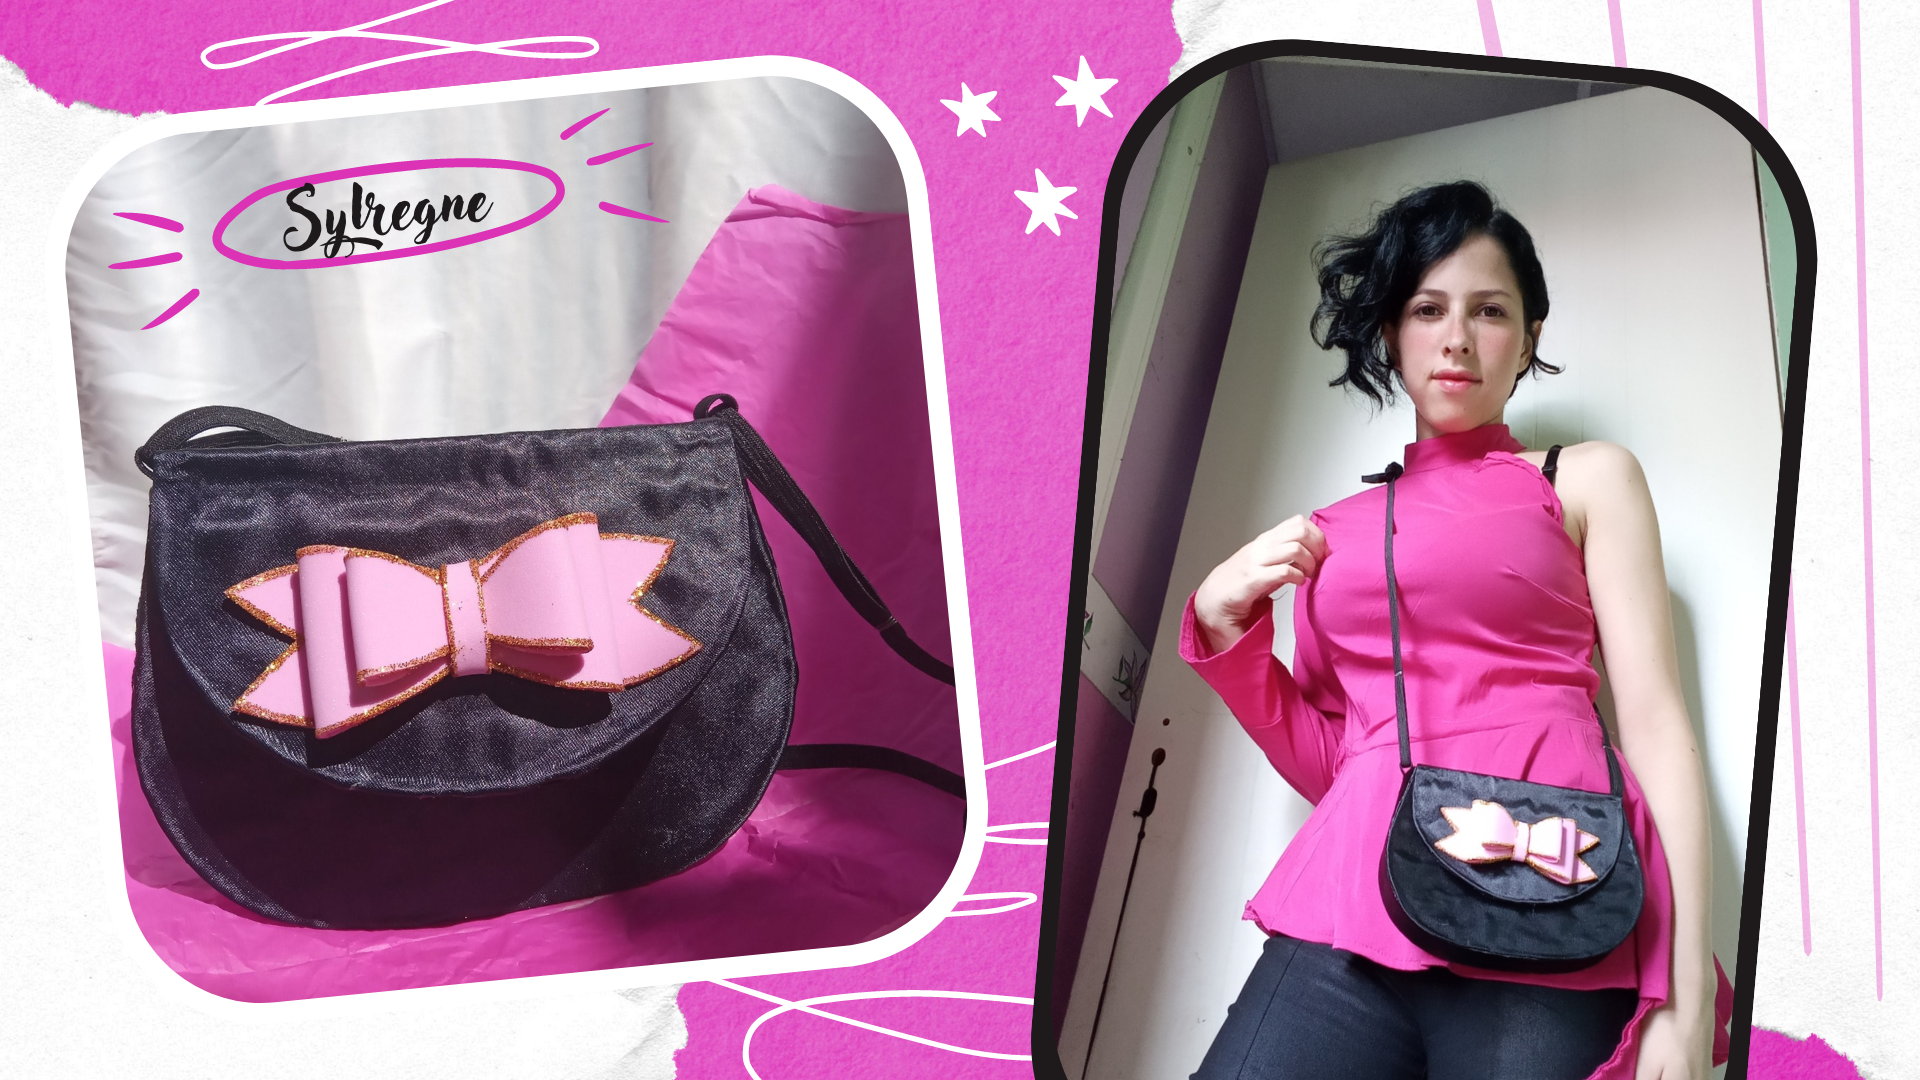
My mom has made a lot of bag and purses, so when I saw her making her projects I decided to make something that I could use with almost all of my clothes, The best thing about this is that you don't need so many pieces, I hope you like it.💗

| Materiales que necesitas | Materials you need |
|---|---|
| • Tela | • Cloth |
| • Silicon frio | • Cold silicone |
| • Foami | • Foam |
| • Alambre | • Wyre |
| • Brillantina | • Glitter |
Empecemos✨💗
Let's start 💗✨
https://www.pinterest.com/pin/314548355232165785/?nic_v3=1a1KtqCn3
1- I made the template of the bag using another wallet as a mold, but here I will leave you a link in case you want to make the pieces, it is almost the same as the one I show you. 🖊️ I cut out the pieces on a cardboard from an old cardboard and cut them out.
.png)
2- I used satin fabric to cover the outside of the bandolier, first I ironed the fabric to eliminate wrinkles, as it is quite slippery I stretched it on a table, applied silicone on the pieces and glued them directly on top of the fabric. ✂️Then I cut out the pieces leaving a centimeter width all around.🖤
.png)
3- I covered the rectangle measuring 37cm with the satin fabric and at the ends I placed two pieces of ribbon which I fixed with silicone and a piece of fabric on top. 📐
.png)
4- My scissors don't cut very well anymore ✂️😅 I used microdurazno fabric to make the pieces for the inside, the same size as the mold.
.png)
5- I applied silicone on the edge of the wallet and started to join the rectangle little by little all around, waited half an hour for it to dry a little bit and then placed the other piece.👜
.png)
.png)
6- I used a little piece of magic zipper✨ or velcro that I recycled from another wallet and glued it on.
.png)
7- The ribbons molds abound on the internet and I have a lot of molds of different sizes, 🎀 I marked the pieces on foami, applied glue on the edges with gold glitter and assembled the pieces. At the end I put a long ribbon that I fixed with wire at the ends of the bag.👜
.png)
Resultado final 💗🛍️
Final result💗✨
.png)
.png)
.png)
I hope you liked this cute craft, what I like most about it is that you can make it with any type of fabric, combine it in the way you like and give it a unique and special touch, besides decorating your outfits.👗✨ And you don't need so many materials to make it, just a lot of love and creativity.✨

This little wallet is for storing small things like cosmetics, your phone, money, etc.🛍️💄💍💜 Remember that you can make things just as nice and even better than this one with a lot of love and dedication.

Espero te haya servido de inspiración para crear con mucho cariño y amor.🛍️✨💗
¡Nos vemos pronto!✨
I hope it has inspired you to create with love and care 💗
✨.
See you soon! 🛍️✨
.png)


