If you have never eaten microgreens before you are in for a treat. Growing them for yourself saves you a lot of money too. Not only are they delicious but they are superior in nutrition to their adult versions.
If you have never heard of Microgreens before, they are simply seeds grown in a soil mix until they set their first true leaves. Then you harvest them to enjoy them on a variety of dishes.
Let's take a look at a few of my personal favorites today as I give you a quick overview of growing them for yourself.
Growing Microgreens
These instructions will be short so as not to bore you to death. The links below will give you a much more detailed outline to follow. Let's begin!
Prepare the trays
I use trays specifically for growing microgreens. I personally like 10" by 10" trays but there are smaller ones that are great too. It all depends on how many greens you want to grow at one time.
You will fill your tray that has drainage holes with about 1/2" of soil mix. I use a seed starting mix when growing any type of microgreens which gives them just enough nutrients to get them to the harvest stage.
You will level the soil as best you can by tamping it down lightly. Mist the top of the soil just enough to get it wet but not soggy.
Sprinkle your seeds rather thickly across the entire surface. You will get a feel for how dense to sow the seed with experience. A good rule of thumb is to try and leave a seed's width between them. Of course, it really does not have to be exact but approximate.
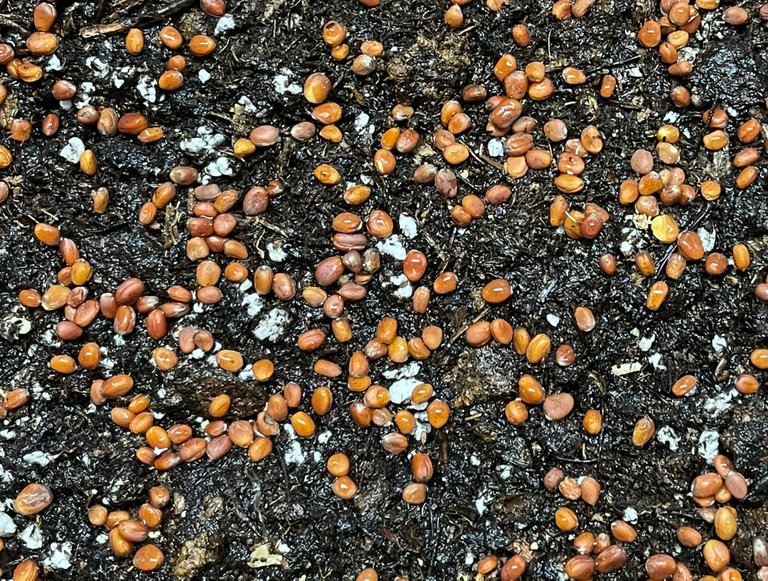
As you can see from my photo they are not at all perfect. ;-)
Mist the seeds lightly with your water and cover them with another dome the same size. Then place the entire tray into another tray with no drainage holes for later watering. The seeds need 2-3 days of blackout time to encourage them to sprout.
Mist your seeds lightly once a day until they sprout but, continue to keep the blackout dome on for another 2 days. This gets the seedlings to stretch. They may appear yellow at this stage but will recover once you give them a good source of light. I prefer LED grow lights but fluorescent ones will work fine too.
It is time to begin adding a little bit of water to the bottom tray with no holes. This will be how you will water them until harvest.
Note: Be sure to check the trays twice daily so that the seedlings do not dry out. Add water daily as needed.
Beet Greens
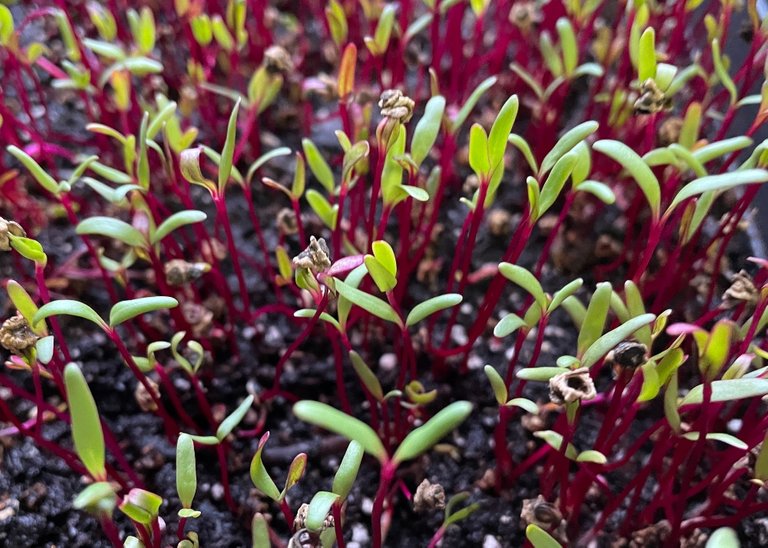
These beet seedlings are 5 days old and have stretched nicely under during the blackout stage. Now, they will stay under lights until the true leaves begin to form. (They are under lights as I write this post)
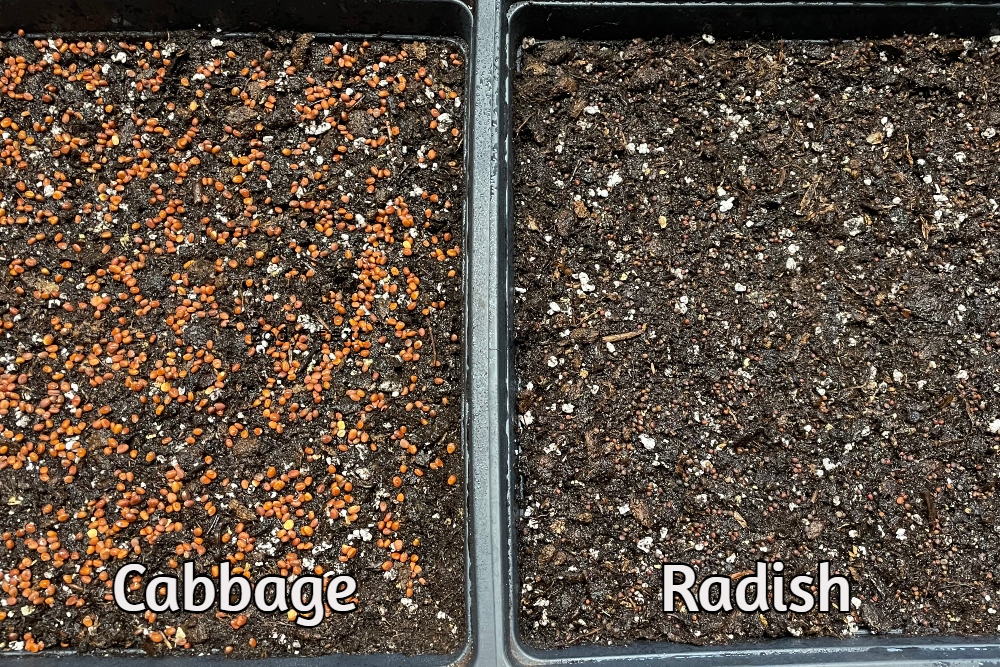
Cabbage
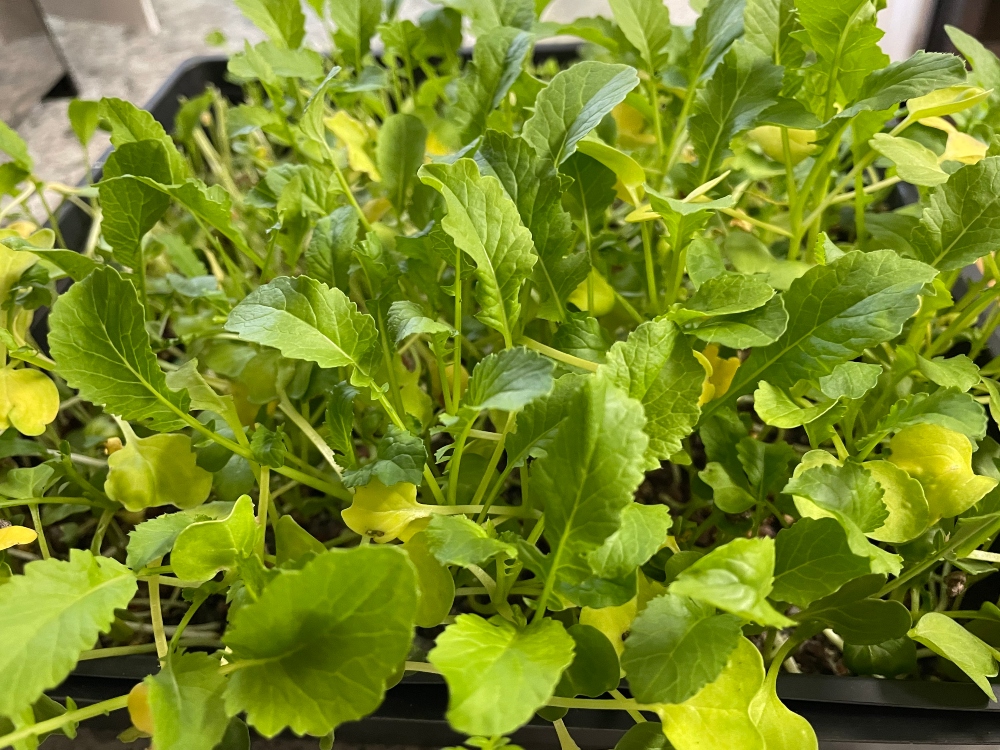
The first round of cabbage from a couple of weeks ago went a little too long. You can see how the first leaves began to turn yellow as I overwatered them but, they were still very tasty regardless.
Broccoli
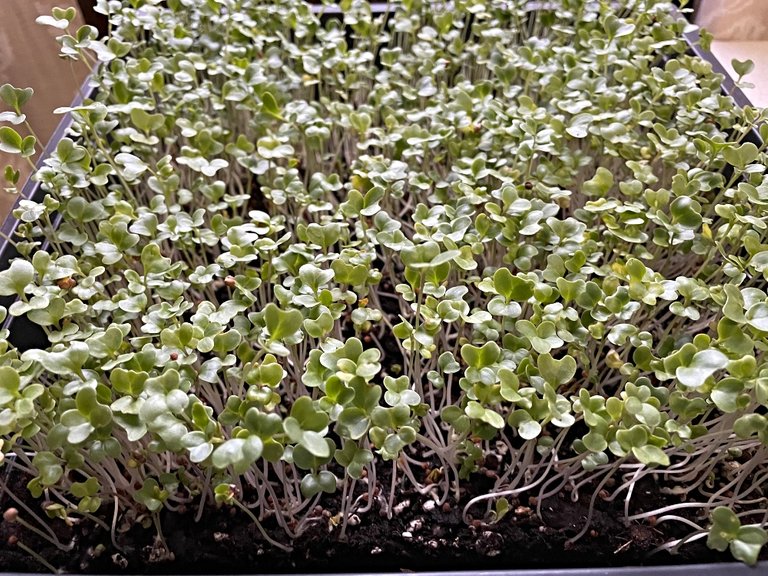
This is what your trays will resemble after about 7 days of growing under lights. These broccoli microgreens are almost ready for harvest. Depending on your seed type it can take up to 10 days to maturity. I am going to let them grow for two more days before I cut them.
Nutrional Benefits
Microgreens provide more nourishment than full-grown vegetables. They are densely packed with vitamins, minerals, and healthy enzymes to assist you with overall health. The antioxidants in the red beets and radish help to aid in removing toxins and free radicals from the body, and the microgreens are a great source of fiber too.
I have chosen Broccoli, Cabbage, Red Beets, and Radish to start out with as these are suggested for digestion and gut health due to their nutritional values. Also, for boosting the immune system and aiding in heart health, and diabetes as well.
Others that I have not done yet are amaranth and peas but I do have the seeds to start them next. I will be sure to show you what they will look like when I grow them.
Amaranth
It has a mild, yet earthy taste and is rich in protein, lysine, thiamine, niacin, calcium, potassium, iron, manganese, zinc, and copper. It is a great source of vitamins A and C along with folate.
Beets
Beet microgreens are a great source of vitamins A, B-6, and C along with folate. They also have calcium, potassium, iron, thiamine, riboflavin, copper, and selenium.
Broccoli
If your looking for a good antioxidant-rich green then broccoli is a great choice. It is abundant in vitamins A and C and rich in iron, calcium, fiber, and sulforaphane which is great for your health.
Peas
Pea microgreens taste like fresh pea pods. With seven times the vitamin C of blueberries and eight times the folic acid of bean sprouts.
The nutrients in peas include a good source of beta carotene, high in vitamin C and folate, chlorophyll, flavonoids, and polyphenols, specifically lignans and coumestrol, which are being studied for their anticarcinogenic and anti-inflammatory activities.
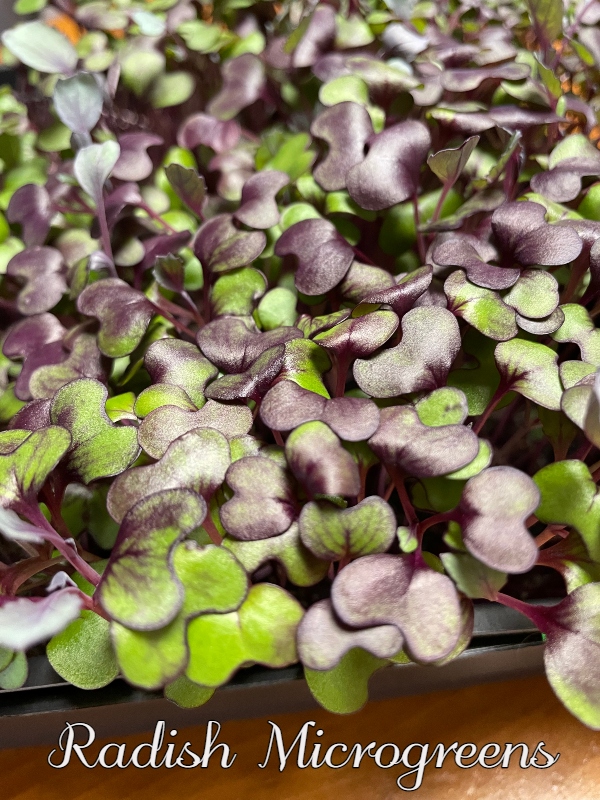
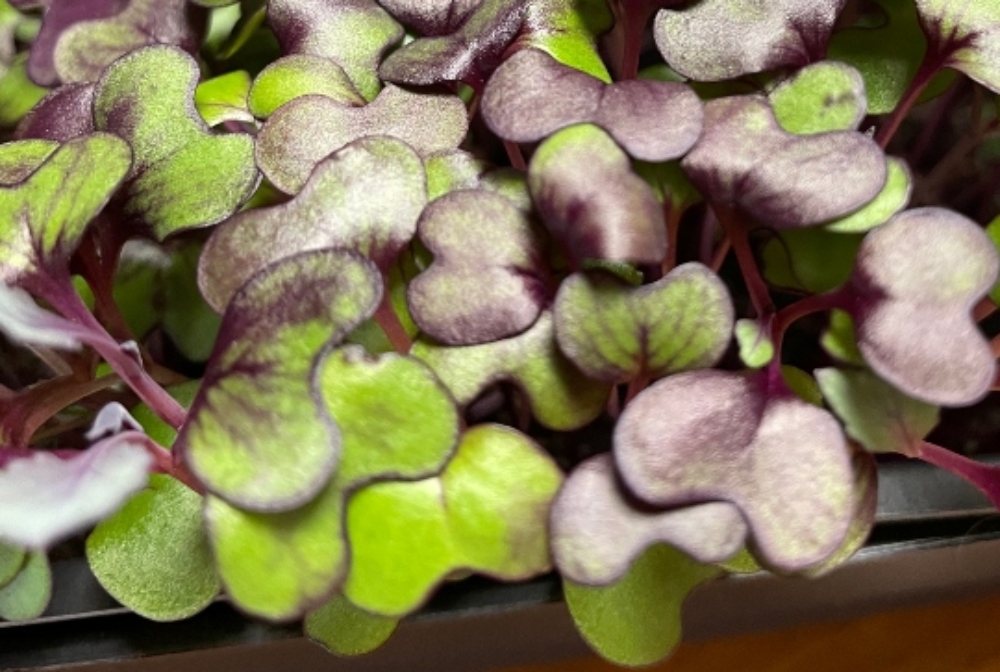
Radish
Another great source of nutrition. Radish microgreens are packed with A, B, C, E, K, calcium, iron, magnesium, phosphorus, potassium, zinc, amino acids, carotene, chlorophyll, and antioxidants.
Nutrition Source
I am really enjoying the microgreens in a variety of dishes, sandwiches, and salads as often as I can. I am finding alternative ways to a healthier diet and moving away from over-the-counter supplements that have become so expensive. Besides, being an avid organic gardener growing microgreens was an easy choice for me.
I hope you do some research on how to grow them for yourself as there are many wonderful sites that show you how. It is not difficult at all and the benefits are so worth it. Have fun growing "Microgreens".
Until next time, this is Sunscape
Sun. Scape. Ing Your Day

 You've been curated by