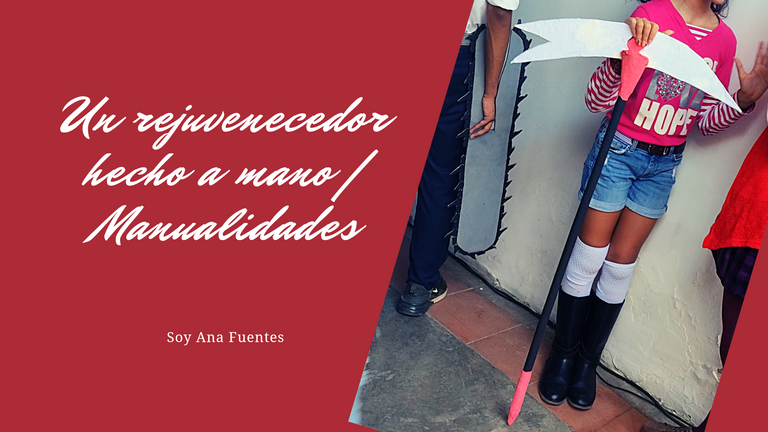
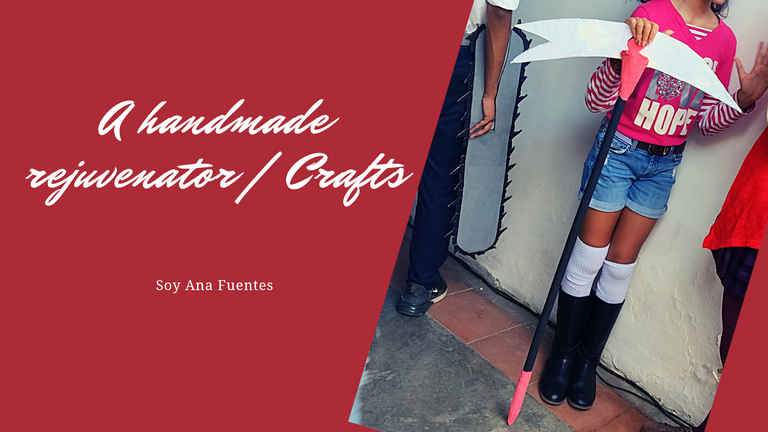
Un rejuvenecedor hecho a mano | Manualidades
Hola Hola
Siempre he dicho que no tengo arte en las manos, pero es porque soy muy exigente y aparte que por ansiosa quiero terminarlo antes y lo dejo como quedó. Me pasa para todo, a veces me queda 100% como quiero que me quede, otras veces me queda como me salga.
En este caso fue un “como me salga”, sin embargo le puse esfuerzo y dedicación porque era para mi sobrina. Ella tenía meses pidiéndome que le hiciera el rejuvenecedor, pero con una cosa y otra no se lo había hecho, así que hace unas semanas me inspire y se lo hice.
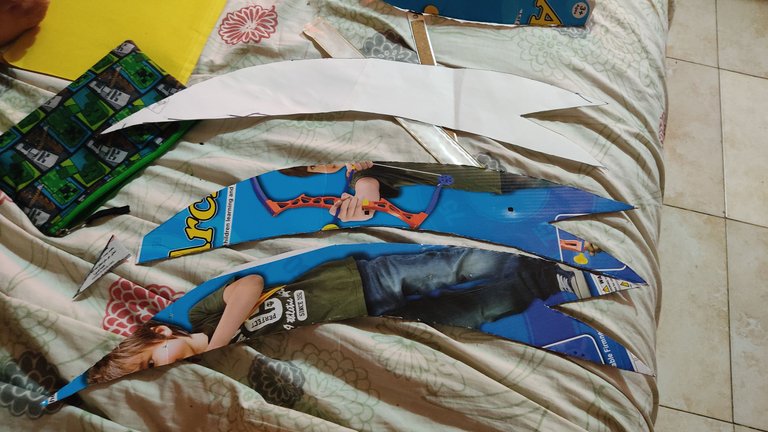
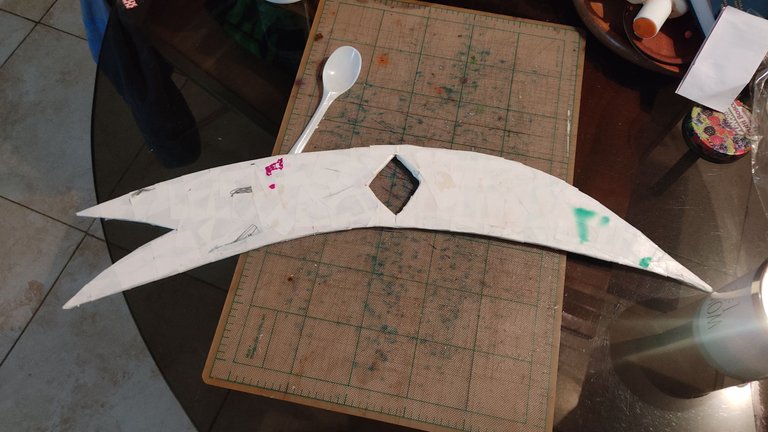
Comencé usando un papel y haciendo la forma del pico, lo recorte y lo pegue a un cartón reciclado, lo dibuje y lo recorté. Hice ese proceso dos veces con el fin de que fuese más grueso.
 |  |
|---|
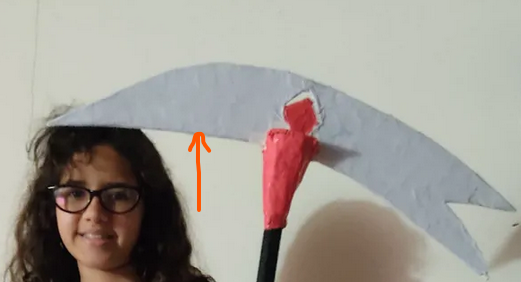
A esa pieza le hice un rombo en el medio porque así es el pico, porque tiene un detalle en el medio.
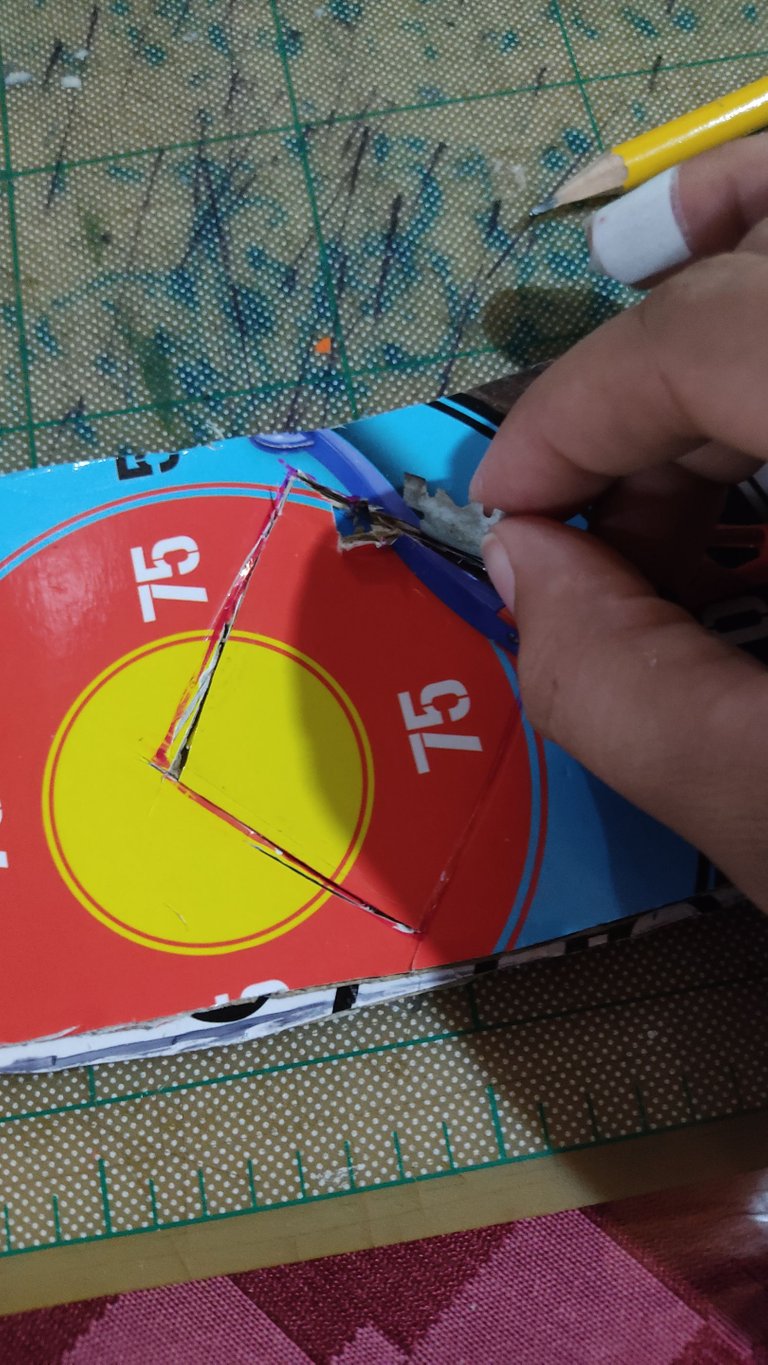
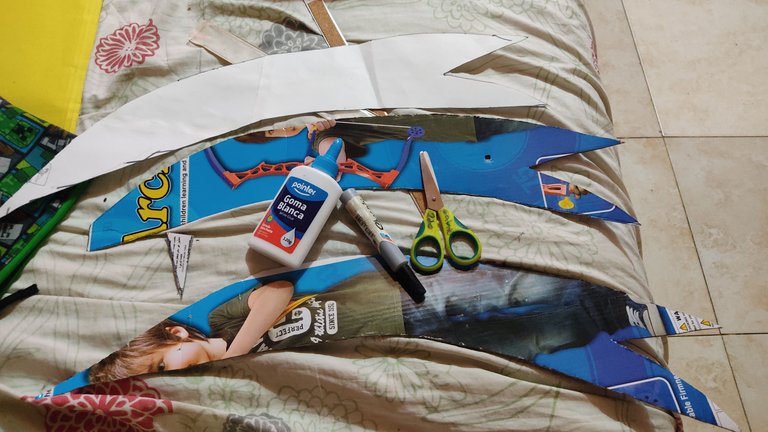
En un envase coloqué dos cucharadas de pega y dos cucharadas de agua, mezclé y se hace una pega mas aguada. Con un papel, corte pedazos pequeños y fui pegando poco a poco en todo el cartón. Ese proceso lo hice dos veces.
Estábamos buscando la manera de cómo hacer la base de ese pico con el palo y no dabamos, pusimos un pedazo de una botella de refresco y no servía, así que pedí ayuda a una amiga que hace piñatas y ella me recomendó hacerlo de cartón, de la misma manera que venia trabajando.
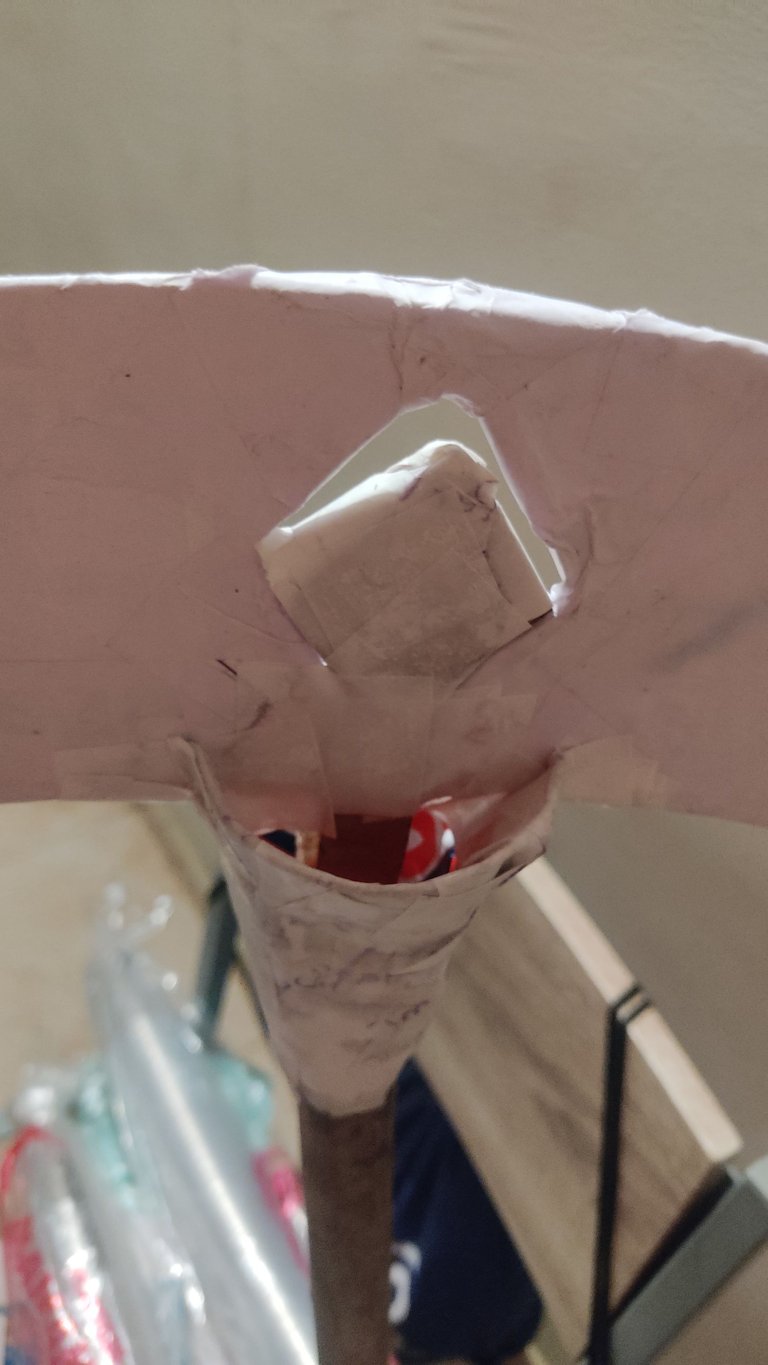
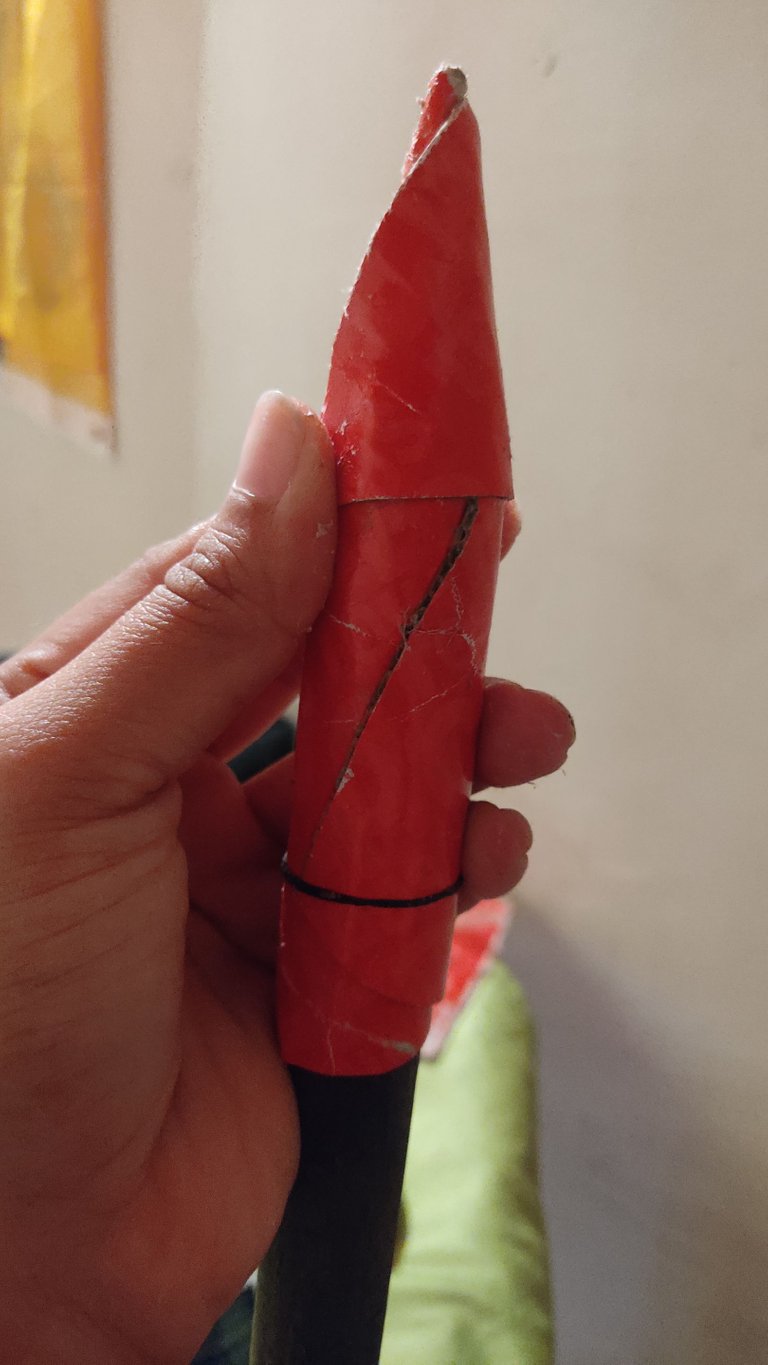
Entonces hice un triangulo, lo mojé con agua y le fui dando forma de cono, con ligas de cabello, lo fui amarrando mientras le ponía pega para que se pegara, y lo presenté en el palo, así fue quedando hasta que le pegué el papel y la pega con agua. Le hice las aberturas para que entrara el pico y con papel y pega pegué toda la pieza.
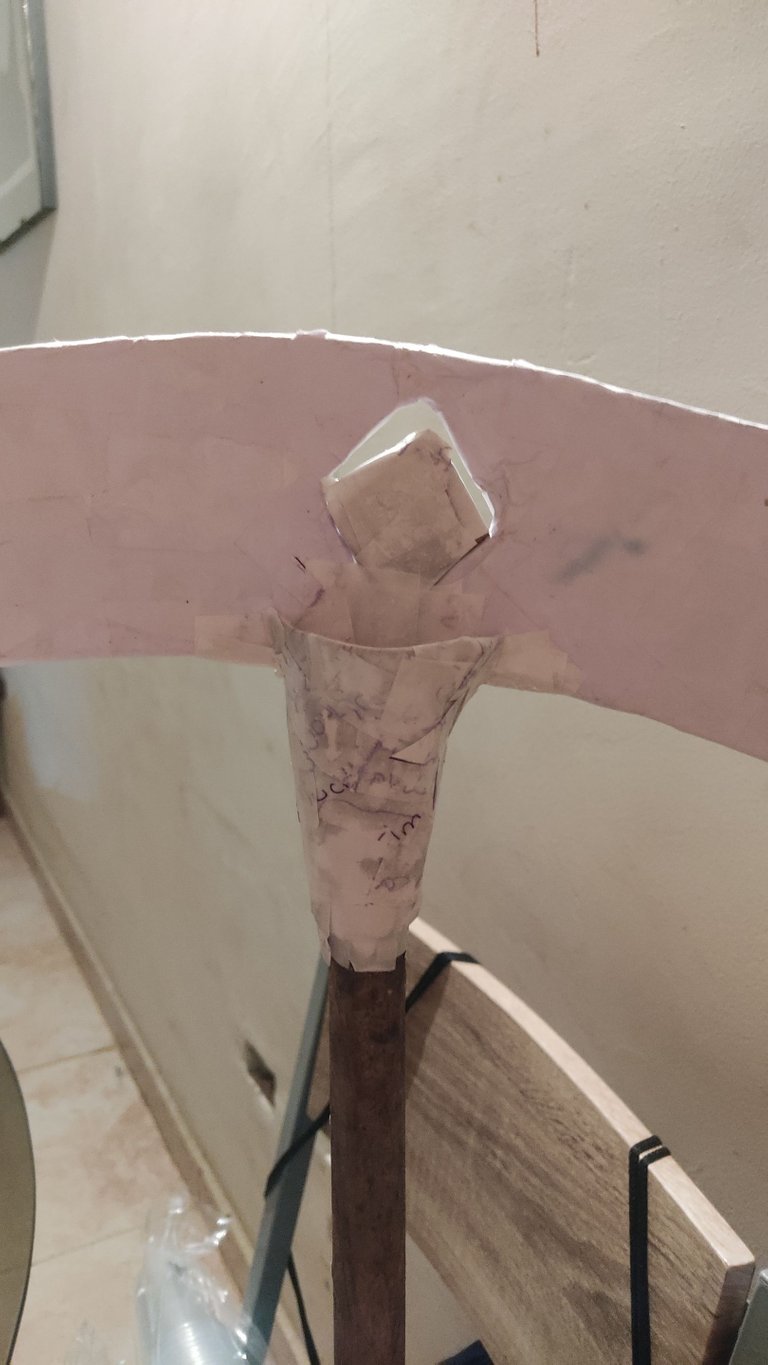
El rombo del medio también es cartón, varias capas de ese triangulo, una para pegarlo en el piso y el resto para rellenar. Lo pegué con pega, papel y la mezcla de agua con pega.
Con la punta de abajo, también hice un triangulo, lo mojé con agua y le fui dando forma de punta, ahí si le puse varios cartones y papel hasta que quedó como quería.
 |  |
|---|
El cono y el triangulo me pusieron a pensar más de la cuenta, pero es que como nunca hago esas cosas, me tocó inventar. Incluso no sabía que mojandolo, se hace más moldeable.
Luego de que tenía todo el rejuvenecedor ensamblado, me dispuse a pintar con temperas que tenía en casa.
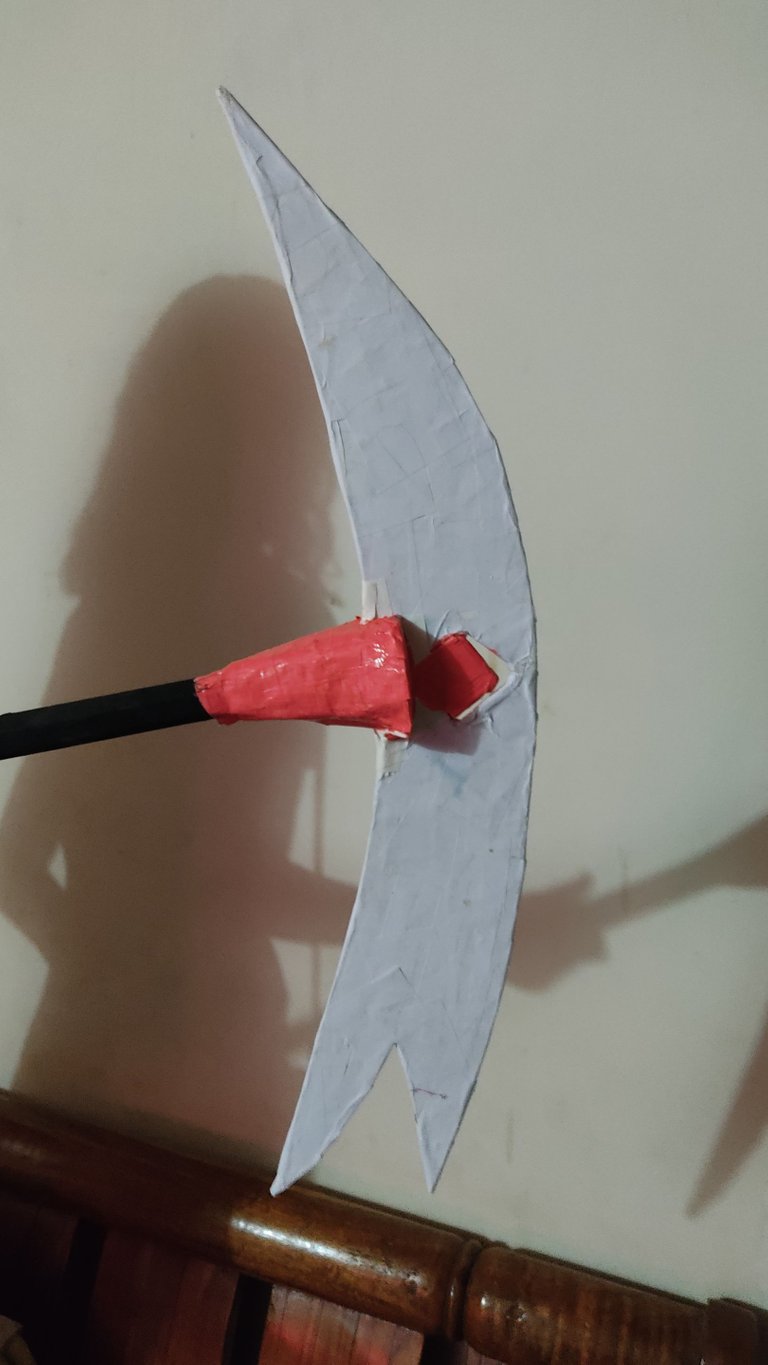
El pico con blanco, la pieza de rombo con cono en rosado (utilice rojo y blanco para dar con el color), negro el palo y la punta de abajo en rosado también.
Lo mejor fue ver la cara de alegría de mi sobrina, que ella sabe que es delicado, sin embargo lo tocó, golpeó y nunca se desarmó, solo se aflojó. Todo porque le eché bastante pega y lo endurecí lo mejor que pude.
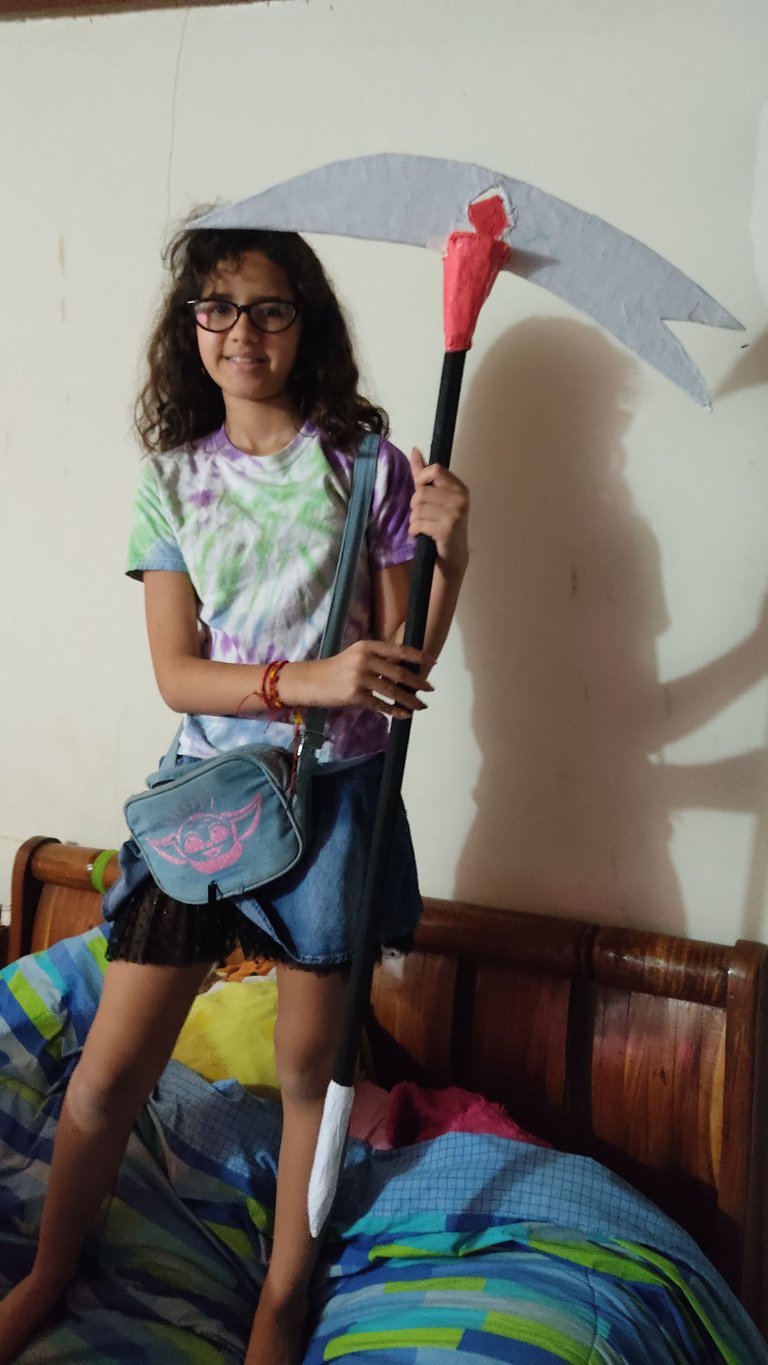
Ella muy feliz con su rejuvenecedor y yo encantada de complacerla.

English
A handmade rejuvenator | Crafts
Hello Hello
I've always said that I don't have art in my hands, but it's because I'm very demanding and aside from being anxious, I want to finish it sooner and leave it as it was. It happens to me for everything, sometimes it fits me 100% how I want it to fit, other times it fits me how it turns out.
In this case it was a "however it comes out", however I put effort and dedication because it was for my niece. She had been asking me to do the rejuvenator for months, but with one thing and another I had not done it, so a few weeks ago I was inspired and I did it.
I started using a piece of paper and making the shape of the beak, I cut it out and glued it to a recycled cardboard, I drew it and cut it out. I did that process twice in order to make it thicker.
| |
|---|
I made a rhombus in the middle of that piece because that's the beak, because it has a detail in the middle.
In a container I placed two tablespoons of paste and two tablespoons of water, I mixed and a more watery paste is made. With a piece of paper, I cut small pieces and I was gluing little by little all over the cardboard. I did this process twice.
We were looking for a way to make the base of that beak with the stick and we couldn't find it, we put a piece from a soda bottle and it didn't work, so I asked a friend who makes piñatas for help and she recommended that I make it out of cardboard, the same way it was working.
So I made a triangle, I wet it with water and I shaped it into a cone, with hair ties, I tied it while I glued it to make it stick, and I presented it on the stick, that's how it stayed until I glued the paper to it and glue it with water. I made the openings for the beak to enter and with paper and paste I glued the whole piece.
The rhombus in the middle is also cardboard, several layers of that triangle, one to stick on the floor and the rest to fill. I glued it with glue, paper and the mixture of water with glue.
With the point below, I also made a triangle, wet it with water and shaped it into a point, there I put several cardboard and paper until it was as I wanted.
| |
|---|
The cone and the triangle made me think more than necessary, but since I never do those things, I had to invent. I didn't even know that by wetting it, it becomes more malleable.
After I had all the rejuvenator assembled, I started to paint with tempera that I had at home.
The bill with white, the rhombus piece with cone in pink (use red and white to give the color), the stick and the bottom tip in pink as well.
The best thing was seeing my niece's happy face, which she knows is delicate, however she touched it, hit it and it never fell apart, it just loosened. All because I put a lot of glue on it and hardened it the best I could.
She is very happy with her rejuvenator and I am delighted to please her.
Soy Ana Fuentes💜💜
-Fotos Redmi Note 9S
-Banners Canva