Hola amigos de Hive!
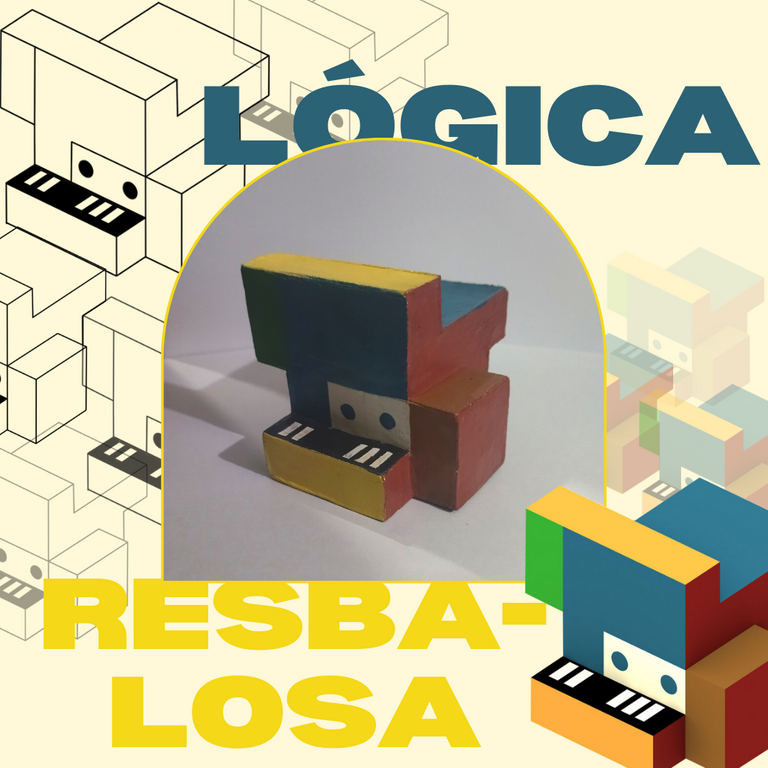
El día de hoy les traigo por primera vez una publicación para la grandiosa comunidad de DIY. Hace un par de días quise realizar como regalo, un objeto decorativo inspirado en la portada del album Lógica Resbalosa del cantante Armando Añez, ex integrante de Americania, cuyo proyecto de hace un par de años hasta la actualidad, es conocido como Recordatorio.
Recordatorio fue una propuesta innovadora, con conceptos originales, y letras cargadas de profundo sentimiento, que dejan mucha interpretación subjetiva. En conjunto a sus trabajos audiovisuales, nos regala toda una montaña rusa sensorial y emocional.
Los invito a echarle una ojo a sus vídeos y a escuchar sus temas. Con su armoniosa y melodica voz, y el excelso trabajo de su banda musical, seguramente no habrá arrepentimientos.
A continuación les voy a enseñar un poco el procedimiento que seguí para realizar la manualidad.
Hello Hive friends!
Today I bring you for the first time a publication for the great DIY community. A couple of days ago I wanted to make as a gift, a decorative object inspired by the cover of the album Lógica Resbalosa of the singer Armando Añez, former member of Americania, whose project from a couple of years ago until today, is known as Recordatorio.
Recordatorio was an innovative proposal, with original concepts, and lyrics full of deep feeling, which leave a lot of subjective interpretation. Together with his audiovisual works, he gives us a whole sensory and emotional roller coaster.
I invite you to take a look at his videos and listen to his songs. With his harmonious and melodic voice, and the excellent work of his band, surely there will be no regrets.
Next I am going to show you a little bit of the procedure I followed to make the craft.
Lógica resbalosa, tengo la suerte de verla crecer...
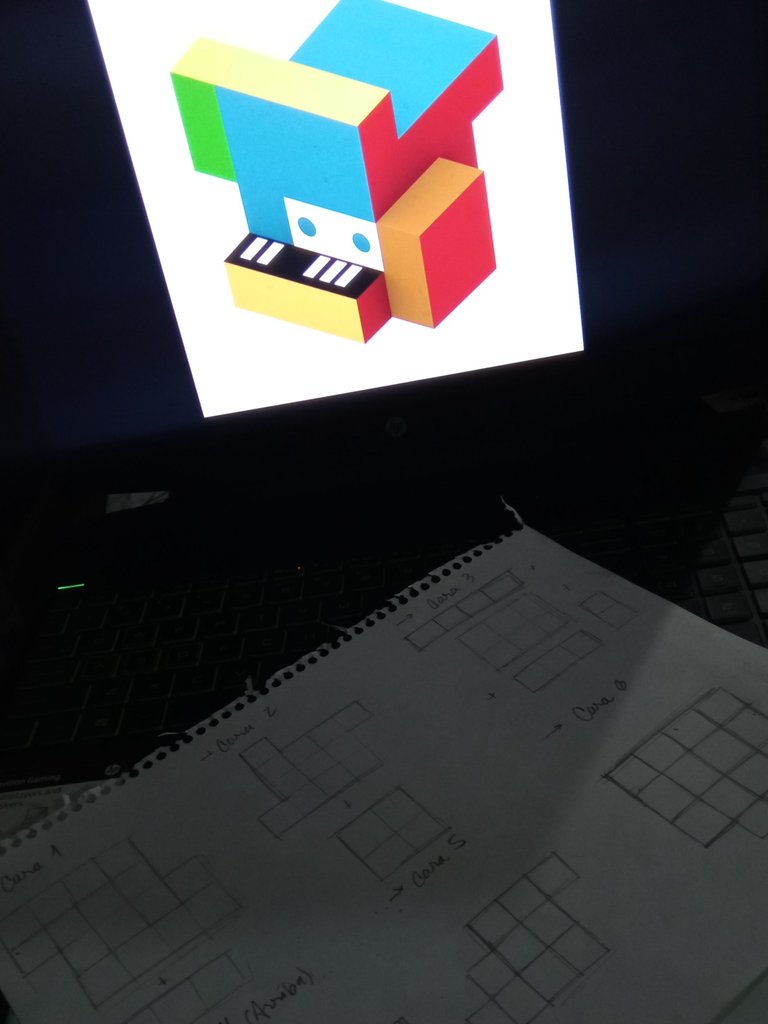
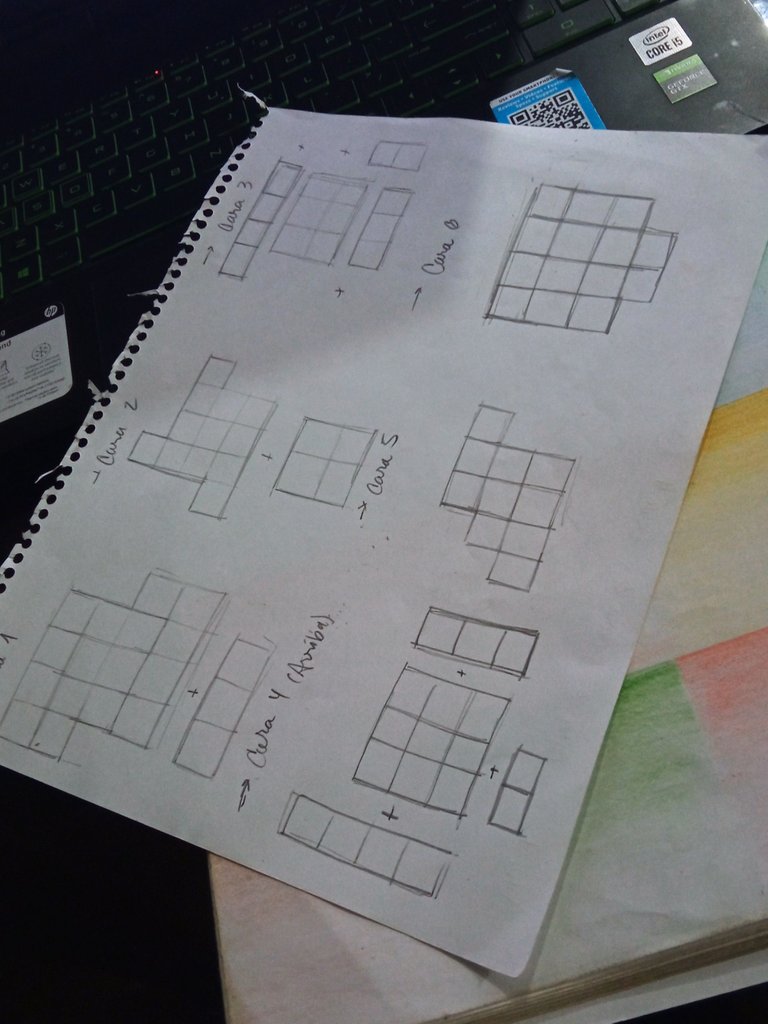
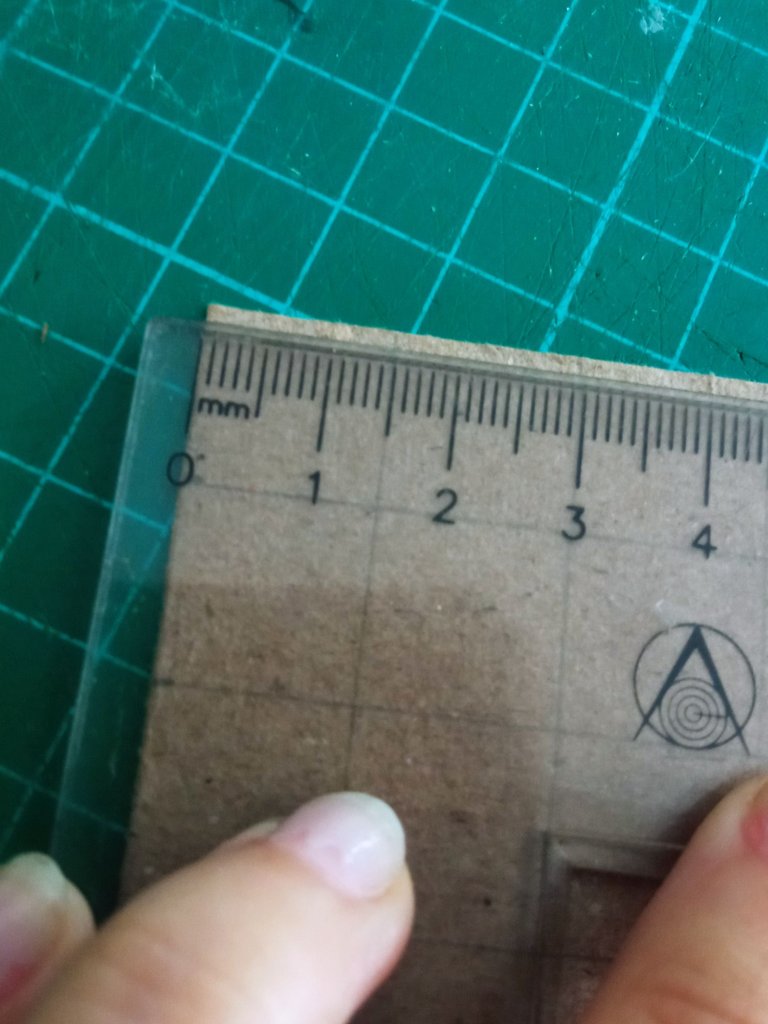
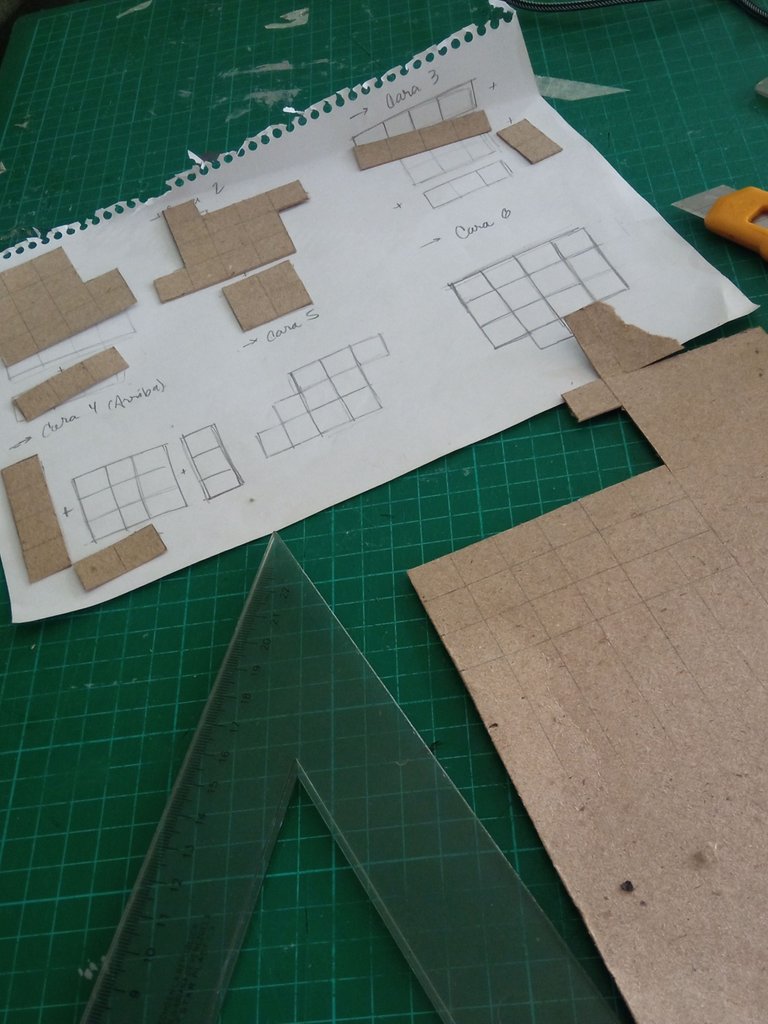
Para dibujar en el cartón las figuras, realicé con lápiz marcas a cada 1,5 cm, para generar una reticula de cuadrados de tamaño 1,5 cm x 1,5 cm para tener más facilidad a la hora de dibujar las piezas.
Fui cortando todas las piezas con paciencia y cuidado, y luego las colocaba sobre la hoja guía para no confundirme posteriormente con las caras ni mezclar las piezas.
To draw the figures on the cardboard, I made pencil marks every 1.5 cm, to generate a grid of squares of size 1.5 cm x 1.5 cm to make it easier to draw the pieces.
I cut all the pieces with patience and care, and then placed them on the guide sheet so as not to get confused later with the faces or mix up the pieces.
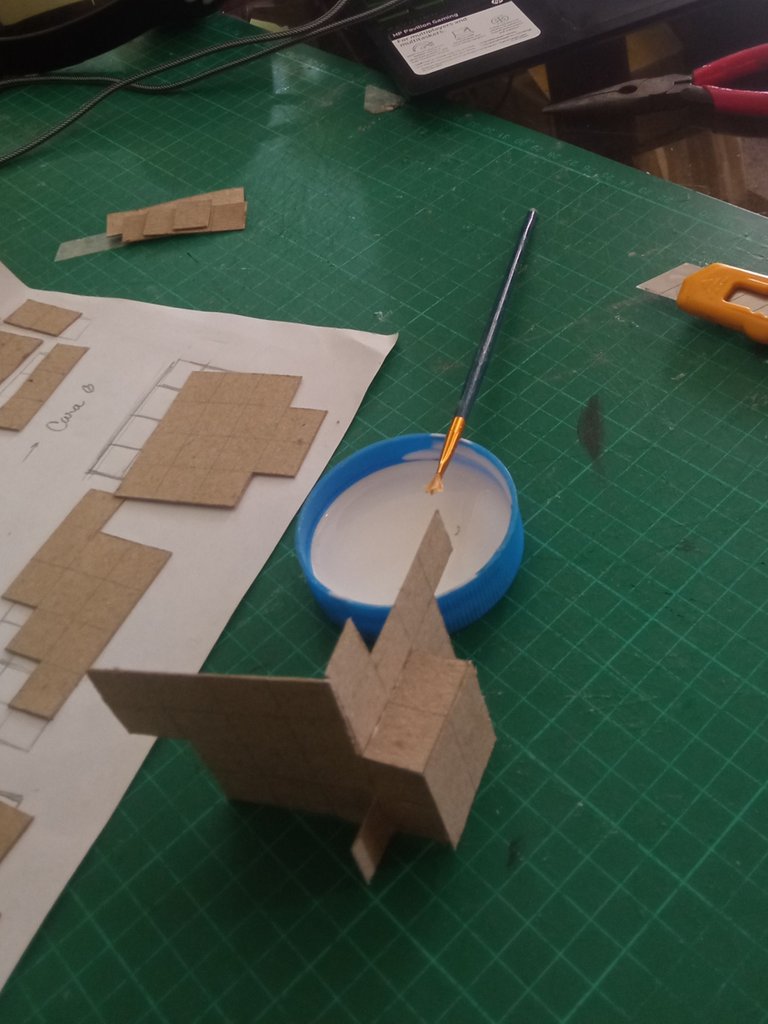
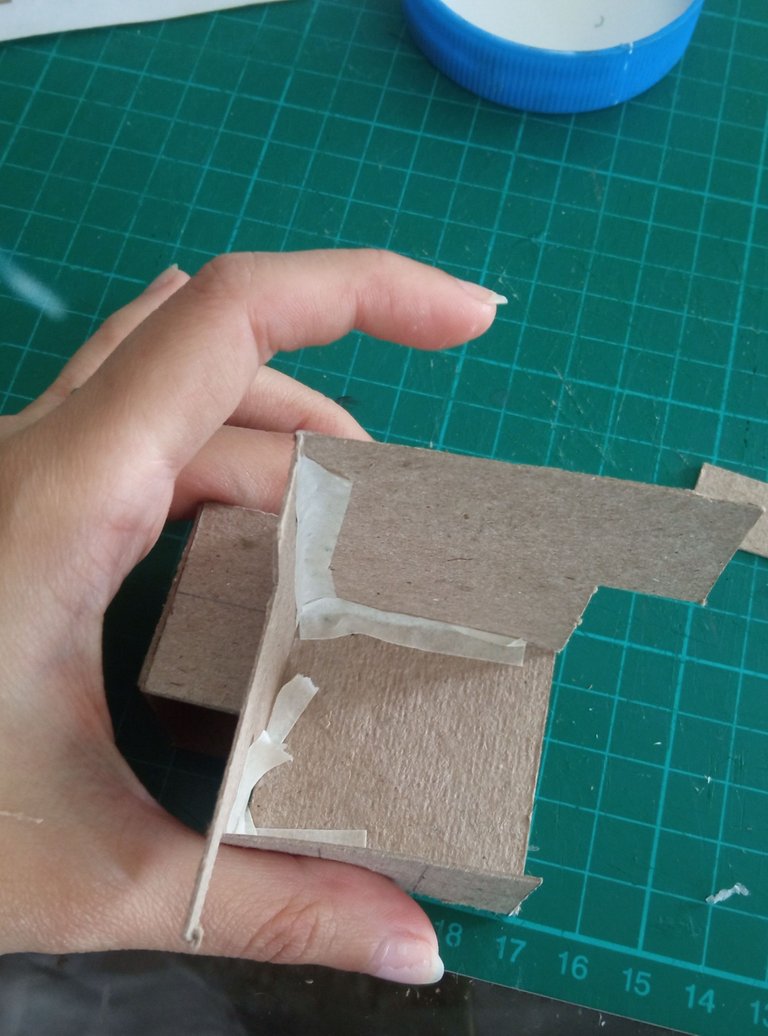
Luego de recortar las piezas, las empecé a pegar con cola blanca. Para algunas partes que eran más complicadas de juntar, utilicé un poco de cinta adhesiva de papel. Para las caras internas esto genera más resistencia. También usé un poco en las caras externas hasta que secará la cola blanca, pero lo retiraría después.
After cutting out the pieces, I started gluing them together with white glue. For some parts that were more complicated to put together, I used some paper tape. For the inner sides this creates more resistance. I also used some on the outer sides until the white glue dried, but I would remove it later.
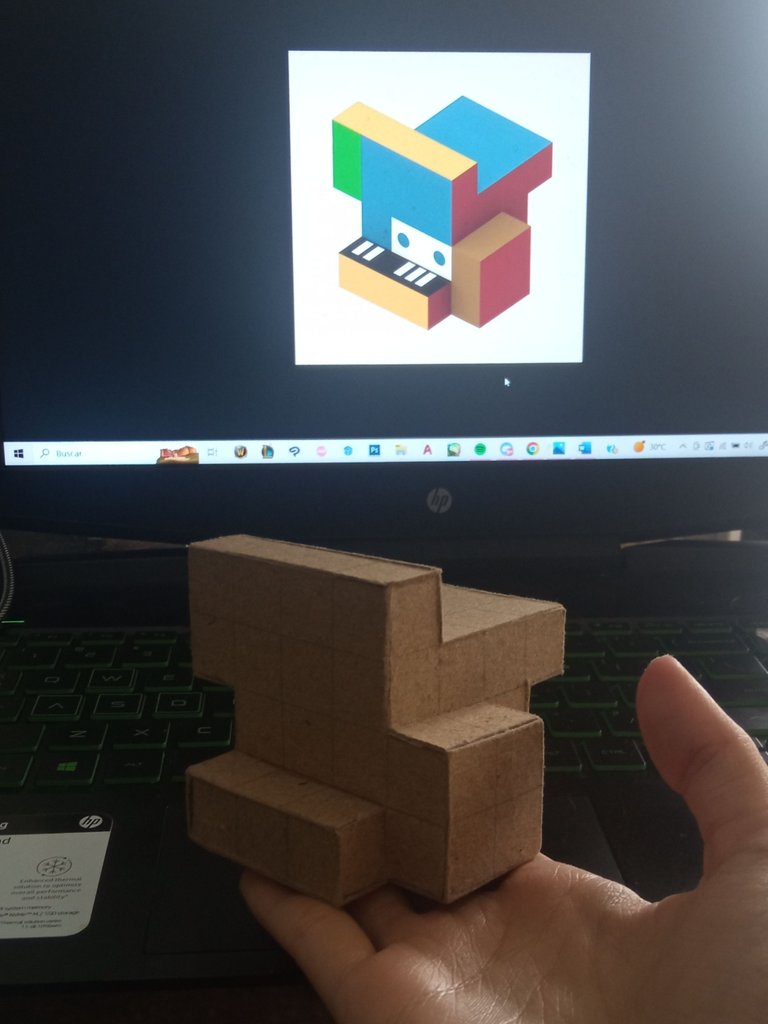
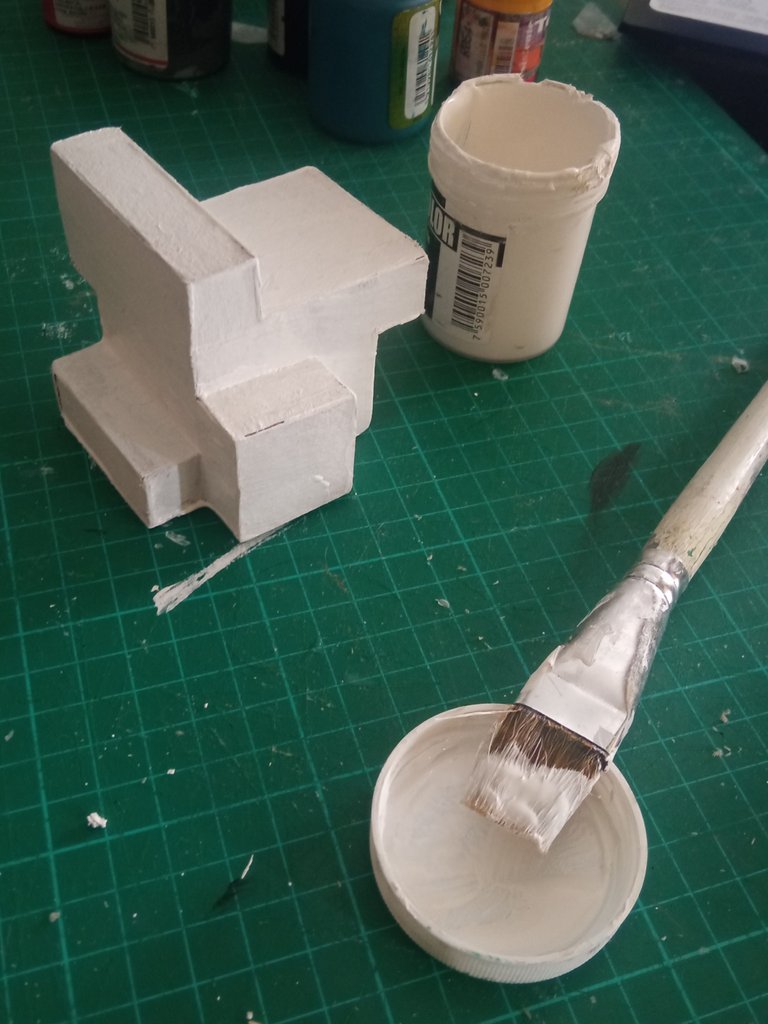
Tras unir todas las piezas y esperar que secara bien la cola blanca, pinté la pieza de color blanco para compactar darle más uniformidad a la hora de aplicar el resto de colores.
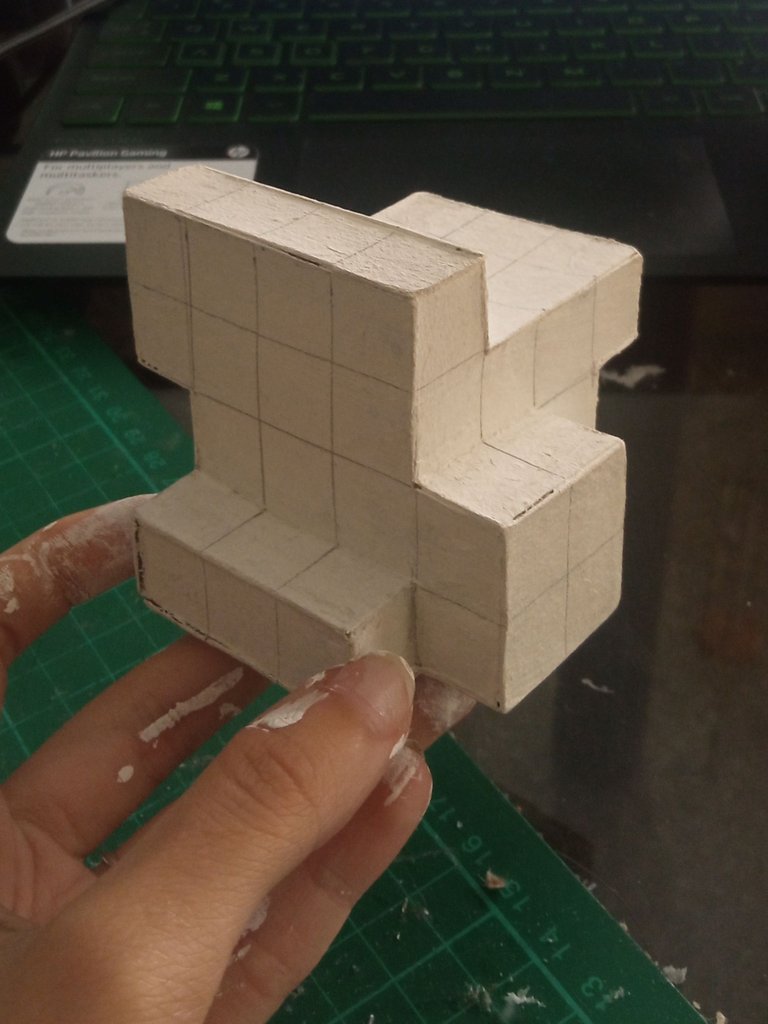
Luego de secarse la pintura, con las escuadras volví a dibujar la reticula alrededor de toda la figura para tener más precisión y facilidad para aplicar los tonos correspondientes.
After joining all the pieces and waiting for the white glue to dry well, I painted the piece white to compact it and give it more uniformity when applying the rest of the colors.
After the paint dried, with the squares I redrew the reticule around the whole figure to have more precision and ease to apply the corresponding tones.
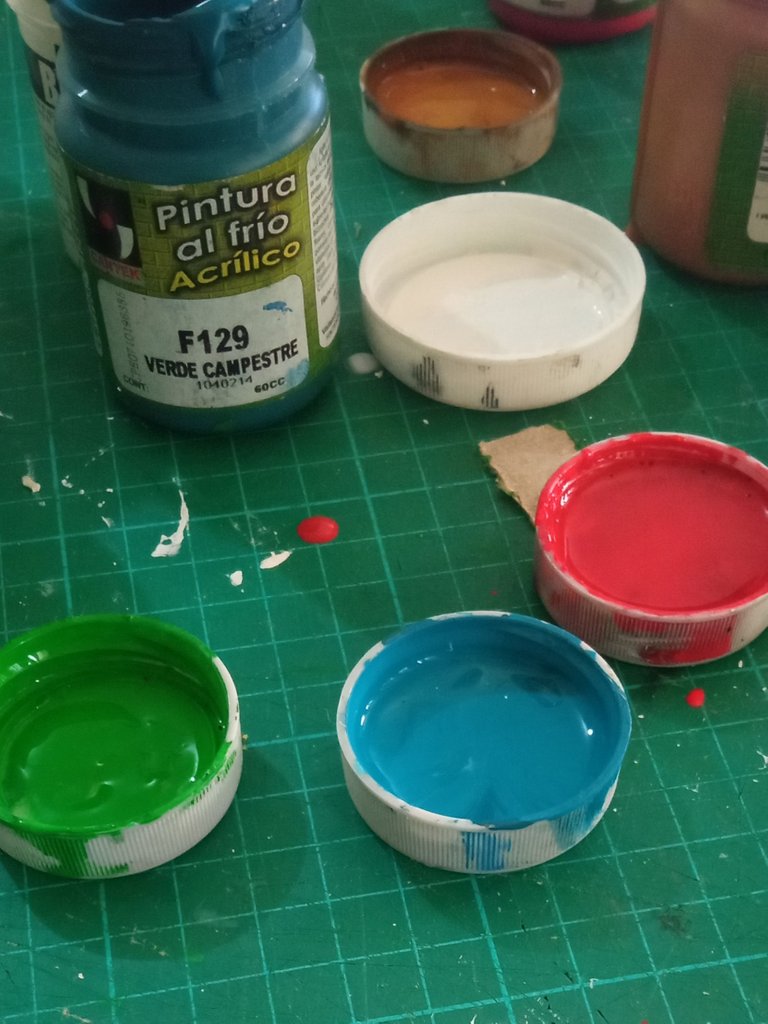
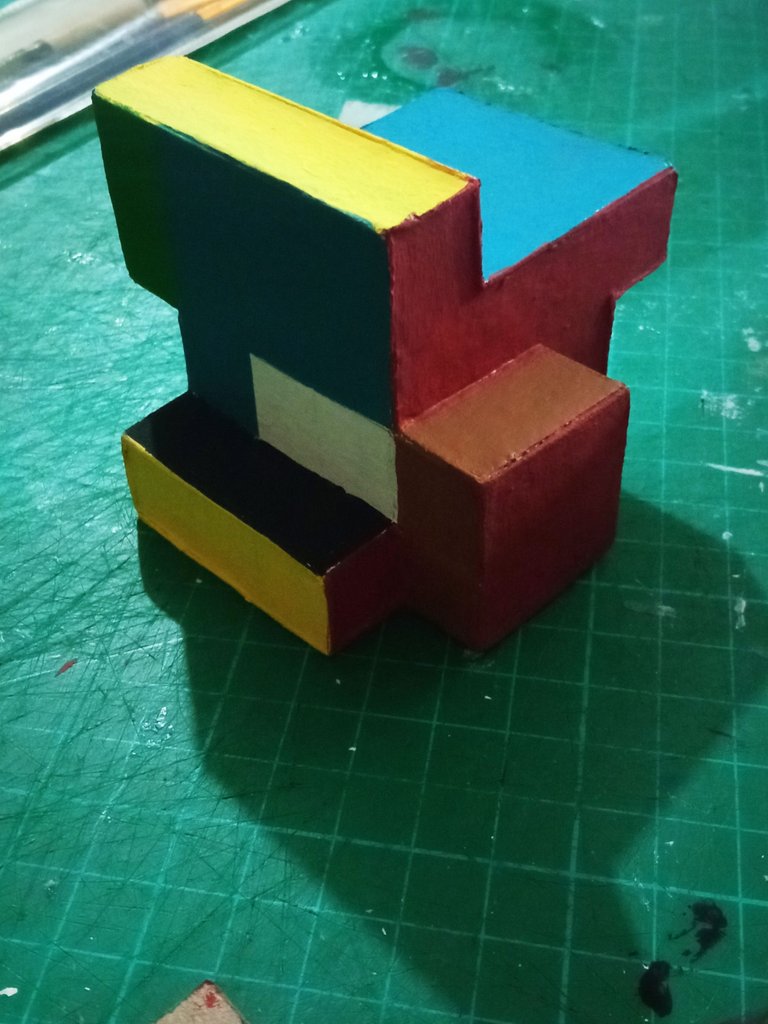
Para pintar, realicé pruebas y mezclas con distintos colores para poder crear los tonos de la pieza de la manera más precisa que se me fuera posible.
To paint, I made tests and mixtures with different colors in order to create the tones of the piece as accurately as possible.
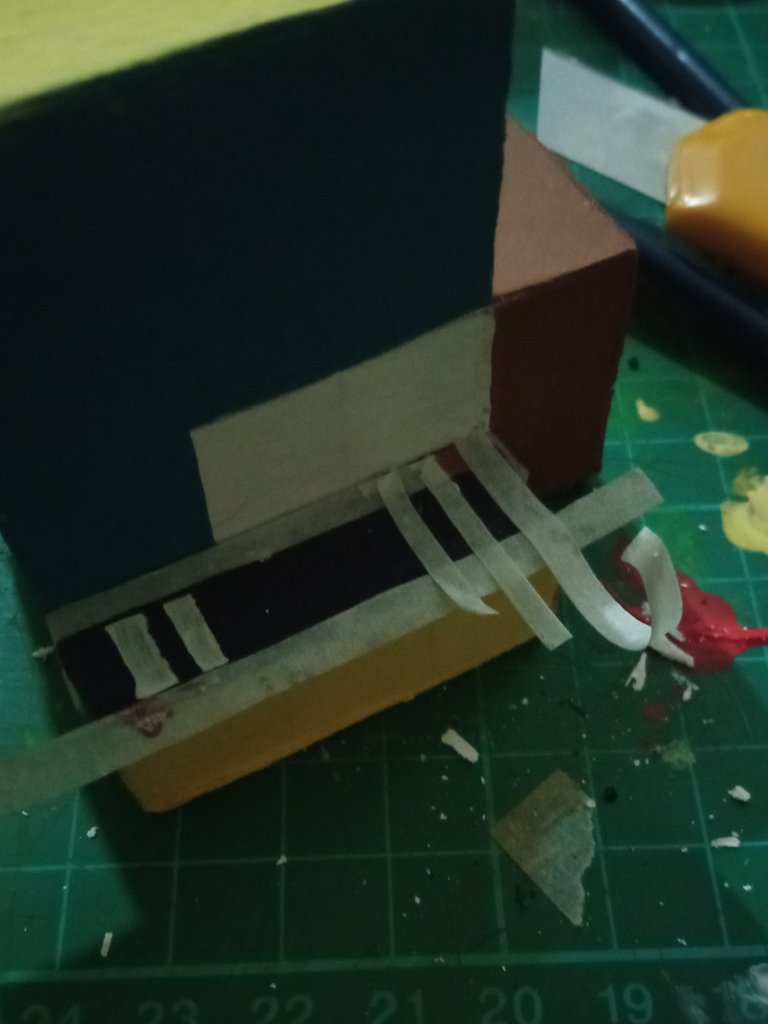
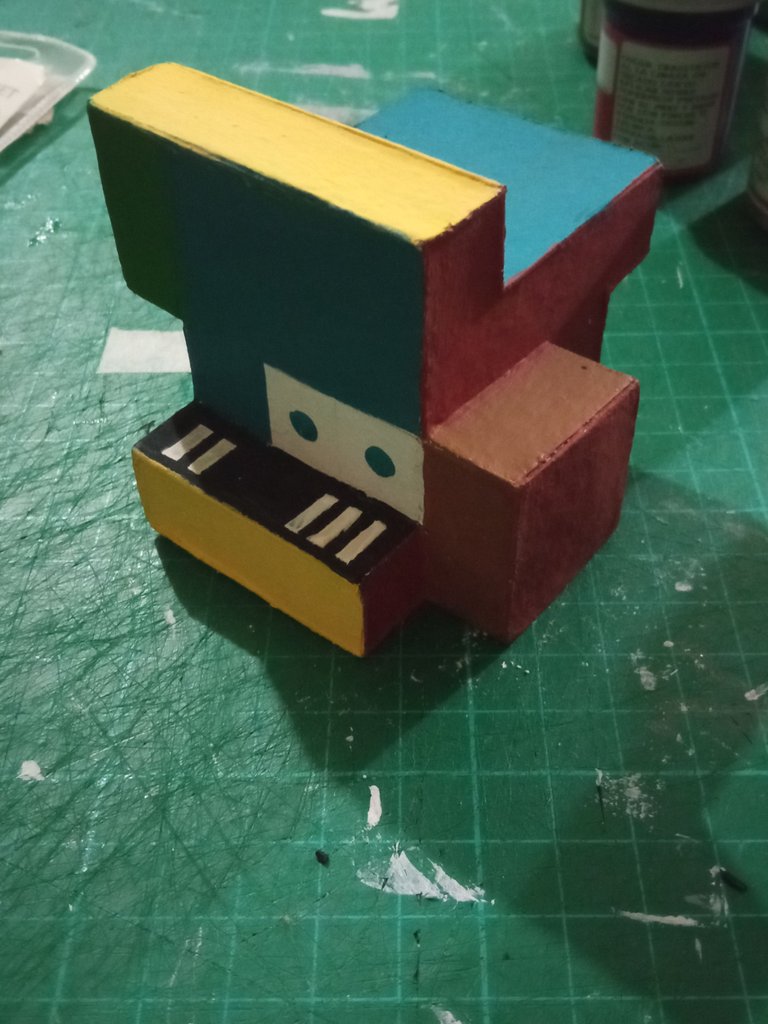
Para los detallés finales, utilicé cinta adhesiva de papel. Corte con el cutter, tiras delgadas de cinta, y formé la pequeña retícula de rectángulos blancos que tiene la figura original.
Posteriormente pinté con pintura blanca y al secarse, retiré la cinta adhesiva.
Los pequeños círculos azules los pinté con la parte trasera del pincel.
For the finishing touches, I used paper tape. I cut with the cutter, thin strips of tape, and formed the small grid of white rectangles that has the original figure.
Then I painted with white paint and when it dried, I removed the adhesive tape.
I painted the small blue circles with the back of the brush.
Finalmente, apliqué una capa de pega blanca alrededor de todo el objeto para sellar, y para otorgarle más protección y un mejor acabado.
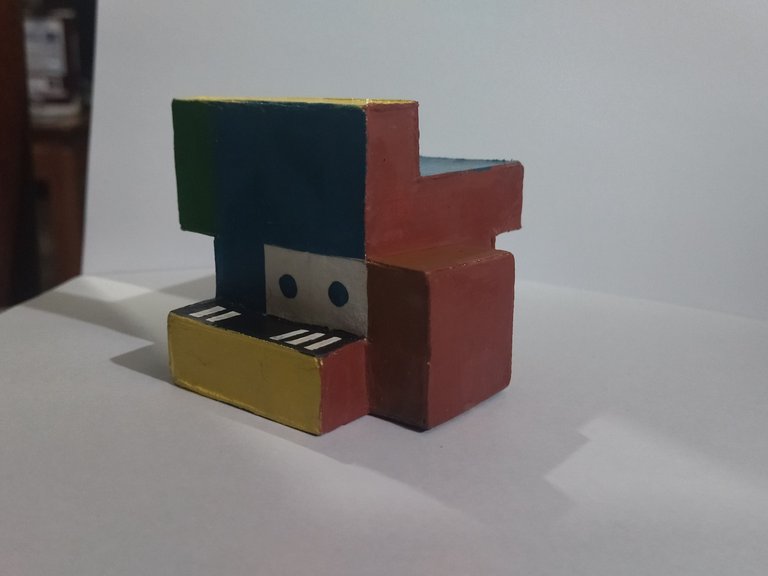
Y así terminó luciendo:
Finally, I applied a layer of white glue around the entire object to seal it, and to give it more protection and a better finish.
And that's how it ended up looking:
¿Hacia dónde cambió su dirección?
Olvidó que hacía falta en donde nació
Lógica resbalosa
Qué mala suerte de verte sufrir...


