The first stage of creating a DIY clothes hanger is finished.
This is a very simple construction that even a child can make.
But this is a basic design that can be upgraded. For example, to the lower part of the board, I want to attach perpendicular cuttings of the boards. Additional hooks will also be attached to these boards, on which umbrellas and shopping bags can be hung.
The main idea of this little project is to make a light and functional thing that I can change and modify. And also, if necessary, it is easy to disassemble.
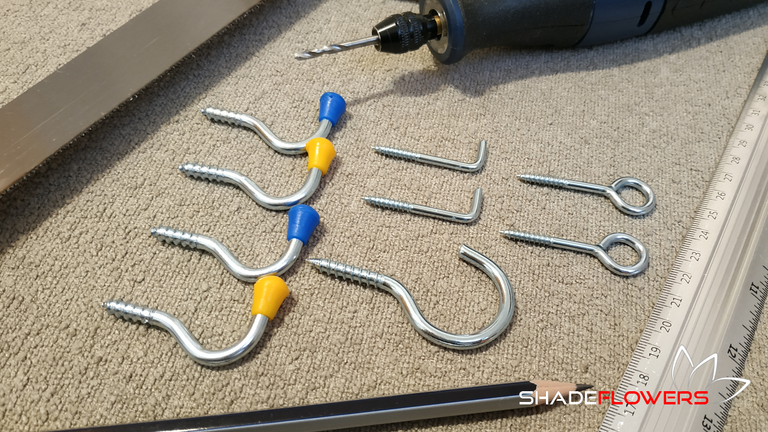
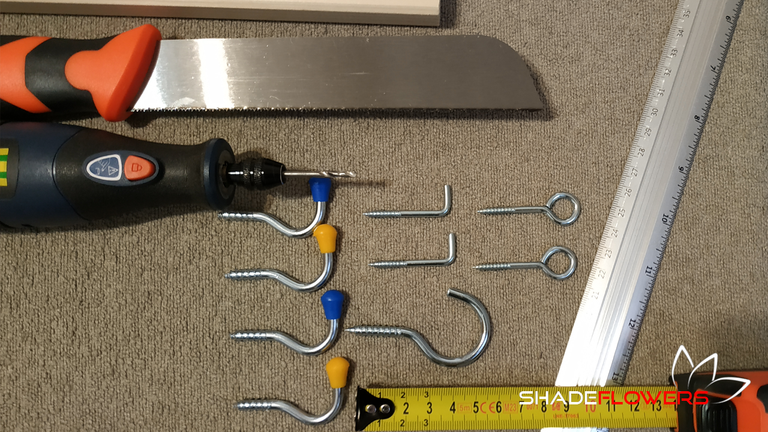
To begin with, I found a hooks that can be easily screwed into a wood.
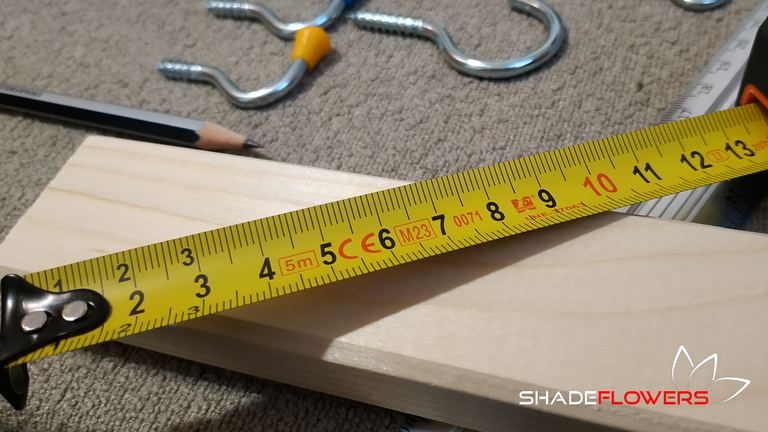
Before I started sawing the board, I carefully took measurements. My hanger is 750 mm long.
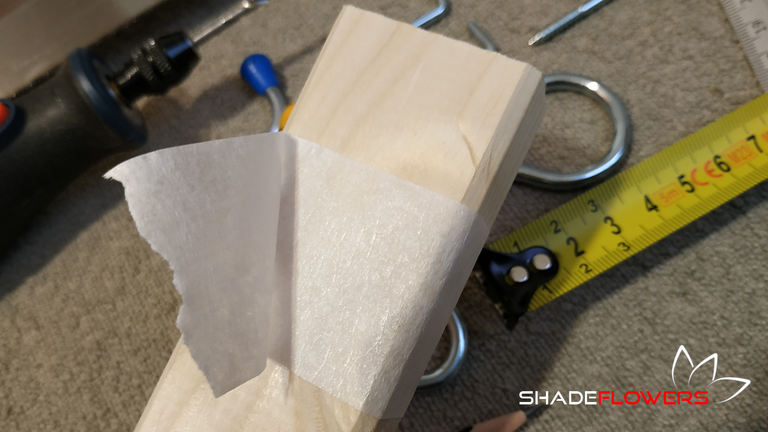
For convenience and in order to mark the place of the cut, I used masking tape.
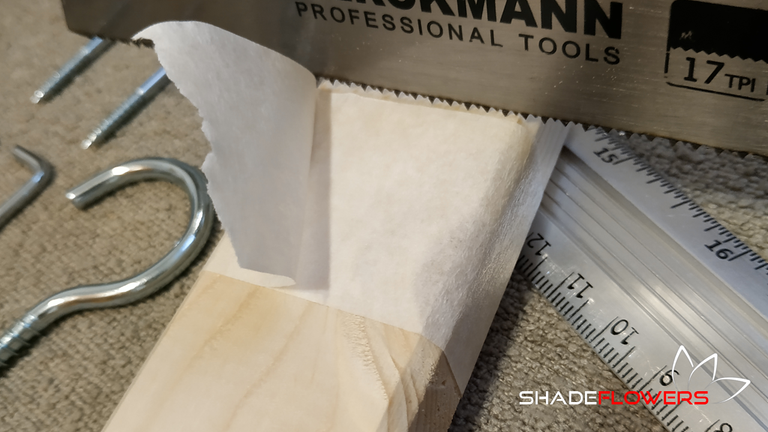
I had to saw it with a small hand saw. Good thing it's just a pine board.
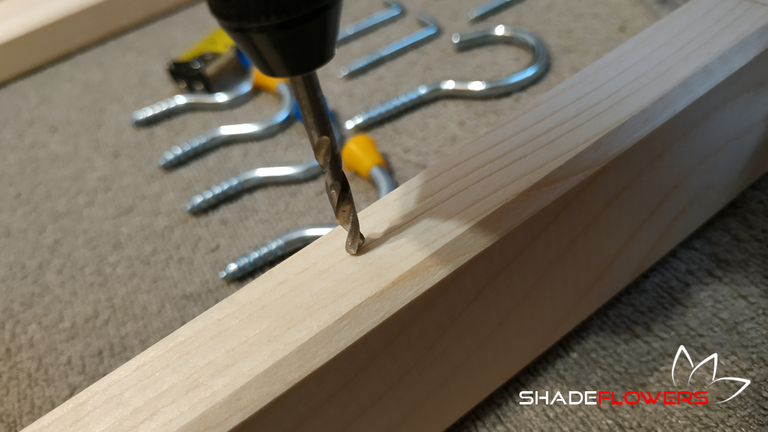
The next step was to measure again to determine all the holes. After measuring, I used a small universal tool for drilling.
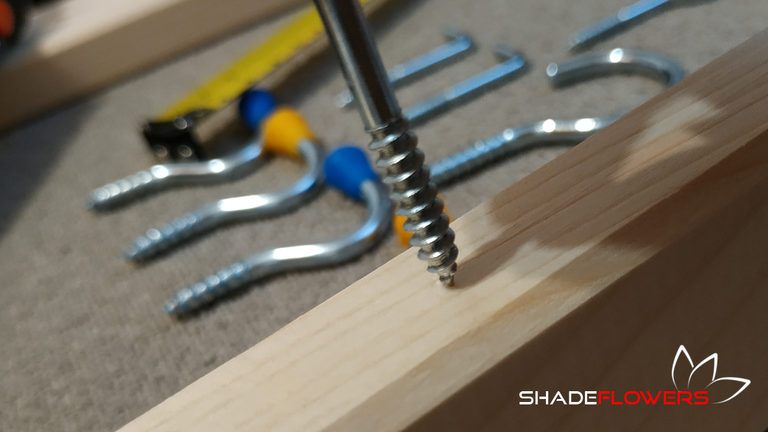
Well, now can screw in the hooks.
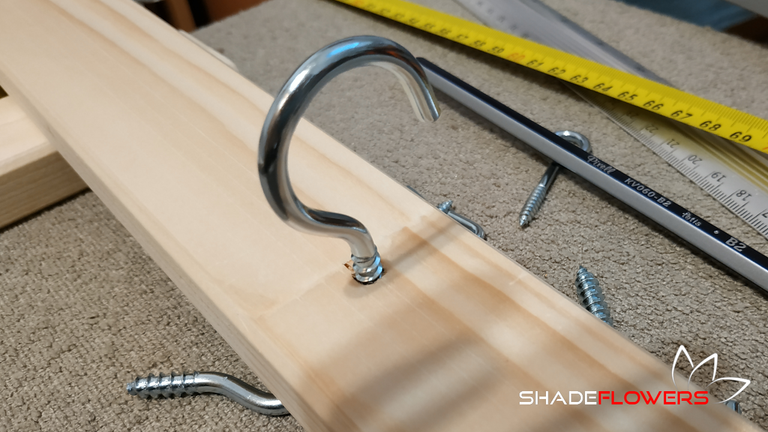
By the way, this is a massive central hook that you can hang really heavy things on.
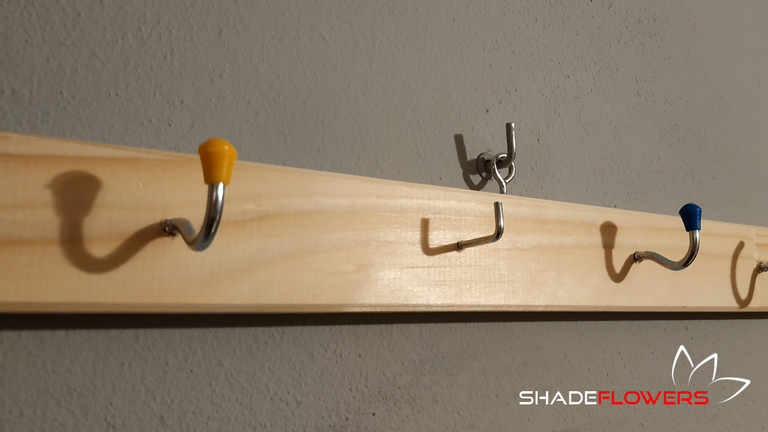
Different hooks for different tasks. Some can be used to hang clothes, some can be used to hang keys, etc.
In the future, the wood can be covered with a pattern and varnish.