Es una actividad muy fácil de realizar y solo necesitamos papel de colores, y la verdad que es una actividad muy útil.
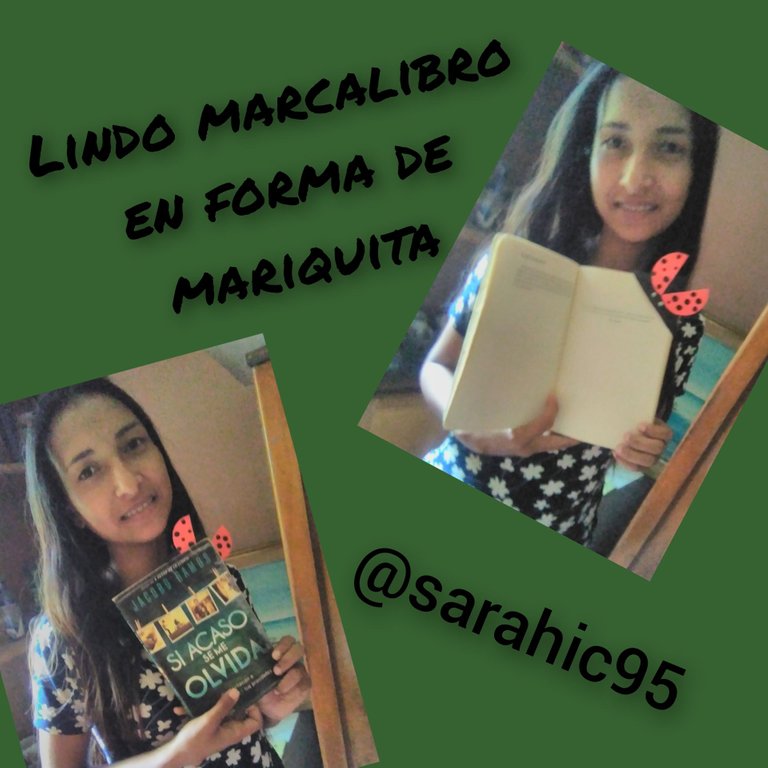
Hello my dear friends of this beehive. Today I will show you how to make a cute bookmark in the shape of a ladybug.
It is a very easy activity to do and we only need colored paper, and the truth is that it is a very useful activity.
Bueno sin más que decir manos a la obra.
Well without further ado, let's get to work.
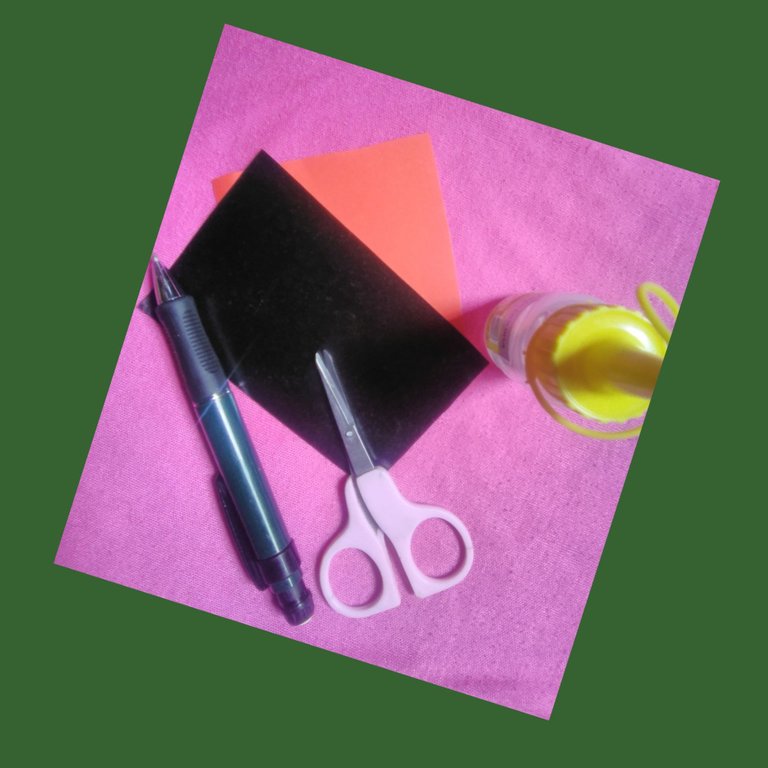
Los materiales que utilice fueron los siguientes:
Papel de color
Tijera
Lápiz
Pega
The materials I used were the following:
Colored paper
Scissors
Pencil
Glue
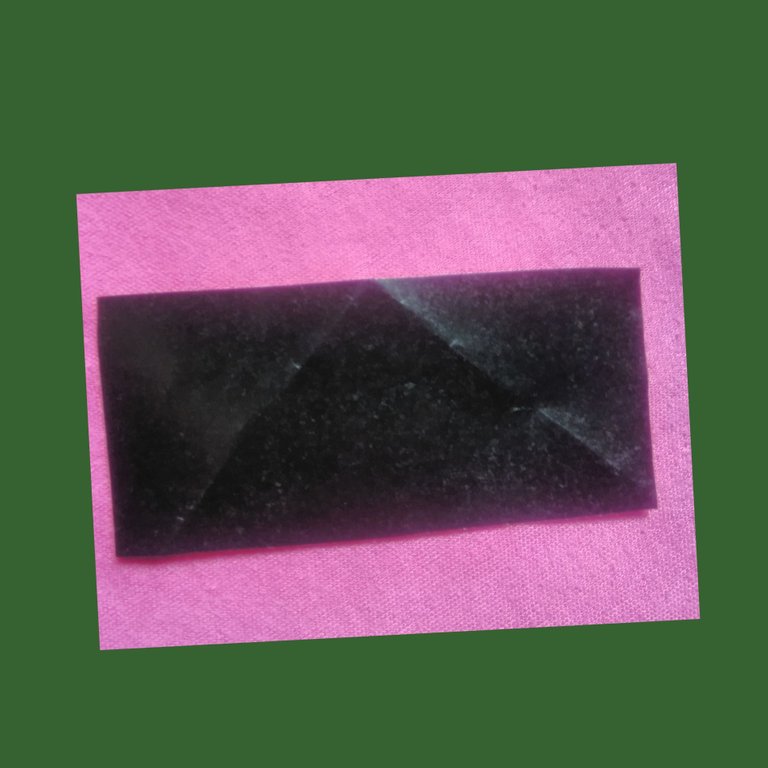
Realización:
Recortamos un rectángulo en el papel negro de 4 centímetros de ancho y 6 centímetros de largo
Realization:
We cut out a rectangle on the black paper 4 centimeters wide and 6 centimeters long.
Doblamos por la mitad una esquina hacia la parte de atrás. La otra esquina la un poquito más hacia el lado izquierdo para poder pegarla mejor, por dónde muestra la tijera.
Fold one corner in half towards the back. The other corner a little more to the left side to be able to glue it better, where it shows the scissors.
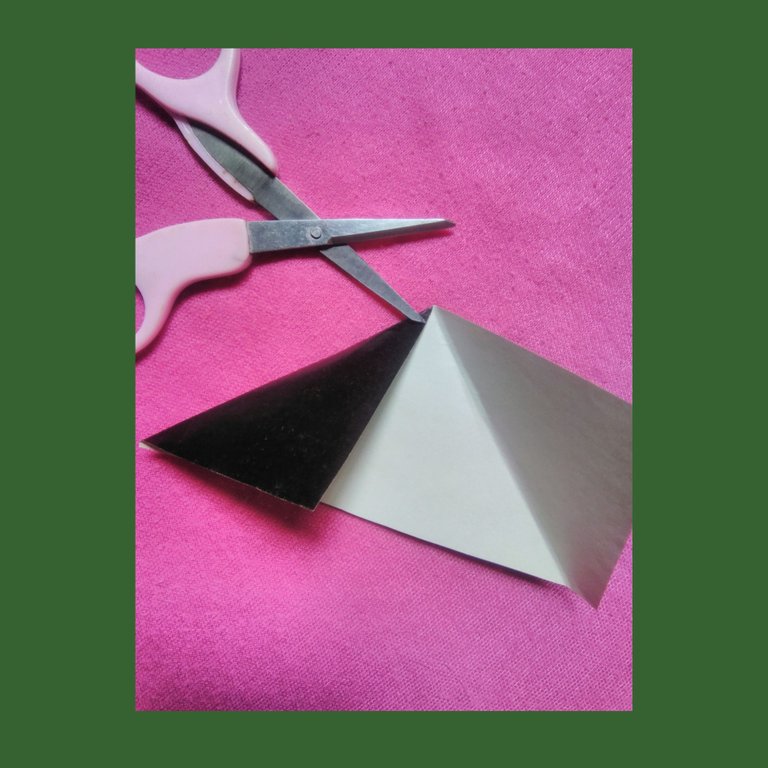
Luego que doblemos el otro lado lo pegamos atrás.
After we fold the other side we glue it at the back.

Y recortamos el exceso de papel.
And trim the excess paper

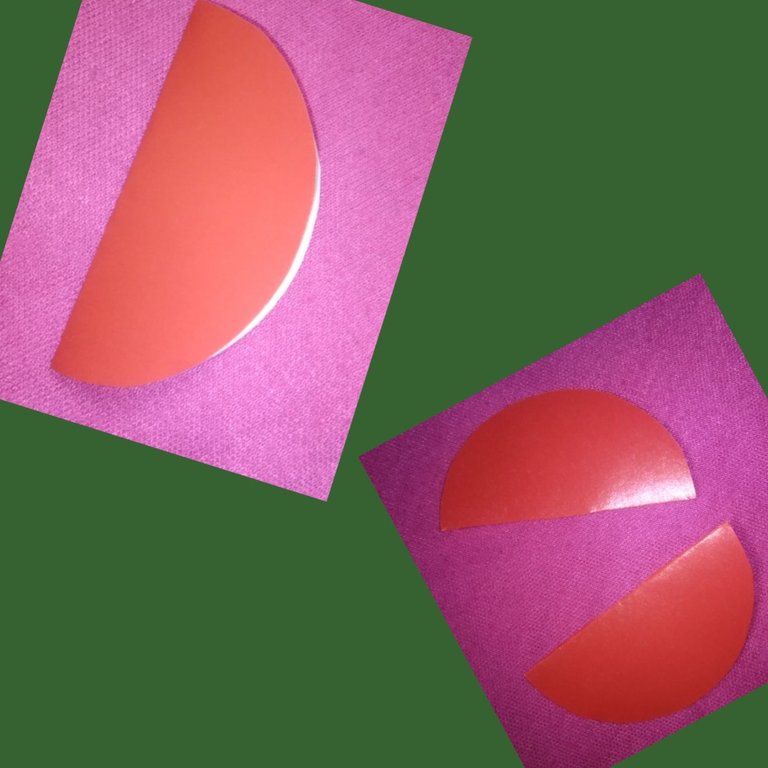
Para las alas de la mariquita en papel rojo dibujamos y recortamos, después doblamos por la mitad y recortamos.
For the wings of the ladybug we draw and cut out the red paper, then fold in half and cut out.
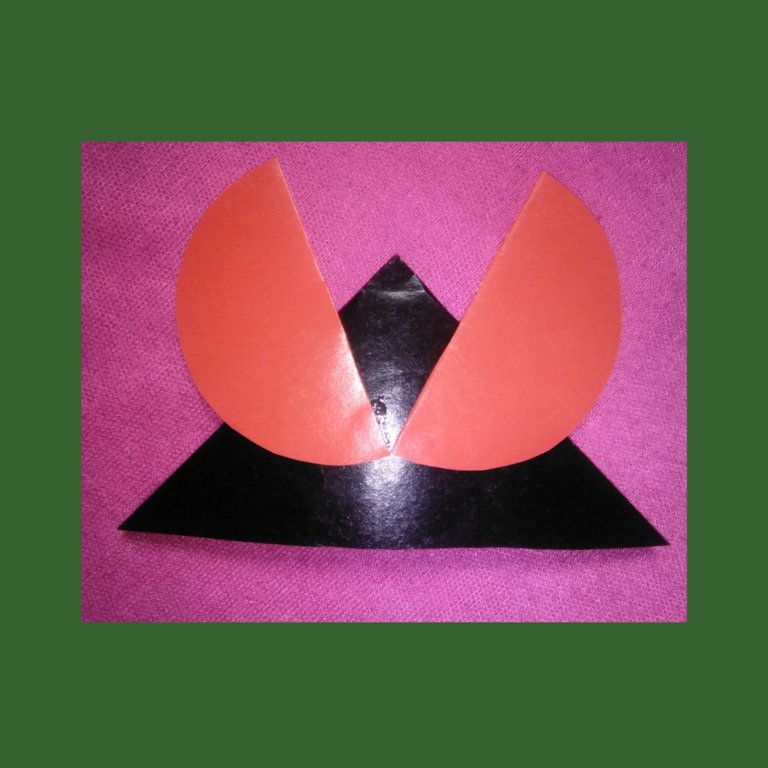
Se la pegamos a el triángulo que hicimos por arriba una al lado de la otra
We glue it to the triangle we made at the top, one next to the other.
Ahora recortamos unos circulitos negro para pegarlos arriba de las alas y también les pegamos los ojos.
Now we cut out some little black circles to glue on top of the wings and also glue the eyes.
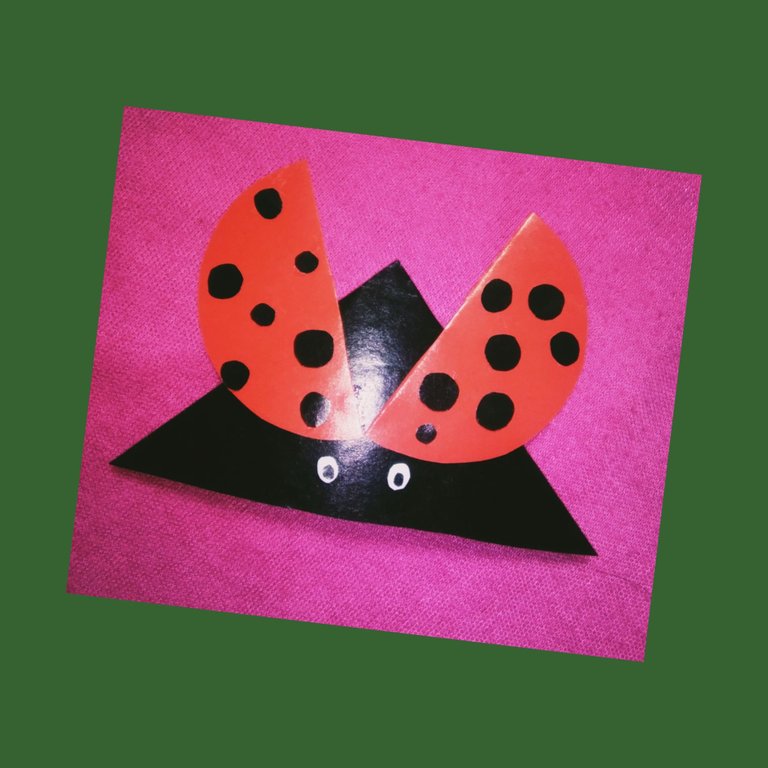
Y ya está lista para usarla.
And it is now ready for use.
Hasta luego. saludos y Bendiciones
See you later. Greetings and Blessings