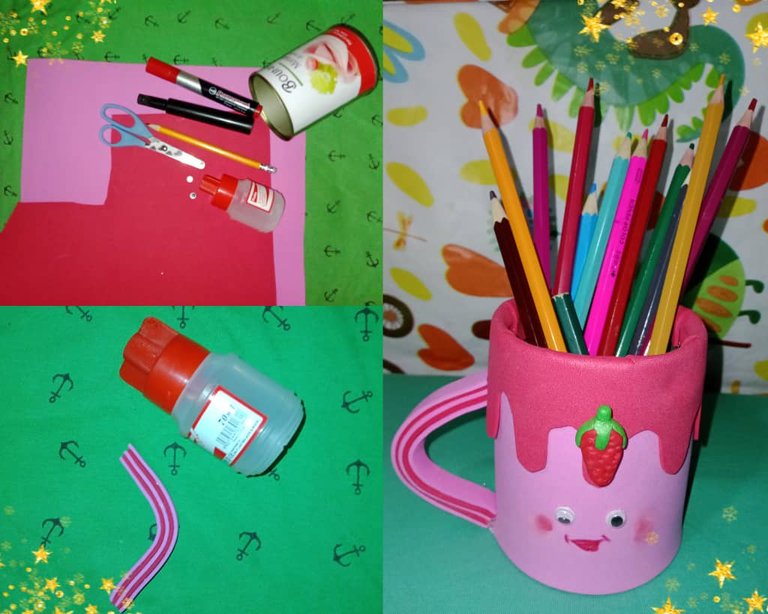
Saludos amigos creativos y comunidad @diyhub, les deseo feliz año y abundancia de salud, paz amor y prosperidad en cada hogar también éxito en cada proyecto que realicen; hoy comparto mi primera publicación del año 2024; un porta lapices elaborado con material de provecho y foami; es un obsequio para mi amiga y compañera de estudios que le gusta dibujar y mantener sus creyones organizados.
Greetings creative friends and community @diyhub, I wish you a happy new year and abundance of health, peace, love and prosperity in every home and also success in every project you do; today I share my first publication of the year 2024; a pencil holder made with foami and useful material; it is a gift for my friend and fellow student who likes to draw and keep her crayons organized.

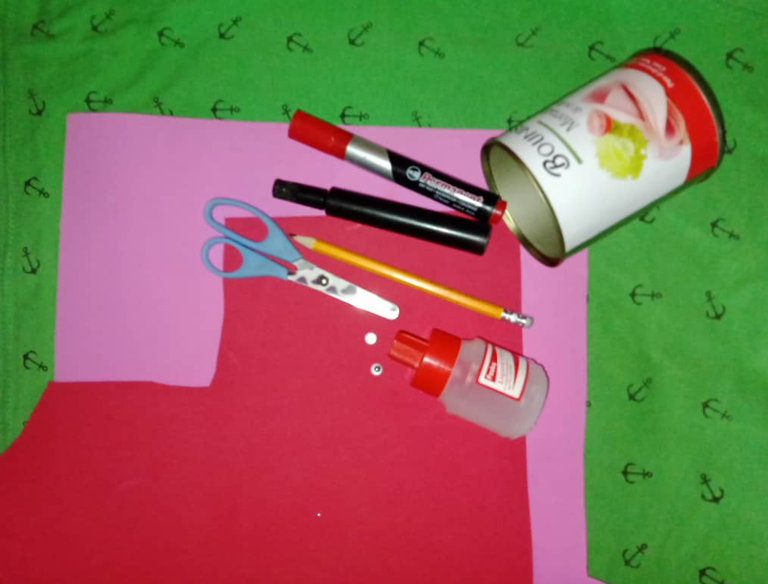
Foami rojo y rosa
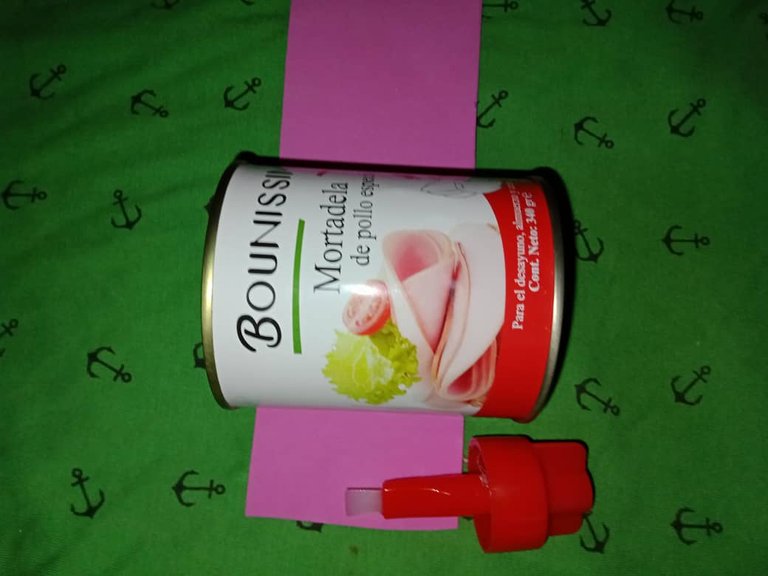
Envase de mortdela (lata)
Pegamento extra fuerte
Tijera
Lápiz
Ojos locos
Marcadores
Red and pink foami
Mortadella container (can)
Extra strong glue
Scissors
Pencil
Crazy eyes
Markers
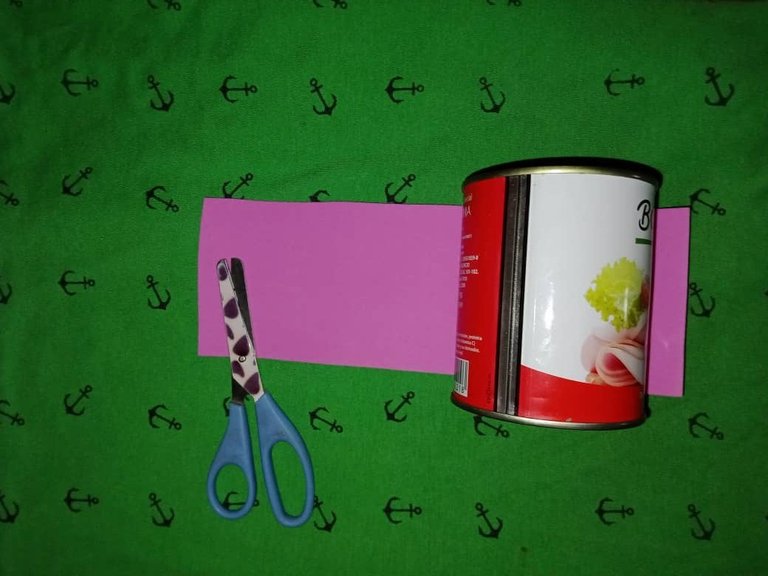
Para su elaboración se realizan sencillos pasos; marcamos y cortamos un rectángulo en color rosa que cubra el envase luego forramos el envase, dejando un espacio arriba sin forrar para pone el sirop de fresa.
To make it, follow these simple steps: mark and cut a rectangle in pink to cover the container, then line the container, leaving an unlined space at the top to put the strawberry syrup.
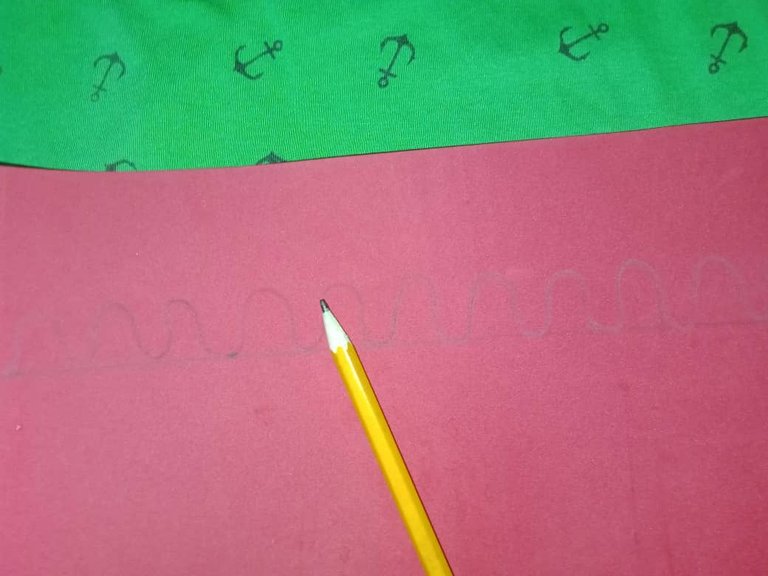
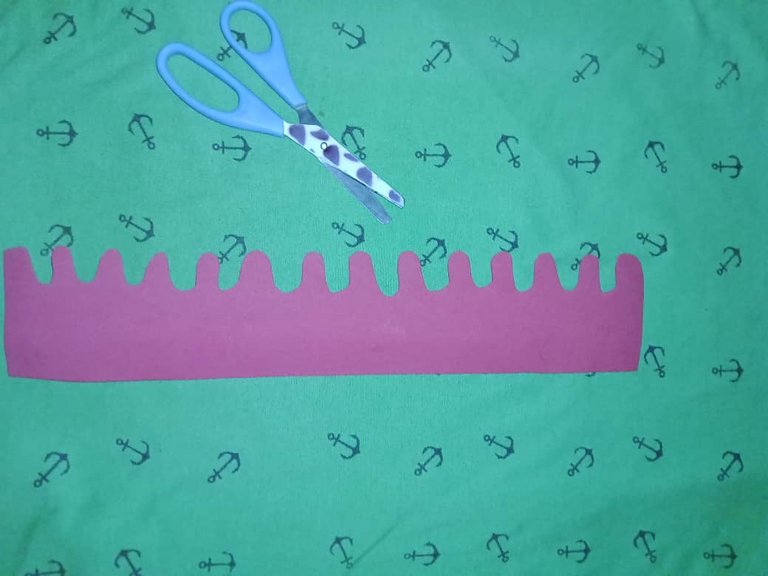
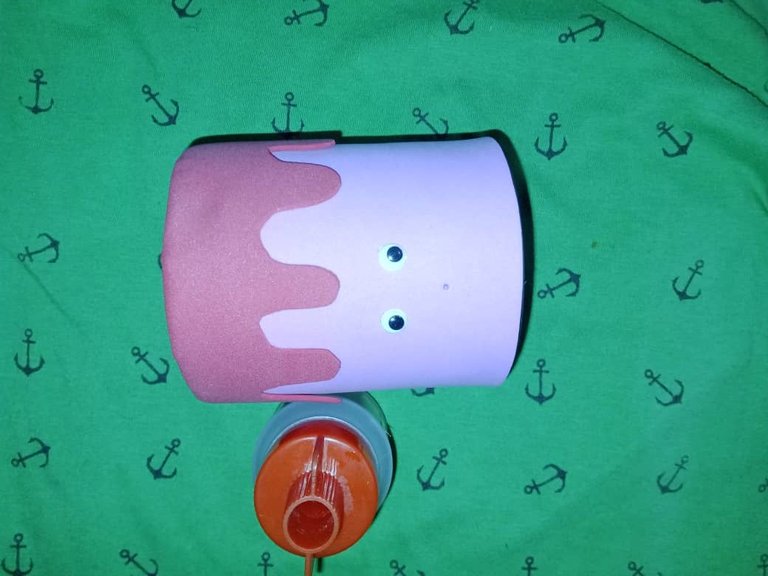
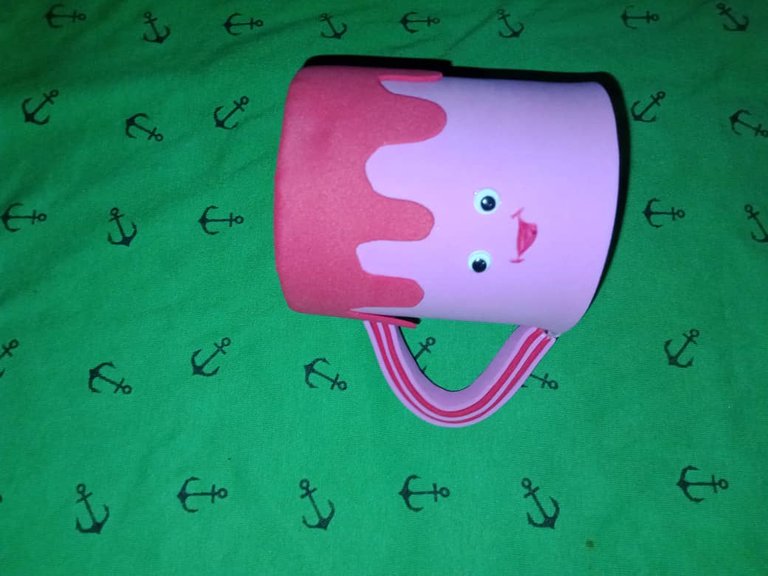
Luego cortamos un rectángulo de foami rojo, marcamos y cortamos ondas que simularán el sirop de fresa, lo pegamos en la parte superior y hacemos pequeños cortes para pegar hacia adentro del envase, así se cubre parte del interior del envase y el resultado será prolijo, también pegamos los ojos locos.
Then we cut a rectangle of red foami, we mark and cut waves that will simulate the strawberry syrup, we glue it on top and make small cuts to glue inside the container, so part of the inside of the container is covered and the result will be neat, we also glue the crazy eyes.
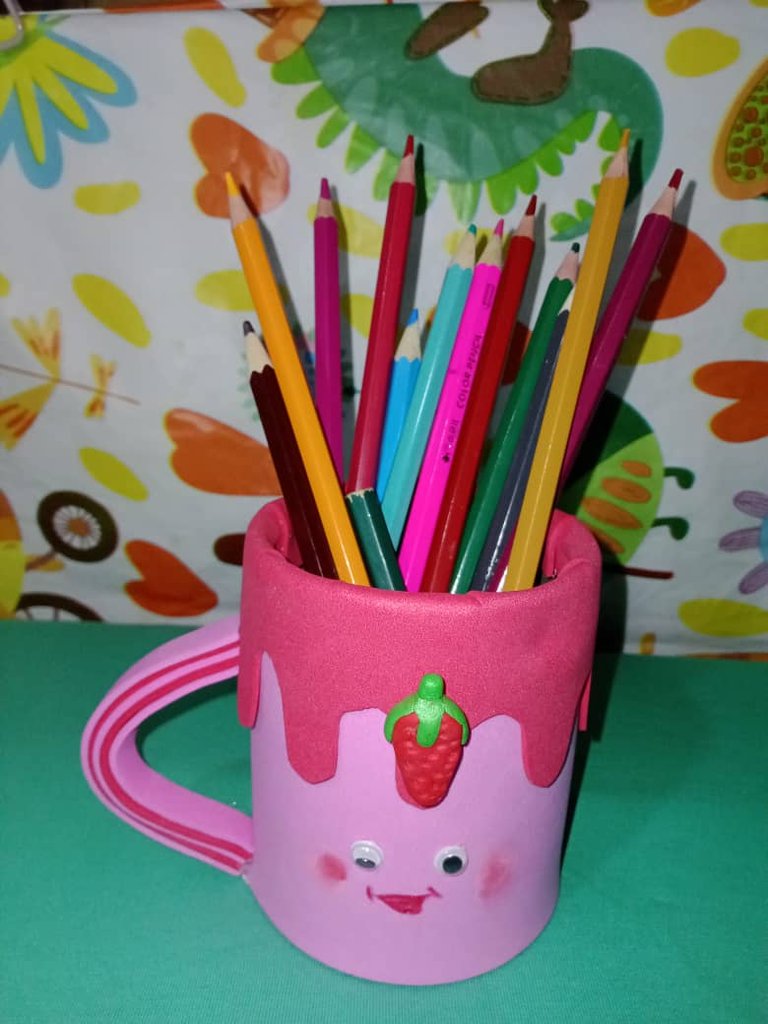
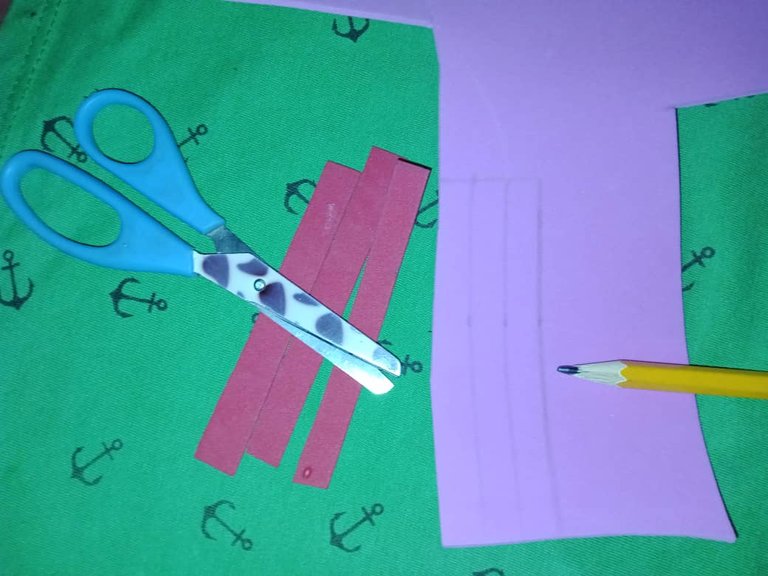
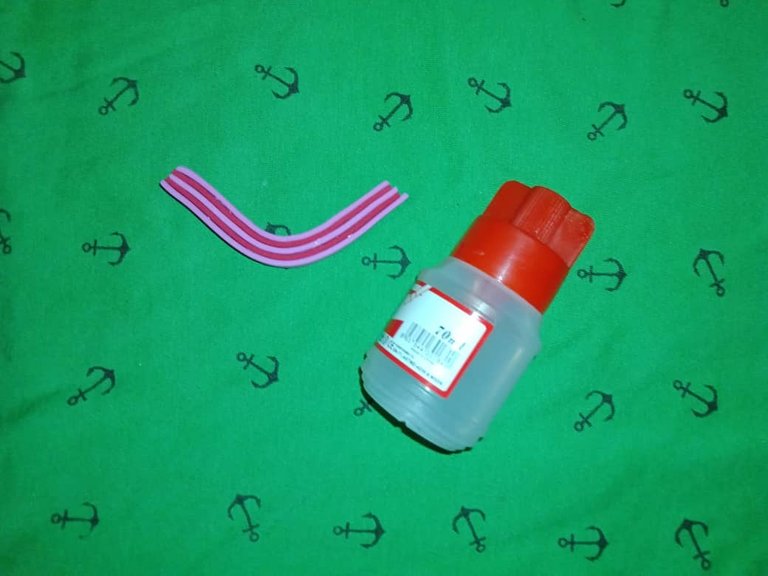
Finalmente cortamos tiras de foami rojo y rosa con las cuales haremos el asa de la taza, las unimos alternando los colores, dando forma de curva y luego las pegamos al envase, pintamos la boca, la mejillas y para decorar puse un fresa en la parte superior, así está terminada la taza porta lapices.
Finally we cut strips of red and pink foami with which we will make the handle of the cup, we join them alternating the colors, giving a curve shape and then we glue them to the container, we paint the mouth, the cheeks and to decorate I put a strawberry on top, this is how the pencil holder cup is finish
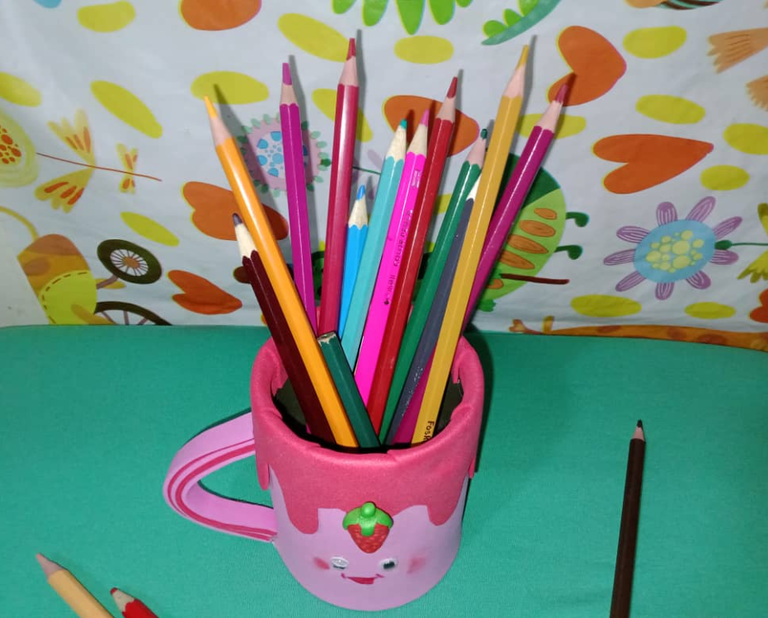
Les muestro el resultado del porta lapices.
I show you the result of the pencil holder.


Gracias por Leer.
Thank you for reading.
Hasta Luego!
See you later!
Translated with https://www.deepl.com/translator
    All images are of my authorship captured with an Alcatel phone.Separator designed by @emansitticoof.


      Todas las imágenes son de mi autoría capturadas con un teléfono Alcatel. Separador diseñado por @emansitticoof.


