My last project
left me wanting to do something bigger
and more of a challenge.
I decided that this mallet would be a fun thing to create and a great learning experience.

I thought about what materials I would need for this one. I had most of the things already.
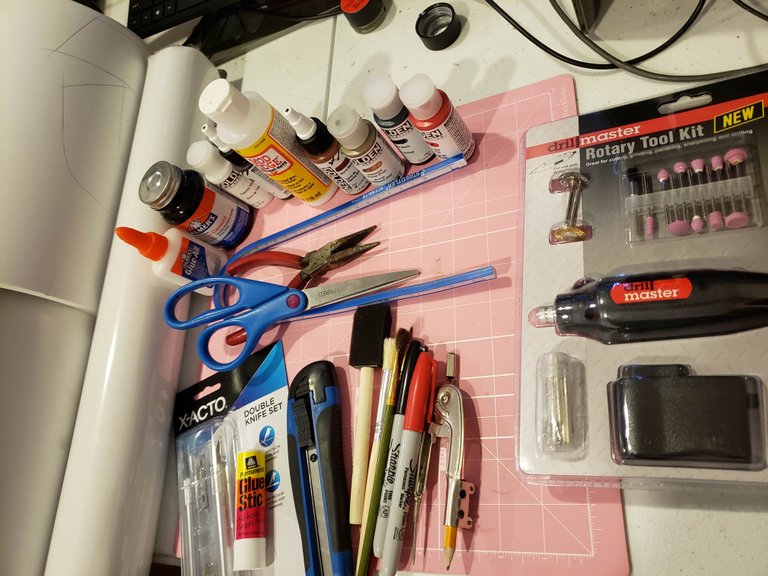
For the mallet head I always thought a large tube of some kind would be perfect. The largest and sturdiest tubes I could find was found at Home Depot.
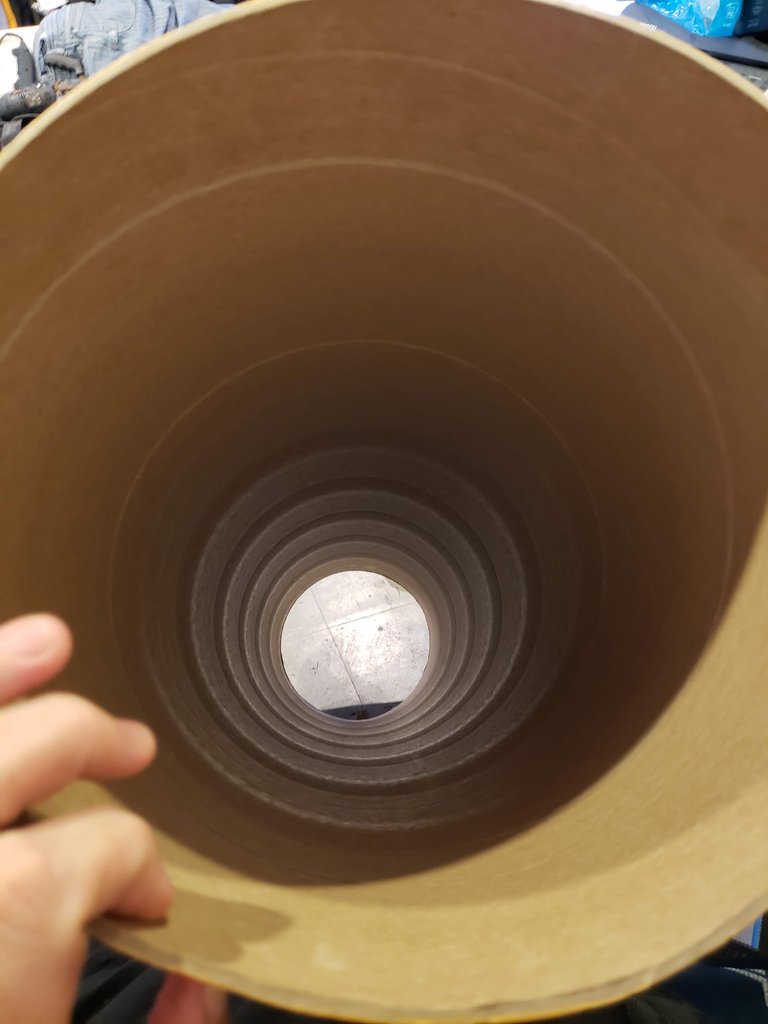
I settled on this 10 inch Quik-Tube that is normally used with concrete for construction. I won't need the whole tube for this, that would be insane.
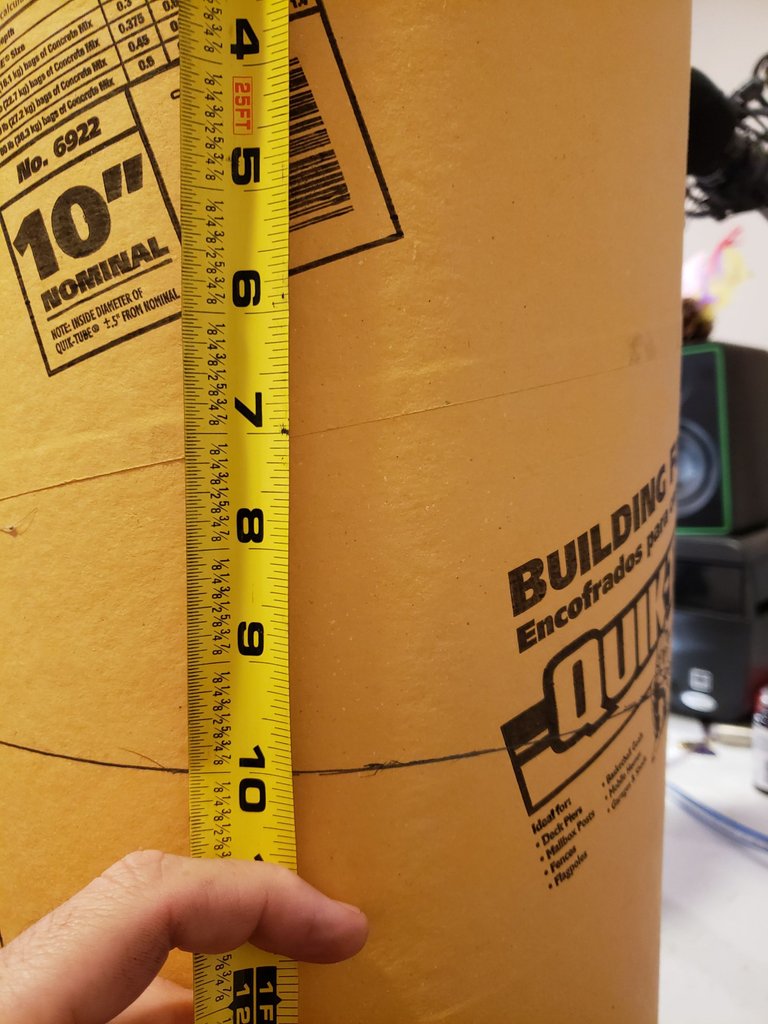
So I did some measuring and marked off a place to cut.
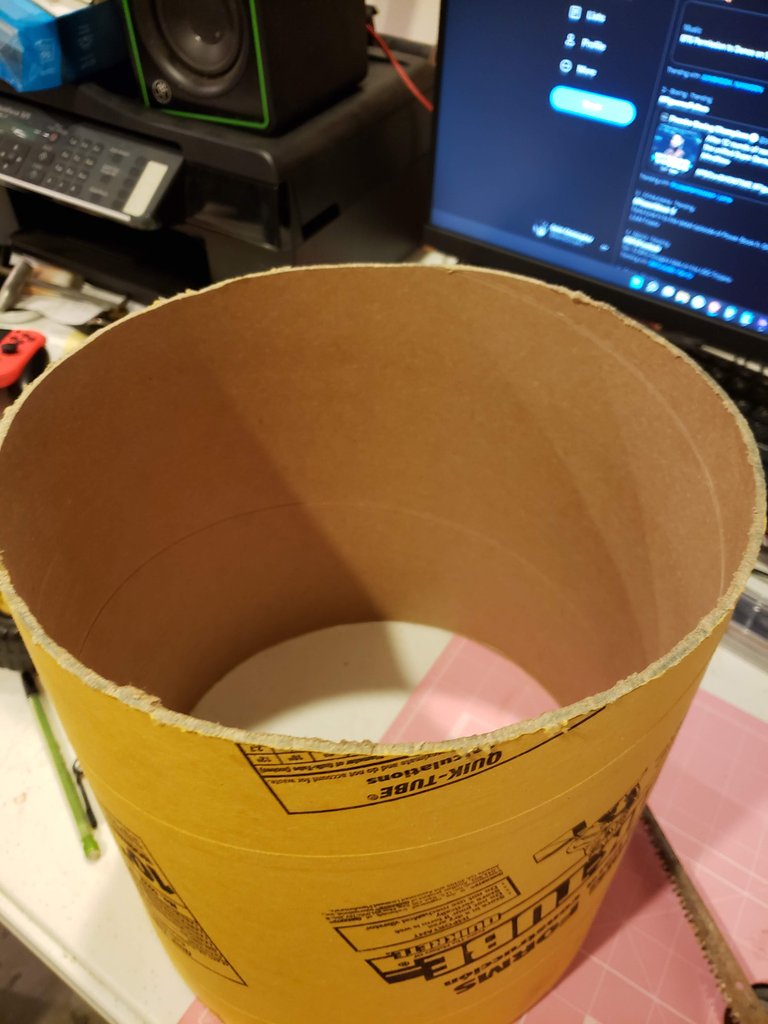
Now I have a good mallet head size and plenty of tube left over incase I fuck this up.
LOL..
Now, for the handle I thought at first about a pole, or pipe or stick or dowel rod. But what I settled on was the tube from a fabric roll.
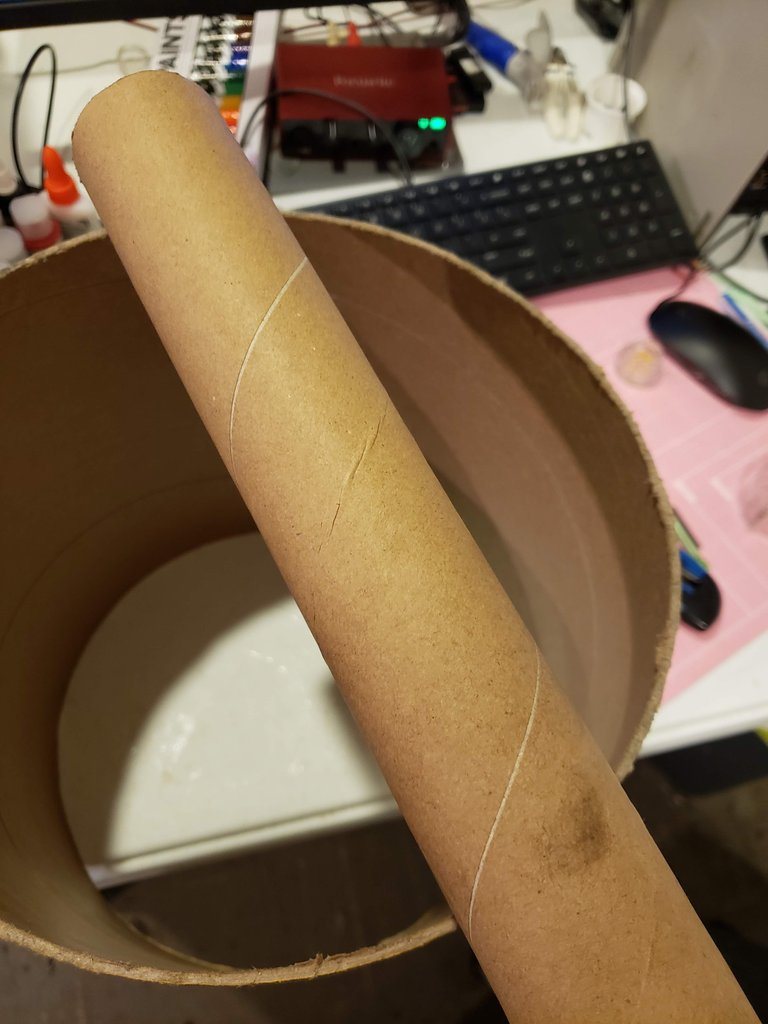
Those things are sturdy enough for what I'm using it for and its still lightweight an somewhat safe. It's basically thick cardboard/paper.
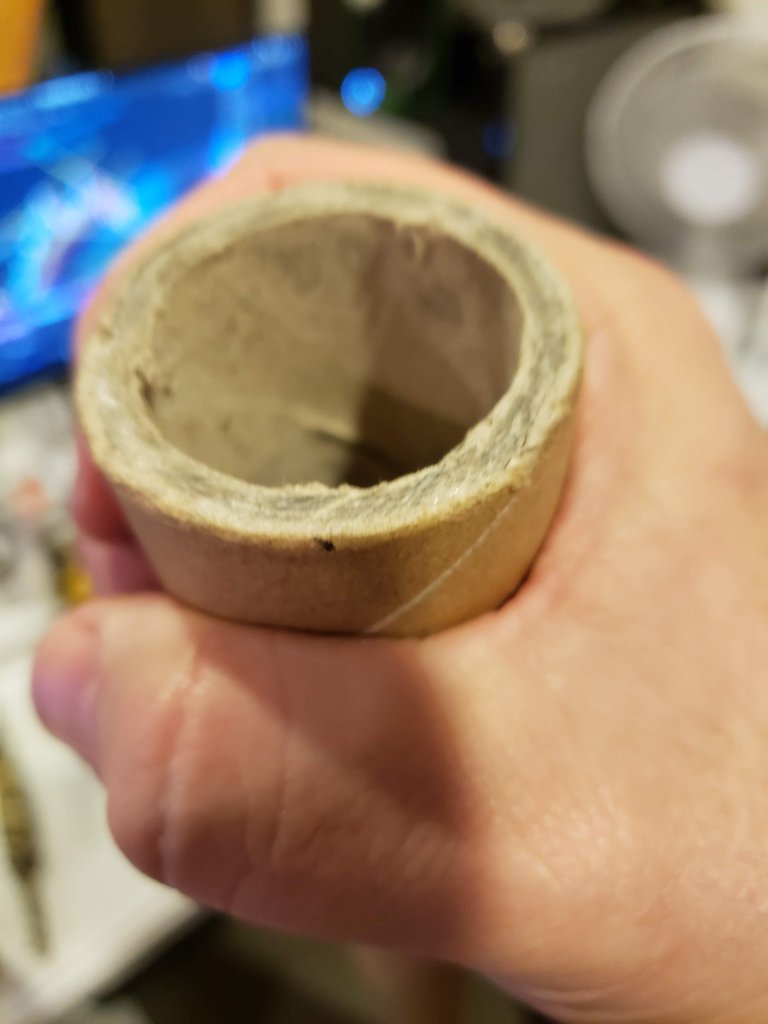
I was going to need to jam one end of the fabric tube through the side of the larger tube.
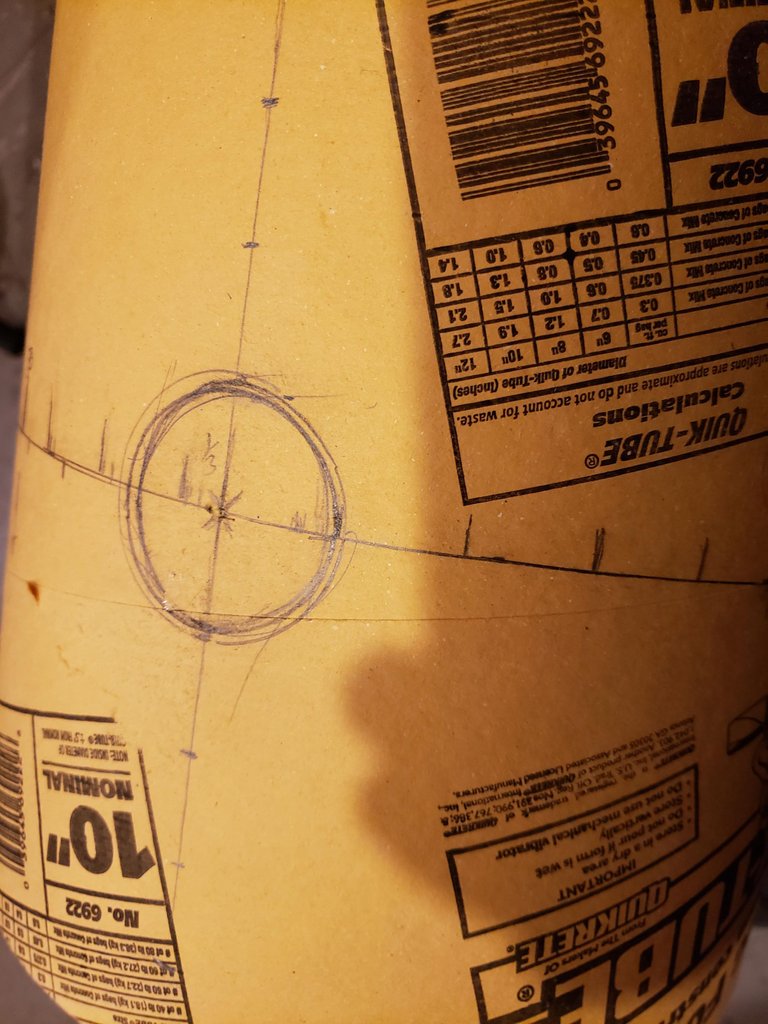
measure measure measure...
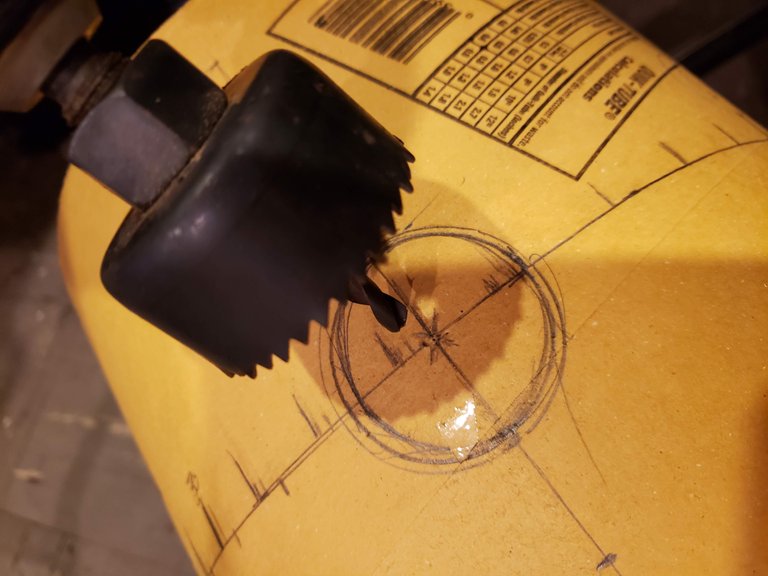
This definitely was one of the more fun parts of the whole process. Drilling holes into things is fun, isn't it?
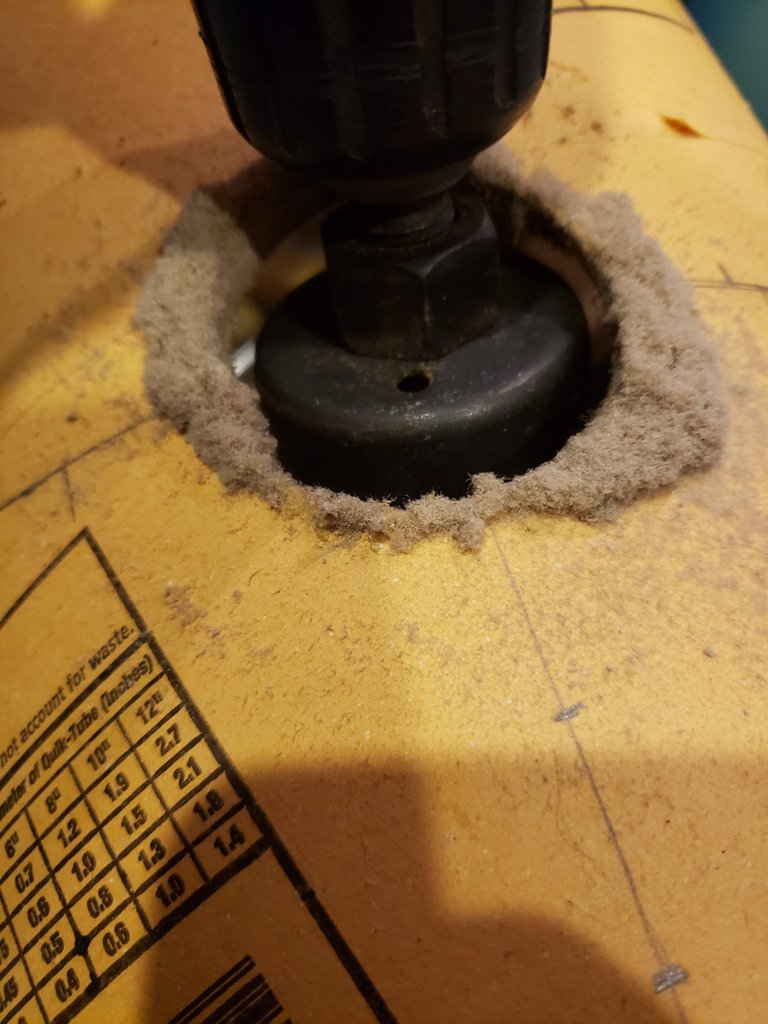
The tube wall turned into a sort of floofiness that you see there around the hole. It wiped of easy.
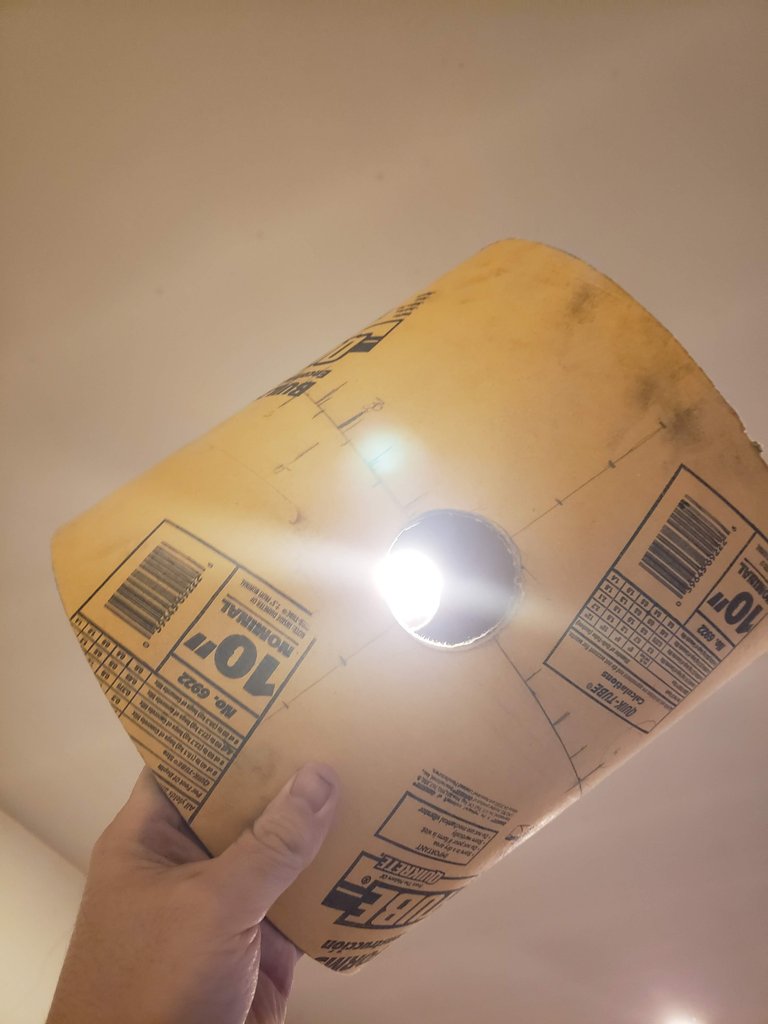
The hole is a bit wider than the diameter of the pole. That's okay though because I will use the EVA foam to fill in that space and it will also serve as a bit of a shock absorber as well as just help the handle to sit snug in the opening.
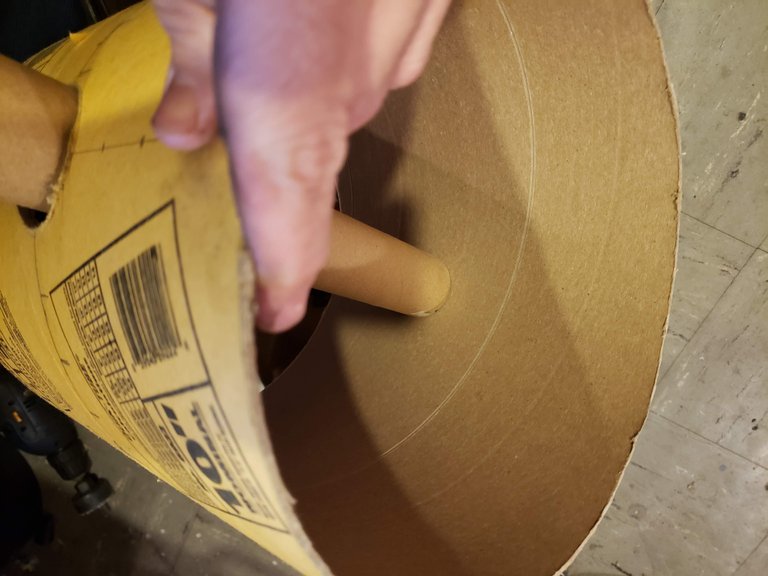
This will conclude part one, showing the "skeleton" of the whole prop. In the next post, I will show you how I secure the head to the handle and apply the EVA foam.
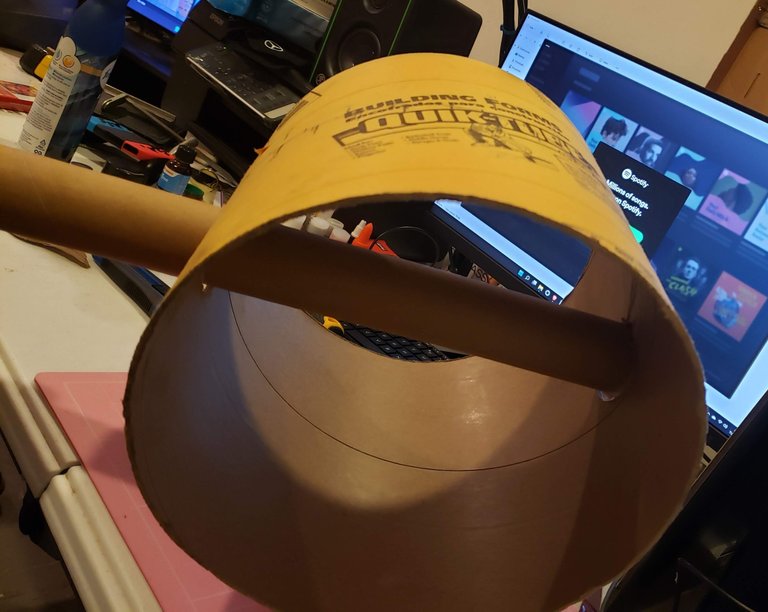
Oh this is going to be fun.

@SaintChristopher
[yet another custon prop build]
Previous Prop Builds
HEY Y'ALL! My Second Build is Miss Minutes from Marvel's Loki
I Tried My Hand At Prop Making.