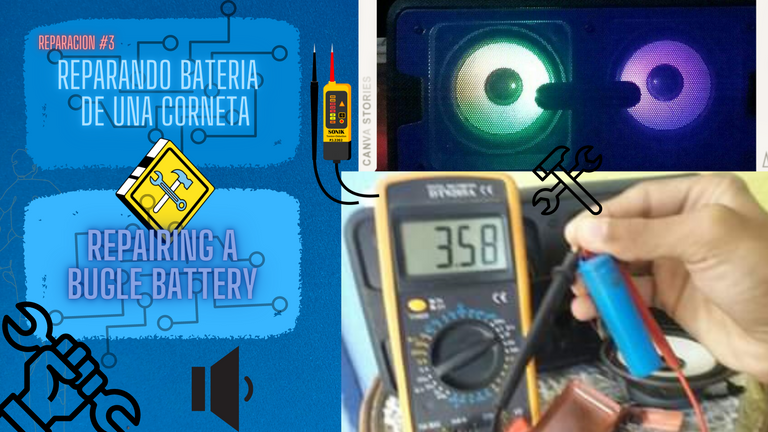
Buen día amigos de Hive DIY, el día de hoy les traigo una reparación sencilla pero un tanto particular para muchos, ya que pueden reparar casi cualquier batería con este procedimiento la cual llamo "Revivir".
En este caso, me trajeron este equipo el cual no encendía, y cuando este lograba agarrar carga se encendía y apagaba casi al instante, en ese momento tome mi maletín de herramientas y me puse manos a la obra!.
Good morning friends of Hive DIY, today I bring you a simple repair but somewhat particular for many, since you can repair almost any battery with this procedure which I call "Revive".
In this case, they brought me this equipment which would not turn on, and when it managed to grab charge it would turn on and off almost instantly, at that moment I took my tool case and I got down to work.

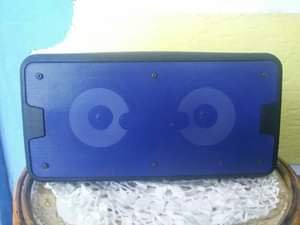
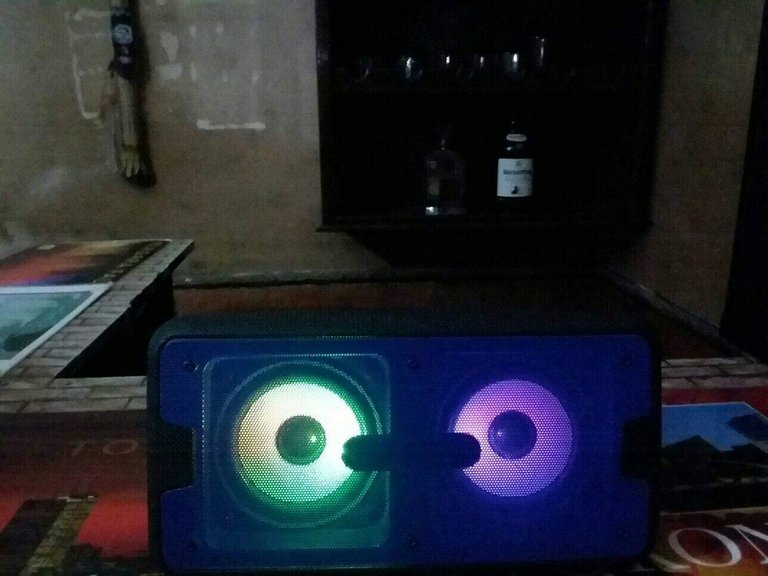
Bueno amigos, este es el equipo a reparar, empecemos!
Well friends, this is the equipment to be repaired, let's start!
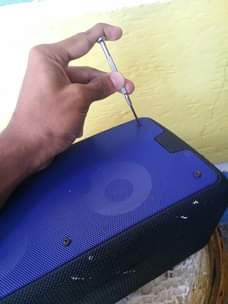
Tomamos un destornillador, que calce con los tornillos a retirar y empezamos uno a uno, en este caso son seis tornillos.
We take a screwdriver that fits the screws to be removed and we start one by one, in this case there are six screws.
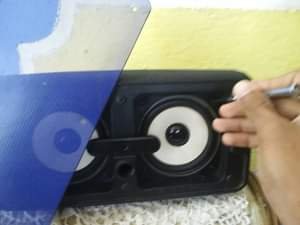
Al retirar los tornillos sacamos la reja protectora y empezamos a destornillar uno de las bocinas para acceder al interior de esta y ver que nos encontramos!
After removing the screws, we removed the protective grille and started to unscrew one of the horns to access the inside of it and see what we found!
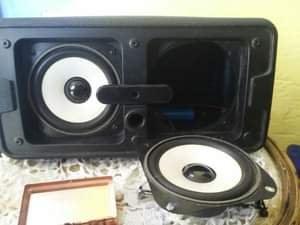
Solo encontramos la batería dañada, a lo que procedemos a retirarla de la corneta para confirmar su estado de Voltaje.
We found only the damaged battery, so we proceed to remove it from the cornet to confirm its voltage status.
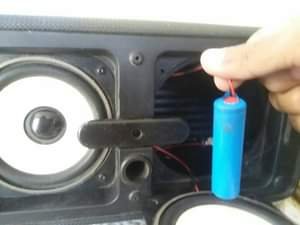
Cortamos los cables y dejamos en las puntas dejamos los cables al aire para probar su estado
We cut the wires and leave at the ends we leave the wires in the air to test their condition.
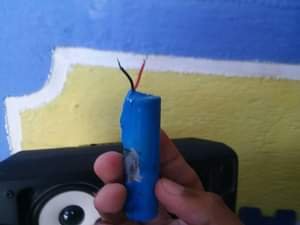
En este paso podemos hacer las dos cosas:
Si no tenemos tester para verificar el estado de la bateria (en este caso vemos que esta en 0), podemos pegar nuestra lengua a los cables y si sentimos un ligero cosquilleo este tiene carga, si sentimos un cosquilleo un poco mas fuerte este tiene mas carga, y si no sentimos nada, este no tiene nada de carga
In this step we can do both:
If we do not have a tester to verify the battery status (in this case we see that it is at 0), we can stick our tongue to the cables and if we feel a slight tickle it has a charge, if we feel a slightly stronger tickle it has more charge, and if we do not feel anything, it has no charge at all.
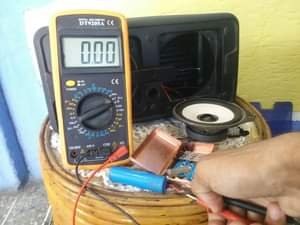
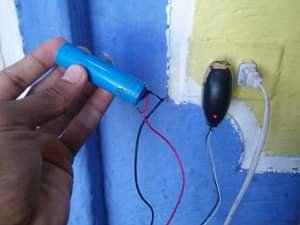
Ahora, tomamos un cargador de 5v, que no tengo muchos amperios (este cargador puede ser de un telefono viejo que ya no usemos) colocamos las puntas del cargador en los extremos positivo y negativo de la bateria y lo dejamos por 5 minutos
Now, we take a 5v charger, which I do not have many amps (this charger can be from an old phone that we no longer use) we place the tips of the charger on the positive and negative ends of the battery and leave it for 5 minutes.
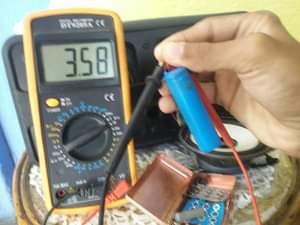
Luego de los 5 minutos, volvemos a comprobar el estado de la batería y vemos que este subió a 3.7 voltios próximamente, es decir, la carga de la batería regreso y ahora se puede volver a cargar correctamente, y podemos colocar la batería y comprobar su funcionamiento.
After the 5 minutes, we check the battery status again and we see that it went up to 3.7 volts soon, i.e., the battery charge is back and now it can be charged again correctly, and we can put the battery in and check its operation.
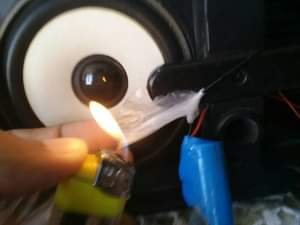
Procedemos a conectar los cables y luego sellarlos con una bolsa y un encendedor, amarramos la bolsa varias veces y aplicamos calor en este proceso para que el sellado sea correcto, firme y que este no se rompa o traspase el cobre y no hayan cortos futuros
We proceed to connect the wires and then seal them with a bag and a lighter, we tie the bag several times and we apply heat
in this process so that the sealing is correct, firm and that it does not break or pass through the copper and there are no future shorts.
Verificamos que este sellado correctamente.
We verify that it is properly sealed.
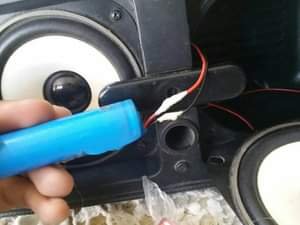
y ahora aplicamos un poco de silicon a la batería
and now we apply a little silicone to the battery
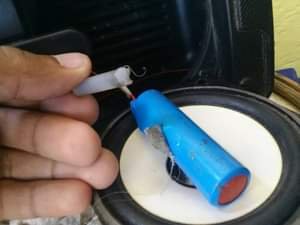
Y ahora procedemos a pegarlo al interior de la corneta
And now we proceed to glue it to the inside of the bugle.
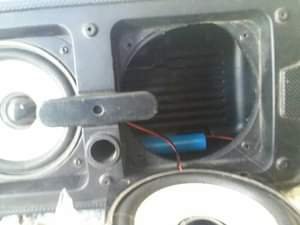
Cerramos correctamente
We close correctly
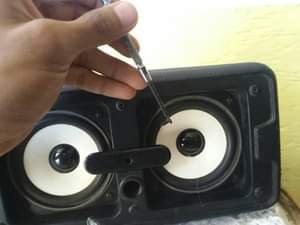
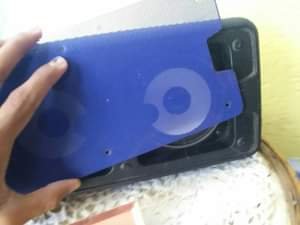
Y LISTO!
AND DONE!


Traducciòn: Deepl.com
Ediciòn: Canva.com
Propiedad Intelectual de mi persona.


