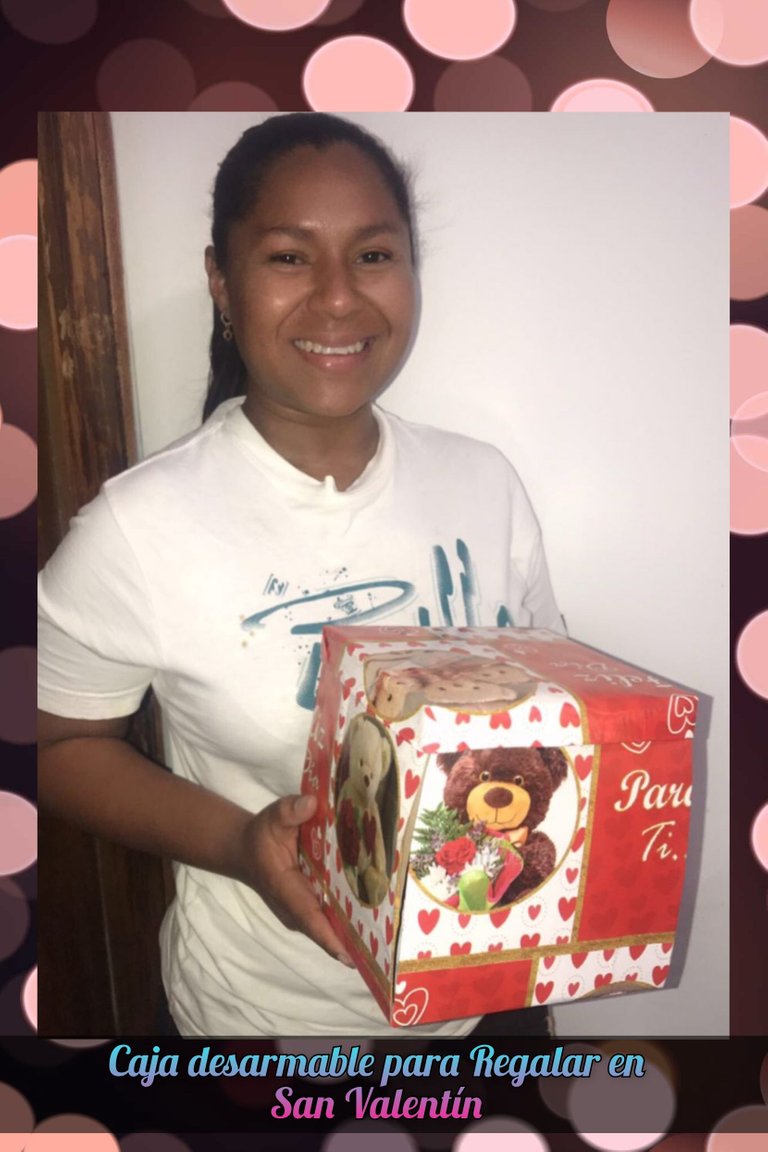
👋 Saludos cordiales a todos los lectores de esta maravillosa camunidad deseándoles un feliz y bendecido día , en esta ocasión les traigo una maravillosa caja desarmable ideal para hacer un regalo aprovechando que se acerca el día de San Valentín.
👋 Warm greetings to all readers of this wonderful community wishing you a happy and blessed day, this time I bring you a wonderful box ideal for making a gift taking advantage of the approaching Valentine's Day.
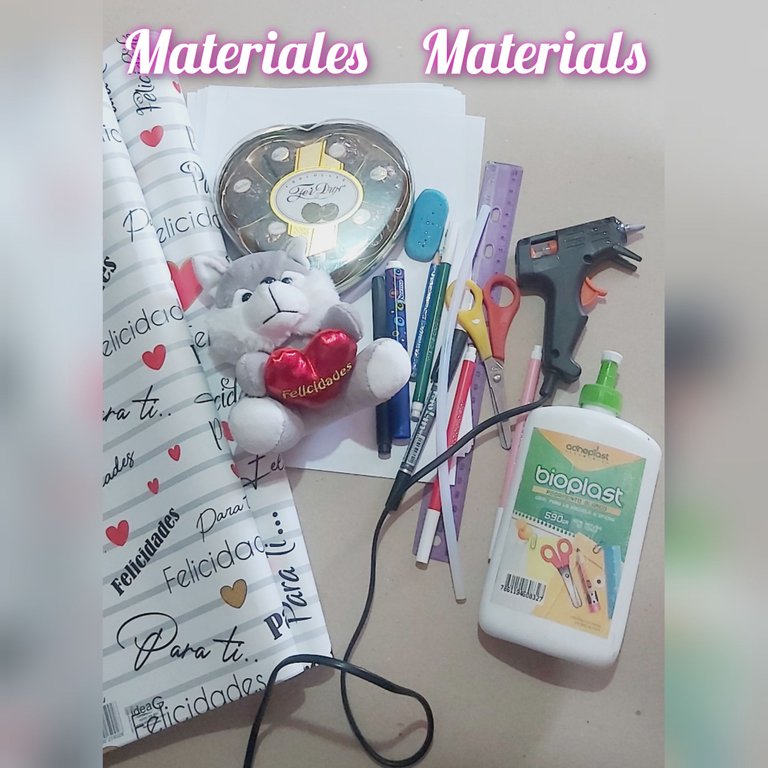
Materiales
- Cartón delgado
- Pepel de regalo
- Pegamento
- Tijera
- Lapiz
- Marcadores
- Peluche de felpa
- Chocolates
Materials
- Thin cardboard
- Gift wrap
- Glue
- Scissors
- Pencil
- Marker pens
- Plush stuffed animal
- Chocolates
Paso a paso
Step by step
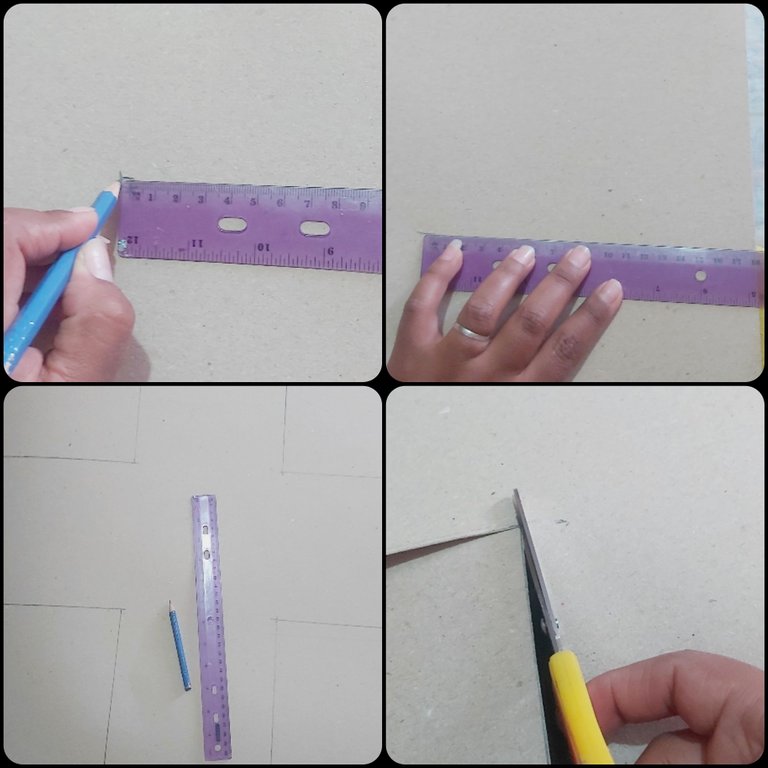
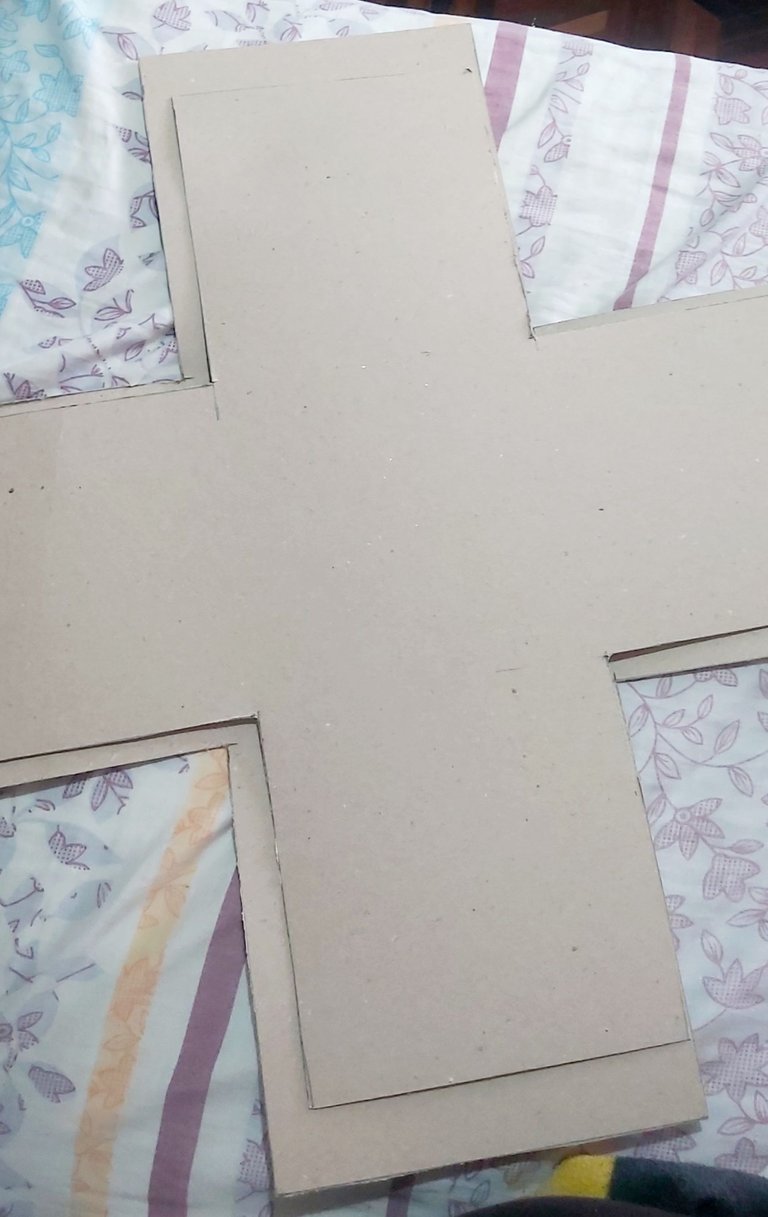
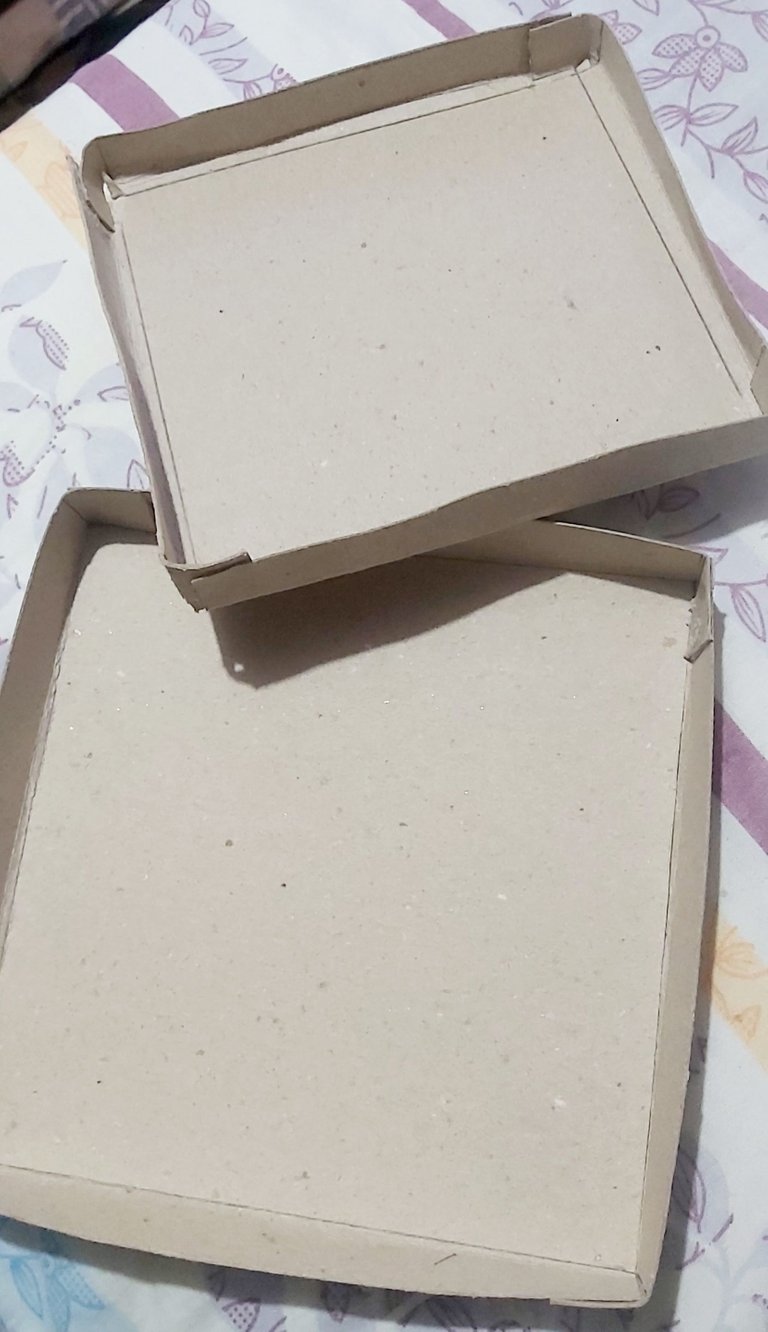
- Primero marcamos un cuadro de 20x20 cm en el centro del cartón luego marcamos 1 cuadro en cada lado del primer cuadro, quedarán 5 cuadrados unidos en forma de cruz. Repetimos el proceso para la otra caja pero esta vez con 18x18 cm y recortamos las 2 piezas
First we mark a 20x20 cm square in the center of the cardboard, then we mark 1 square on each side of the first square, there will be 5 squares joined in the shape of a cross. Repeat the process for the other box but this time with 18x18 cm and cut out the 2 pieces
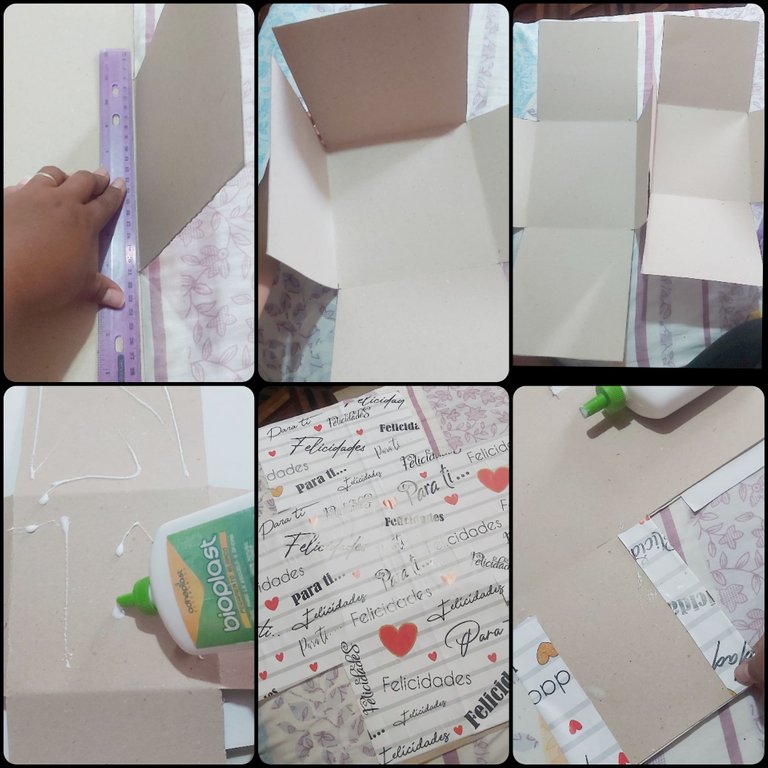
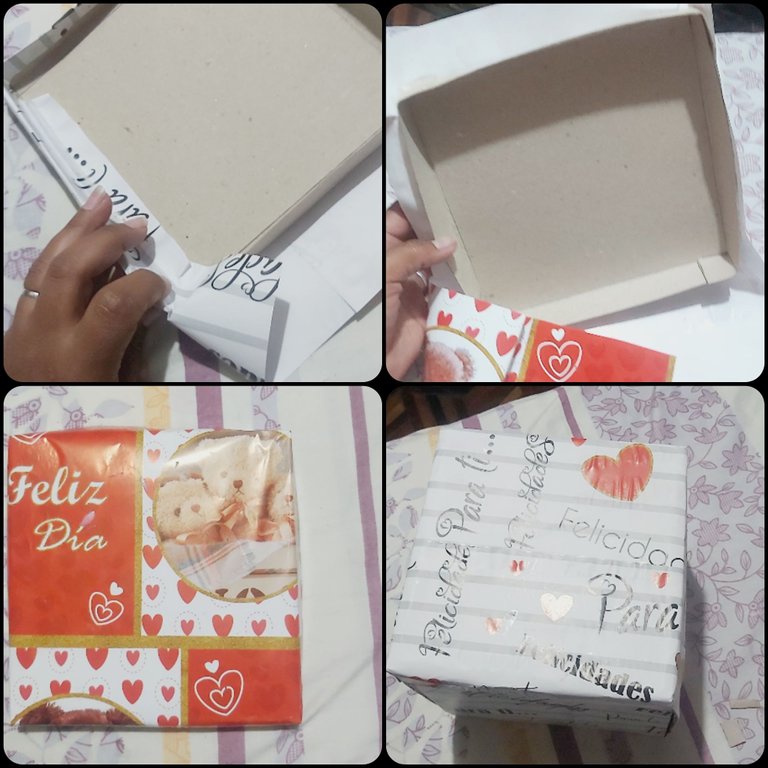
- En este paso vamos a doblar los cuadrados con ayuda de la regla para formar la caja y luego vamos a pegar el papel de regalo por todo el exterior de ambas cajas.
In this step we are going to fold the squares with the help of the ruler to form the box and then we are going to glue the wrapping paper all around the outside of both boxes.
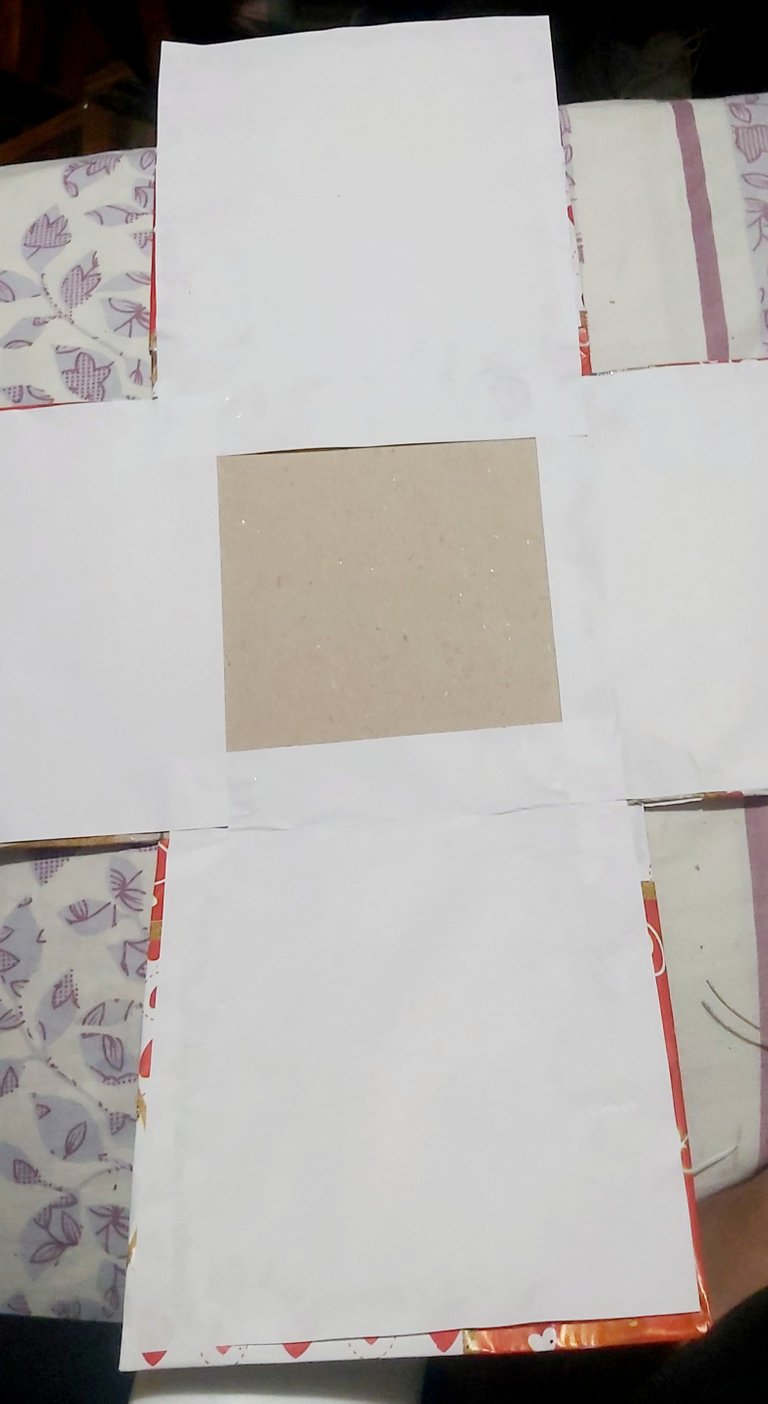
Pará el interior pegamos hojas blancas para cubrir todo el cartón.
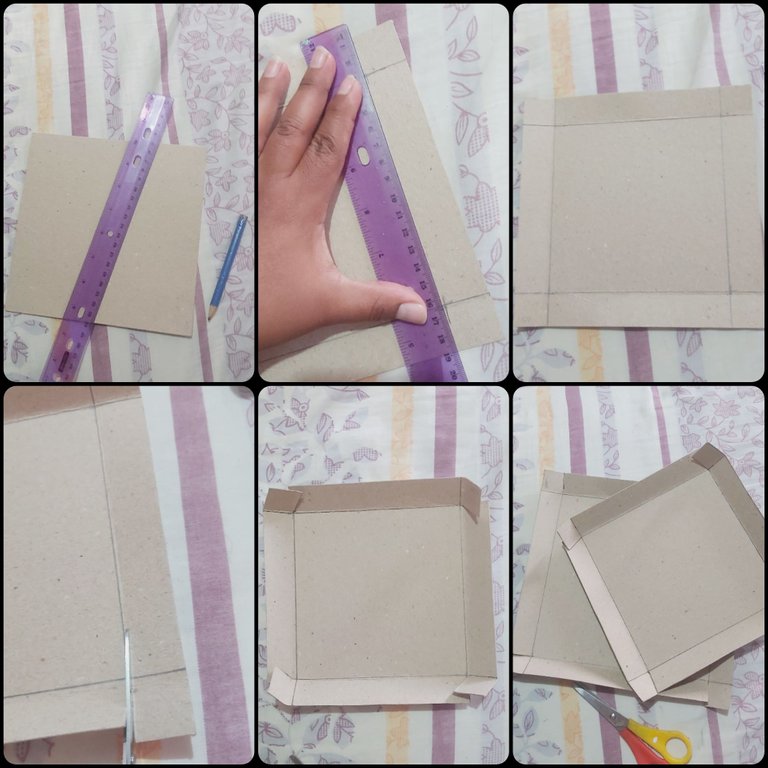
Luego marcamos un cuadro de 21x21 cm en el cartón y recortamos, también marcamos 2 cm desde el contorno hacia dentro, doblablos con la ayuda de una regla, cortamos las esquinas y pegamos con cilocon caliente y así formamos la tapa de la caja, para la otra tapa hacemos el mismo procedimiento pero las medidas serán de 23x23cm
For the inside we glue white sheets to cover all the cardboard.
Then we mark a 21x21 cm square on the cardboard and cut it out, we also mark 2 cm from the contour to the inside, fold them with the help of a ruler, cut the corners and glue with hot glue and thus form the lid of the box, for the other lid we do the same procedure but the measures will be 23x23cm.
Procedemos a pegar el papel a las tapas y dejamos secar
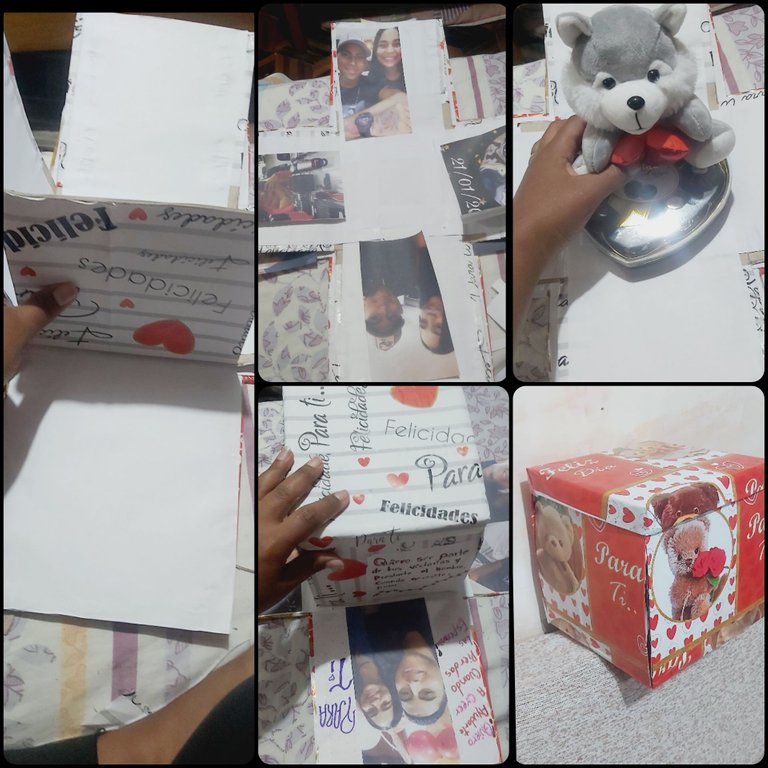
Por otra parte pegamos las caja Pequeña encima de la grande y pegamos imágenes o fotos alusivas, con los Marcadores escribimos algunos mensajes y resaltamos las imágenes.
We proceed to glue the paper to the lids and let it dry.
On the other hand, we glue the small box on top of the big one and paste images or allusive photos, with the markers we write some messages and highlight the images.
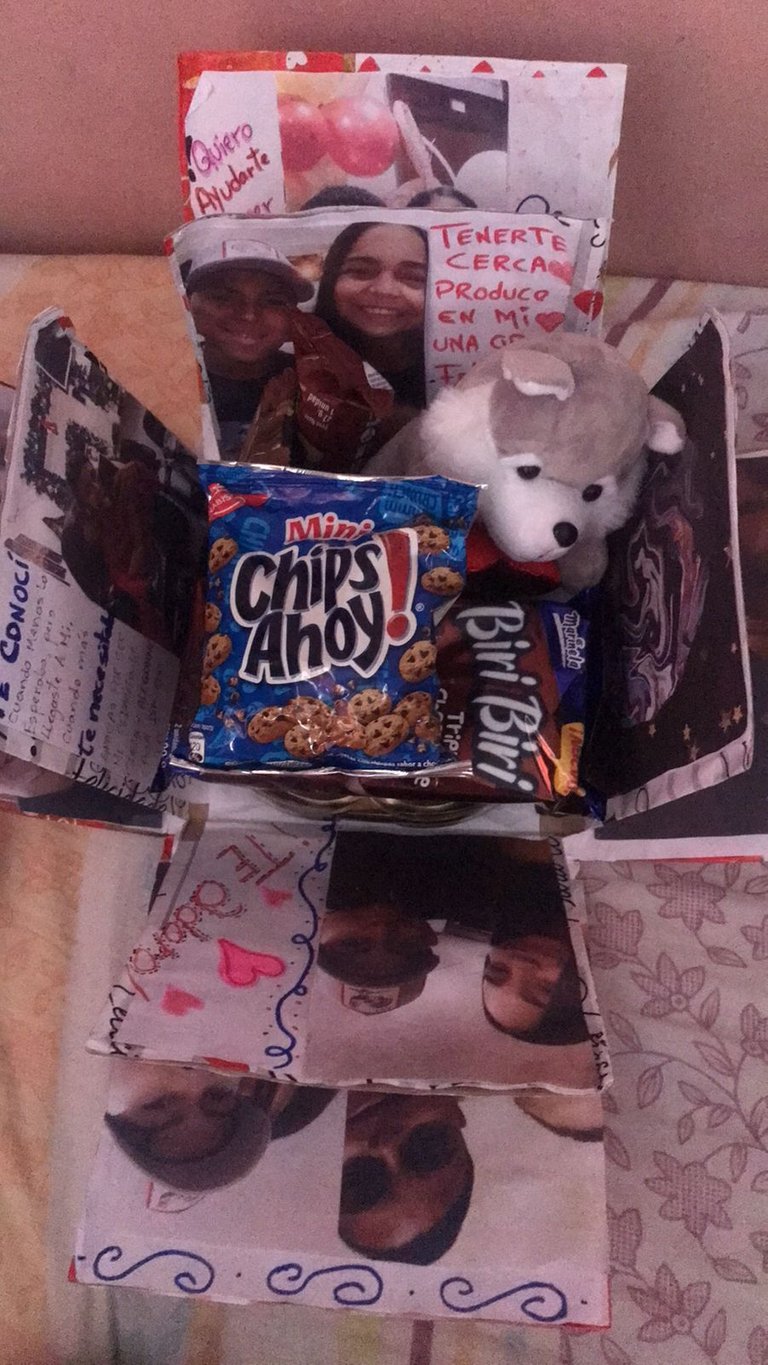
- Por último colocamos el peluche y los Chocolates o cualquier detalle que desee y cerramos las cajas.
Finally we place the stuffed animal and the Chocolates or any other detail you wish and close the boxes.
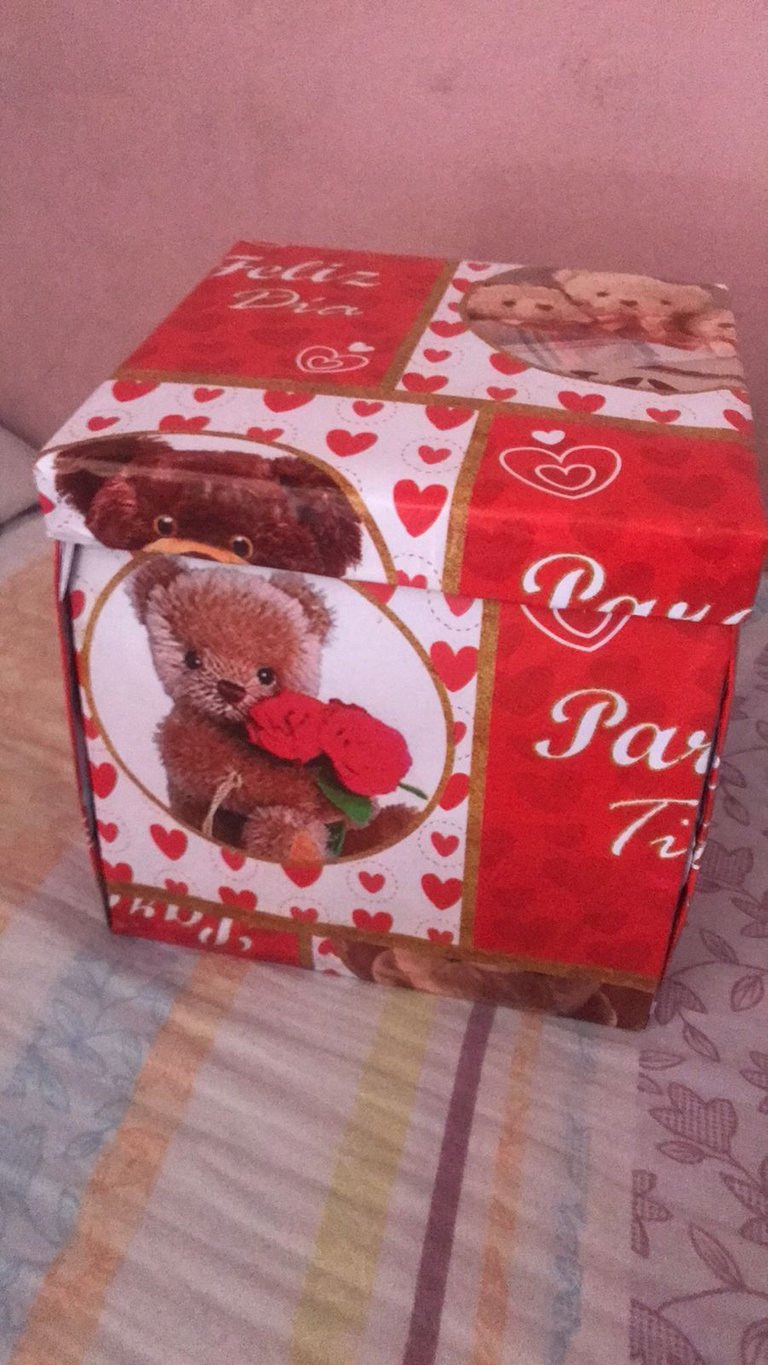
Final Result
Gracias por ver mis públicaciones espero le guste mucho y puedan hacerlo, me despido hasta otra oportunidad
Thank you for watching my publications, I hope you like it a lot and you can do it, I say goodbye until another opportunity
Las fotos fueron tomadas con un celular Huawei Y6 y fueron editadas en la aplicación Incollage y traducidas en la pagina www.deepl.com