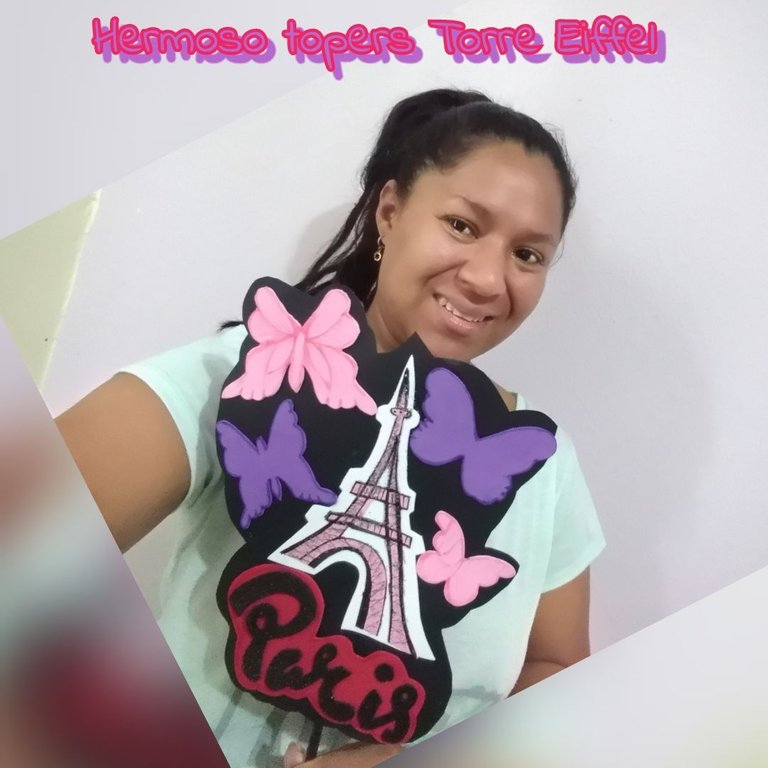
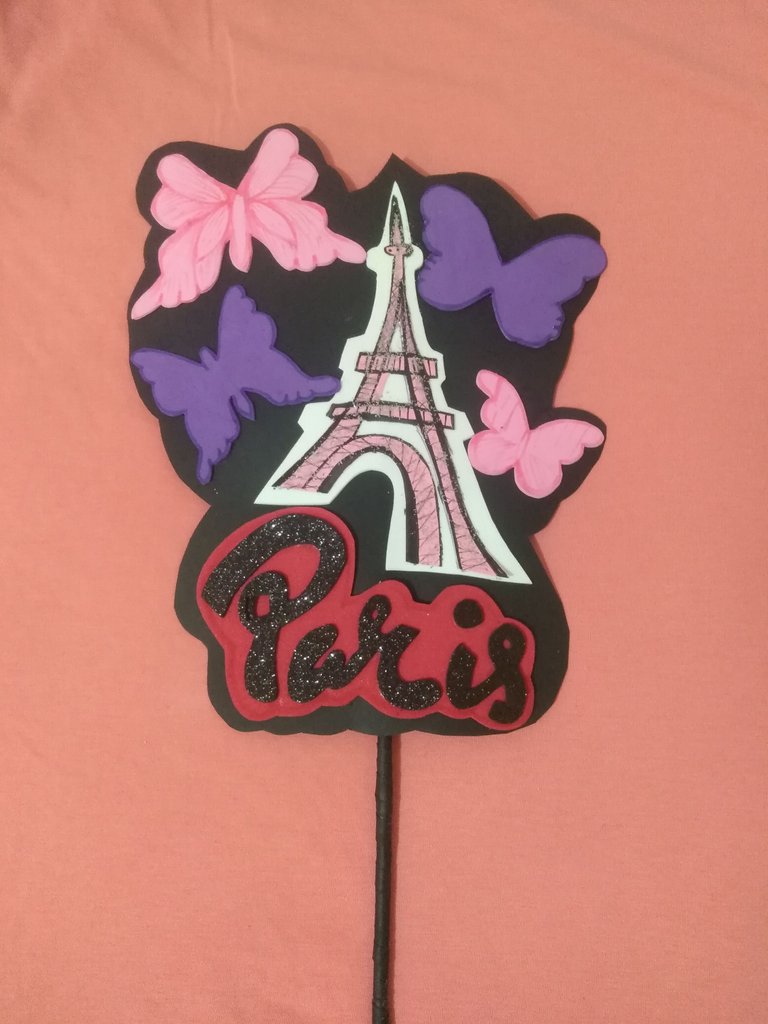
Hola queridos amigos Creadores espero se encuentren muy bien, en esta ocasión les quiero compartir la elaboración de un topers con temática de la torre Eiffel, para la decoración del compartir se cumpleaños de mi primer rallito de luz que esta cumpliendo hoy 8 años de vida.
Hello dear friends Creators I hope you are very well, this time I want to share with you the elaboration of a topers with Eiffel Tower theme, for the decoration of the birthday of my first little ray of light that is turning 8 years old today.
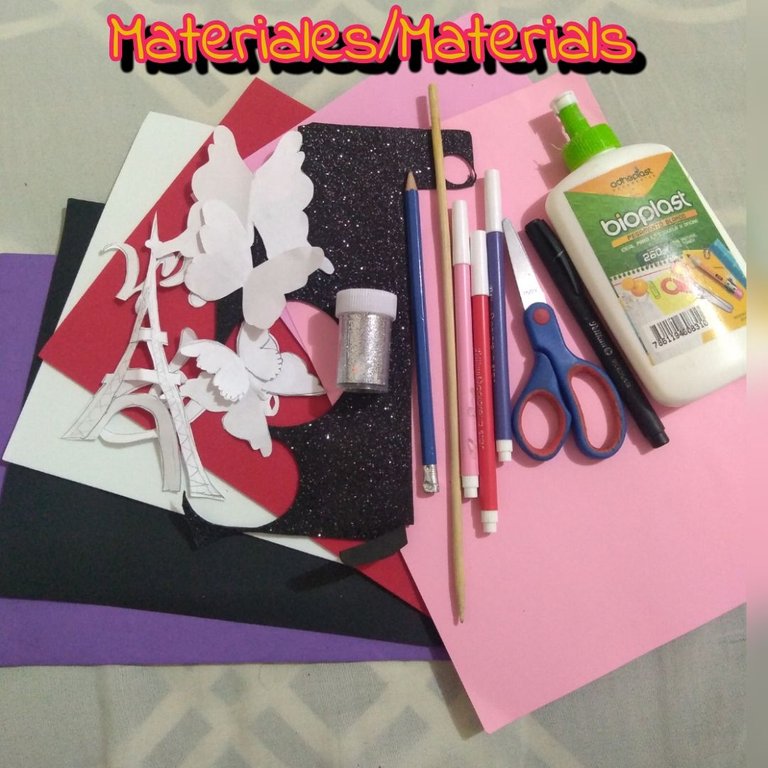
Materiales
🦋 Goma Eva de colores, rojo, negro, fucsia, morado y blanco
🦋 Lápiz
🦋 Tijera
🦋 Pegamento
🦋 Cartulina rosada y negra
🦋 Escarcha
🦋 Marcadores
🦋 Palo de altura
🦋 Moldes
Materials.
🦋 Colored eva rubber, red, black, fuchsia, purple, purple and white
🦋 Pencil
🦋 Scissors
🦋 Glue
🦋 Pink and black card stock
🦋 Frosting
🦋 Markers
🦋 High stick
🦋 Molds
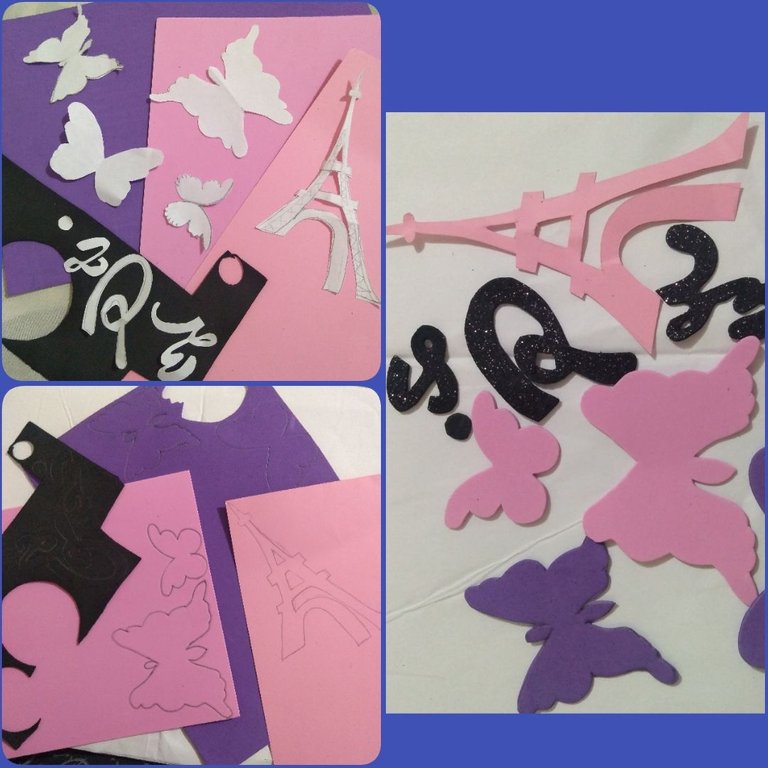
Paso a paso
Step by step
Primero colocas los moldes en la goma Eva de los colores que corresponden y la Cartulina, marcamos y recortamos todas las piezas.
First you place the molds on the eva rubber of the corresponding colors and the cardboard, mark and cut out all the pieces.
Luego armas la palabra París y la pegas a la goma Eva de color rojo y recortas, también pegas la torre Eiffel en la goma eva de color blanco y recortas.
Then glue the word Paris to the red eva glue and cut it out, then glue the Eiffel Tower to the white eva glue and cut it out
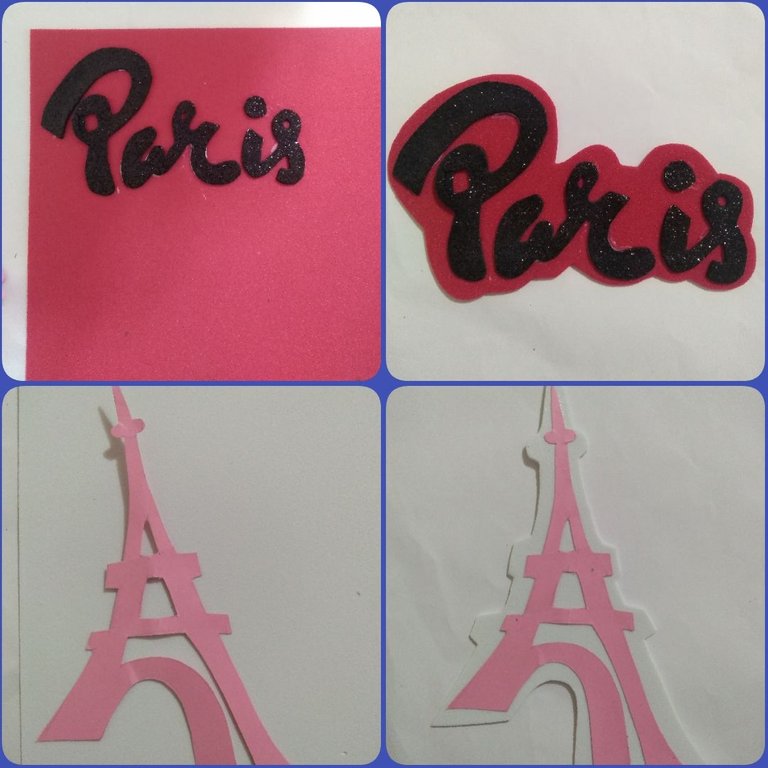
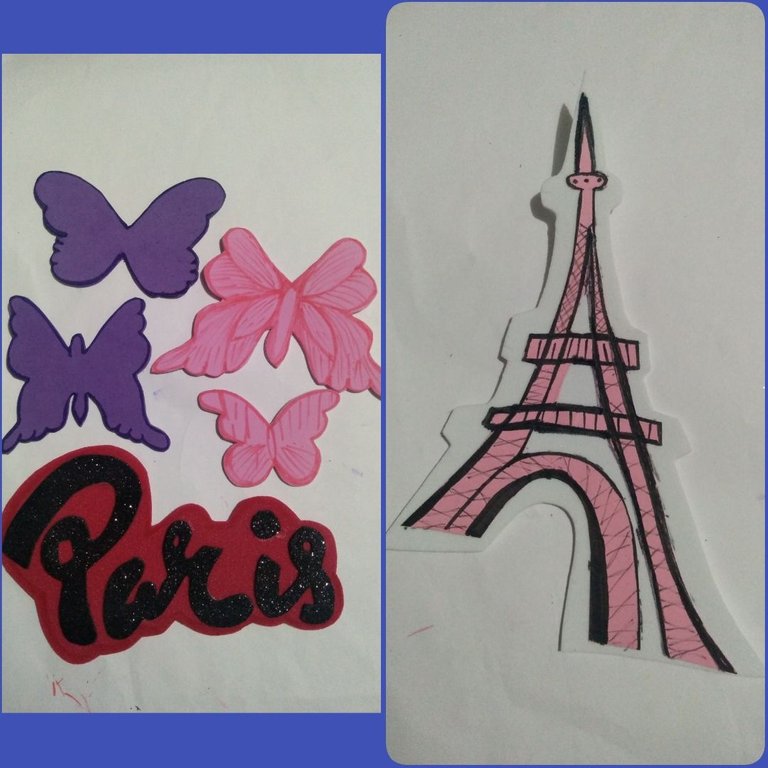
En este paso remarcas las mariposas y la torre con los Marcadores de diferentes colores para resaltar algunos detalles.
In this step you highlight the butterflies and the tower with the markers of different colors to highlight some details.
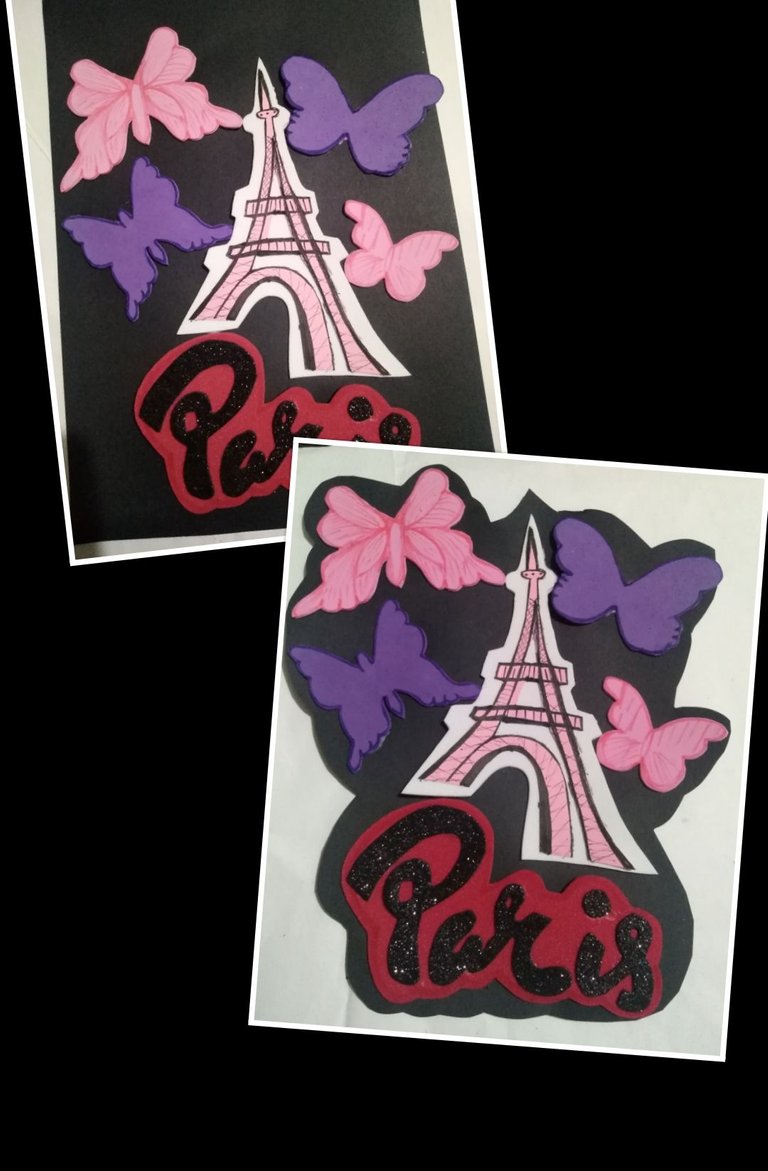
Luego pegas todas las piezas en la Cartulina negra, primero centra la torre le colocas las letras debajo y por última las mariposas a los lados recorta dejando un espacio para la sombra.
Then glue all the pieces on the black cardboard, first center the tower, place the letters underneath and finally the butterflies on the sides, cut out leaving a space for the shadow.
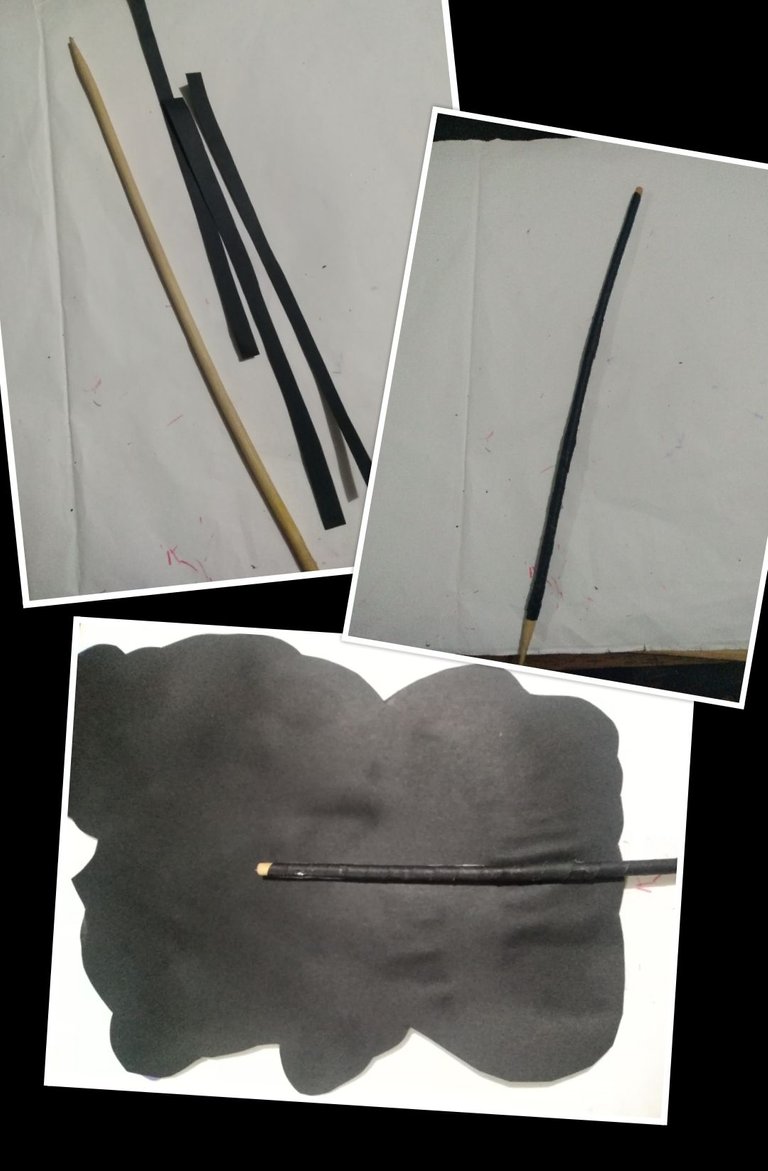
Recorta 3 tiras de la cartulina negra que sobra y forra el Pao de altura, dando vueltas y haciendo un poco de presión para que quede bien sujeto y lo pegas detrás del topers.
Cut out 3 strips of the leftover black cardboard and line the Pao high, twisting and pressing a little to hold it in place and glue it behind the topers.
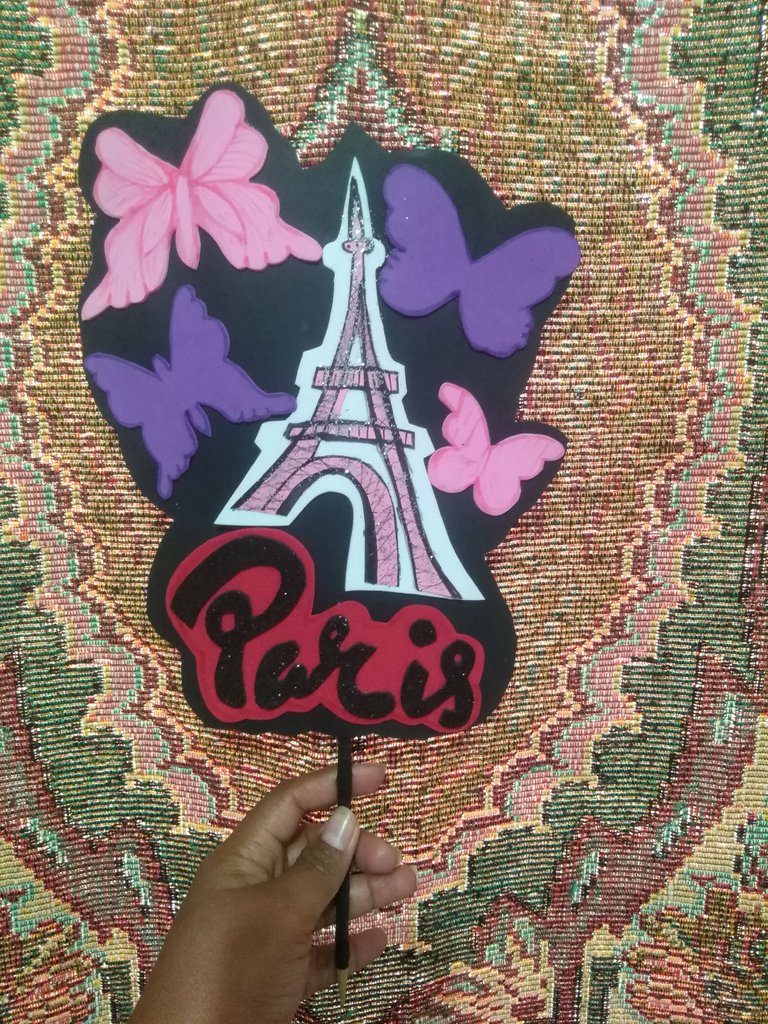
RESULTADO FINAL
FINAL RESULT
Gracias por ver mis públicaciones espero le guste mucho y puedan hacerlo
Thank you for watching my publications, I hope you like them a lot and you can do it
Las fotos son de mi autoria tomadas con un celular Huawui Y6, editadas en Incollage y traducidas en www.deelpl.comf


