After a long pause, this weekend we made a dedicated effort to get some of the camper done in the back of our Defender 130 extended panelvan. We still don't think there's one like it in the world.
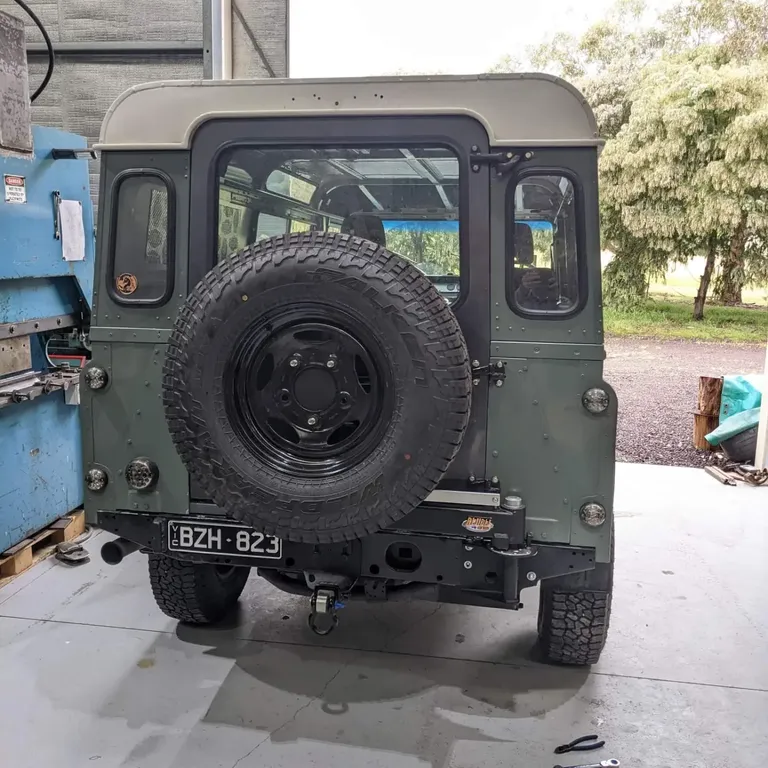
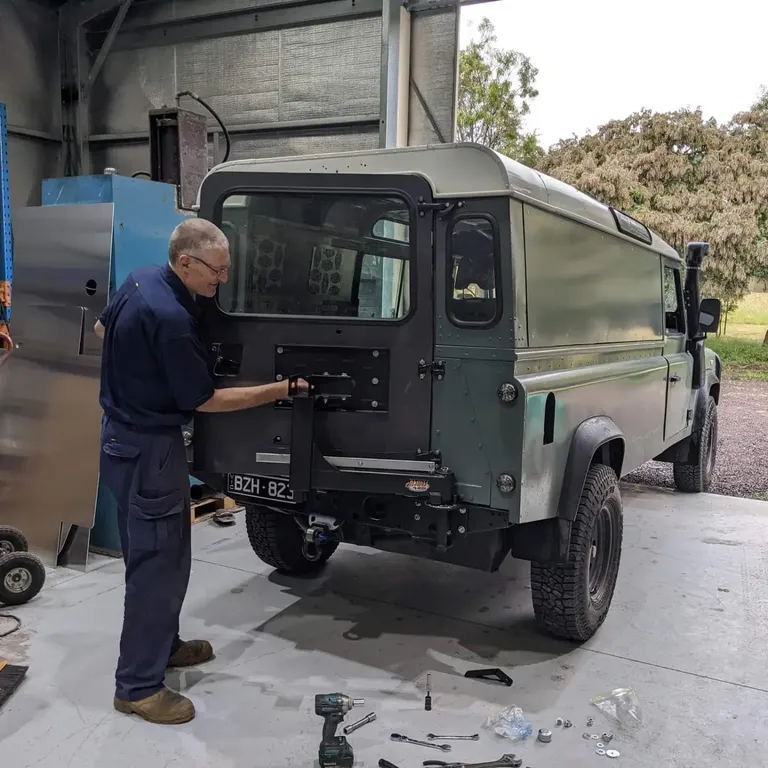
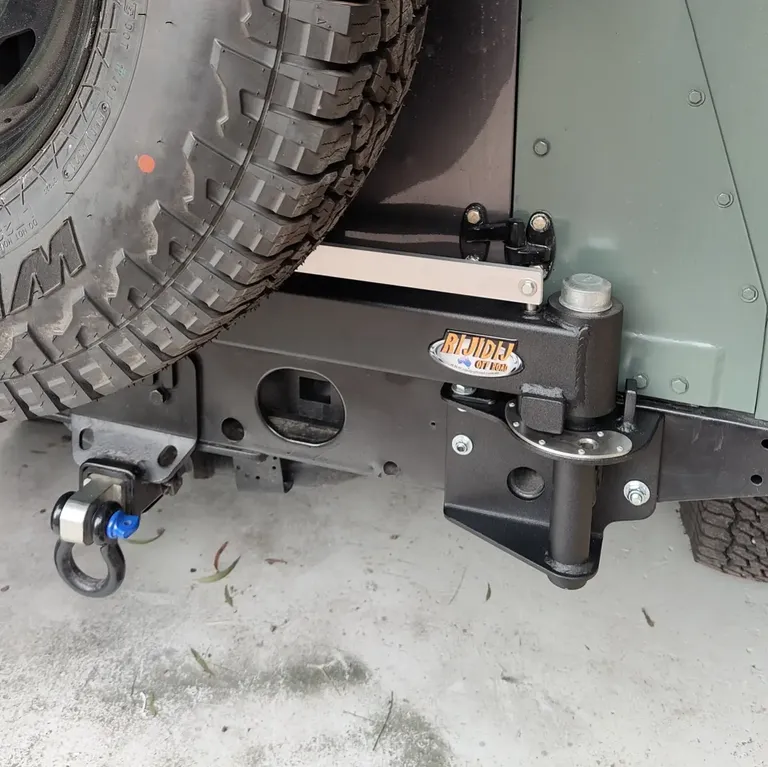
We had a mate drop off a drop saw in his Perentie which was bloody handy. He's the same guy who makes accessories and led us on the sand dune expedition last month.. an absolute legend. He also installed our rear wheel carrier last week, which protects the back door hinges as well as, to my happiness, stops the rear door blowing shut in the wind.
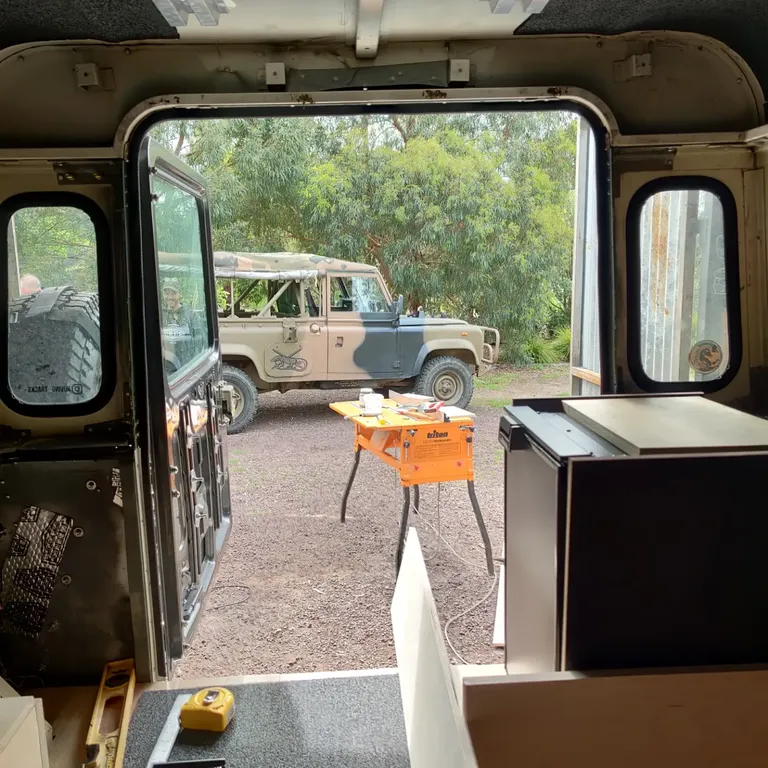
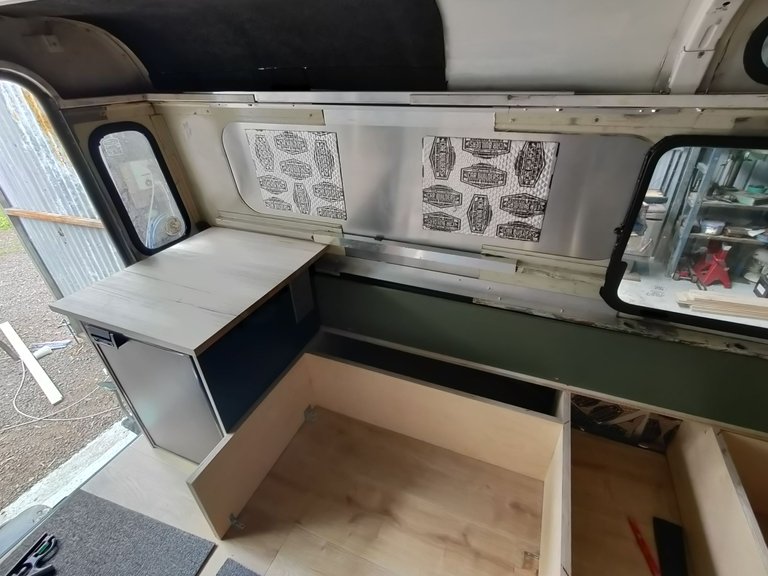
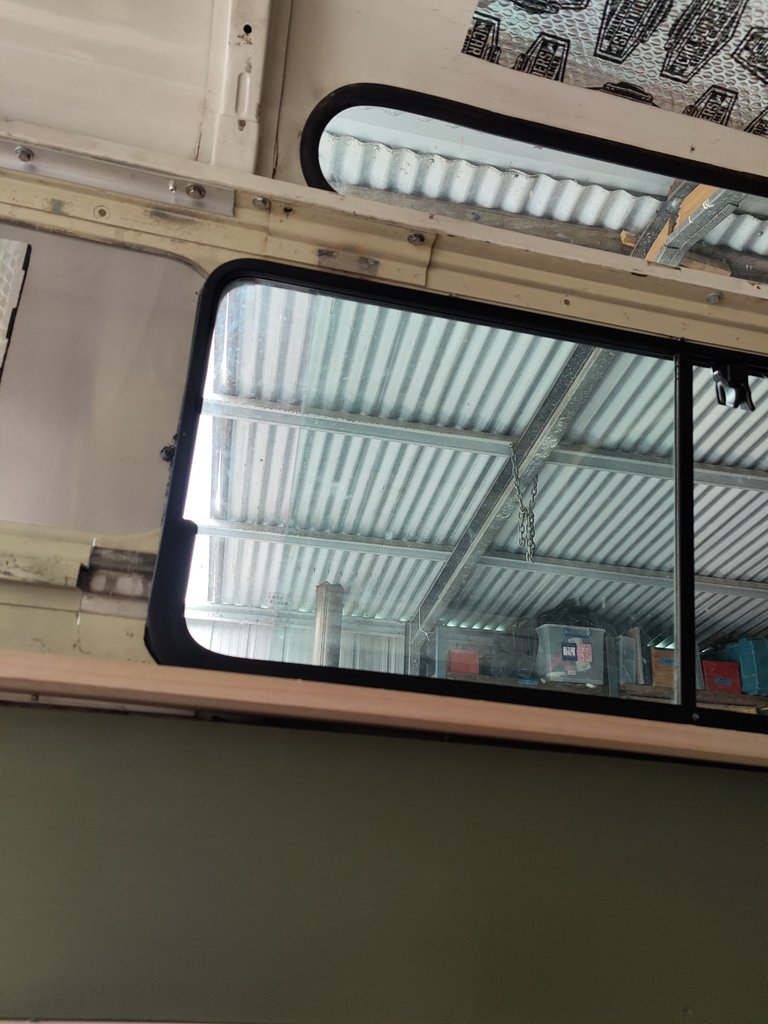
For those who don't know about this project, an easy way to describe it is to say that we ended up with a 110 Landrover (that's the size) that a lot of poeple turn into a camper. Extended it by 20 inches or so. That's a LOT when you're talking floorspace. As you can see in the photo below, we can fit a upright fridge which is big, big, big! And the bed starts just behind that, and the way we've done it means we get a DOUBLE BED. This is incredible and will be the envy of all! See the counterop? That'll be able to fit a cooker if it rains or the weather's so bad we have to cook inside, but rest of it will be outdoor cooking (more later!)
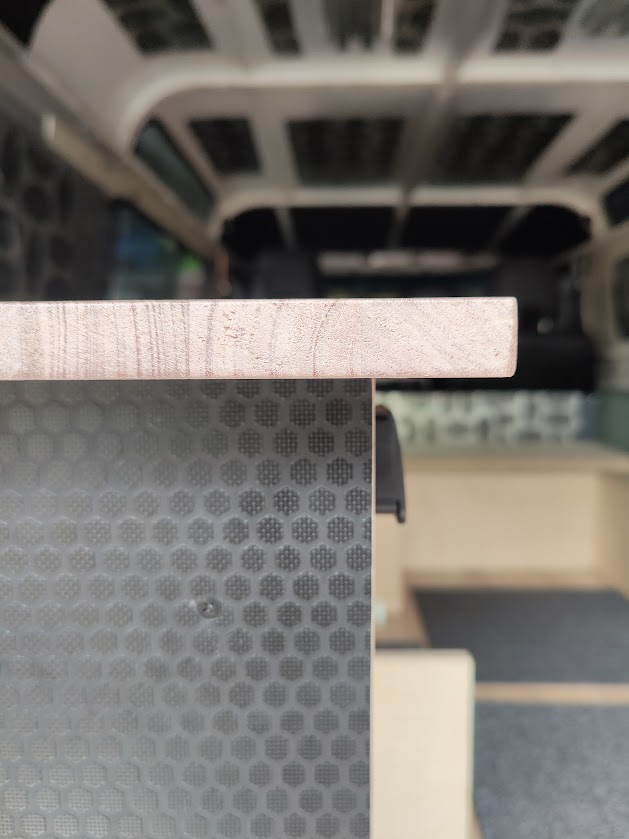
When you instal a 12v fridge you have to make sure that you have airflow otherwise it just doesn't work very well. Jamie had found this bit of stainlesssteel about ten years ago at a dump and thought it might be handy one day, so he cut out a bit of the black hex coated ply we are using for the surround and voila - a vent. And don't you think the black hex is just lovely?


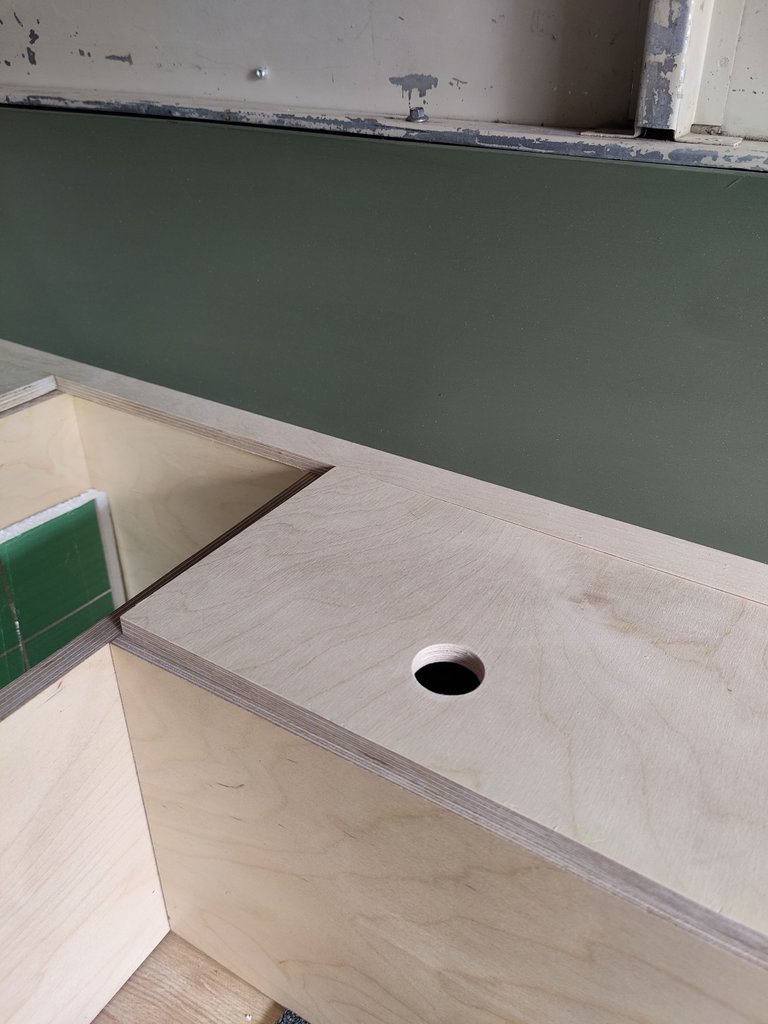
The green painted backboard is to demarcate the lower bed area from the roof and ceiling, and although you'll only see a sliver, it adds an aesthetic touch. Behind this is foilboard - in fact, the entire roof and walls will have this to keep the interior at a more stable temperature. In the bottom right corner there Jamie spent a good few hours installing the diesel heater before we could move forward.
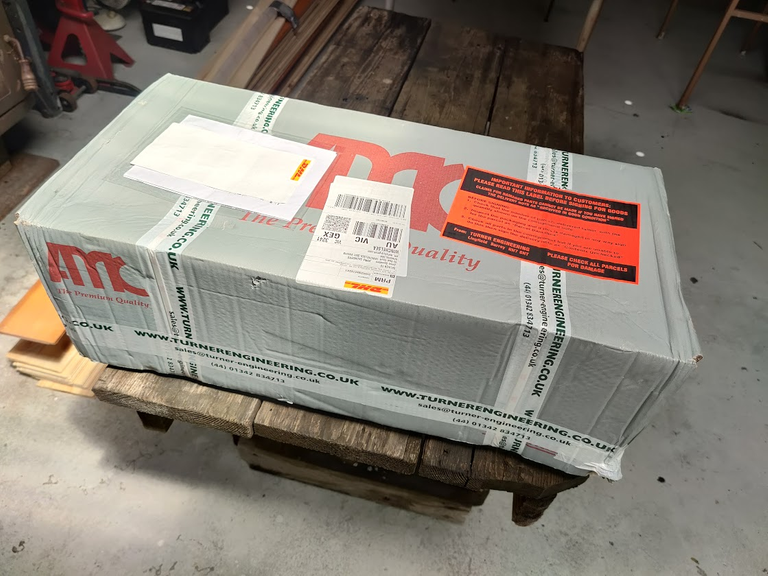
Lots of invisible jobs were also done as we went. I generally hate those as I like to SEE progress. But as visible progress was also being done at last, I didn't mind. This included clear coating the ply before it went in, which was my job. Jamie also had to drain all the coolant ready for removing a heap of pipes and cleaning them before the new head arrives from the UK in the next few days. UPDATE: The head arrived today! @galenkp - how's that for a quick parcel delivery!
Most of the 'outdoor' kinda kit like chainsaws and tools will go in two purpose main stainless steel hatches that will go under the chassis. We will also have a hatch for an outlet for the compressor and water tank on the same side. We also bought the compressor, a lithium battery and a solar panel this week. Feels like we are spending a lot of money but we had been saving it for a long time to afford to do what we needed to do to make this the most perfect expedition vehicle for us. And we've decided against the pop top as we thought it's a big expense and we just don't really need it - in Australia you spend most time outdoors anyway and the way we have configured this means that it'll be spacious enough anyway.
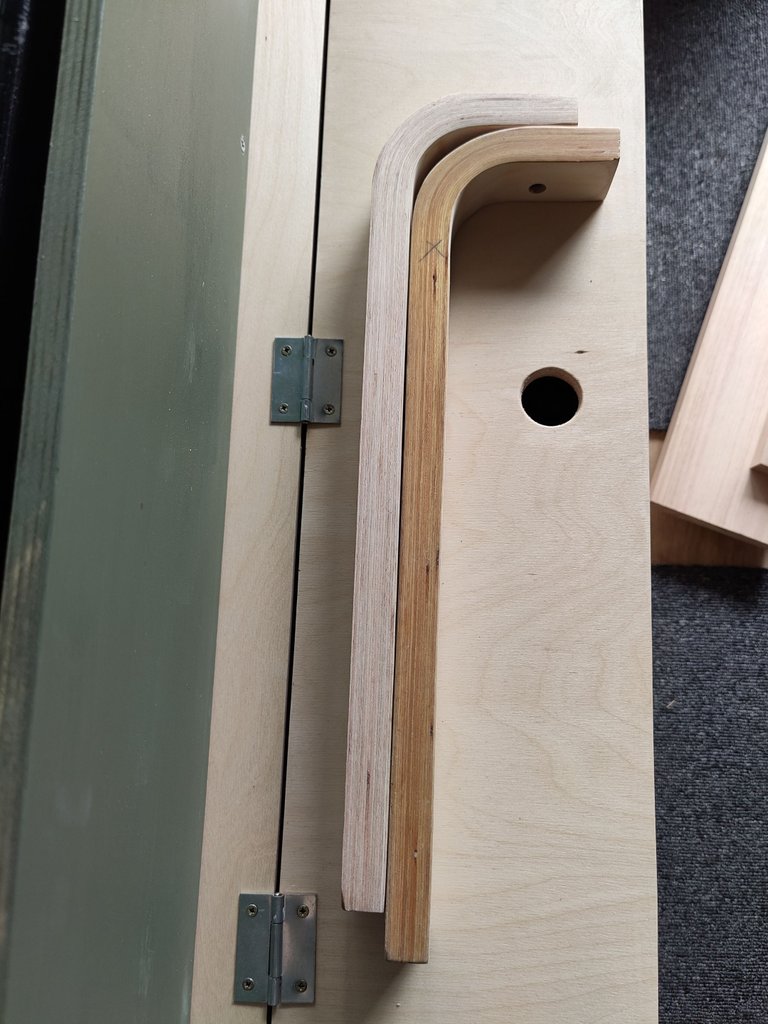
The window surround is a little tricky and it took us a while to work it out before we gave up this arvo to rest. Jamie's back is killing him so he just wasn't working as well as I wanted him to, slave driver that I am! Basically we had to somehow fit some wood around this window - curves are horrible!
But we had these old small ikea tables we'd saved the legs from - perfect for the top curve! You'll have to wait and see how it all comes together. The bottom bit is going to be a wide sill, well, wide enough to fit a cup of tea!
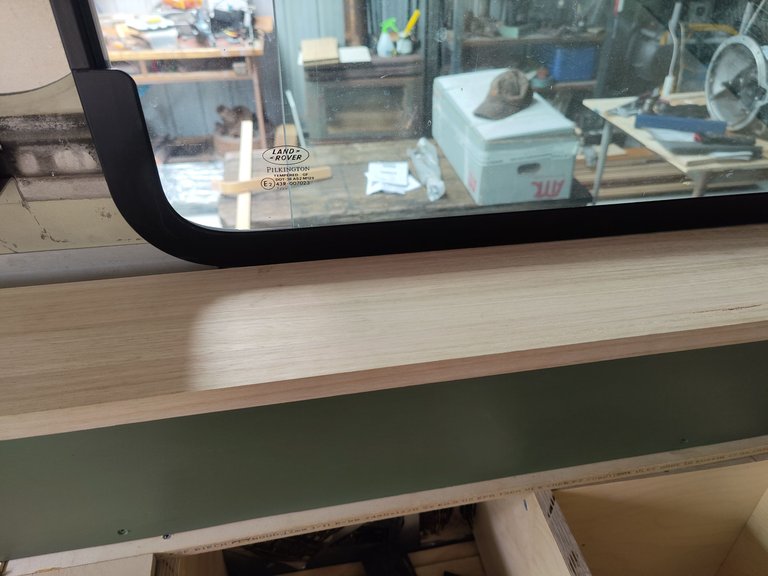
We also had to feed the wiring behind the green board before putting the sill up. And then, whilst Jamie rested, I gave all the wood we'd done so far another clear coat of poly, priced some cushions for the mattress, tried to consider how much headspace I had to do covers, and ordered a fly screen for the back. There's sooo much to think about.
Right, time for a shower and a beer!
With Love,

Are you on HIVE yet? Earn for writing! Referral link for FREE account here