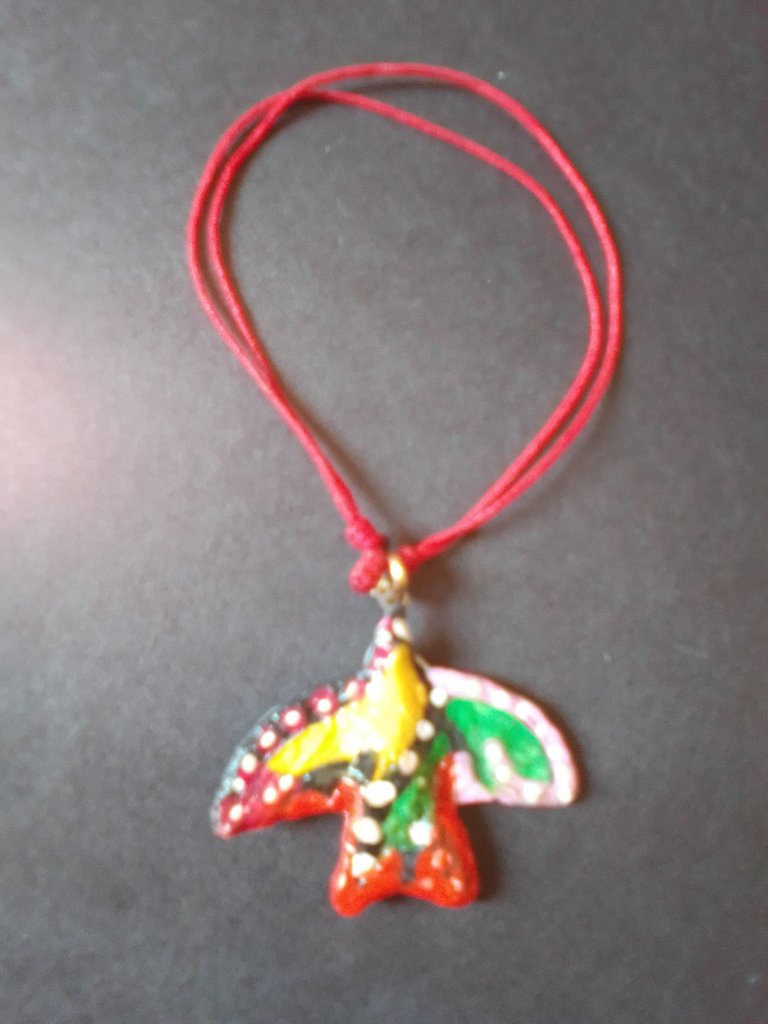
Hello, friends of the #HiveDiy community I hope you are feeling great and have had a great start to the week. It is an honor for me to publish the first of a series of handmade works on the cartapesta technique in paper jewelry.
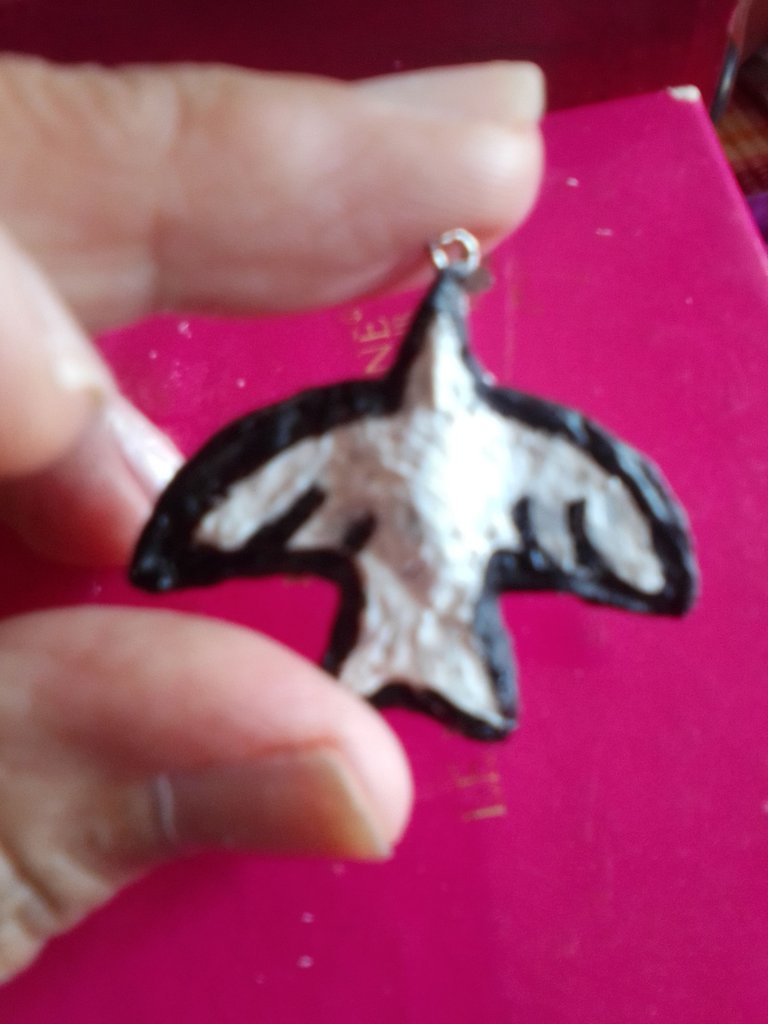
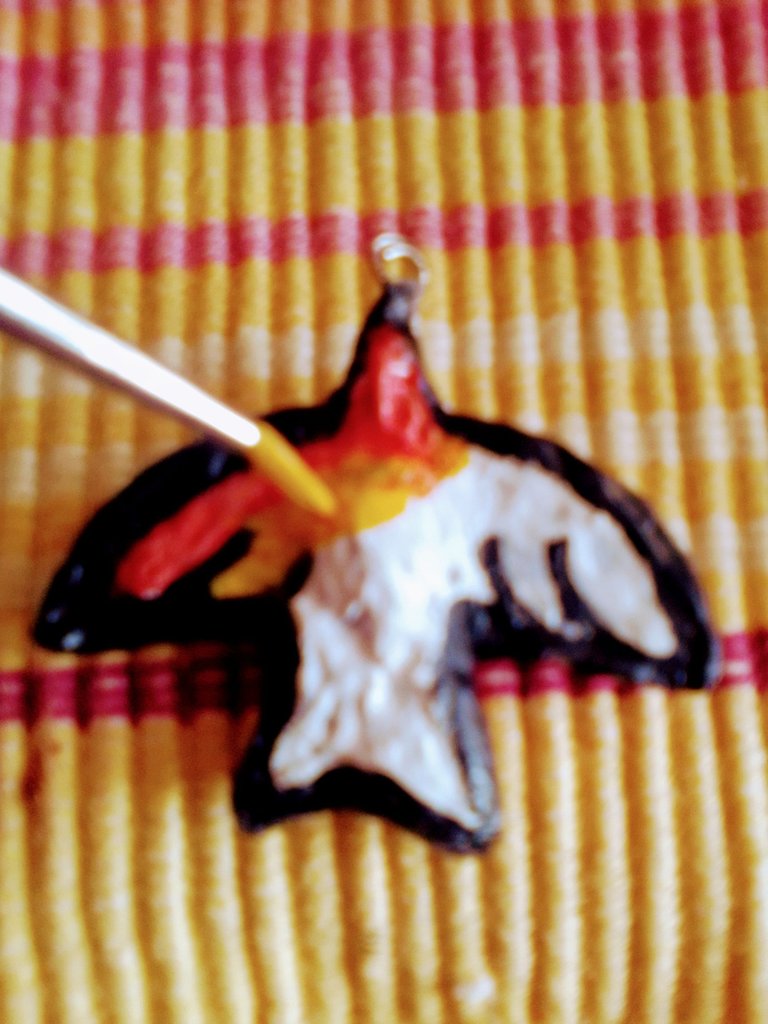
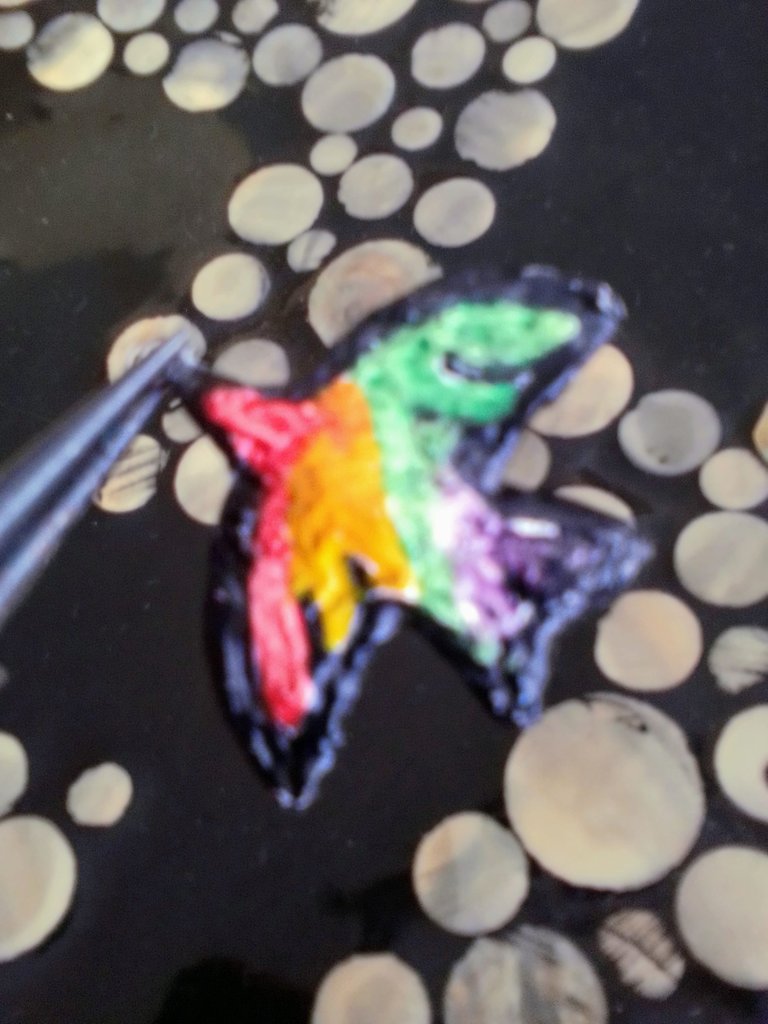
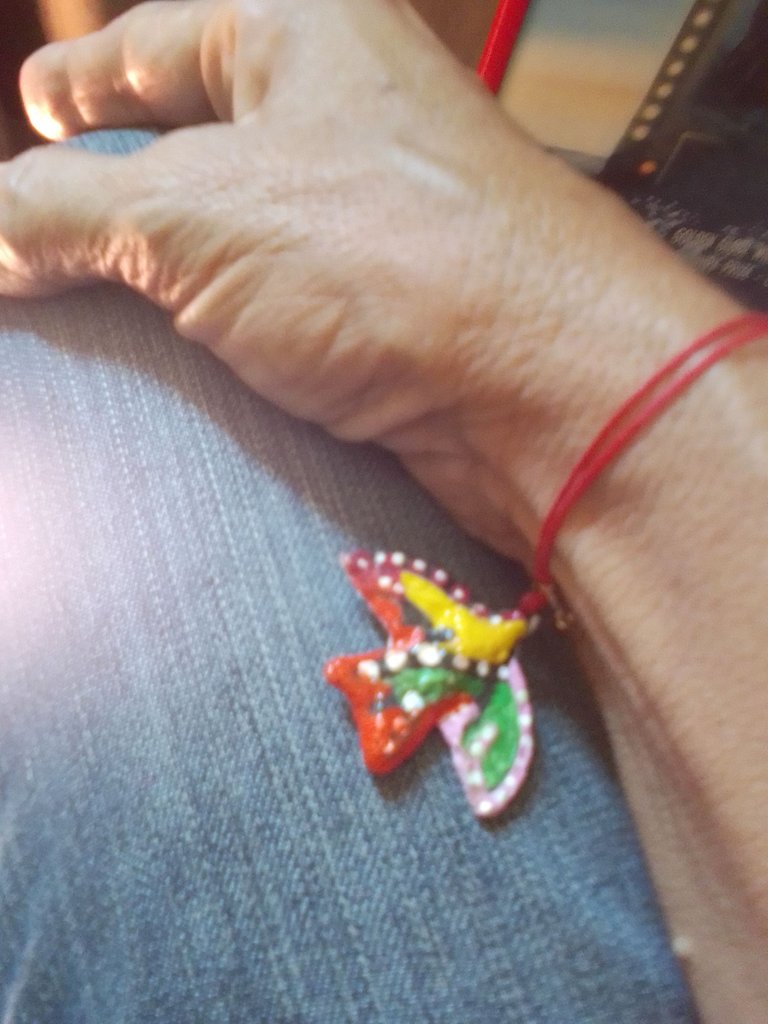
In this and future publications I will deal with the topic of paper jewelry, made with recycled materials and mainly paper, glue and masking tape. On this occasion I am using a whistle of those that are used in piñatas as a gift for children, and from there, with a fairly simple and economical treatment I will make a charm that can be used both in bracelets and necklaces.
Hola, amigos de la comunidad de #HiveDiy espero que se encuentren muy bien y que hayan tenido un buen inicio de semana. Es un honor para mí publicar la primera de una serie de trabajos manuales sobre la técnica de cartapesta en joyería de papel.
En esta y próximas publicaciones voy a tratar el tema de la joyería de papel, elaborada con materiales reciclados y principalmente el papel, la pega y cinta de enmascarar. En esta ocasión estoy utilizando un pito de los que se utilizan en las piñatas como regalo para los niños, y a partir de allí, con un tratamiento bastante sencillo y económico realizaré un dije que puede ser utilizado tanto en pulsera como en collares.
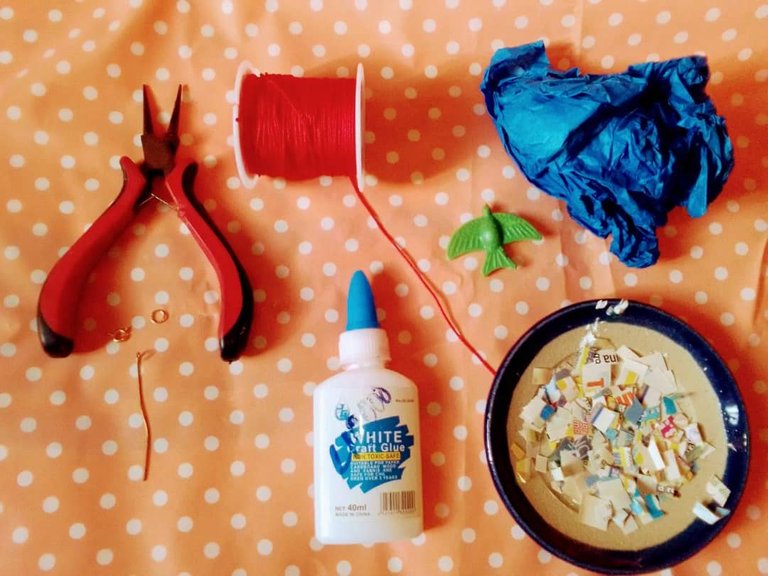
MATERIALS
Plastic whistle
Costume jewelry wire
Glue and masking tape
Newspaper
Tissue paper or kraf paper
Cold paint (colors to taste)
Brush
Waterproofing varnish, nail polish or white school glue
MATERIALES
Pito plástico
Alambre para bisuteria
Pega y cinta de enmascarar
Papel periódico
Papel de seda o papel kraf
Pintura al frio (colores al gusto)
Pincel
Barniz para impermeabilizar, brillo de uñas o pega blanca escolar
PREPARATION
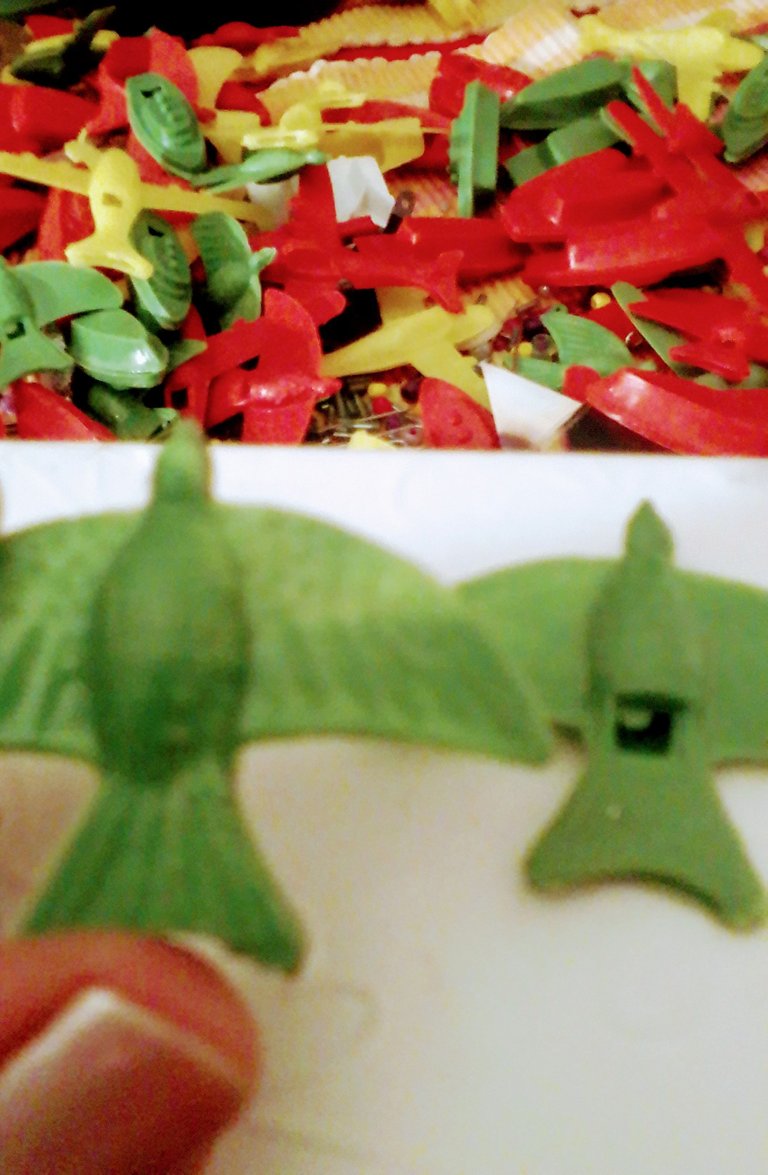
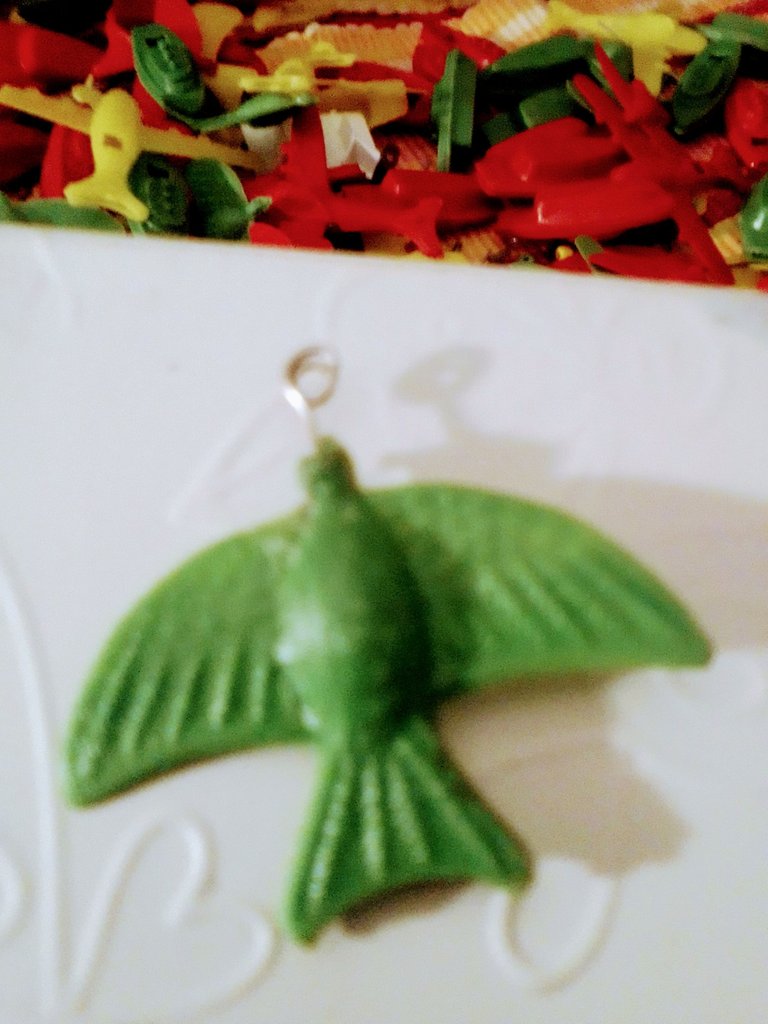
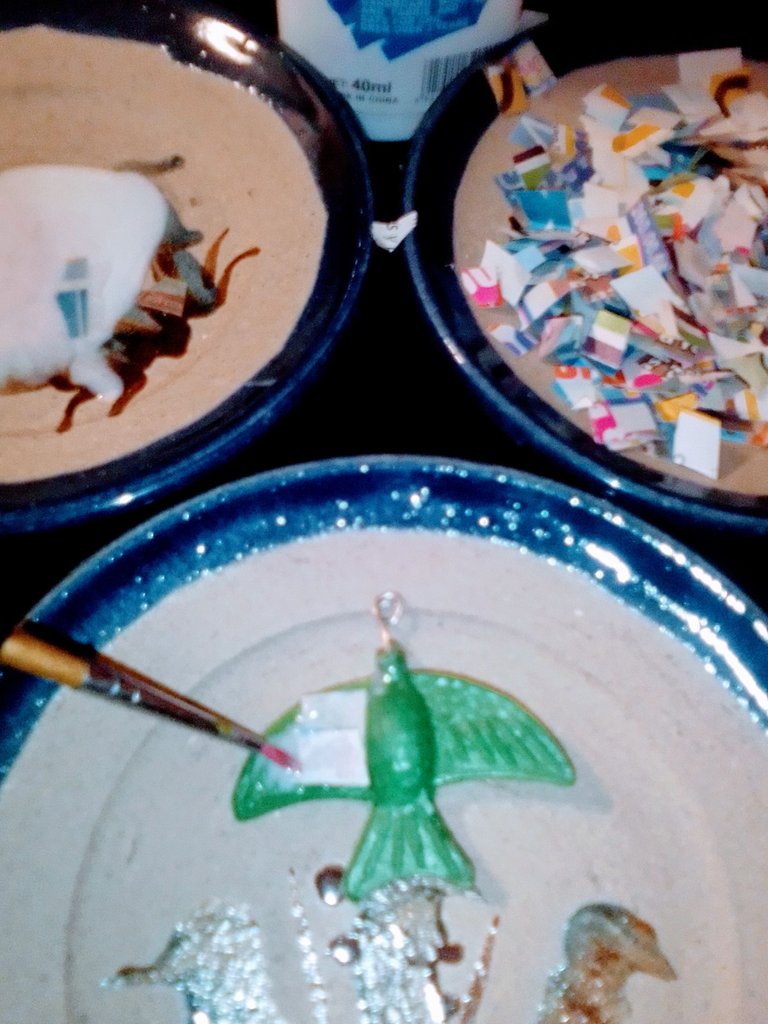
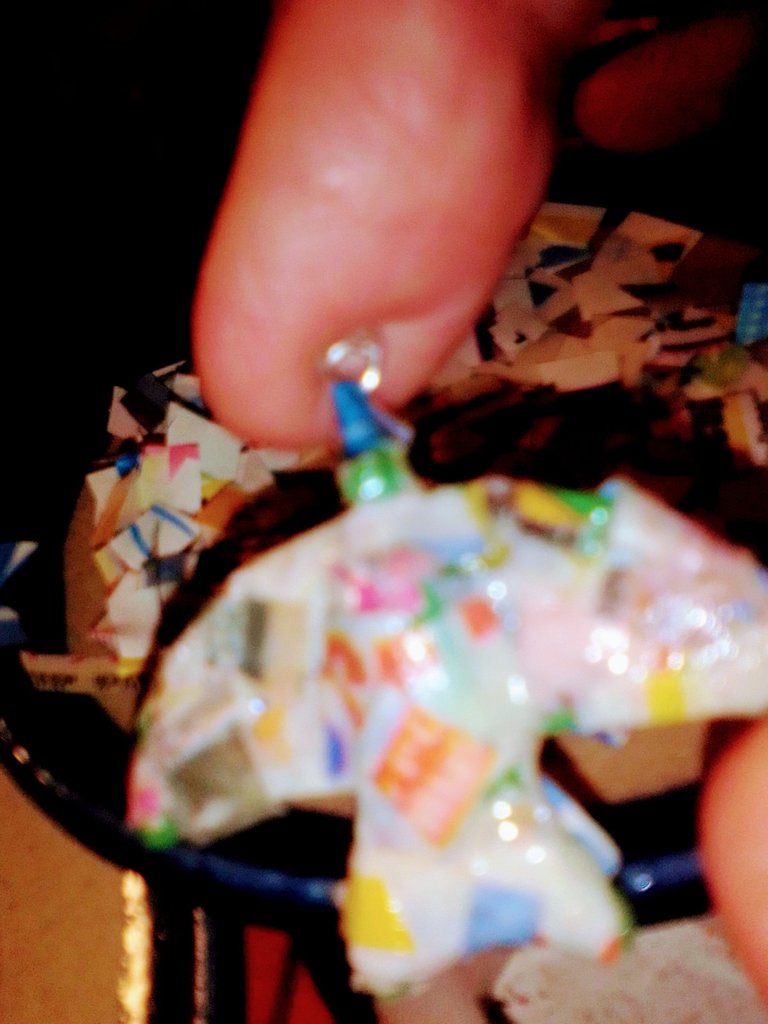
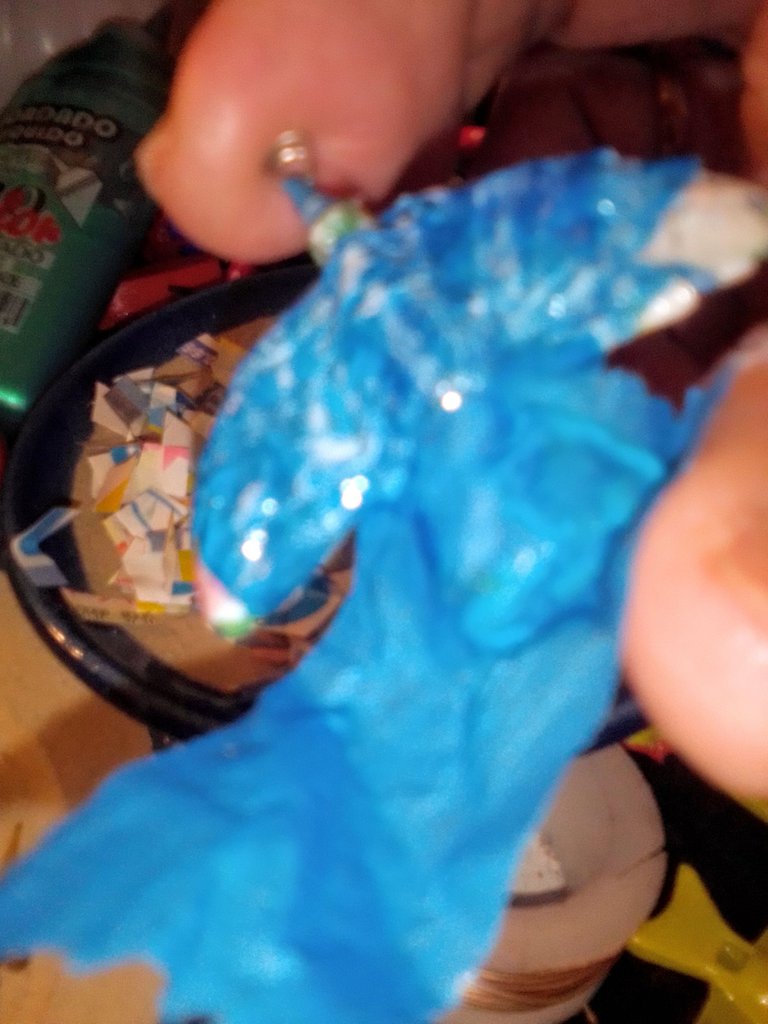
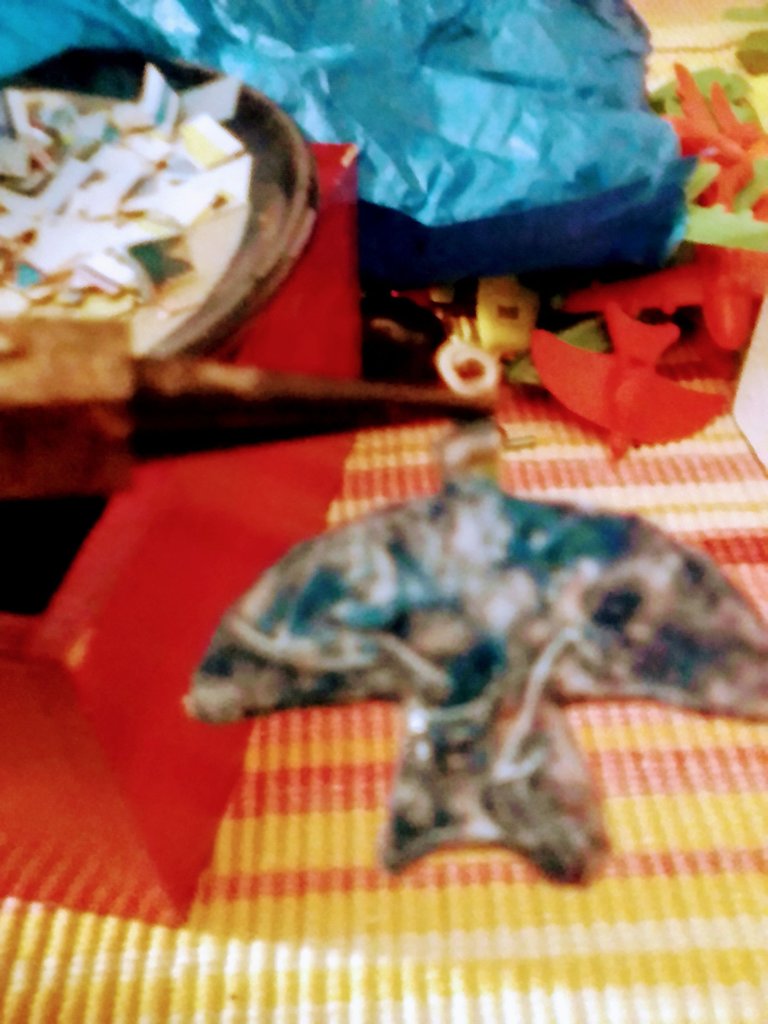
The first thing to do is to select the whistle of your choice, there are countless small models on the market suitable for this job. A needle is heated to pierce the upper part of the future pendant and to place a wire that will allow to place a ring to hang the pendant.
PREPARACIÓN
Lo primero que hay que hacer es seleccionar el pito de su preferencia, en el mercado hay un sinnúmero de modelos pequeños aptos para este trabajo. Se calienta una aguja para perforar la parte superior del futuro dije y poder colocar un alambre que luego va a permitir colocar una argolla para poder guindar el dije.
Translated with https://www.deepl.com/translator
     Todas las imágenes son de mi autoría.

   All images are my own.