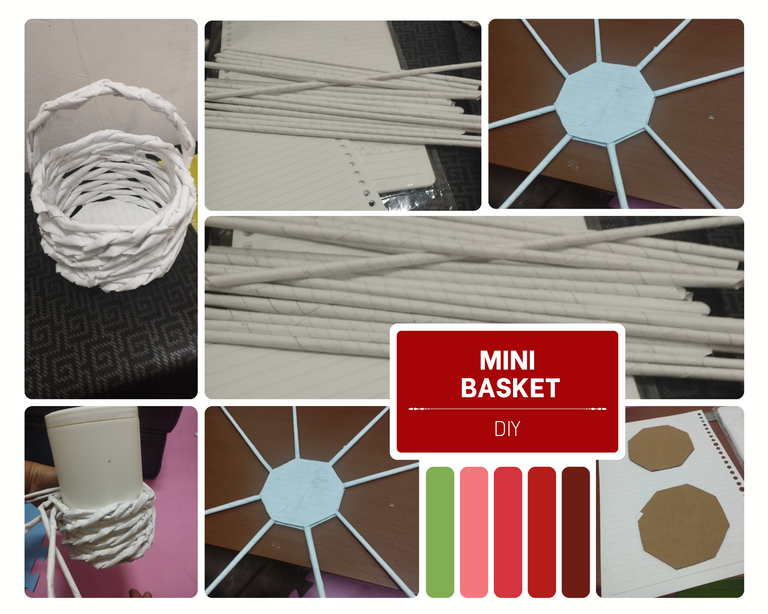
After class I decided to ready the materials, so here's the MATERIALS:
-unused papers
-ruler
-glue
-glue sticks
-glue gun
-sticks (barbeque sticks or skewer)
-unused cartoon
-container
After we prepare these materials we are going to start by.
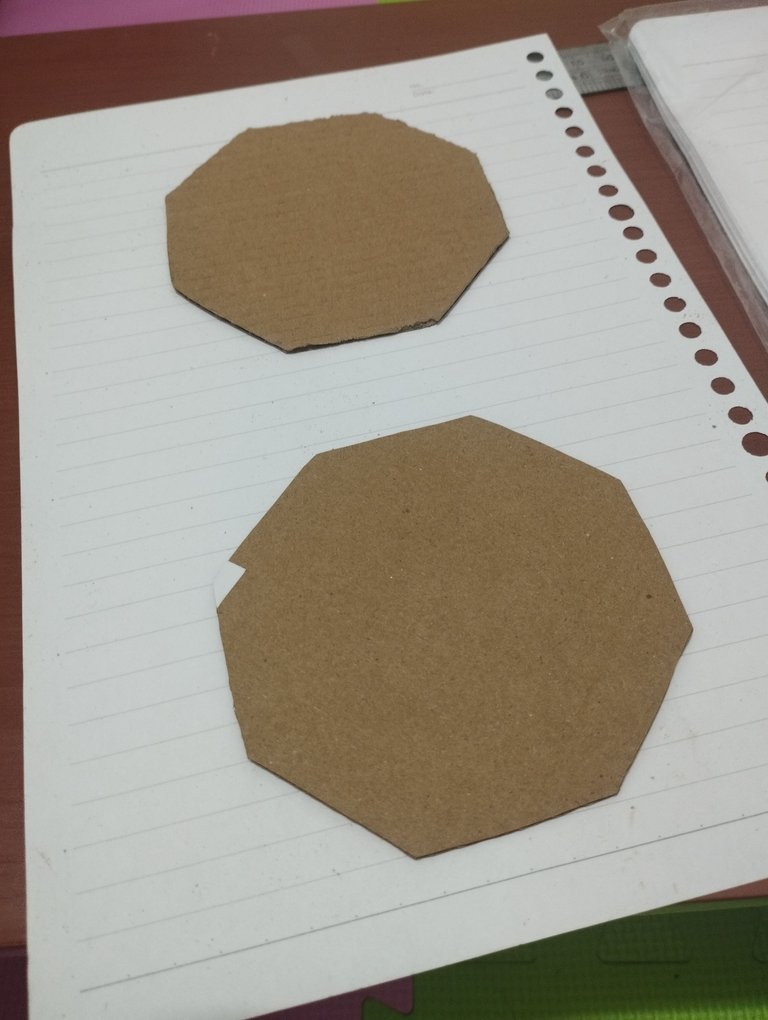
Step 1: Make a two octagon shapes for the base that's have the same size of the container that you will use for the size of the basket using a ruler and cartoons after that cover it with the unused papers.
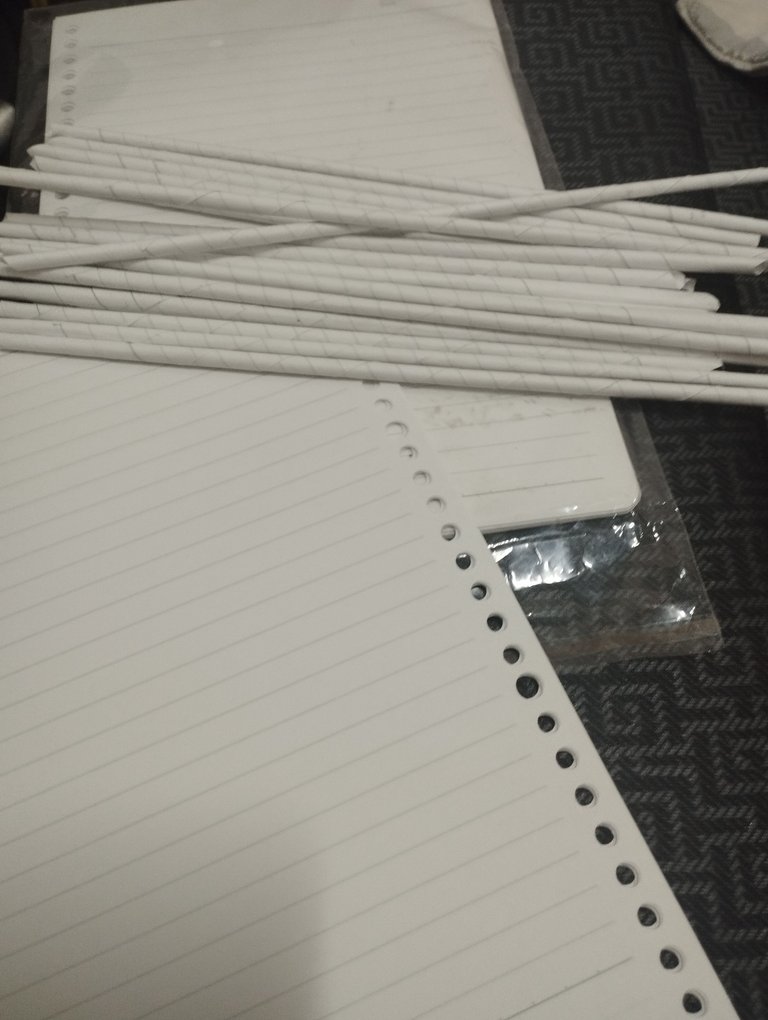
Step 2: Cut the unused papers with a width of 1 inch and a height of 12 inches, but it's up to you if what size do you want.
Step 3: Use the stick and put it at the bottom of the cut papers so that you can start rolling it until you can achieve this form like a paper sticks.
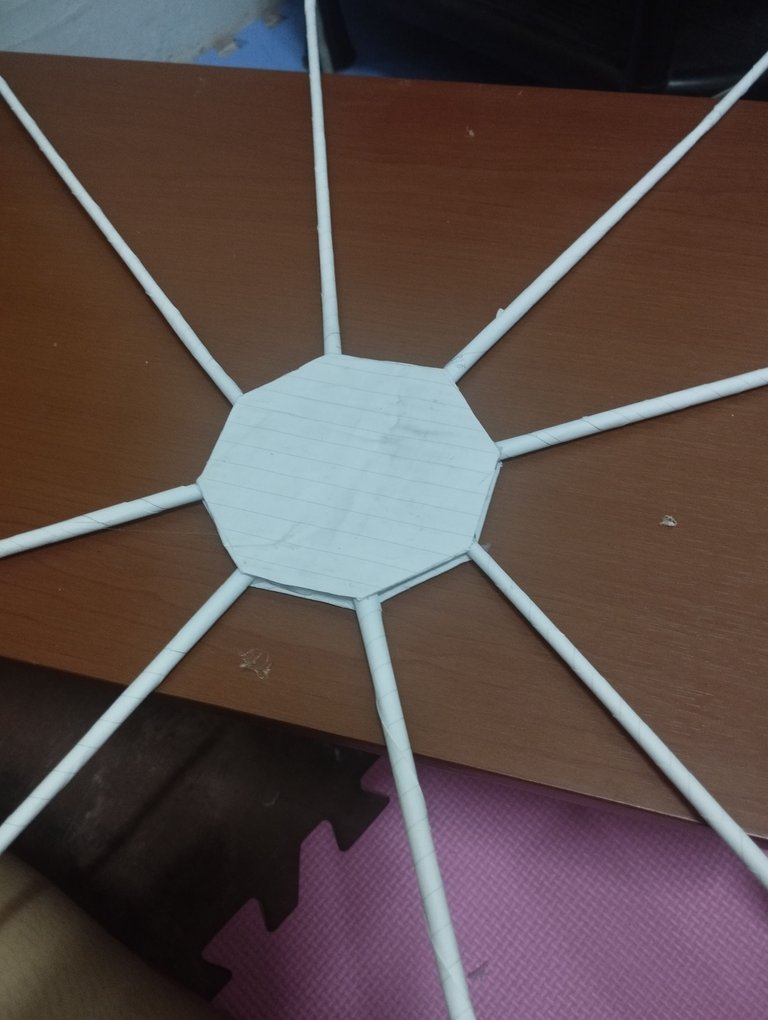
Step 4: Put the glue gun on and make it heat, if it's already hot paste the paper sticks into the center of the two octagons, secure thats it's on the each sides of the octagon until it looks like this.
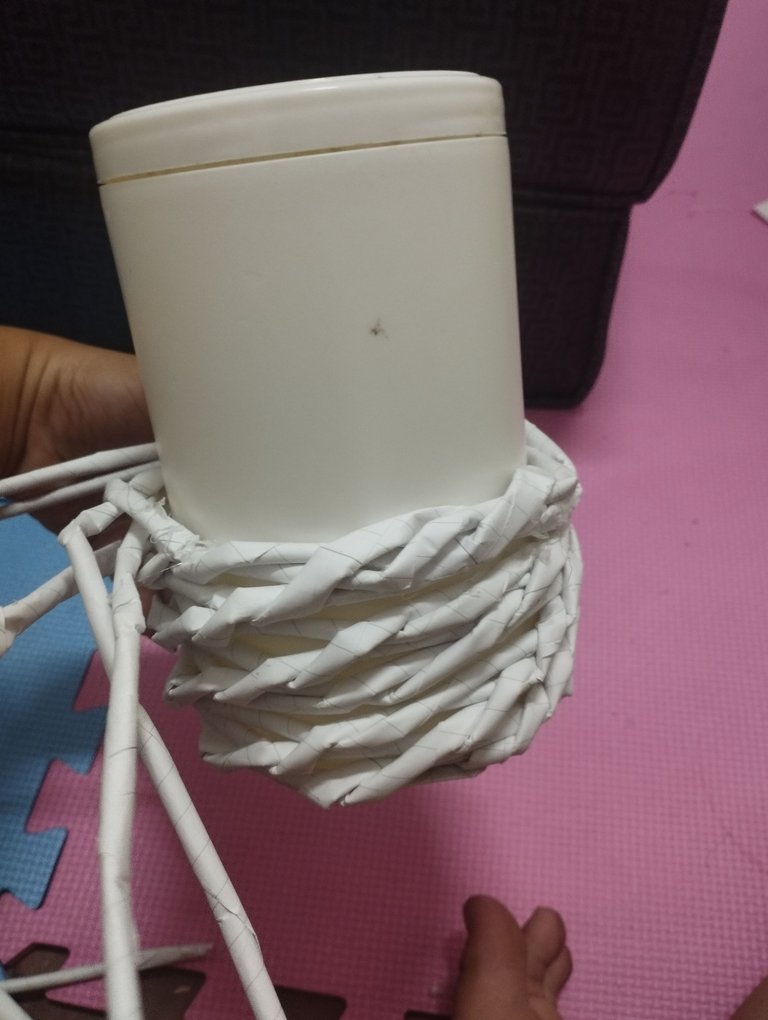
Step 5: Put the container into the center and start weaving, it needs a force to weave this paper sticks and if you start weaving you only have to alternate to achieve this forms.
Step 6: If the paper sticks are too short add another paper sticks by putting it to the tip of the other paper sticks to achieve a long paper sticks.
Step 7: Only need to weave it until you can achieve the size and height you want, and at the last part you need to use a glue gun and glue stick to paste the last tip of the paper sticks and not be disarranged.
Step 8: After making the basket, we also need to make a handle for the basket, so prepare three long paper sticks and braid it like we braid our hair and paste it to the each sides of the basket.
Step 9: Put a color on it if you want to make the basket more beautiful and attractive, but it's optional.
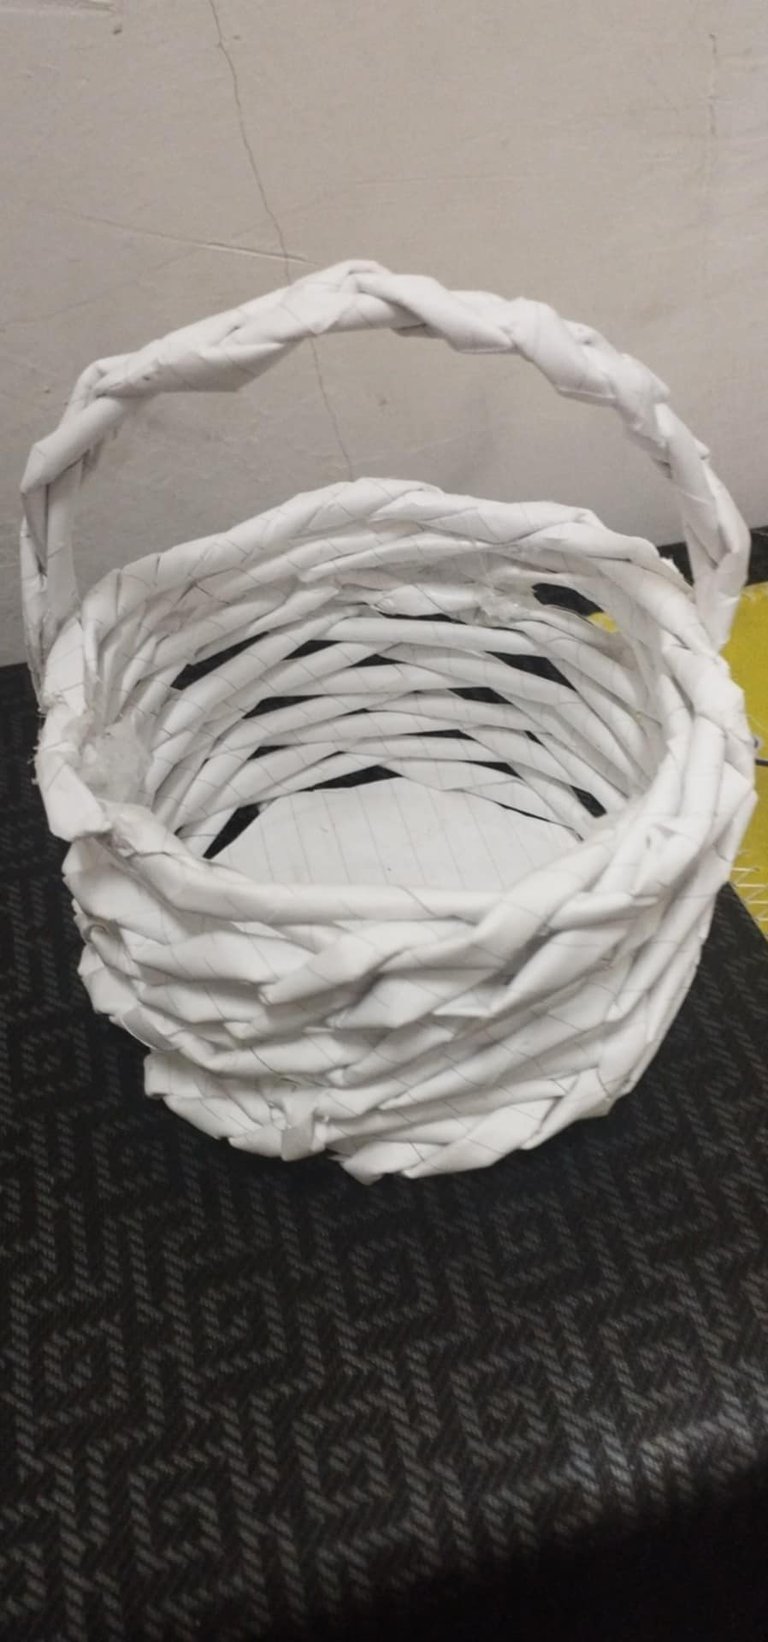
So that's it, the DIY MINI BASKET is so convenient for us because instead of buying a expensive holders or basket we can only used a recyclable materials or diy materials. Anyways we can benefits this after making it or our hardwork because we can use it for a paper holder or if we have a mini things or cut things we can put it in there. Some people think that making this DIY MINI BASKET is nonsense or what but for me as a student it's very helpful especially if I have a projects that needs to cut into pieces and I put it in there so that it can't be placed anywhere.
Lastly, I put a color in there using a pink poster paint to make it more attractive and to have a good grades, and my hardwork is really worth it because I get a good grade from my Contemporary Arts teacher and receive a good compliments from her.
So what are you waiting for make a DIY MINI BASKET and make it more convenient and more attractive. Thank you for giving time to read my blog and I hope you will upvote and reblog this. See you on the next blog!


