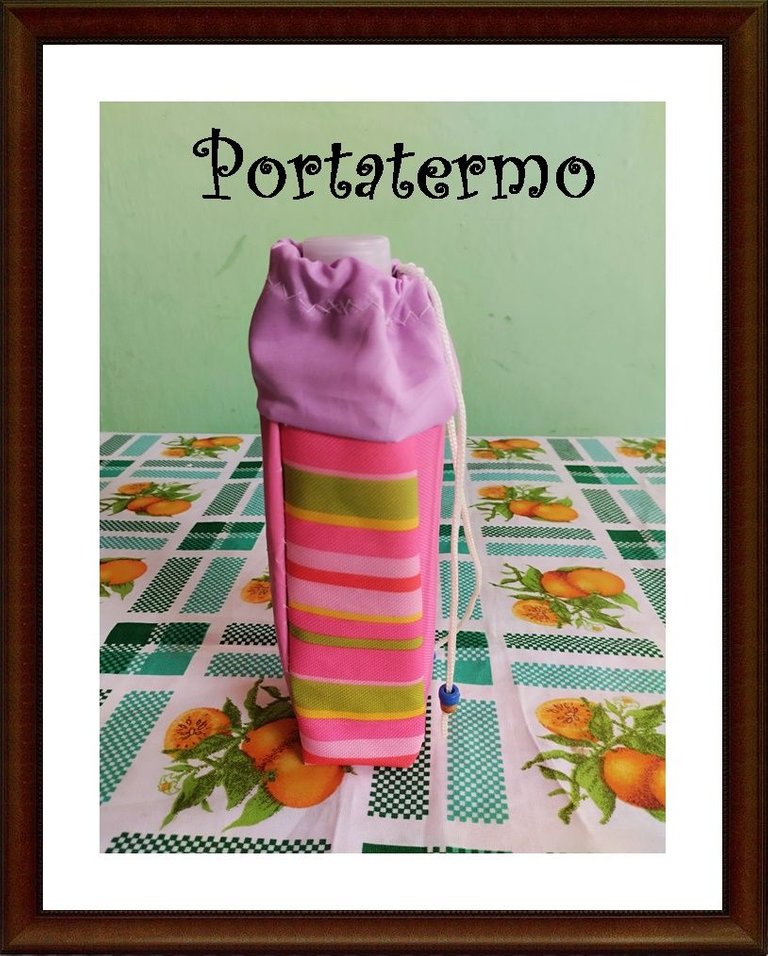
Buenas tardes, amigos, los invito a disfrutar de otro tutorial. Como ya he comentado en varios posts comencé la universidad, siento gran emoción al estar otra vez rodeada de compañeros con ansias de aprender y mucha disposición para ayudar a otros. Aunque estoy comenzando me encantan las clases de Artes Plásticas, con un caballete y un papel blanco podemos dejar volar nuestra imaginación. Mi filosofía de vida es que no hay nada mejor que hacer lo que nos apasione y, definitivamente, me encanta dibujar y diseñar. Sin embargo, como no todo es perfecto, el salón de clases es bastante caluroso, por tal razón, opté por llevar un envase de agua congelada, el cual colocaba en el bolso en el sitio dispuesto para tal fin, aun así, se humedecían mis útiles académicos.
En vista de ello, se me ocurrió hacer un portatermo, consideré que esta sería la solución ideal para mi problema. Entonces empecé a buscar en casa las telas necesarias para realizar esta manualidad, encontré dos cuya estructura es plástica, de modo que las gotas de agua no traspasen de esta prenda. También usaría una de tela normal de color violeta. La principal de colores variados y la otra rosada, una combinación que no desentona desde mi parecer. Ahora les voy a mostrar el proceso y el proceso.
Good afternoon, friends, I invite you to enjoy another tutorial. As I have already mentioned in several posts I started college, I feel great excitement to be again surrounded by classmates eager to learn and very willing to help others. Although I am just starting I love the Fine Arts classes, with an easel and a white paper we can let our imagination fly. My philosophy of life is that there is nothing better than doing what we are passionate about, and I definitely love to draw and design. However, as not everything is perfect, the classroom is quite hot, for that reason, I chose to carry a container of frozen water, which I placed in my bag in the place provided for that purpose, even so, my academic supplies were wet.
In view of this, it occurred to me to make a water bottle holder, I thought this would be the ideal solution to my problem. So I started to look for the fabrics needed to make this craft at home, I found two whose structure is plastic, so that the water drops do not pass through this garment. I would also use a normal purple fabric. The main one in a variety of colors and the other one in pink, a combination that does not clash in my opinion. Now I will show you the process and the process.
Materiales e instrumentos:
- Telas
- Tijera
- Lápiz
- Regla
- Patrones
- Aguja
- Hilos
- Cordón
- Alfileres
- Hojas recicladas
Materials and instruments:
- Fabrics
- Scissors
- Pencil
- Ruler
- Patterns
- Needle
- Threads
- Cord
- Pins
- Recycled sheets
Procedimiento:
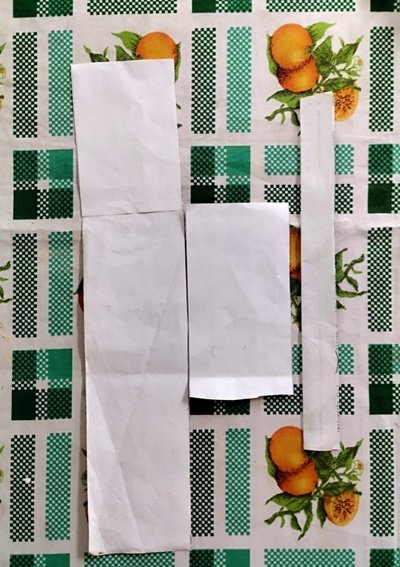
Lo primero que hice fue sacar los patrones en hojas de reciclaje, una tira (que serían los laterales) de 7 cm de ancho por 40 cm de largo. La parte central la recorté de 8 cm de ancho por 27 cm de largo, la misma medida para la zona de atrás. Asimismo, para la tapa saqué dos piezas de 16 cm de largo por 7 cm de ancho. En cuanto al doblez, las medidas son: 27 cm de largo por 6 cm de ancho.
Procedure:
The first thing I did was to draw the patterns on recycled sheets, a strip (which would be the sides) of 7 cm wide by 40 cm long. The central part I cut out 8 cm wide by 27 cm long, the same measure for the back area. Likewise, for the lid I cut two pieces of 16 cm long by 7 cm wide. As for the fold, the measurements are: 27 cm long by 6 cm wide.
 |  |
|---|
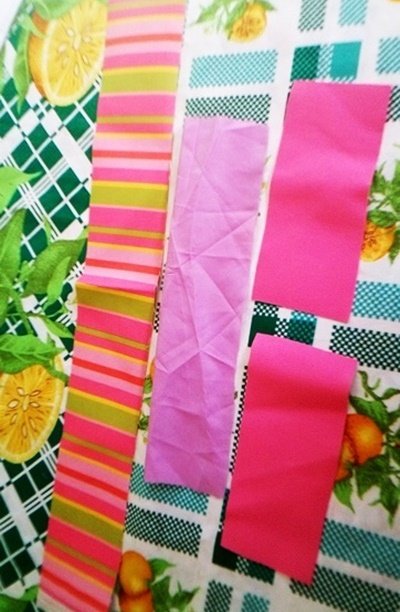
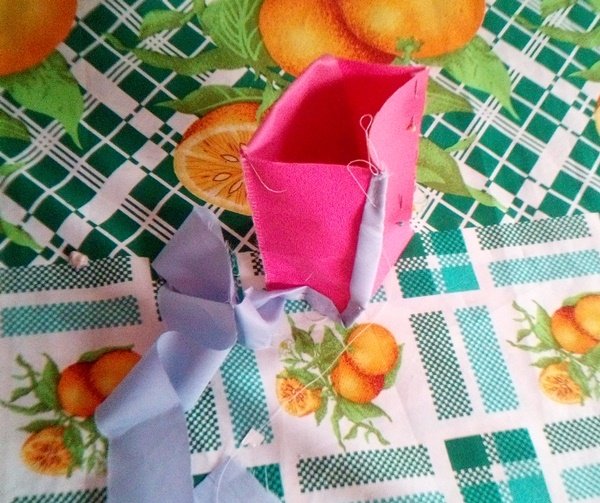
Una vez que saqué estos moldes, procedí a recortar cada tela correspondiente. Posteriormente, se cose el fragmento lateral a la parte central, lo cual se hace con costura recta (es decir, la normal). Este proceso lo realicé de forma cuidadosa para que se viera estético. Los alfileres fueron de gran ayuda para sujetar.
Once I took out these molds, I proceeded to cut out each corresponding fabric. Afterwards, the lateral fragment is sewn to the central part, which is done with a straight seam (i.e. the normal one). I did this process carefully so that it would look aesthetically pleasing. The pins were a great help in fastening.
 |  |
|---|
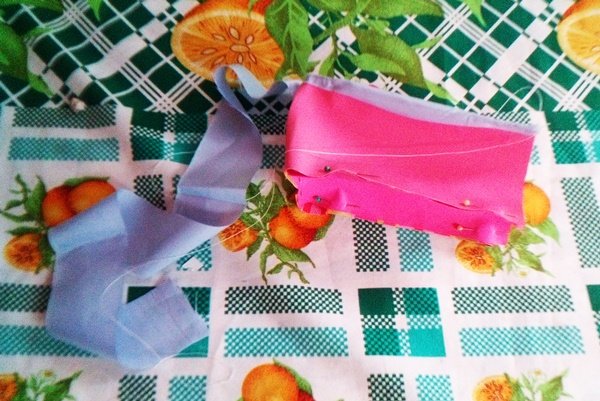
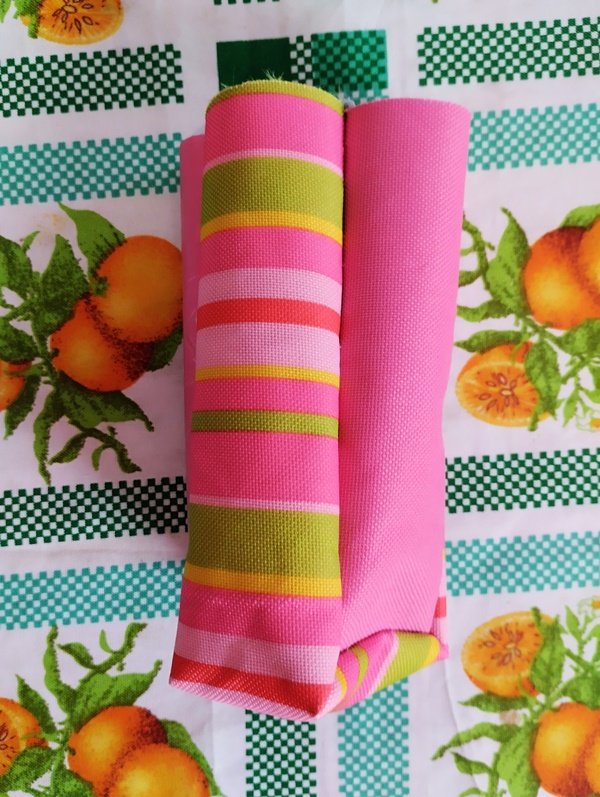
Nos fijamos que la tira de 40 cm tiene esta medida para que dé la vuelta completa. Al terminar de unir el cuadrado, le cosí un vivo de tela por todo el contorno (este es el doblez que mencioné al comienzo, se llama así porque la tela se coloca doble). Este procedimiento se hace para reforzar la costura inicial y que tenga suficiente aguante. Posteriormente, se voltea.
We make sure that the 40 cm strip has this measurement so that it goes all the way around. When I finished joining the square, I stitched a fabric seam all the way around (this is the fold I mentioned at the beginning, it is called this way because the fabric is placed double). This procedure is done to reinforce the initial seam so that it has enough support. Afterwards, it is turned over.
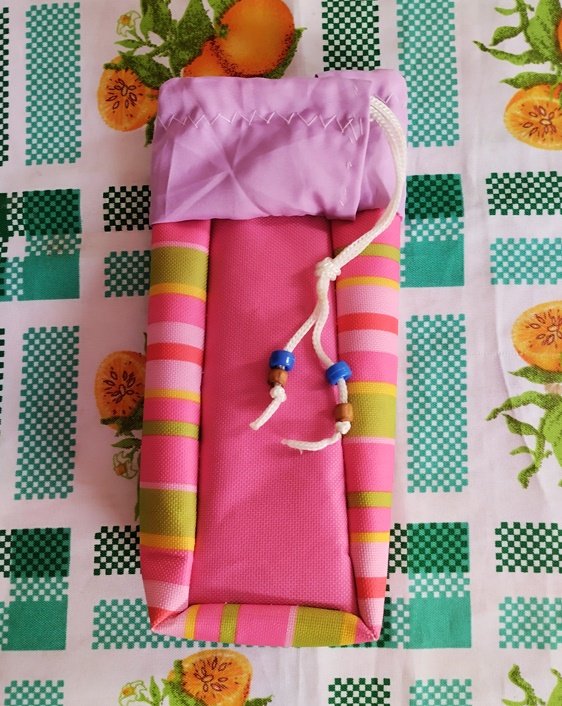
Para la zona de arriba, utilicé una tela normal, la cual tenía 8 cm de ancho por 20 cm de largo. Esta la uní al borde del cuadrado, dejando una abertura para que termo pueda entrar con facilidad. En la parte superior se le realiza un vivo, en forma de zigzag, para colocar un cordón, de modo que quede arruchado para ajustar la botella de agua. Le coloqué dos piedras decorativas a la trencilla para que luciera más llamativa. Así terminamos este proyecto, espero que este post les sea de utilidad, hasta una próxima entrega.
For the top area, I used a normal fabric, which was 8 cm wide by 20 cm long. I attached it to the edge of the square, leaving an opening so that thermo can enter easily. At the top, I made a zigzag pattern to place a cord, so that it is crumpled to fit the water bottle. I placed two decorative stones on the braid to make it look more eye-catching. I hope this post will be useful for you, until the next installment.
Texto traducido con DeepL Translate.
Todas las fotos son de mi archivo personal.
Text translated with DeepL Translate.
All photos are from my personal archive.