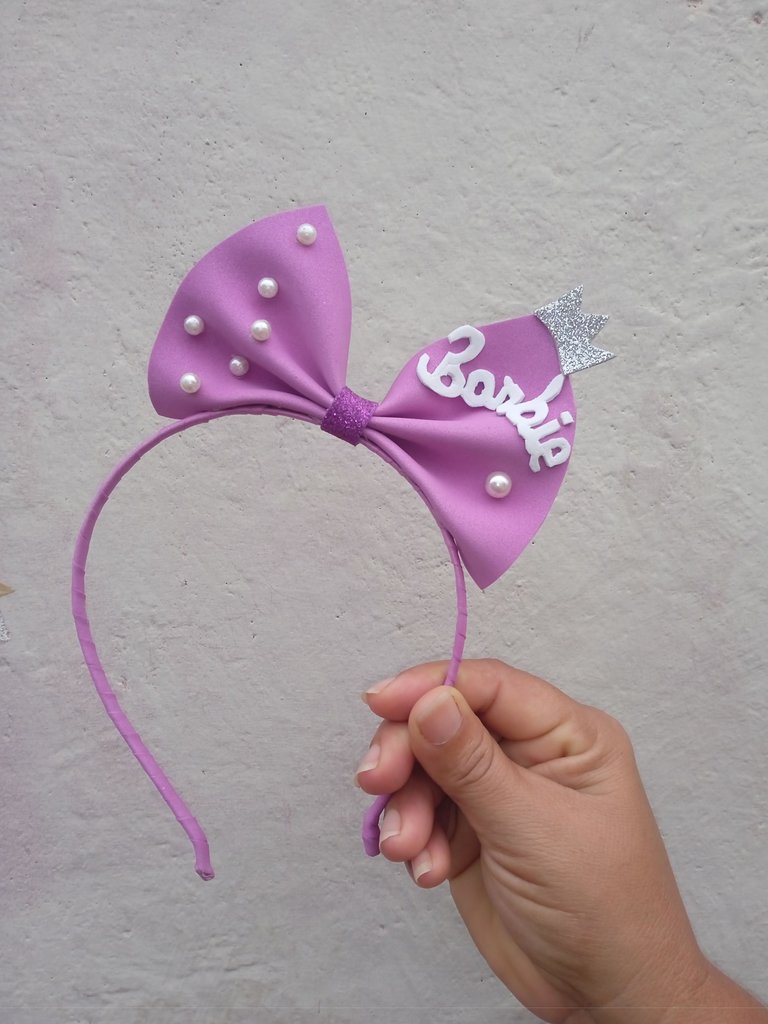
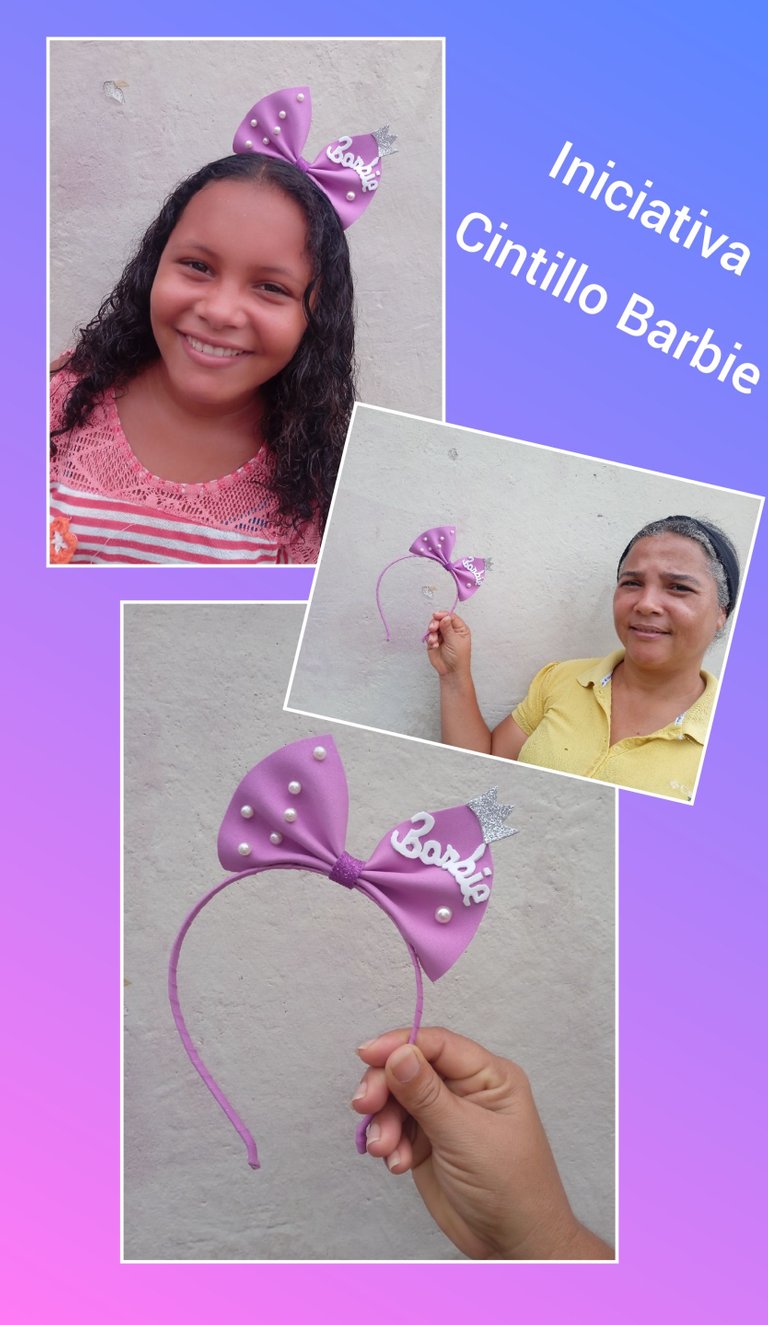
Hola buenas tardes amados amigos ,feliz inicio de semana par a todos , que tengan una semana en bendición , es un momento agradable para mí compartir con ustedes en este día , hoy quiero pertenecer a la iniciativa por el mes de el niño que nos brinda esta comunidad , por esto le presento un tutorial para realizar un cintillo con lazo de Barbie , tomando en cuenta que está de moda la película de Barbie y tanto como accesorios y ropas que están a la moda , nuestras niñas y nosotras mismas amamos este tema , invito a mis amigas @josdelmin @yagelybr @margararivera que participen de esta gran iniciativa de parte de nuestra comunidad , no falten amigos
Hello good afternoon dear friends, happy start of the week for all, have a blessed week, it is a nice moment for me to share with you on this day, today I want to belong to the initiative for the month of the child that gives us this community, for this I present a tutorial to make a headband with Barbie ribbon, taking into account that it is fashionable Barbie movie and both accessories and clothes that are fashionable, our girls and ourselves love this theme, I invite my friends @josdelmin @yagelybr @margararivera to participate in this great initiative on behalf of our community, do not miss friends
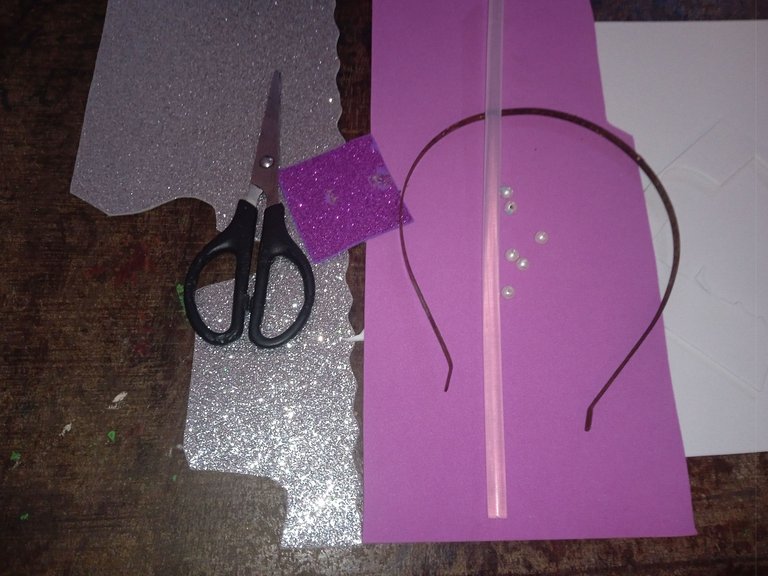
Materiales que utilice para mí cintillo de Barbie :
-Foamis
-Cintillo
-Perlas plásticas
-Tijera
-Silicon
Materials I used for my Barbie headband :
-Foamis
-Headband
-Plastic beads
-Scissors
-Silicon
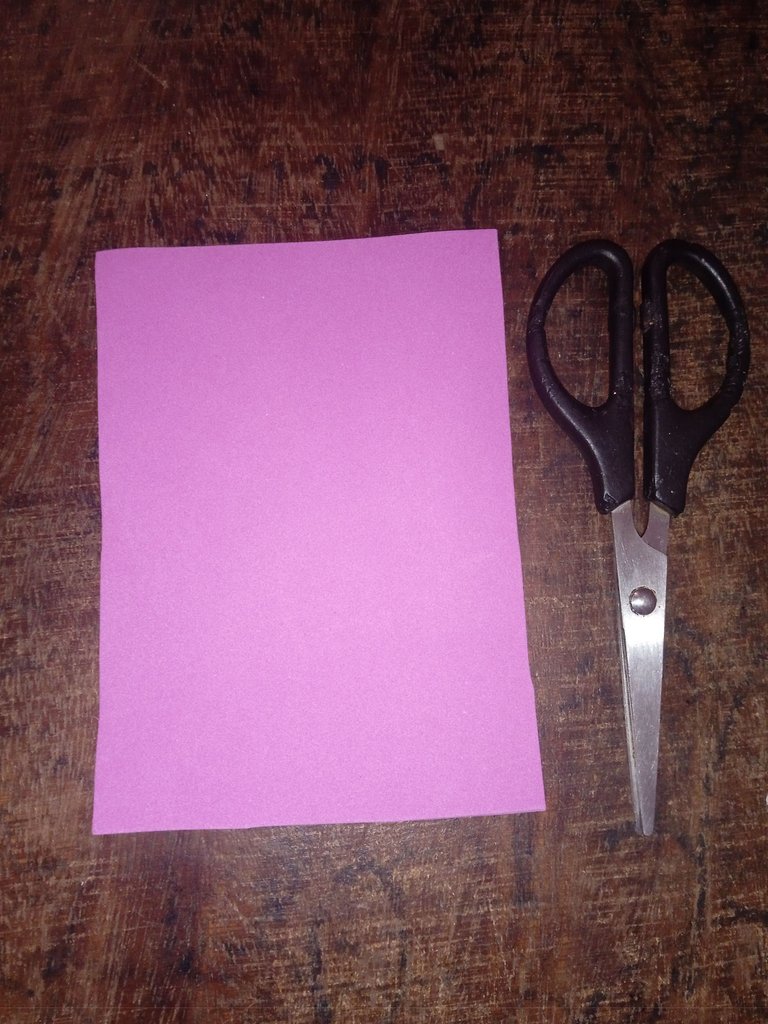
Pasos que seguir :
Paso número 1: comenzaremos recortando un cuadro para realizar un lazo más adelante nuestro lazo tiene 5 centímetros de altura y 9 de ancho ya que el lazo debe ser bastante larguito
Steps to follow:
Step number 1: we will start by cutting out a square to make a bow later on our bow is 5 centimeters high and 9 centimeters wide since the bow should be quite long.
Paso número 2: en este siguiente paso vamos a realizar nuestro lazo , vamos a realizar tres dobles ,uno hacia adelante y uno hacia el lado contrario hasta obtener tres dobles como lo pueden apreciar , estos debemos pegarlo en el centro para que quede presionado en el centro
Step number 2: in this next step we will make our loop, we will make three doubles, one forward and one to the opposite side to get three doubles as you can see, these should be glued in the center so that it is pressed in the center.
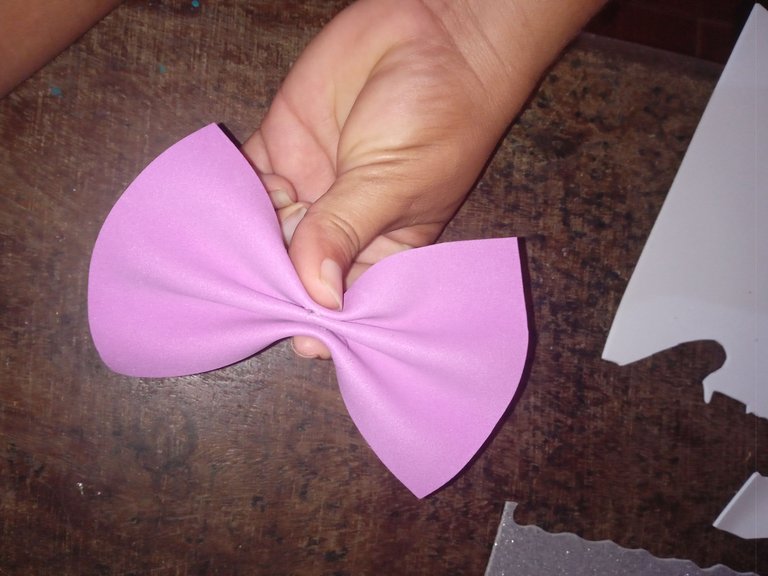
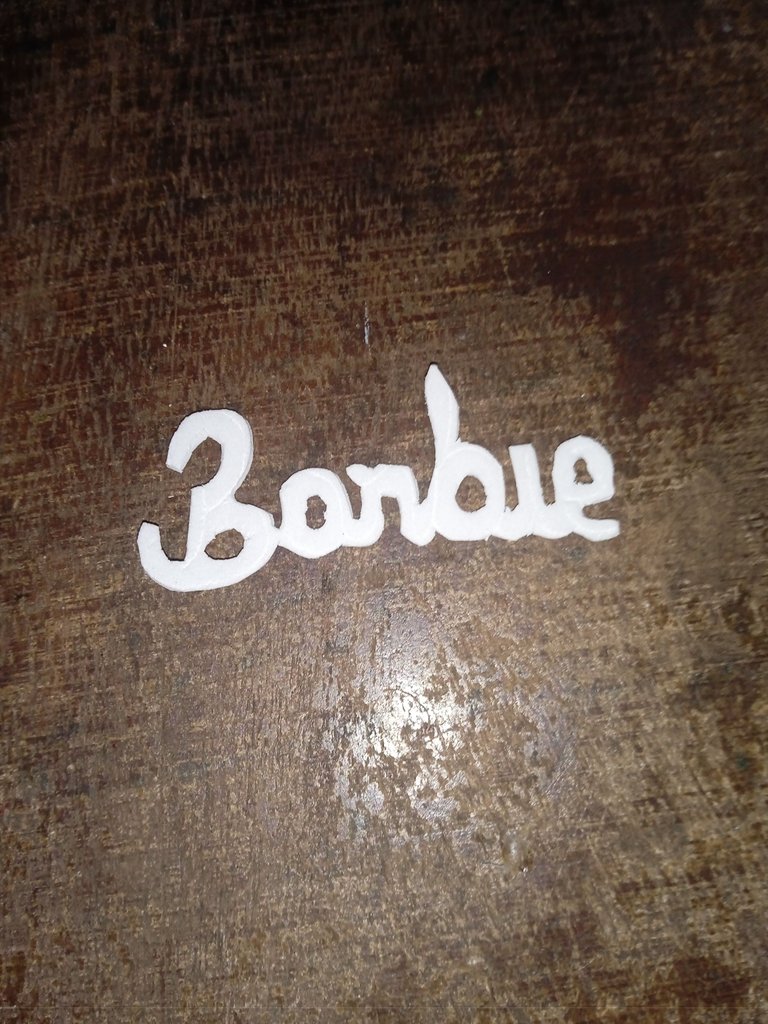
Paso número 3: a continuación vamos a recortar la palabra Barbie en el foamis color blanco con letras recorrida , debemos recortar dos de estas por si alguna razón dañamos la primera nos aseguramos con la otra
Step number 3: next we are going to cut out the word Barbie in the white foamis with letters, we must cut out two of these in case we damage the first one we make sure with the other one.
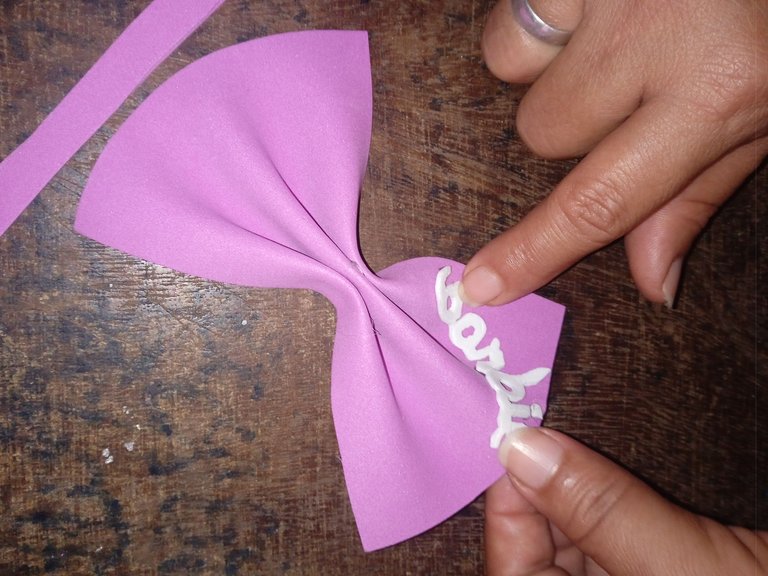
Paso número 4: luego continuaremos tomando nuestra palabra Barbie que recortamos en el paso anterior , lo pegaremos en una esquina de el lazo semi curvado
Step number 4: then we will continue taking our Barbie word that we cut out in the previous step, we will glue it in one corner of the semi curved loop.
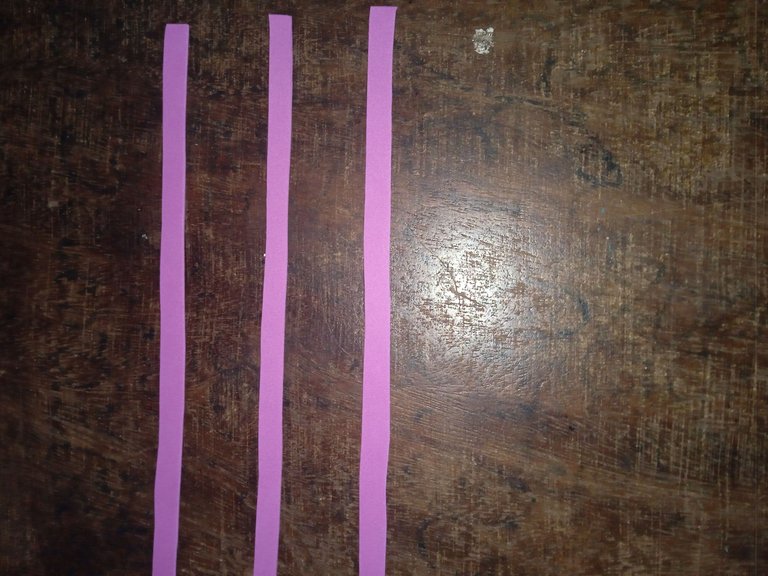
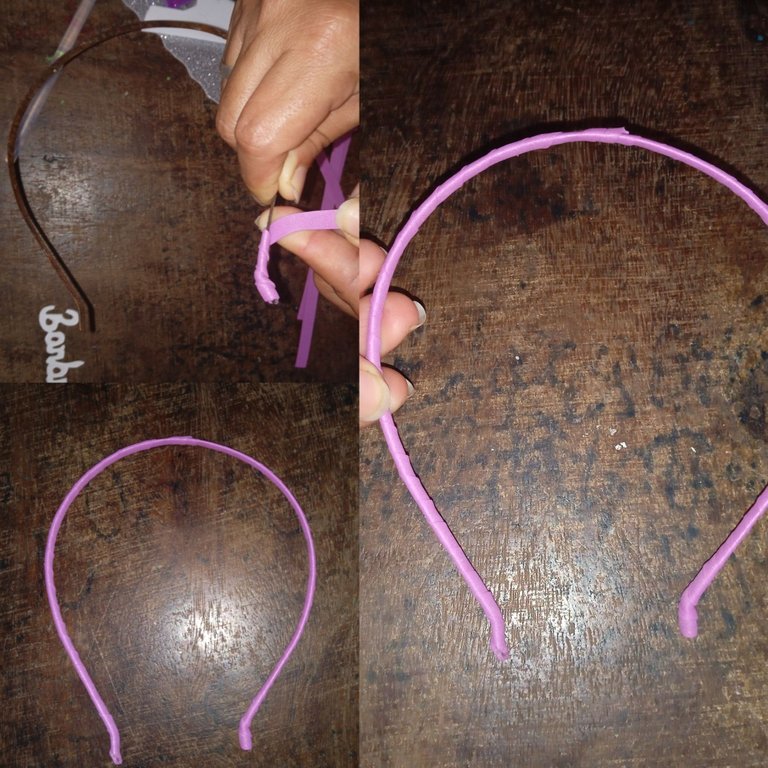
Paso número 5 : en nuestro quinto paso vamos a continuar recortando unas tiras de foamis para realizar la decoración de el cintillo y cubrir lo completo , lo importante es que sobre tira y no falte a la hora de decorar
Step number 5: in our fifth step we will continue cutting some strips of foamis to decorate the headband and cover it completely, the important thing is that the strip is not missing when decorating.
Paso número 6: tomaremos las tiras que recortamos anteriormente y comenzaremos a pegar , debemos comenzar de abajo hacia arriba ,desde una esquina hacia la otra hasta cubrirla toda ,vamos a ir subiendo a medida que vamos enrollar hasta llegar al final de la decoración ,también pueden pegar la tira recta sin enrollar pero tendrían que aplicar doble tira es decir arriba y abajo
Step number 6: we will take the strips that we cut previously and begin to paste, we must start from the bottom up, from one corner to the other to cover it all, we will go up as we go rolling until the end of the decoration, you can also paste the straight strip without rolling but would have to apply double strip that is up and down.
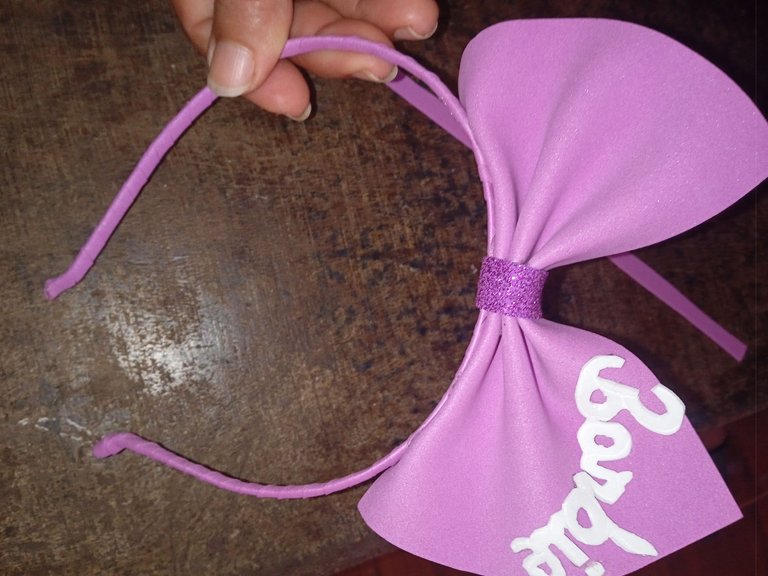
Paso número 7: una vez listo nuestro cintillo vamos a pegar el lazo de forma de lado , asegurando lo con una tira por todo el centro de el lazo hasta llegar al cintillo abajo, la tira debe ser un color más fuerte o de diferente tono
Step number 7: once our headband is ready we are going to glue the bow sideways, securing it with a strip around the center of the bow until we reach the bottom of the headband, the strip should be a stronger color or a different tone.
Paso número 8: por último para dar el toque más delicado vamos a tomar nuestras piedras plásticas torno perlado y lo pegaremos en la esquina de el otro lazo , al lado donde va Barbie escrito pegaremos una perla más grande y una corona
Step number 8: finally to give the most delicate touch we will take our plastic stones pearl lathe and we will glue it on the corner of the other ribbon, next to where Barbie is going we will glue a bigger pearl and a crown.
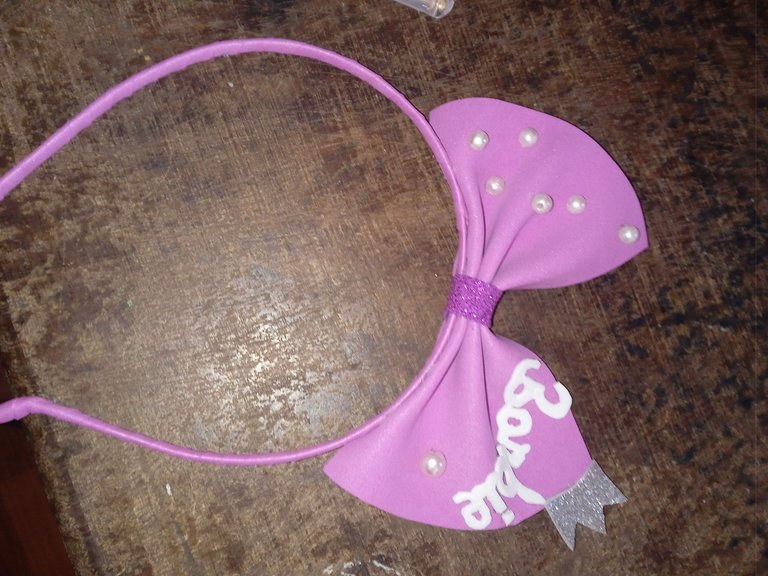
Este es la muestra de mi creación de hoy listo ,un excelente resultado , que nuestras pequeñas amaran , lucirán bella y estarán a la moda con la temática de Barbie queridos amigos , tengan un bello día ,nos vemos el próximo post , que Dios les bendiga
This is the sample of my creation today ready , an excellent result , that our little ones will love , they will look beautiful and will be fashionable with the theme of Barbie dear friends , have a beautiful day , see you next post , God bless you
