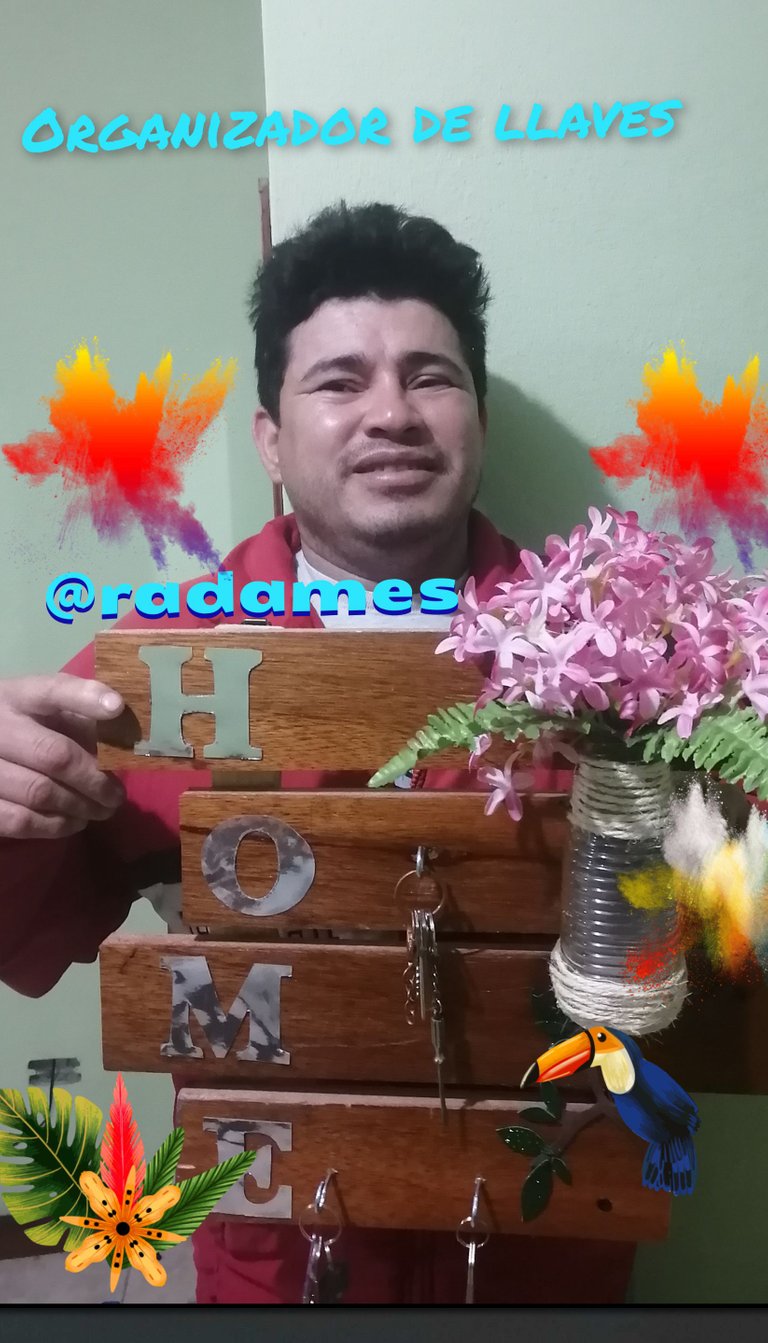
Saludo a todos los integrantes de esta comunidad de HIVE DIY hoy me encuentro con ustedes para mostrarle la elaboración de una hermoso organizador de llaves 🔑 espero y les guste les invito a ver el paso a paso
Greetings to all members of this HIVE DIY community today I meet with you to show you the elaboration of a beautiful key organizer 🔑 I hope and you like it I invite you to see the step by step
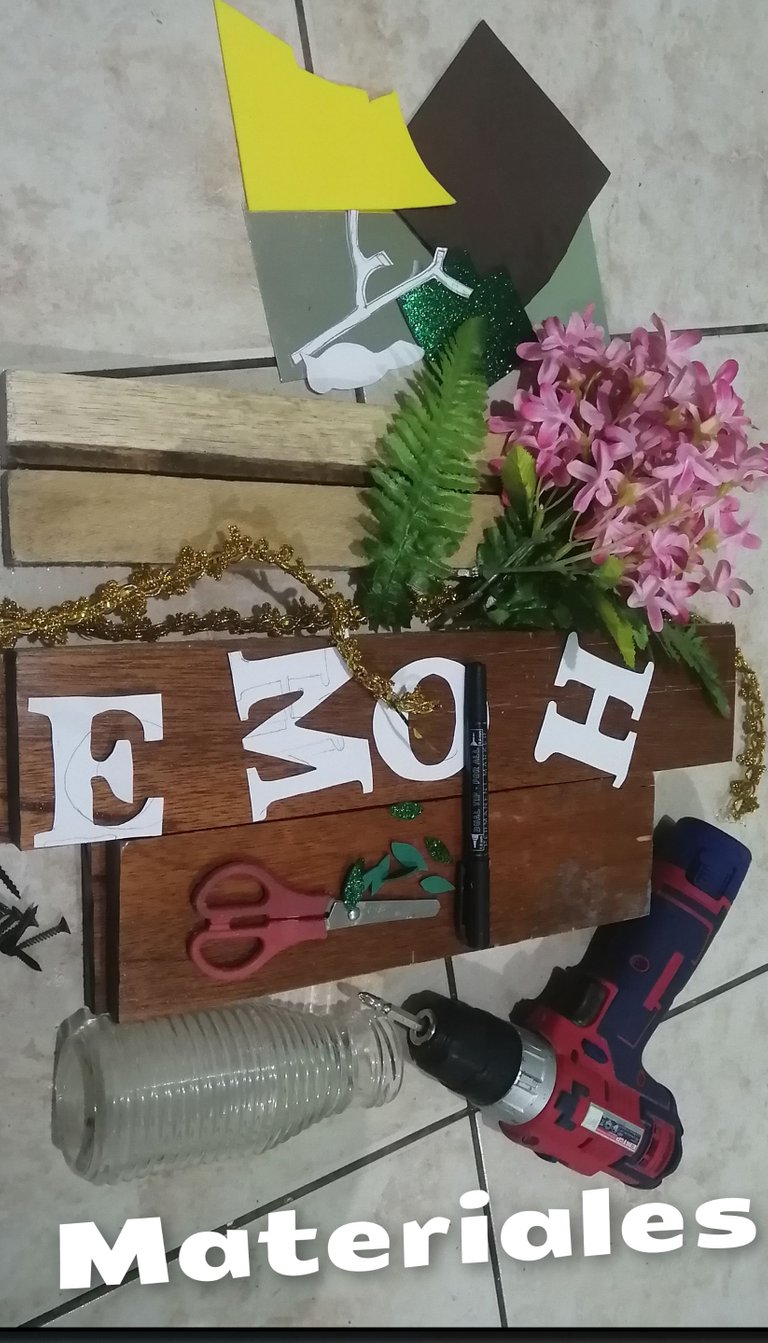
MATERIALES
• 2 listones de Madera de 30 por 8cm
. 2 listones de madera de 25x8cm
. 2 listones de madera de 38x4cm
• taladro de mano
• tirraje
• hilo de pita
• cartulina metalizada plateada
• flores artificiales
• Botella de vidrio
• canchos para guindar las llaves
• foami verde, amarillo y marrón
MATERIALS
- 2 wood strips of 30 by 8cm.
. 2 wooden slats of 25x8cm.
. 2 wood strips of 38x4cm - hand drill
- string
- pita thread
- silver metallic cardboard
- artificial flowers
- glass bottle
- hooks to hang the keys
- green, yellow and brown foami
AHORA SI MANOS A LA OBRA AMIGOS
NOW LET'S GET DOWN TO WORK, FRIENDS
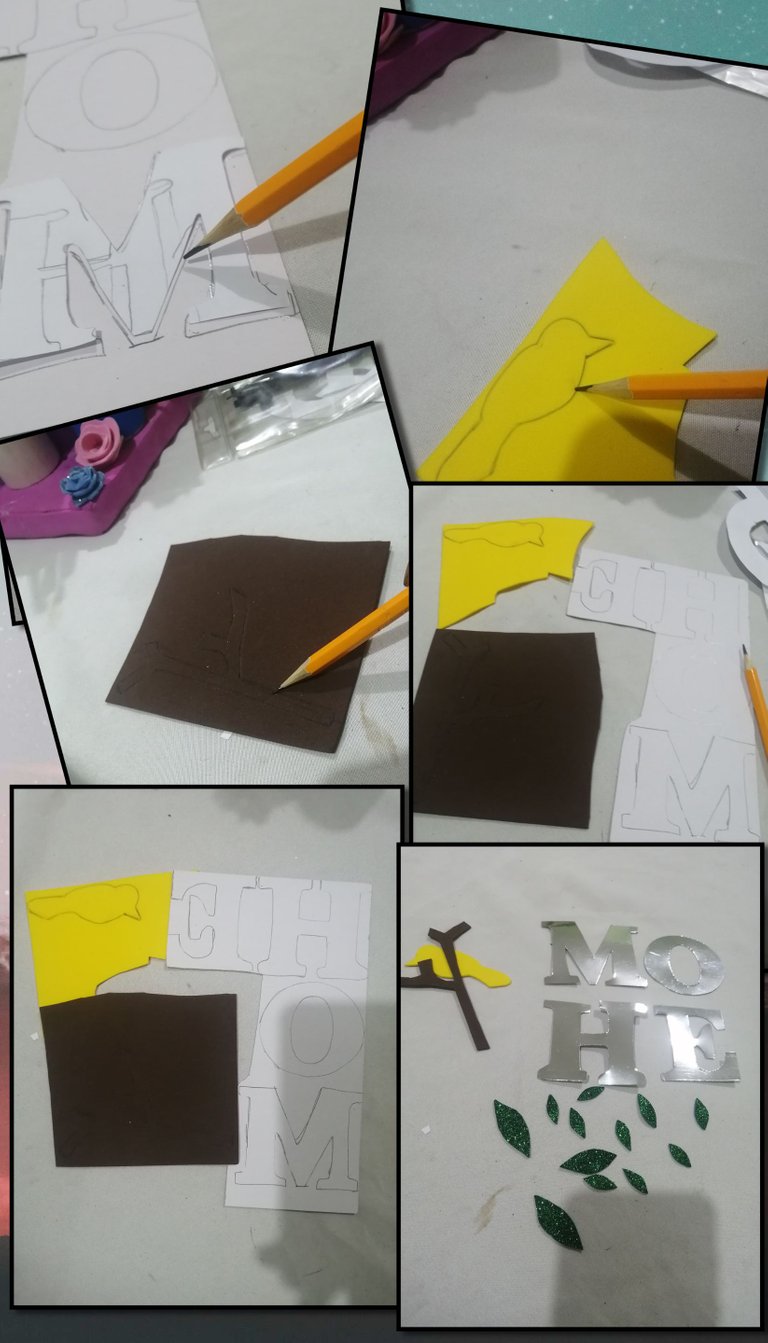
Primero marcamos y recortamos en los distintos colores de foami los patrones y en la cartulina
First we mark and cut out the patterns on the different colors of foami and on the cardboard
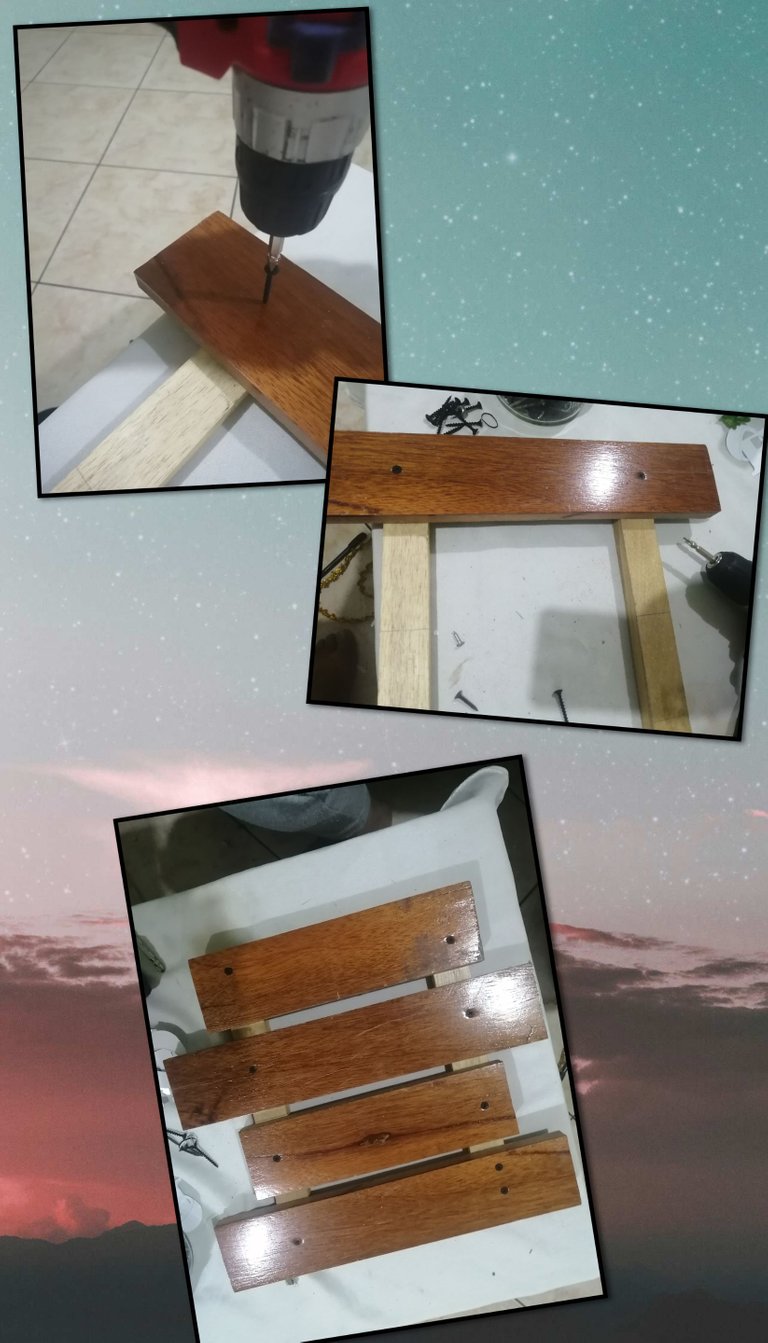
Ahora atornillamos con ayuda de un taladro de mano el primer liston de madera con medida de 30x8cm en las base que son las 2 listones de 38x4cm, seguidamente dejando dos céntimosde se paracion atornillamos la 2 madera de medicion de 25x8cm,repetimos nuevamente los pasos anteriores y formaremos la pieza principal.
Now we screw with the help of a hand drill the first wooden strip measuring 30x8cm in the base which are the 2 strips of 38x4cm, then leaving two cents of the measurement we screw the 2 wood measuring 25x8cm, repeat the previous steps and form the main piece.
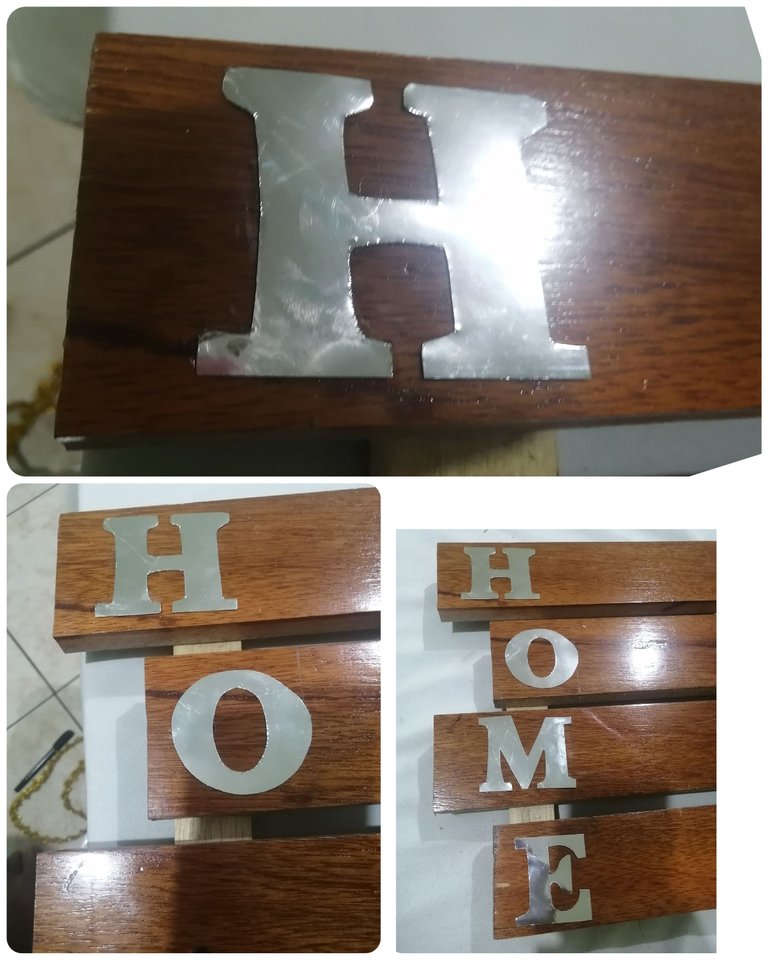
El paso siguiente sera pegar con silicon caliente la palabra home en la parte isquierda de la pieza construida anteriormente.
The next step is to glue the word "home" on the left side of the previously built piece with hot glue.
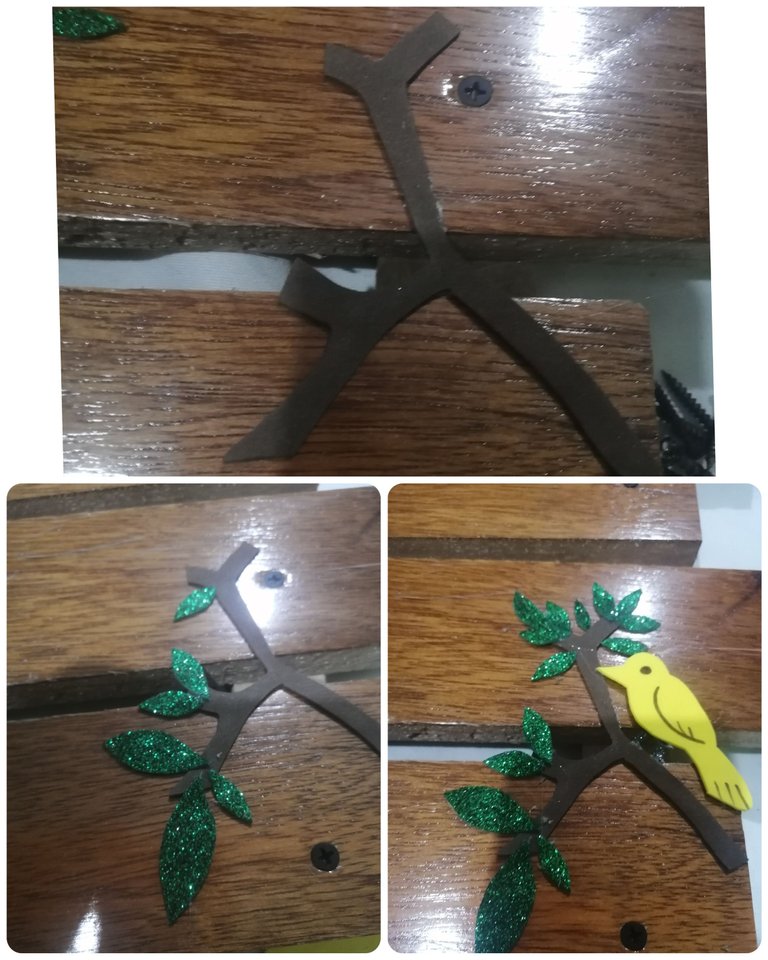
Ahora armamos una rama en la parte inferior izquierda con los patrones antes recortados, con la ayuda del silicon caliente primero pegamos la rama y luego la reyenamos con ojas y le pegamos un pajarito en la misma.
Now we assemble a branch in the lower left part with the patterns cut out before, with the help of the hot silicon we first glue the branch and then we reinforce it with the leaves and glue a little bird on it.
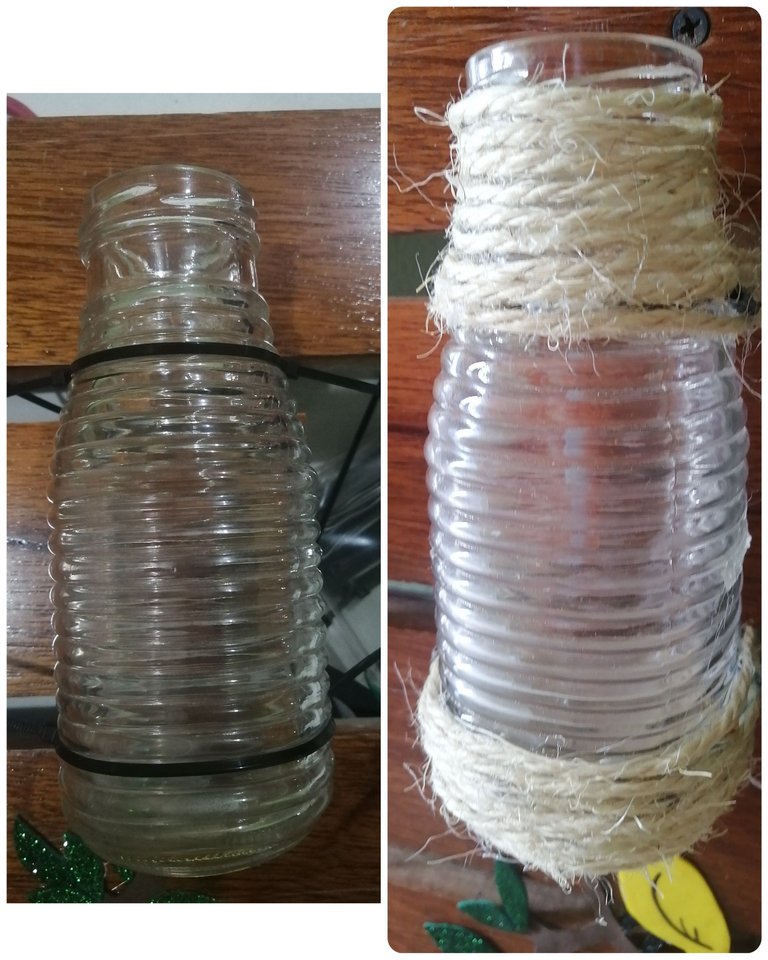
El siguiente paso sera ahora sujetar la botella a la pieza con ayuda de tirrajes, luego de colocacada tomamos el himo depita y enrrollamos en dode se colocaron los tirrajes para tapartos ydarle una mejor vista a la pieza elaborada.
The next step will now be to attach the bottle to the piece with the help of straps, after placing the bottle, we take the himo depita and roll it up where the straps were placed to give a better view to the elaborated piece.
Por último para culminar la elaboración de este hermoso organizador de llaves, sera colocar los ganchos para gindar y colocar las flores en el envase colocado anteriormente y gindaremos a la entrada de la casa.
Finally, to finish the elaboration of this beautiful key organizer, we will place the hooks to gindar and place the flowers in the container previously placed and gindaremos at the entrance of the house.
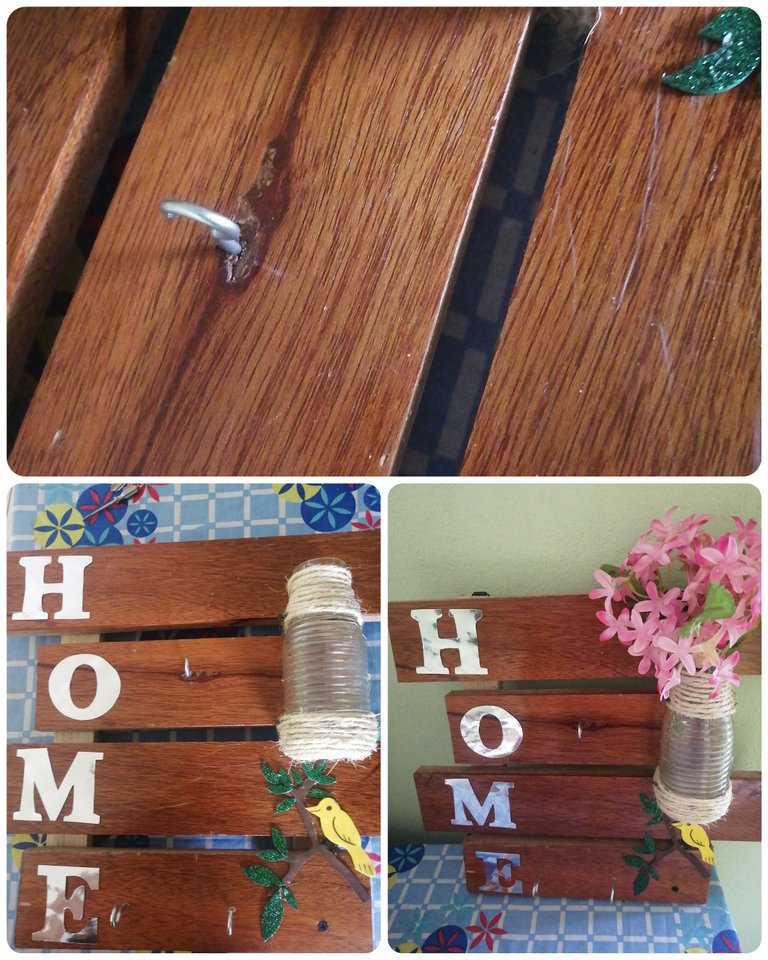
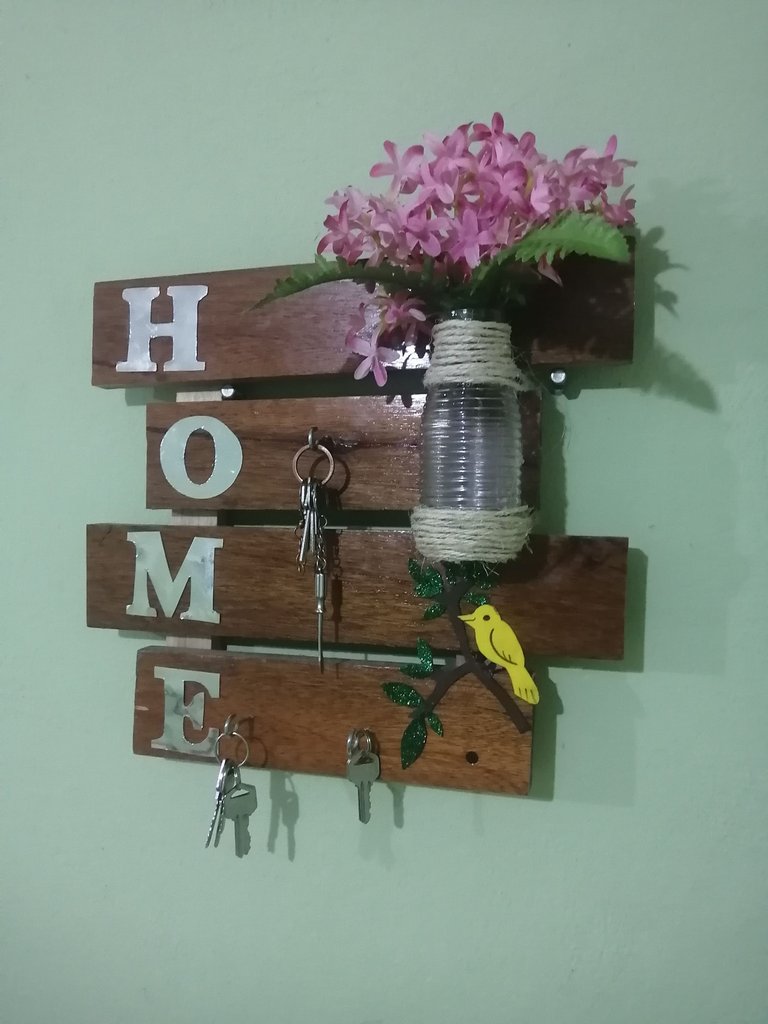
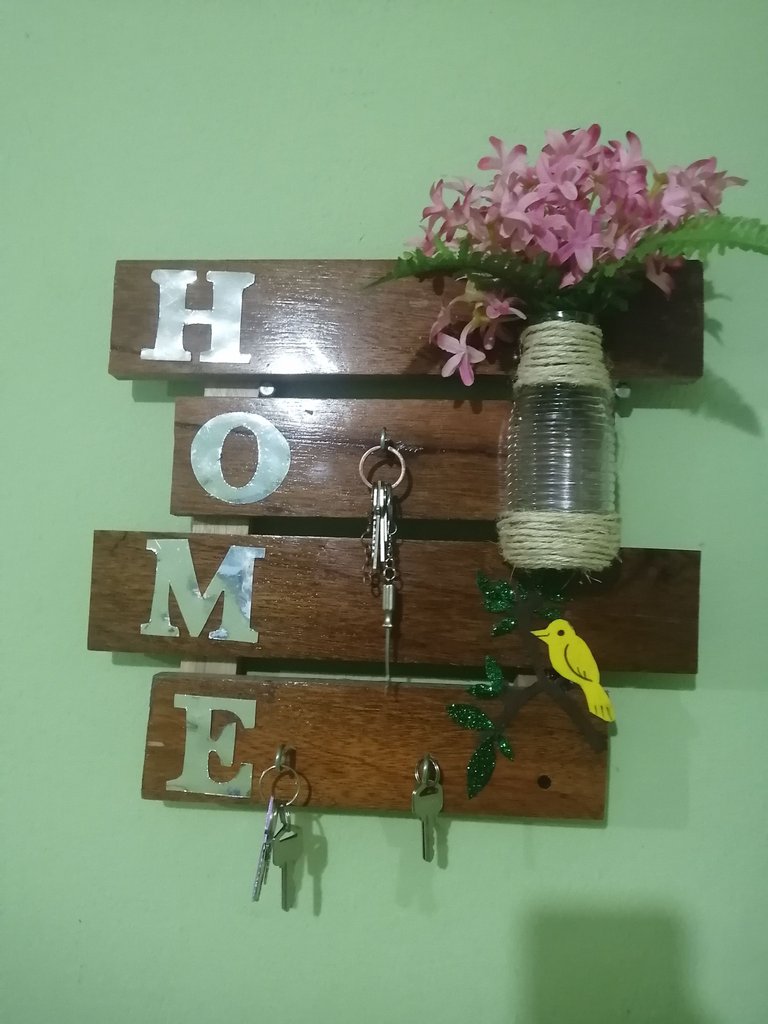
Resultado final
Final result
Gracias por leer mis publicaciones y comentar espero pongan en practica este proyecto dios me los bendiga hasta la próxima oportunidad.
Thank you for reading my publications and commenting I hope you put this project into practice God bless you until the next opportunity.


