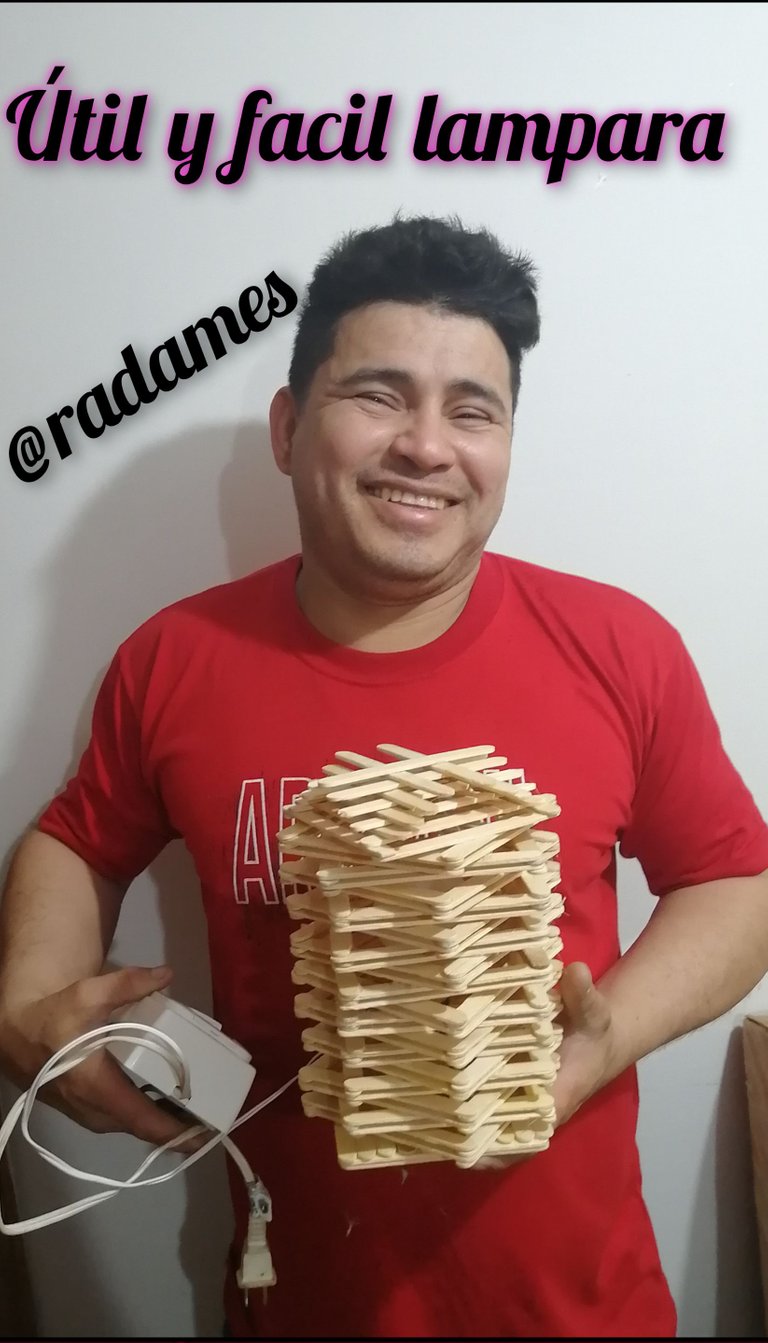
Hola hermosa comunidad reciban un cordial saludo lleno de bendiciones hoy le mostrare como hacer una facil, creativa y util lampara de paletas ideal para colocar en las habitaciones de grandes y chicos.
La elaboracion de esta lampara la realize con la intención de mejorar la iluminación de mi cuarto y para en las noches cuando me despierte o necesite buscar alguna cosa poder tener luz sin molestar a mi esposa o viceversa.
Hello beautiful community receive a warm greeting full of blessings today I will show you how to make an easy, creative and useful pallet lamp ideal for placing in the rooms of adults and children.
The elaboration of this lamp was made with the intention of improving the lighting in my room and at night when I wake up or need to look for something to have light without disturbing my wife or vice versa.
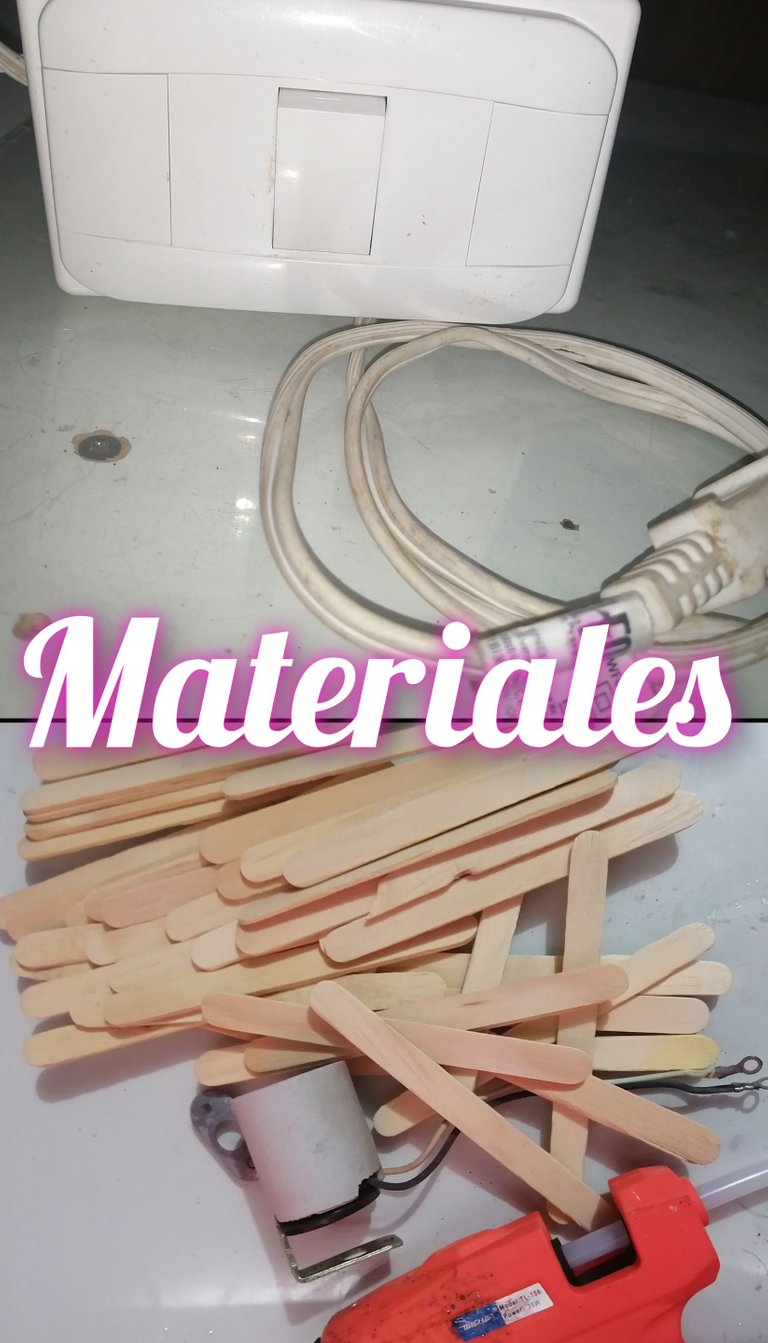
Materiales
2 paquetes de paletas de helado
Silicon
Pistola de silicon
Socate para lamparas
Cable
Prende y apaga
Bombillo
Enchufe
materials
2 packages of popsicle sticks
Silicon
Silicon gun
Lamp socket
Cable
On and off
Bombillo
Plug
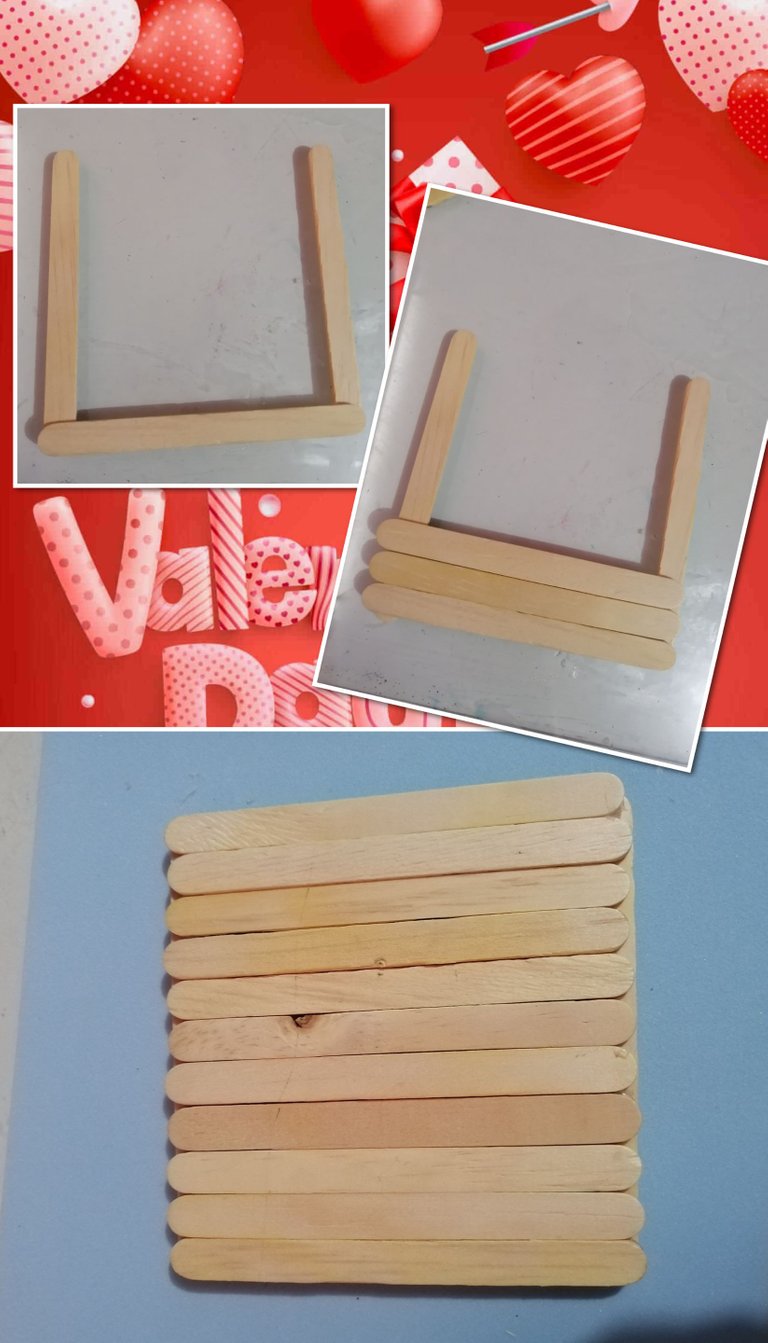
Manos a la obra
Let's get to work
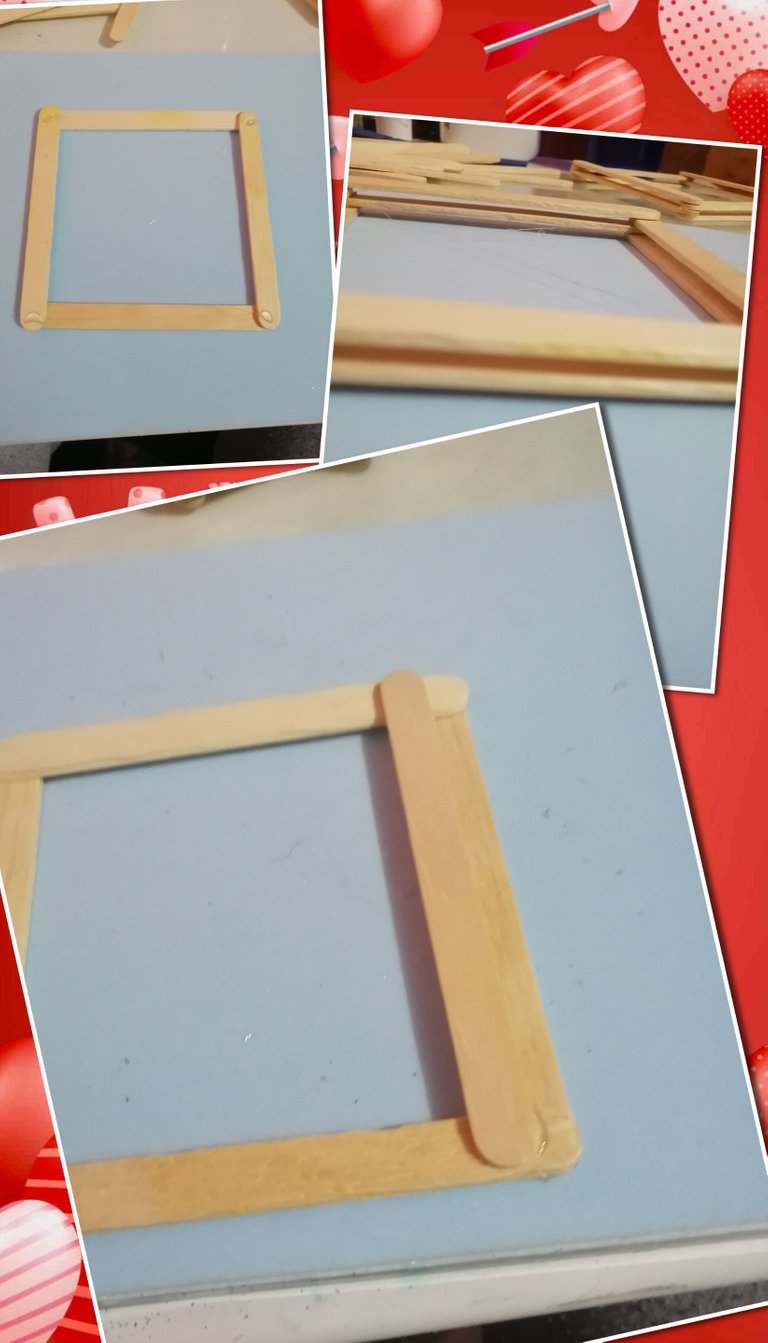
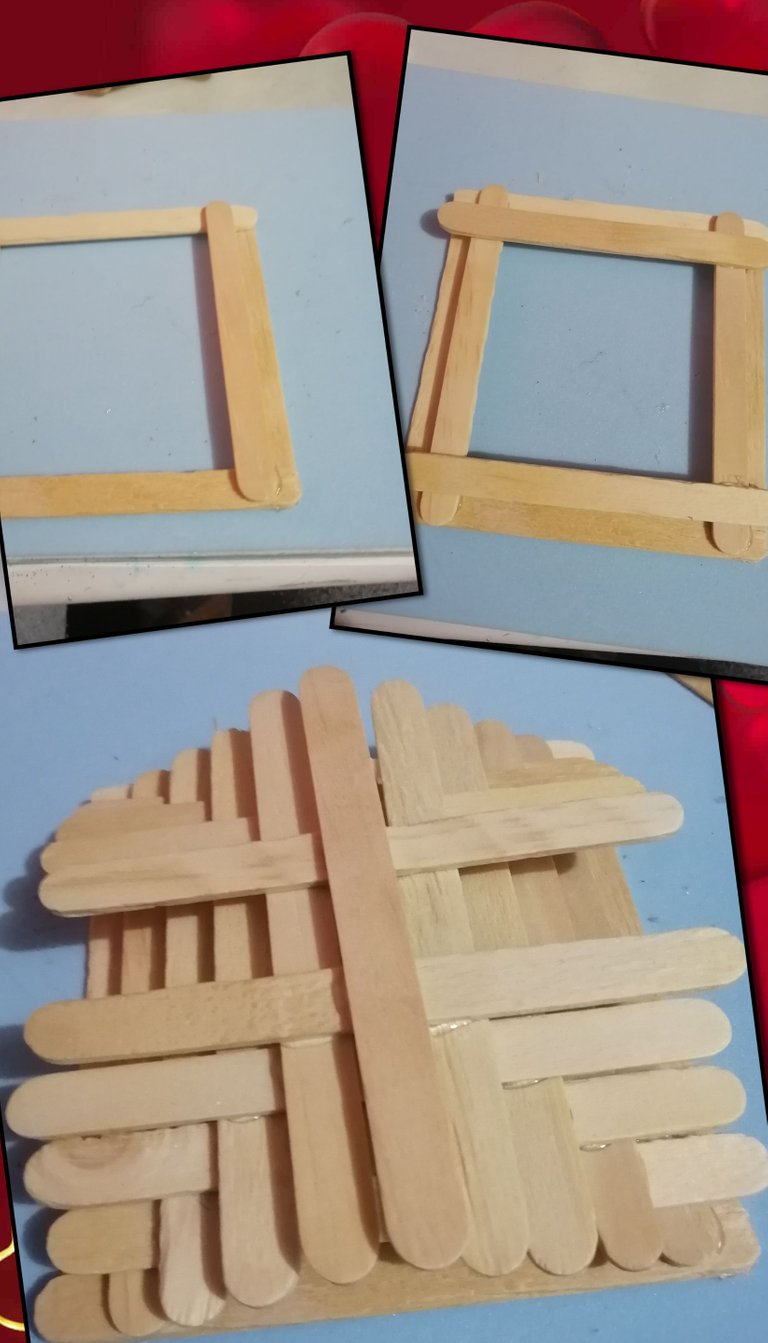
_ Primeramente armamos la base, colocando dos paletas y sobre ellas poco a poco pegamos otras hasta formar la misma,como les mostramos en la siguiente foto.
First we assemble the base, placing two pallets and on them little by little we glue others until we form the base, as shown in the following photo.
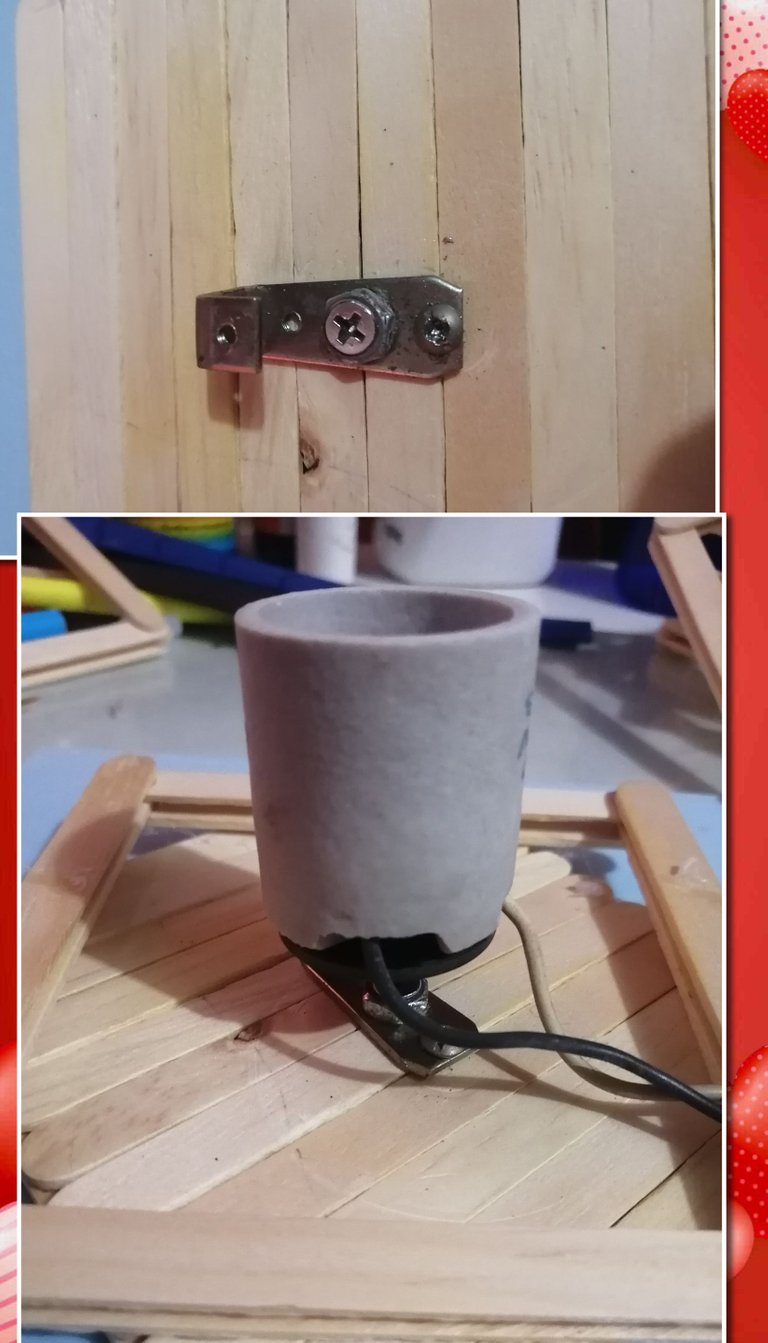
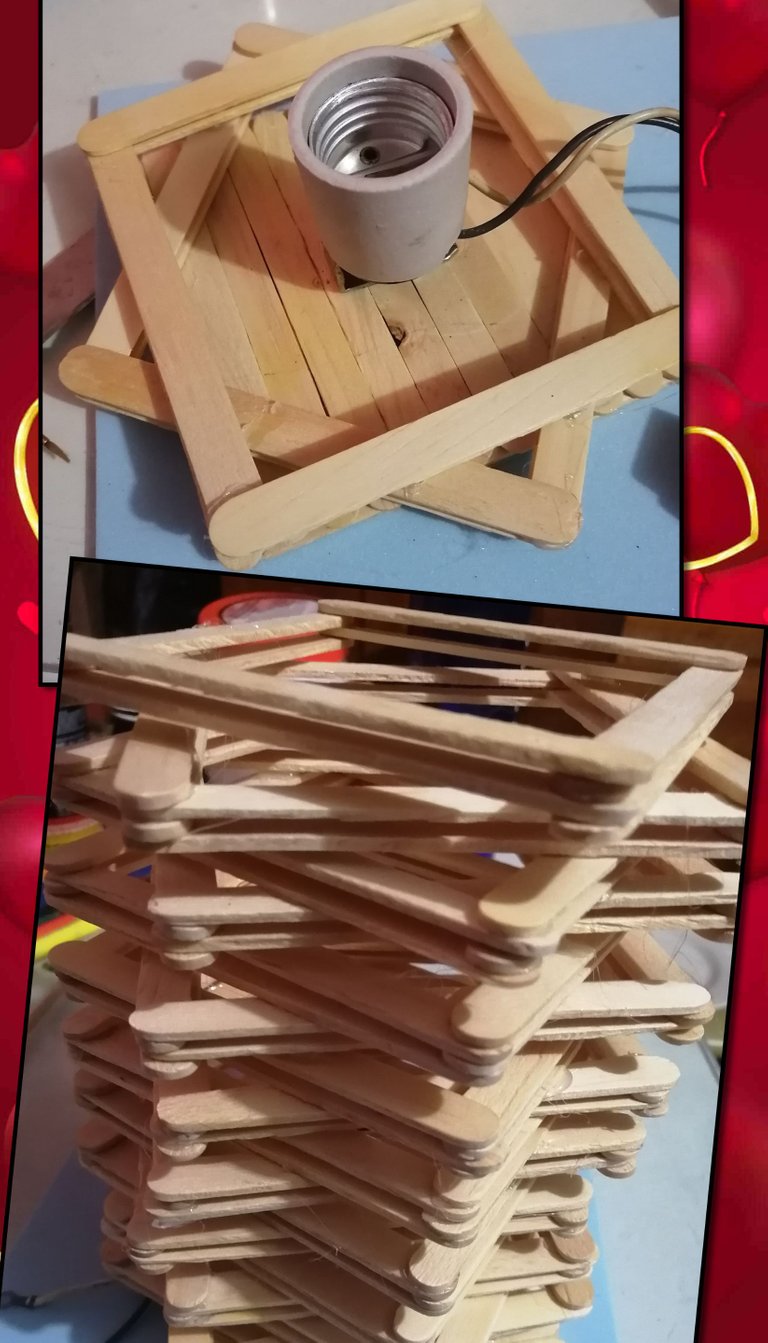
Ahora fijamos a la base anterior el socate, pero primero desarmamos de la base del socate y con ayuda de 2 tornillos y un desalmador fijamos y armamos nuevamente como les muestro en la foto.
Now we fix the socket to the previous base, but first we disassemble the base of the socket and with the help of 2 screws and a desalmador we fix and assemble again as I show you in the photo.
En este paso armamos un cuadrado con ayuda de 4 paletas y luego pegamos cuatro paletas mas encimas de la anterior o sea dos cuadrados uno sobre el otro como les muestro en la foto.
In this step we assemble a square with the help of 4 pallets and then we glue four more pallets on top of the previous one, that is, two squares one on top of the other as shown in the picture.
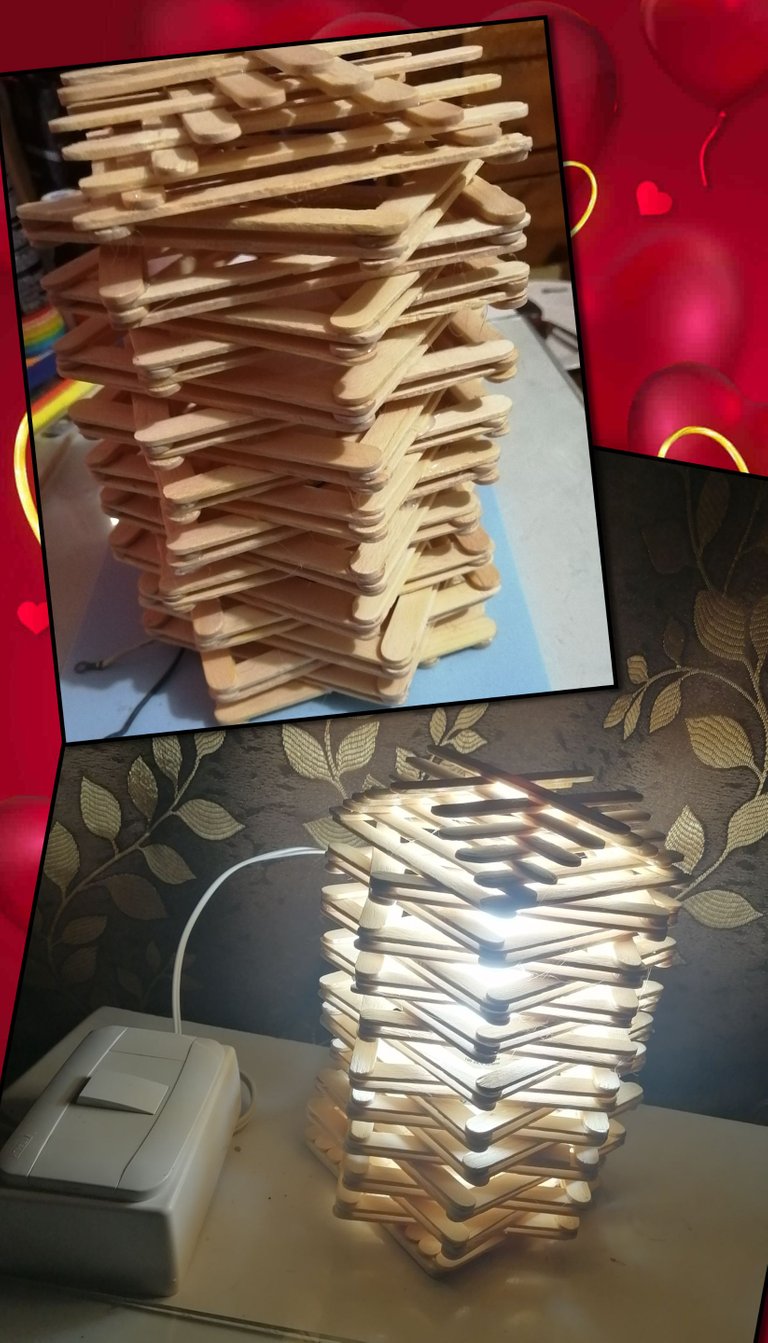
Ahora repetimos el paso anterior cuantas ves quieras en este caso 17 veses y empezamos a pegar de forma contraria a la base como si estubieramos formando una estrella de cuatro puntas como les muestro en la foto.
Now repeat the previous step as many times as you want in this case 17 times and start gluing in the opposite way to the base as if we were forming a four-pointed star as shown in the photo.
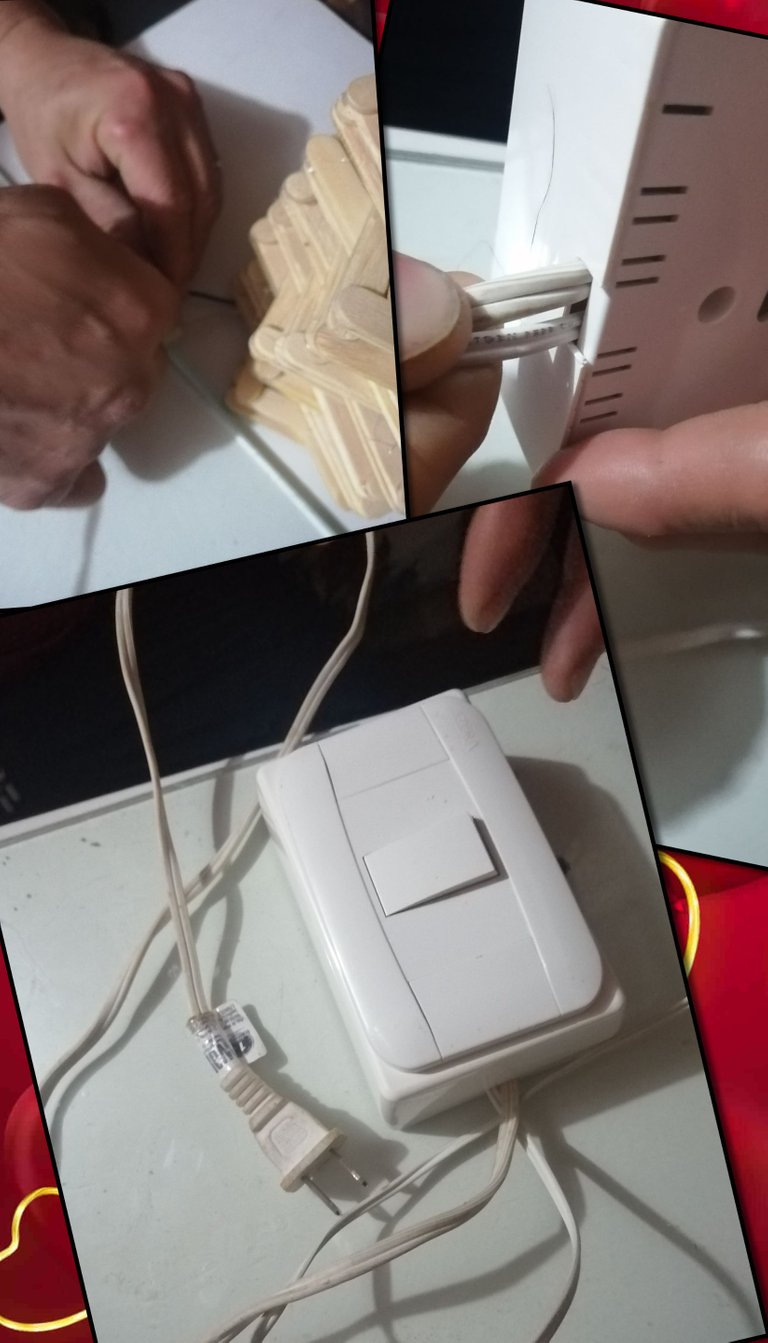
Ahora pegamos el cable del socates y tambien colocamos el prende apaga, y luego el enchufe
Now we glue the cable of the socket and we also place the ignition switch, and then the plug.
Por utimo armamos la tapa, haciendo un cuadrado y pegamos paletas poco a poco pero cerrando hasta formar como un techito luego colocamosel bombillo y ponemos la tapa.
Lastly, we assemble the lid, making a square and glue the vanes little by little but closing them to form a little roof, then we place the light bulb and put the lid on.
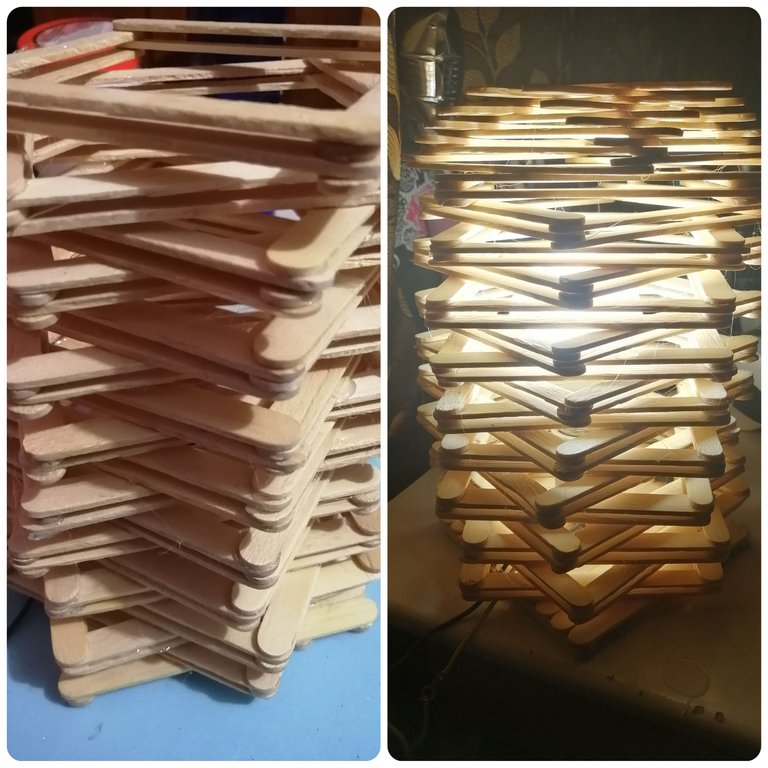
Resultado final
Final result
Muchas gracias por visitar mi bloc y leerme, espero que les haya gustado,y puedan realizar esta hermosa lampara, Dios les bendiga, hasta las próxima.
Thank you very much for visiting my blog and read me, I hope you liked it, and you can make this beautiful lamp, God bless you, until next time.