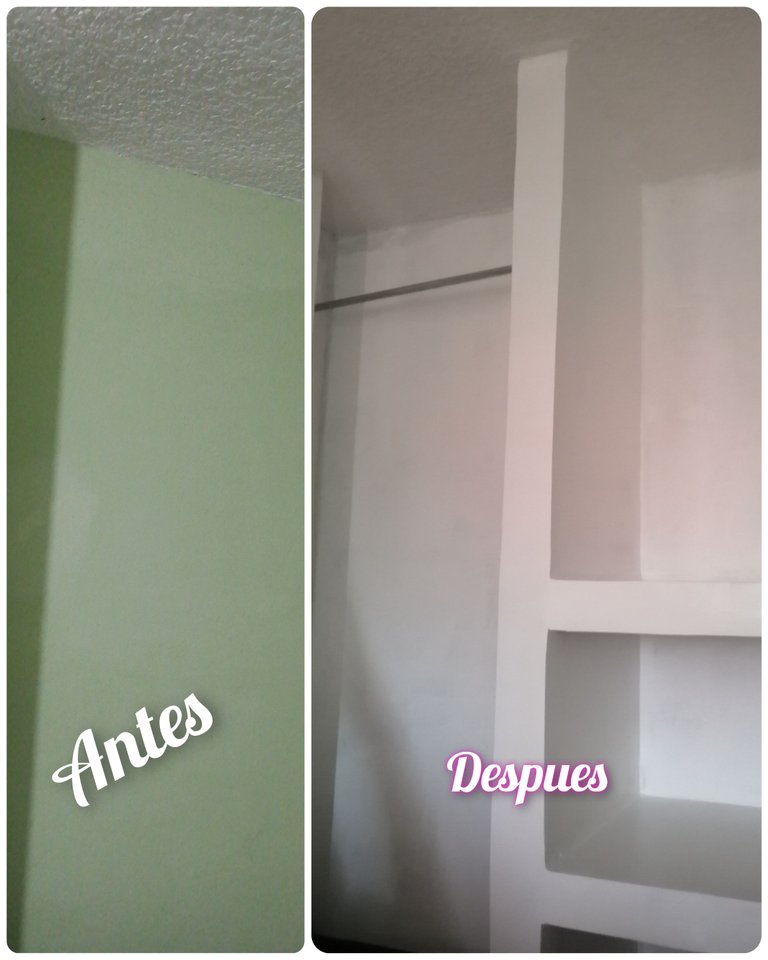
Saludos cordiales a todos los integrantes de esta comunidad HIVE DIY hoy me encuentro con ustedes amigos para mostrarle la elaboración de un closet con retazos de gypsum para cuarto espero y lo puedan hacer en sus casas para organizar su cuarto, cuando este no lo posee o cuando buscan ahorrar espacio les invito a ver el paso a paso
Hace un mes me mude del lugar donde vivia y al llegar a este nuevo lugar mme encuentro queno teniamos closet para organizar la ropa y no teniamos en ese momento para comprar uno estube pensando por unos dias como resolver, y recorde que me habia quedado un poco de material de gypsum de un trabajo que habia hecho y me dije y si me las ingenio y hago un pequeño clset para colgar y doblar la ropa, y me puse hacerlocon lo que tenia espero yles guste.
Greetings to all members of this community HIVE DIY today I meet with you friends to show you the elaboration of a closet with scraps of gypsum for room I hope you can make it at home to organize your room, when it does not have it or when you are looking to save space I invite you to see the step by step
A month ago I moved from the place where I lived and when I arrived at this new place I found that we had no closet to organize clothes and we did not have at that time to buy one, I was thinking for a few days how to solve, and I remembered that I had left some gypsum material from a job I had done and I said to myself and if I manage to make a small clset to hang and fold clothes, and I started doing it with what I had, I hope you like it.
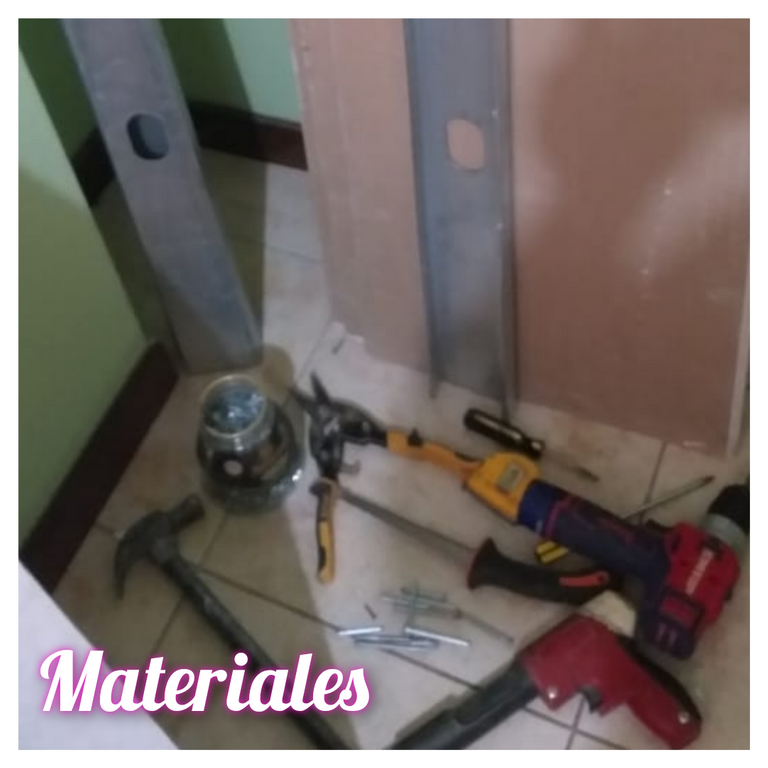
MATERIALES
• pedazos de gypsum
• perfiles para gypsum
• tigera para cortar metal
. Estilete, exacto o cuter
. Clavos de acero
. Cinta maya
. Romeral
. Empaste
• lija
• clavos perforadoradores
. Pistola para gypsum
. Pintura
. Tubo para closet
. Metro
. Nivel
. Martillo
. Tornillo para gymsum
MATERIALS
- gypsum pieces
- profiles for gypsum
- metal cutting tigera
. Stylus, exacto or cutter
. Steel nails
. . tape .
. Romeral
. Filling . - sandpaper
- drill nails .
. Gypsum gun
. Paint
. Tube for closet
. Subway
. Level
. Hammer
. Gymsum screw
AHORA SI MANOS A LA OBRA AMIGOS
NOW LET'S GET DOWN TO WORK, FRIENDS
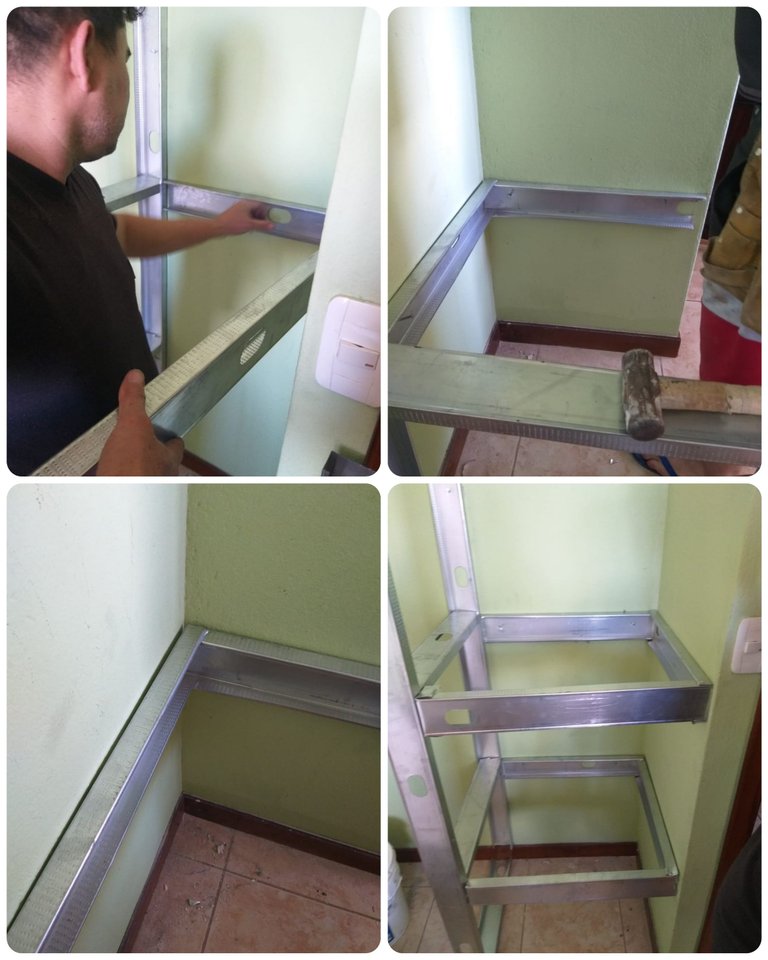
Lo primero que haremos sera medir la mitad del lugar donde queremos poner la pared divisora y luego con ayuda de la tijera de metal cortamos el perfil de gypsum a el alto y ancho deado formando un rectangulo para poder fijar en la pared, luego la fijamos y colocamos divisores en la misma para hacerla mas fuerte y porque estos tambien nos serviran como soporte para los divisores finales en mi caso la altura fue 2.40cmx60cm.
The first thing we will do is to measure half of the place where we want to put the divider wall and then with the help of metal scissors cut the gypsum profile to the height and width of the wall forming a rectangle to fix it on the wall, then we fix it and place dividers on it to make it stronger and because these will also serve as support for the final dividers in my case the height was 2.40cmx60cm.
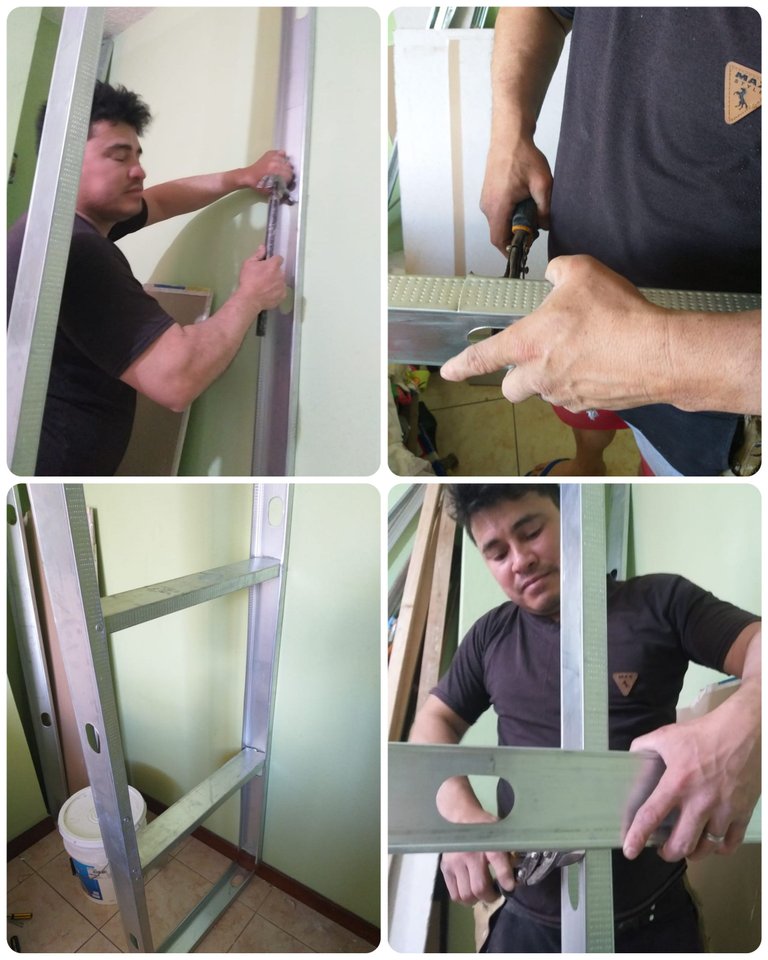
Ahora despues de haber hecho los divisores anteriores tomandolos como base fijamos a la misma altura, de pared a la destancia anteriormente en mi caso de 60cm los otros soportes que desee del misma profundidad de la pared fijada anterior. Como se muestra en la foto
Now after having made the previous dividers taking them as a base we fix at the same height, from the wall to the previous distance in my case of 60cm the other supports that you want of the same depth of the previous fixed wall. As shown in the photo.
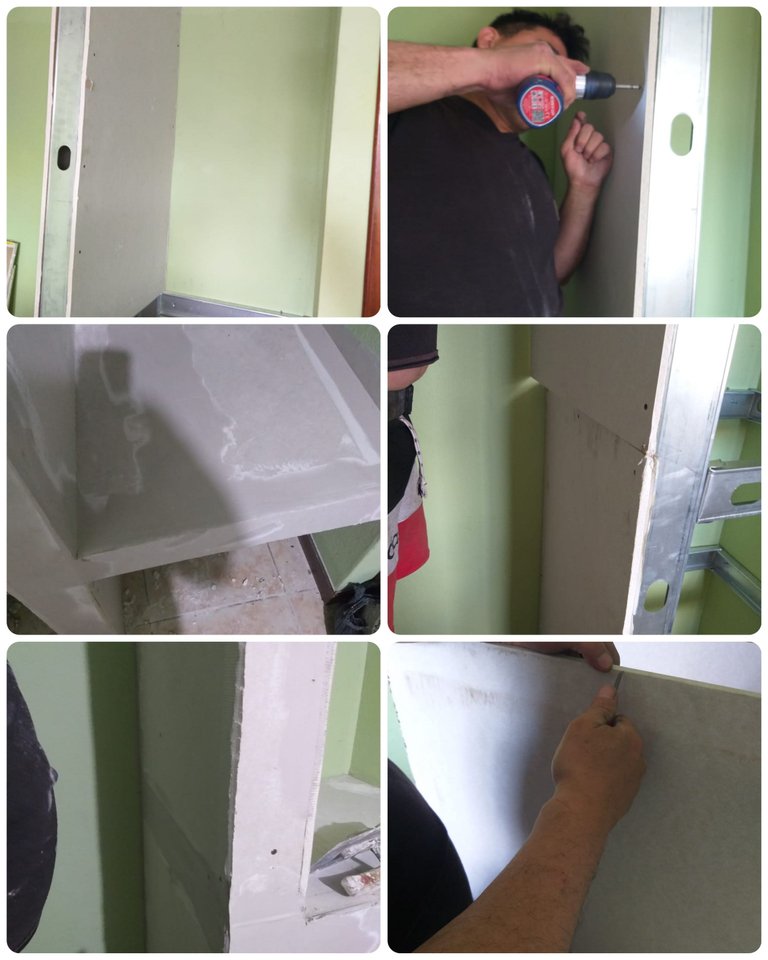
Ahora procedemos a forrar con el gypsum todos los espacios antes rea lizados con ayuda del taladro y tornillos para gypsum.
Now we proceed to line with the gypsum all the spaces previously made with the help of the drill and gypsum screws.
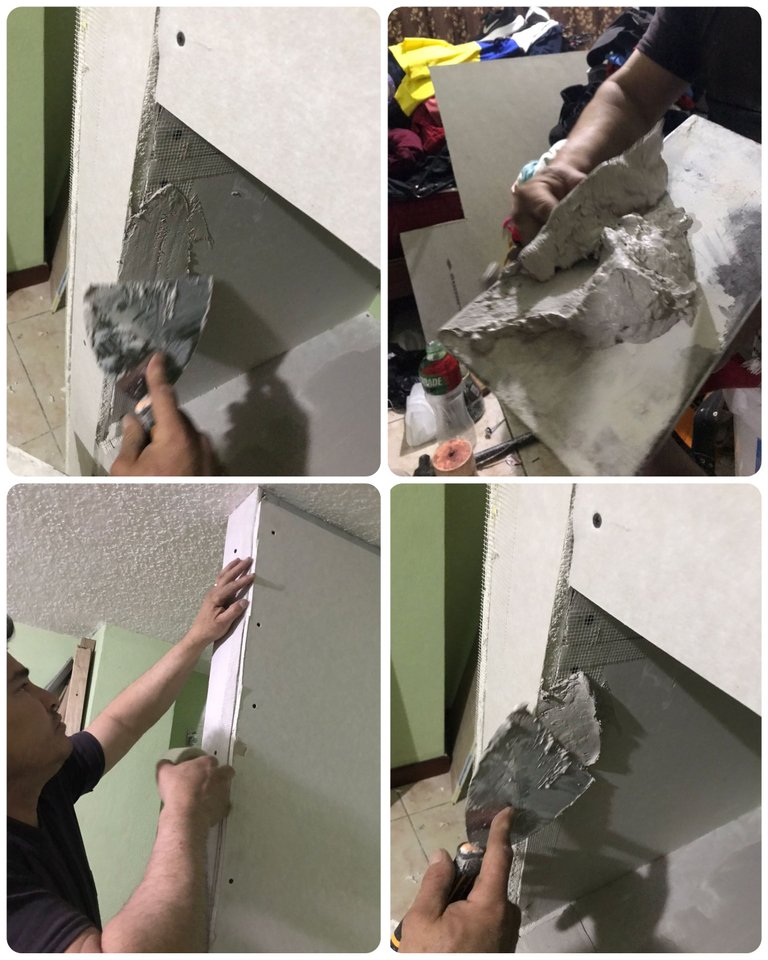
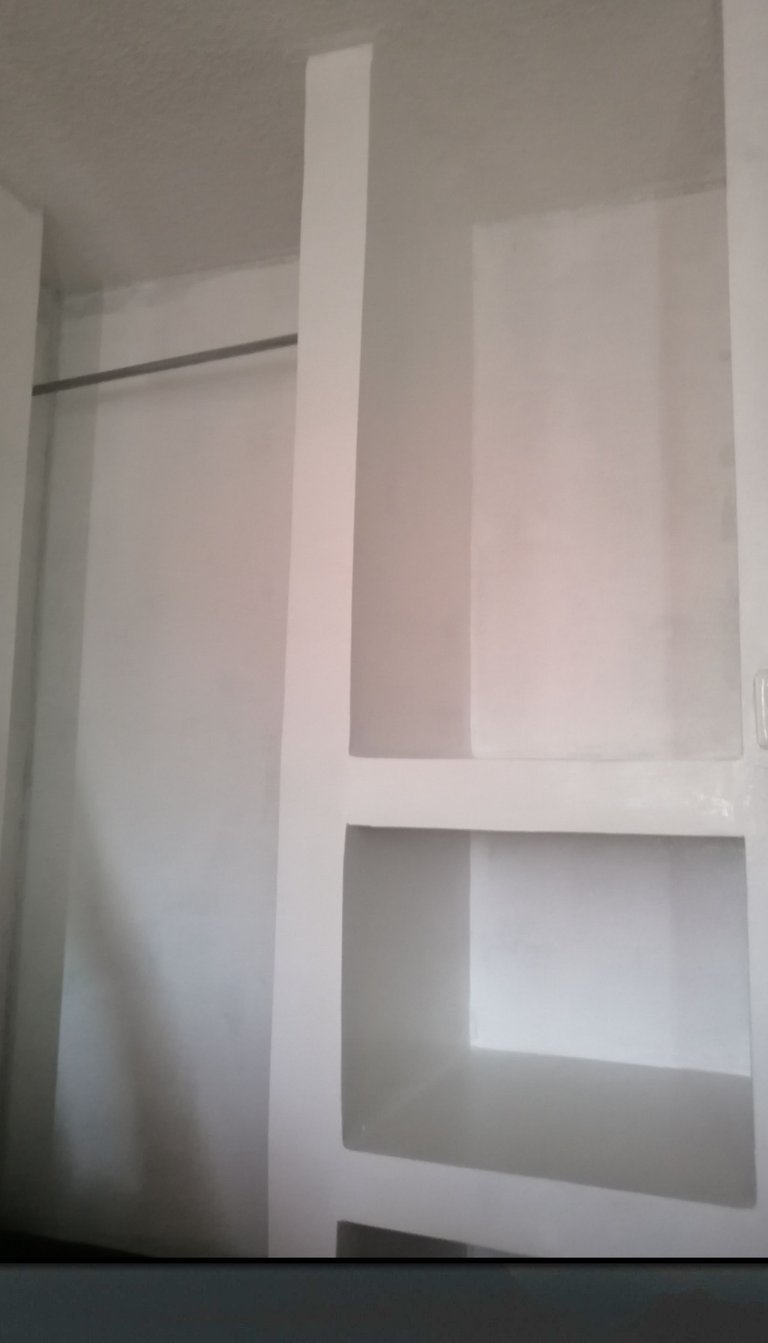
Para finalizar pegamos la cinta maya para gypsum en todas los cortes o uniones del gypsum y fijamos colocando romeral o yeso, dejamos secae y empastamos toda la pieza, luego lijamos y pintamos, colocamos el tubo para gindar la ropa.
Finally, we glue the gypsum tape in all the cuts or joints of the gypsum and fix it by placing the gypsum plaster, let it dry and fill the whole piece, then we sand and paint, we place the tube to fix the clothes.
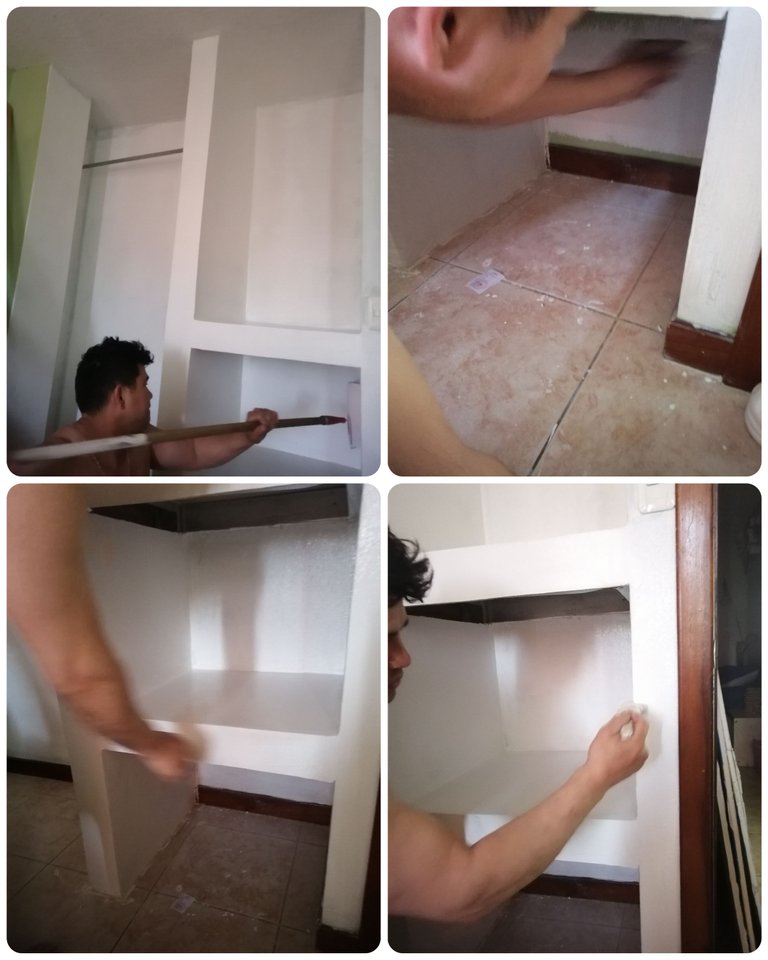
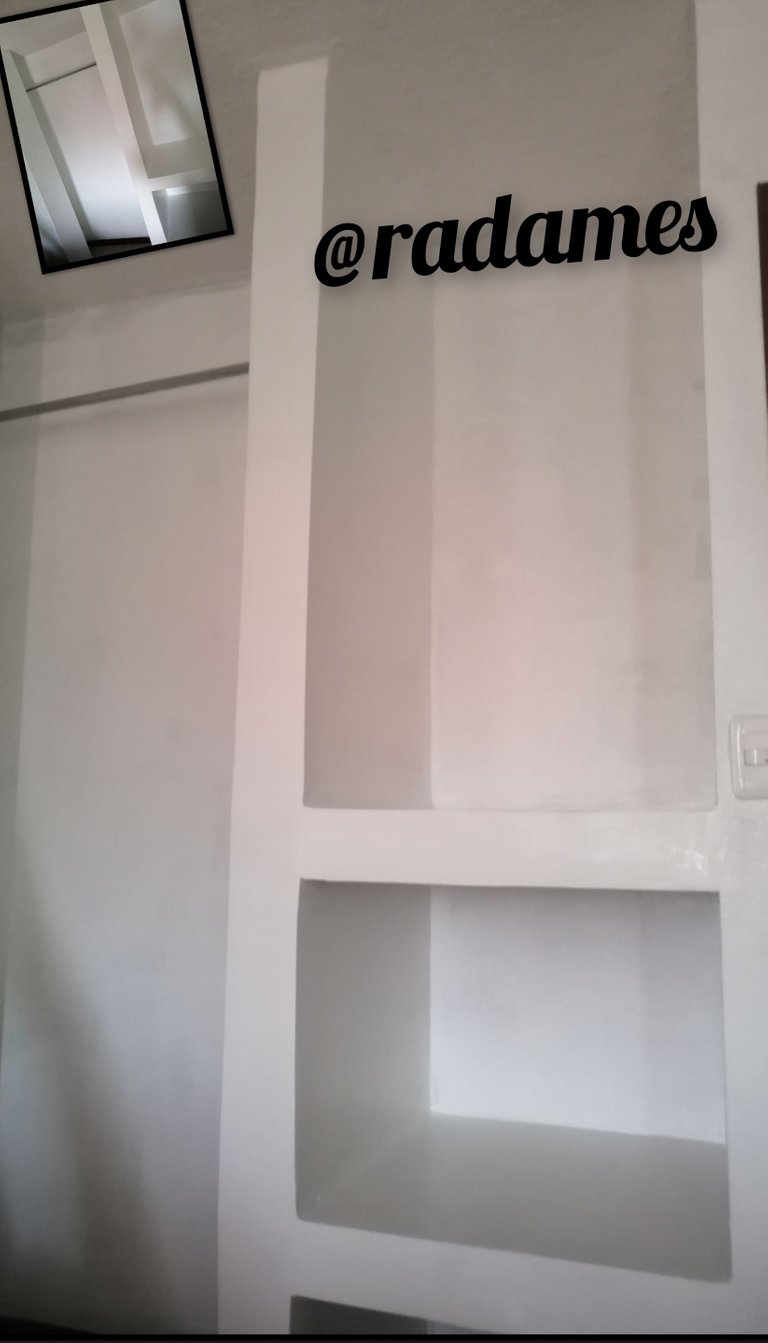
RESULTADO FINAL
FINAL RESULT
ESPERO Y LES HALLA GUSTADO QUERIDOS AMIGOS OJALÁ Y LO PUEDAN HACER EN SUS CASAS QUE DIOS LOS BENDIGA SIEMPRE HASTA LA PRÓXIMA OPORTUNIDAD
**I HOPE YOU LIKED IT DEAR FRIENDS, I HOPE YOU CAN DO IT AT HOME, GOD BLESS YOU ALWAYS, UNTIL THE NEXT OPPORTUNITY.