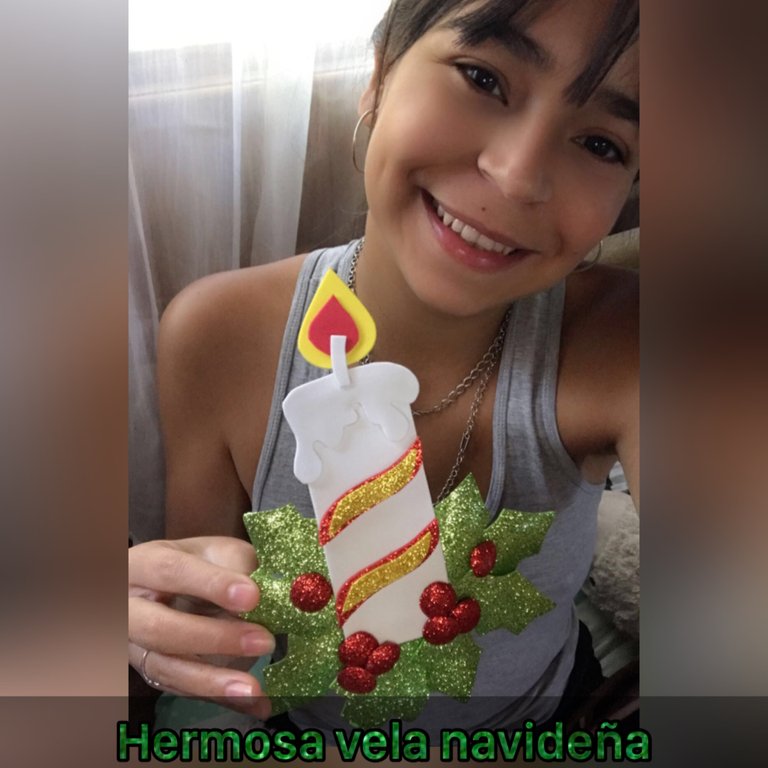
Un cordial saludo a todos los integrantes de esta hermosa familia de HIVE DIY, espero y se encuentren bien queridos amigos con la bendición de Dios, hoy me encuentro con ustedes para mostrarle hacer un hermoso adorno de velita navideña que nos ayuda para decorar cualquier espacio de nuestra casa, esta muy fácil de hacer, espero y lo puedan hacer en sus casas sin mas nada que decir les invito a ver el paso a paso
A cordial greeting to all the members of this beautiful family of HIVE DIY, I hope you are well dear friends with God's blessing, today I am with you to show you how to make a beautiful Christmas candle ornament that helps us to decorate any space in our house, it is very easy to do, I hope you can do it at home without anything else to say I invite you to see the step by step
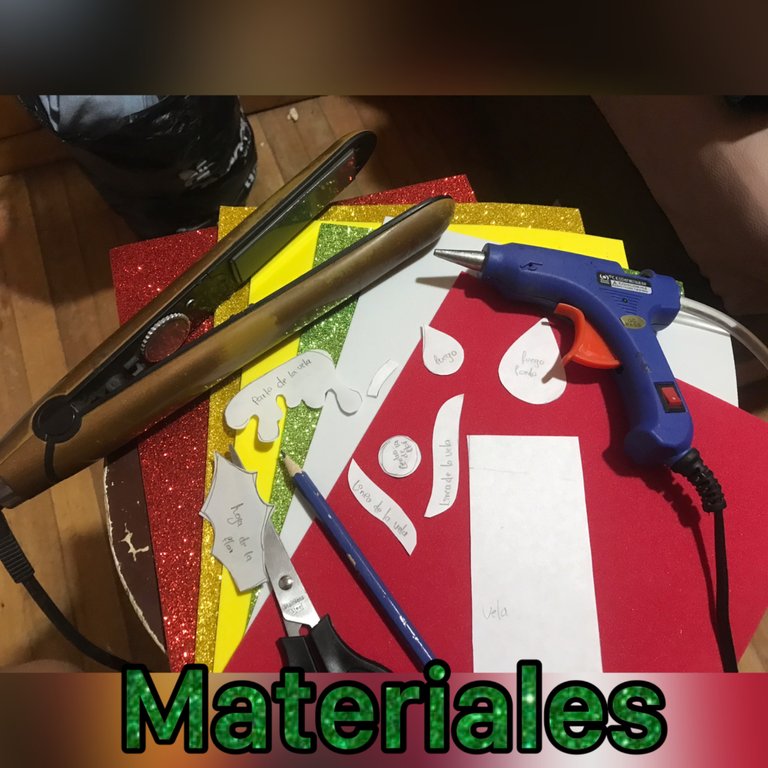
MATERIALES A UTILIZAR
• foami blanco, amarillo, rojo
• foami escarchado rojo, dorado, verde
• tijera
• lápiz
• pistola de silicon
• plancha de pelo
• patrones de la velita navideña
**MATERIALS TO BE USED
- white, yellow, red foami
- frosted foami red, gold, green
- scissors
- pencil
- silicone gun
- hair iron
- christmas candle patterns
AHORA SI QUERIDOS AMIGOS MANOS A LA OBRA
NOW YES, DEAR FRIENDS, LET'S GET DOWN TO WORK
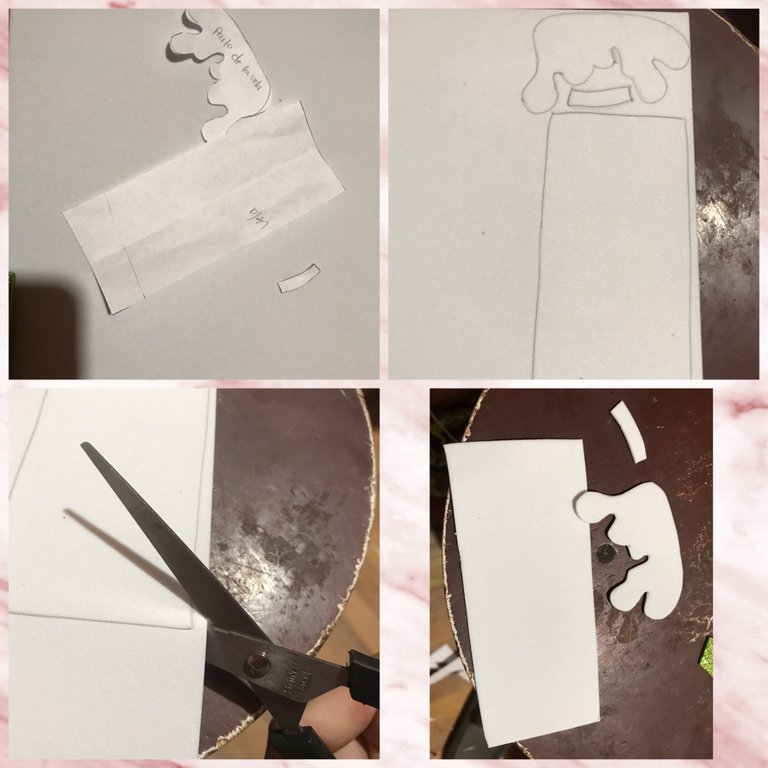
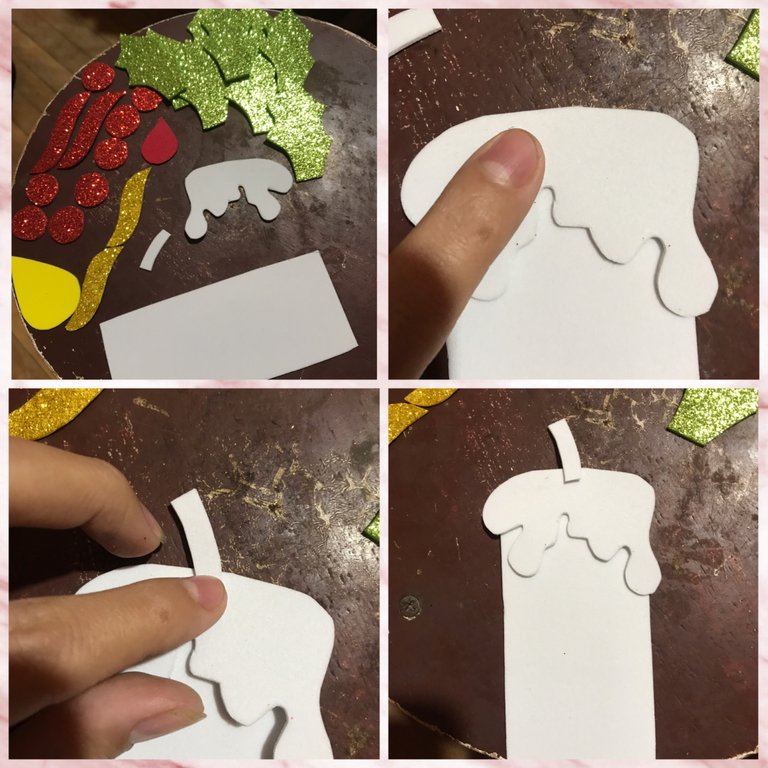
Primero marcamos y recortamos en el foami blanco la vela, la parte de la vela que hace la simulación de que está derretida y la mecha de la vela
First we mark and cut out on the white foami the candle, the part of the candle that simulates melting and the wick of the candle
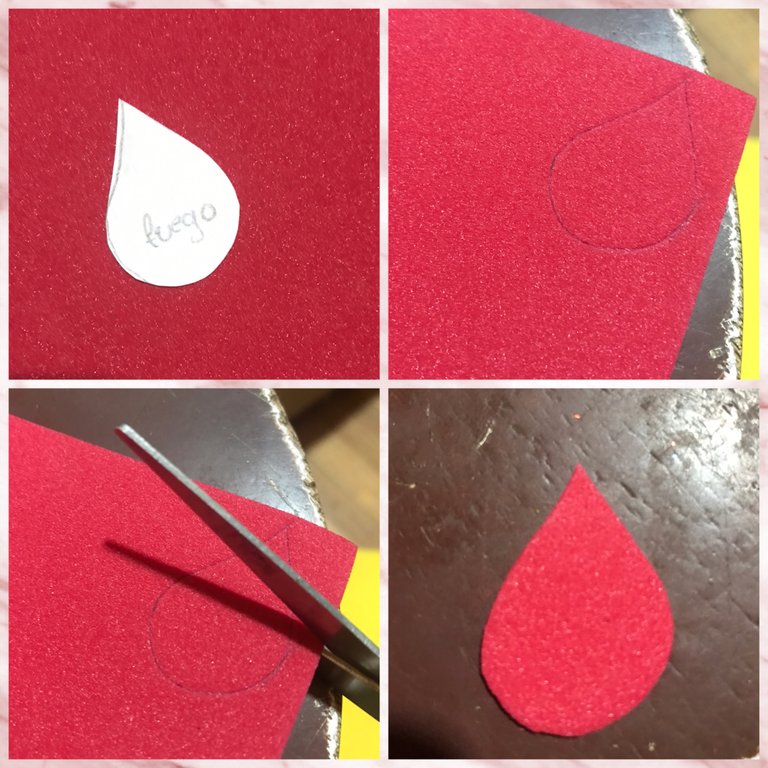
Marcamos y recortamos en el foami rojo el fuego 🔥 de la velita
We mark and cut out the fire 🔥 of the candle 🔥 on the red foami
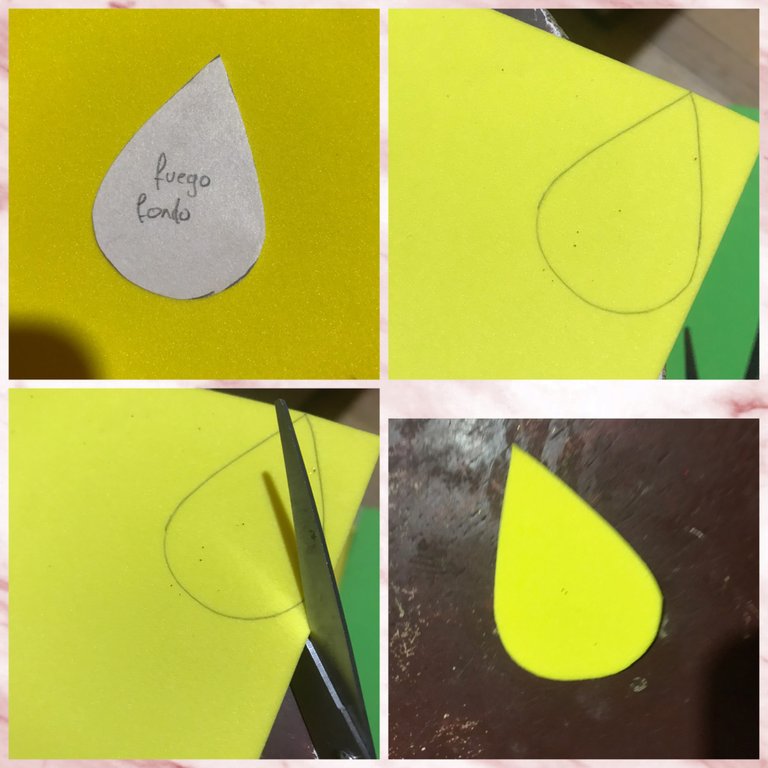
Marcamos y recortamos en el foami amarillo el fondo de fuego
We mark and cut out the fire background on the yellow foami
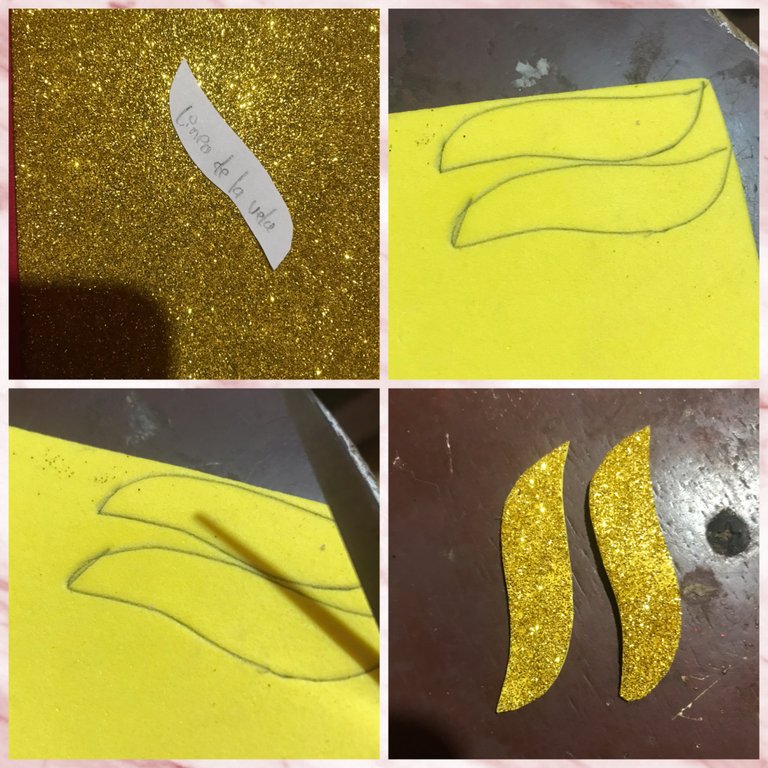
Marcamos y recortamos en foami escarchado dorado la parte de arriba de las líneas de la velita
We mark and cut out in gold frosted foami the top of the lines of the candle
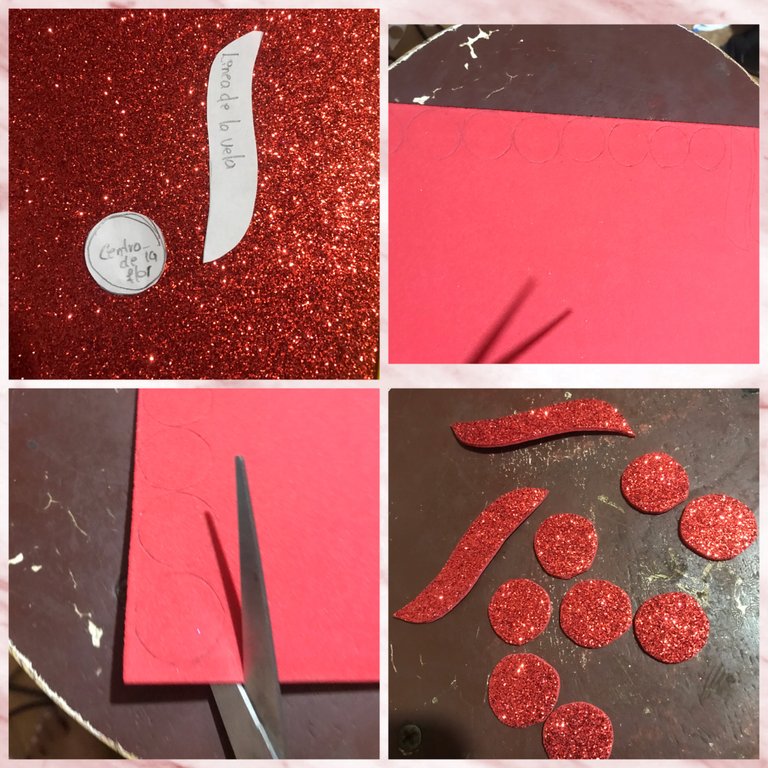
Marcamos y recortamos en el foami escarchado rojo las líneas de la velita y el centro de las florecitas navideñas
We mark and cut out the lines of the candle and the center of the Christmas flowers on the red frosted foami
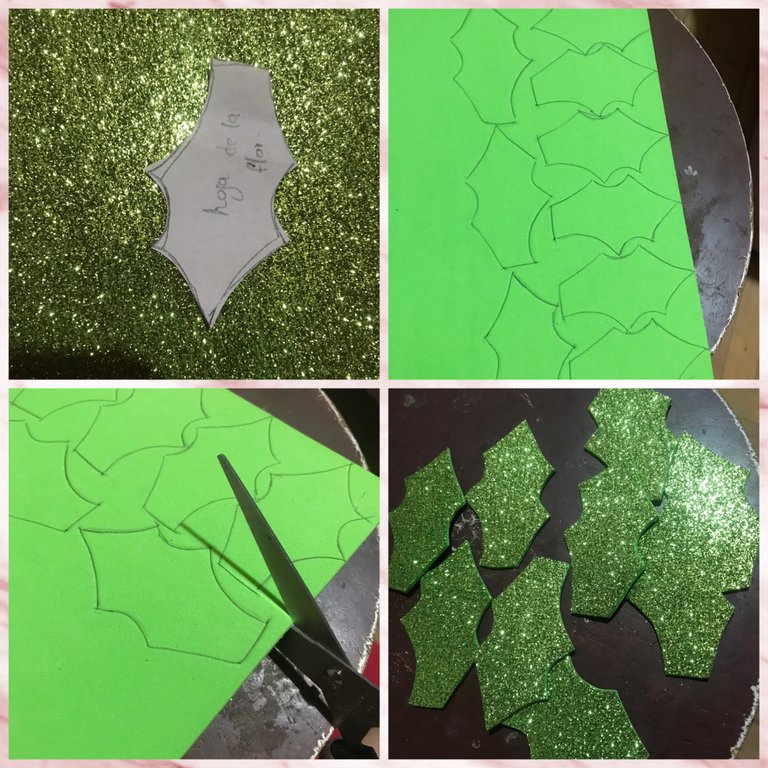
Marcamos y recortamos en el foami escarchado verde las hojas
We mark and cut out the leaves on the green frosted foami
Ya que estén cortados todos los patrones empezamos a pegar la pieza de la vela que está derretida a la vela y luego pegaremos la mecha de la vela
Once all the patterns are cut we start gluing the melted candle piece to the candle and then we glue the candle wick
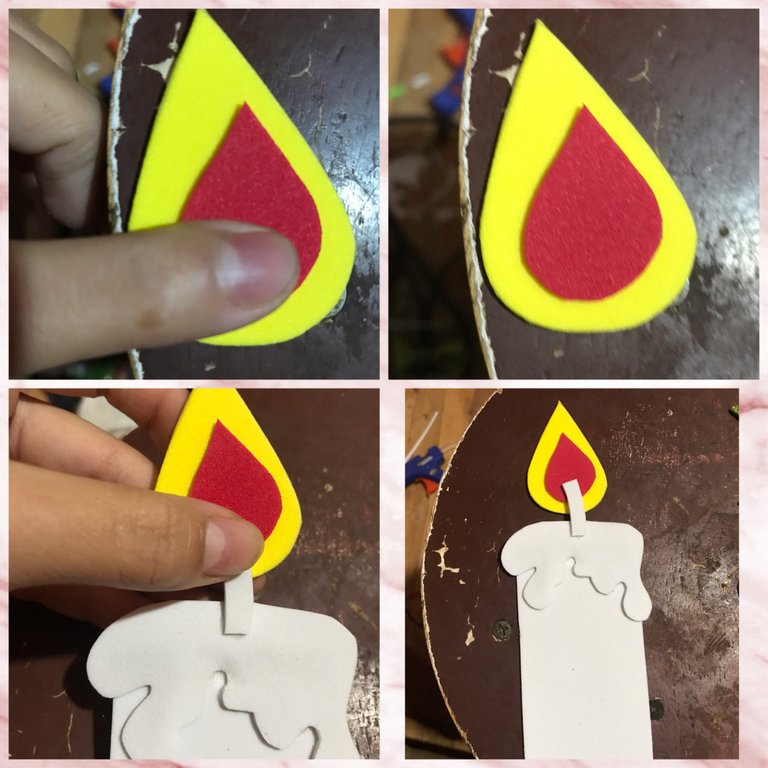
Pegaremos el fuego al fondo del fuego y luego lo pegaremos a la mecha de la vela
Glue the fire to the bottom of the fire and then glue it to the wick of the candle
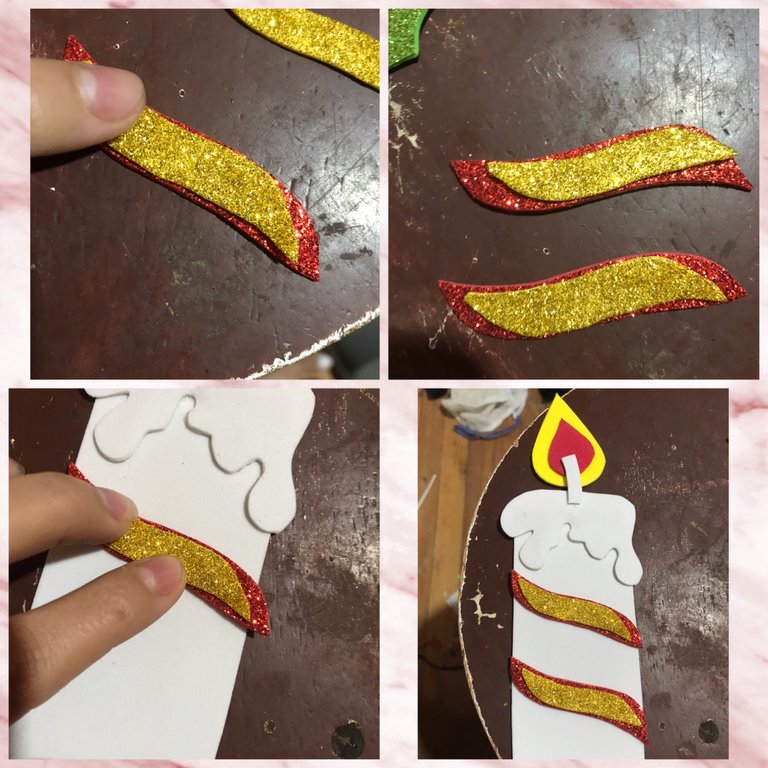
Pegaremos la parte de arriba de las líneas a las líneas con las que adornaremos la vela luego que estén bien pegadas lo pegaremos a la vela de forma inclinada
We will glue the top wall of the lines to the lines with which we will decorate the candle after they are well glued we will glue it to the candle in an inclined way
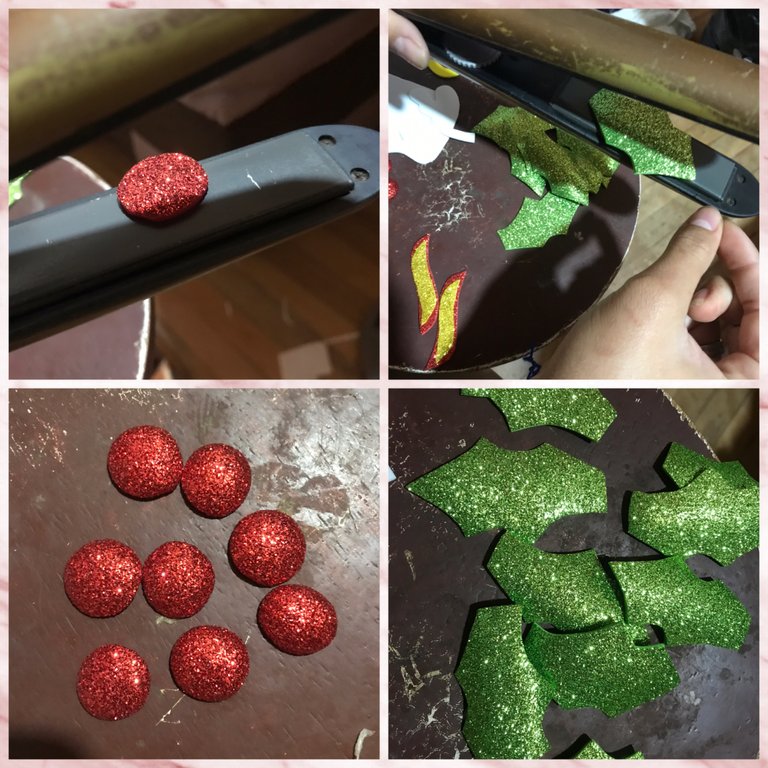
Ahora ya con la plancha de cabello pre calentada pondremos el centro de la flor dentro de la flor para que se alce y le dé mejor forma, eso mismo aremos con las hojas
Now with the hair iron preheated we will put the center of the flower inside the flower so that it rises and gives it a better shape, we will do the same with the leaves
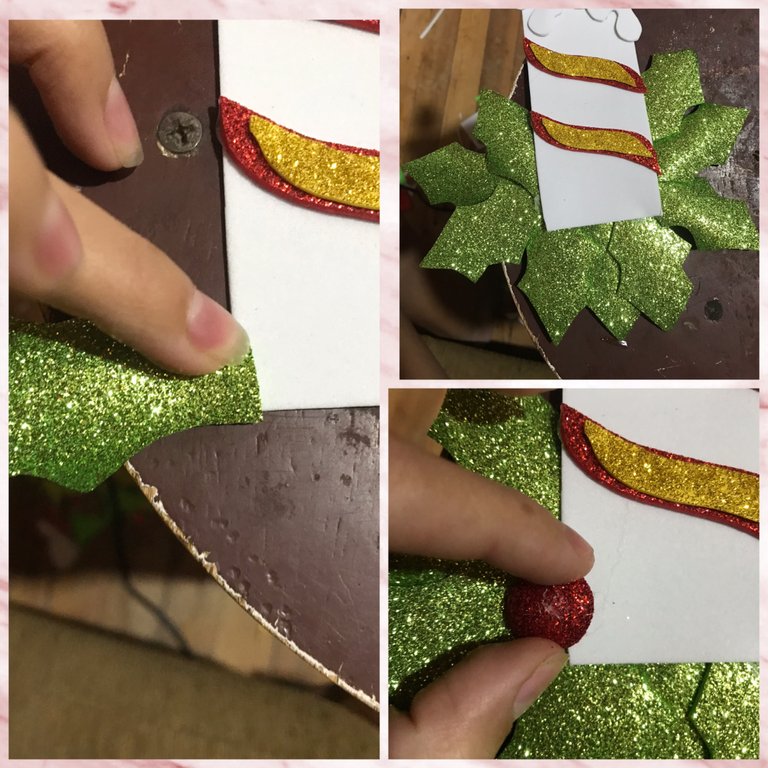
Para finalizar Pegaremos las hojas ya antes echas en la plancha por el alrededor de la vela y luego pegaremos el centro de la flor en las esquinas y luego a los lados
To finish, we will glue the leaves already placed in the iron around the candle and then we will glue the center of the flower in the corners and then on the sides
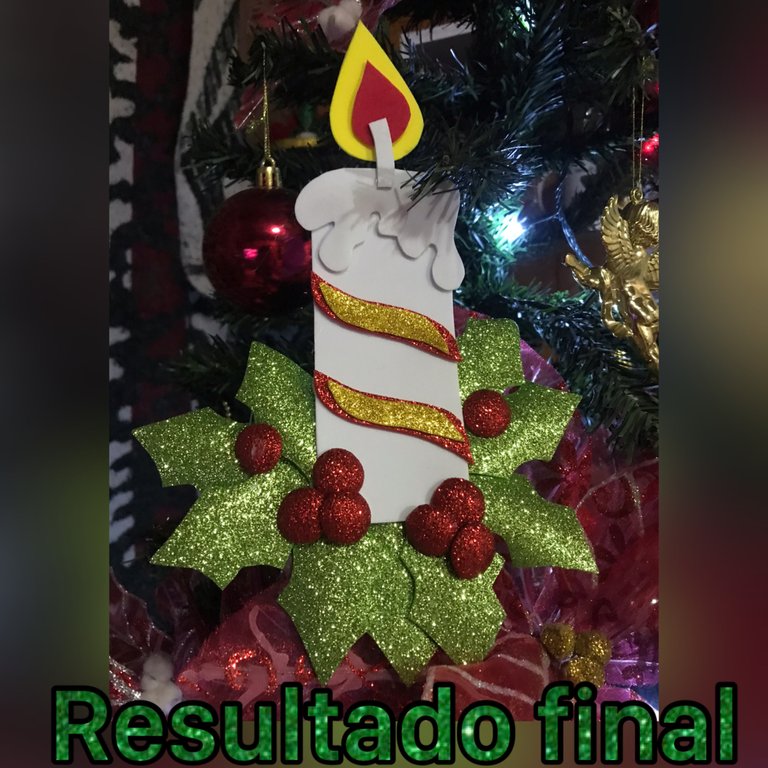
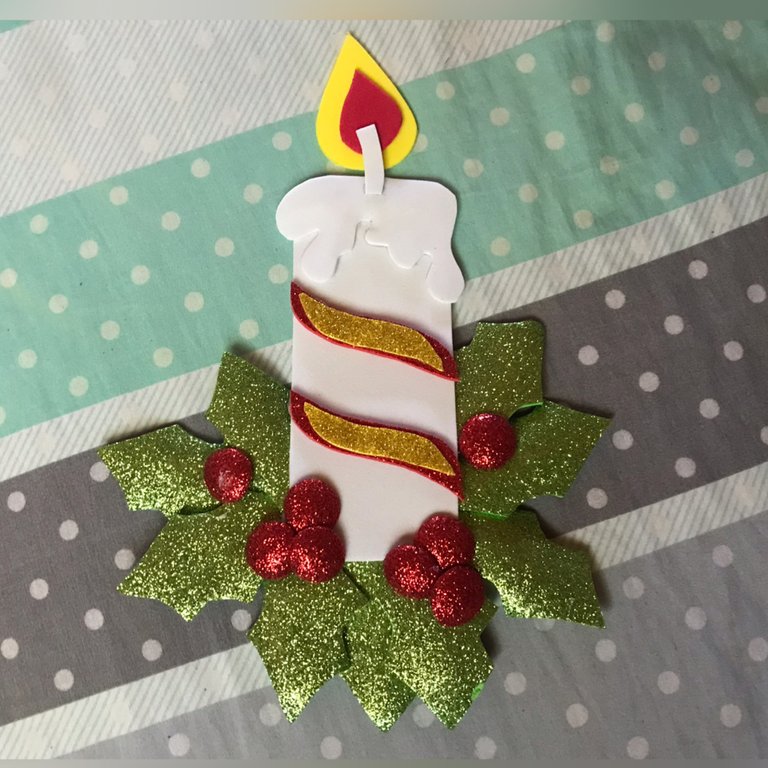
RESULTADO FINAL
FINAL RESULT
ESPERO Y LES HALLA GUSTADO MI TRABAJO AMIGOS, OJALÁ Y LO PUEDAN PONER A PRUEBA ESTA FÁCIL Y PRÁCTICO DE HACER, QUE DIOS LOS BENDIGA SIEMPRE HASTA LA PRÓXIMA OPORTUNIDAD
I HOPE YOU LIKED MY WORK, FRIENDS, I HOPE YOU CAN TEST IT, IT IS EASY AND PRACTICAL TO DO, MAY GOD BLESS YOU ALWAYS, UNTIL THE NEXT OPPORTUNITY


