At the end of this past year I started the construction of my room or rather continue a work that had been stopped for several years; In this
Post I tell a little about it, although I'm not done yet, because the construction material hasn't arrived at the hardware store where I'm buying, but in order not to waste time I decided to go ahead with other things that are just as necessary to be able to have a comfortable room, this time I am going to share with the community my experience assembling a door for my room-study.
A finales de este pasado año di inicio a la construcción de mi habitación o mejor dicho continúe una obra que tenía varios años detenida; en este
Post cuento un poco al respecto, aunque todavía no he terminado, porque no ha llegado el material de construcción en la ferretería en donde estoy comprando, pero para no desperdiciar el tiempo decidí ir adelantando otras cosas que son igual de necesarias para poder tener una habitación cómoda, en esta ocasión voy a compartir con la comunidad mí experiencia montando una puerta para mí habitación-estudio.
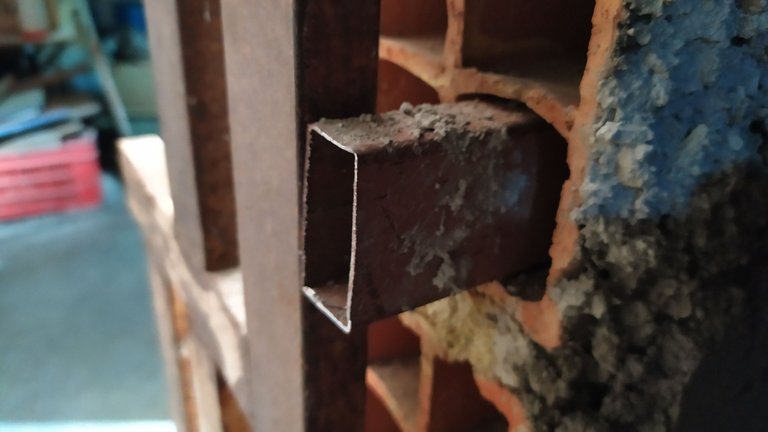
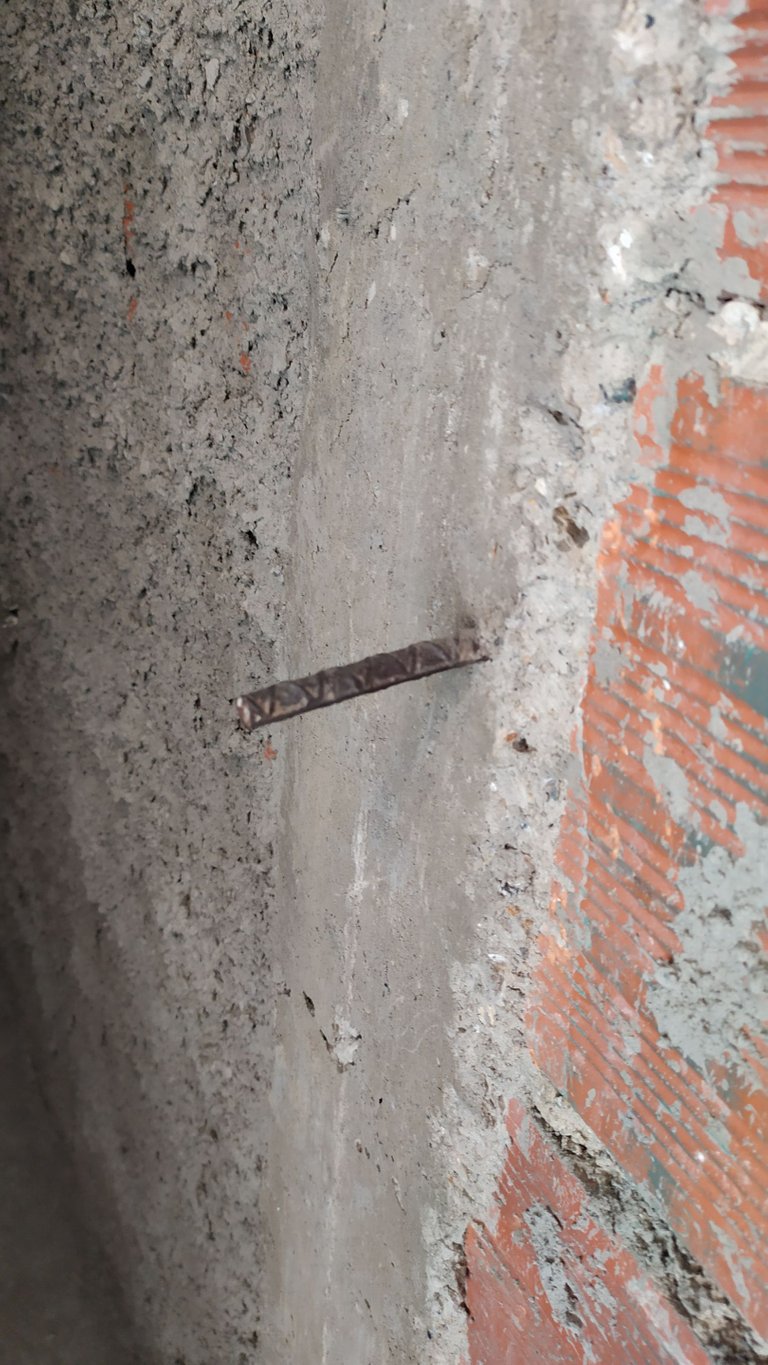
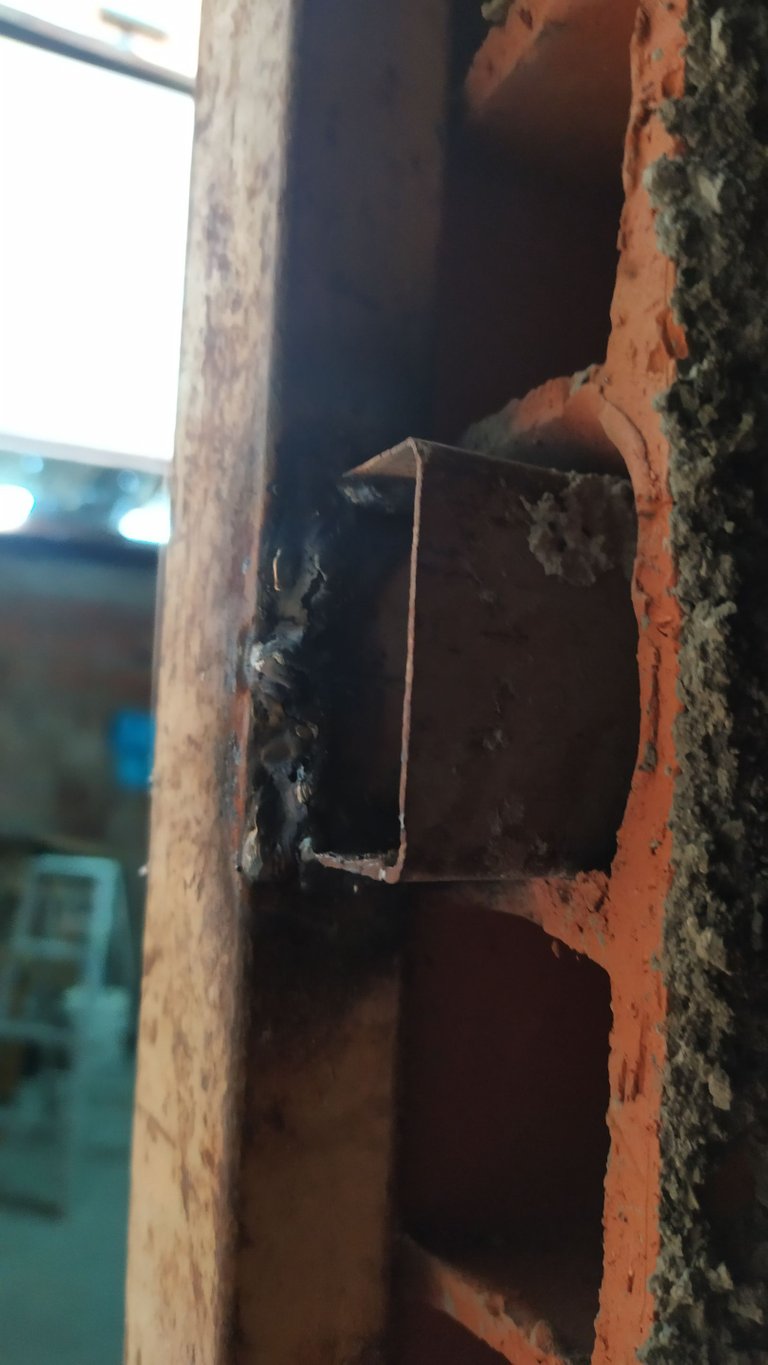
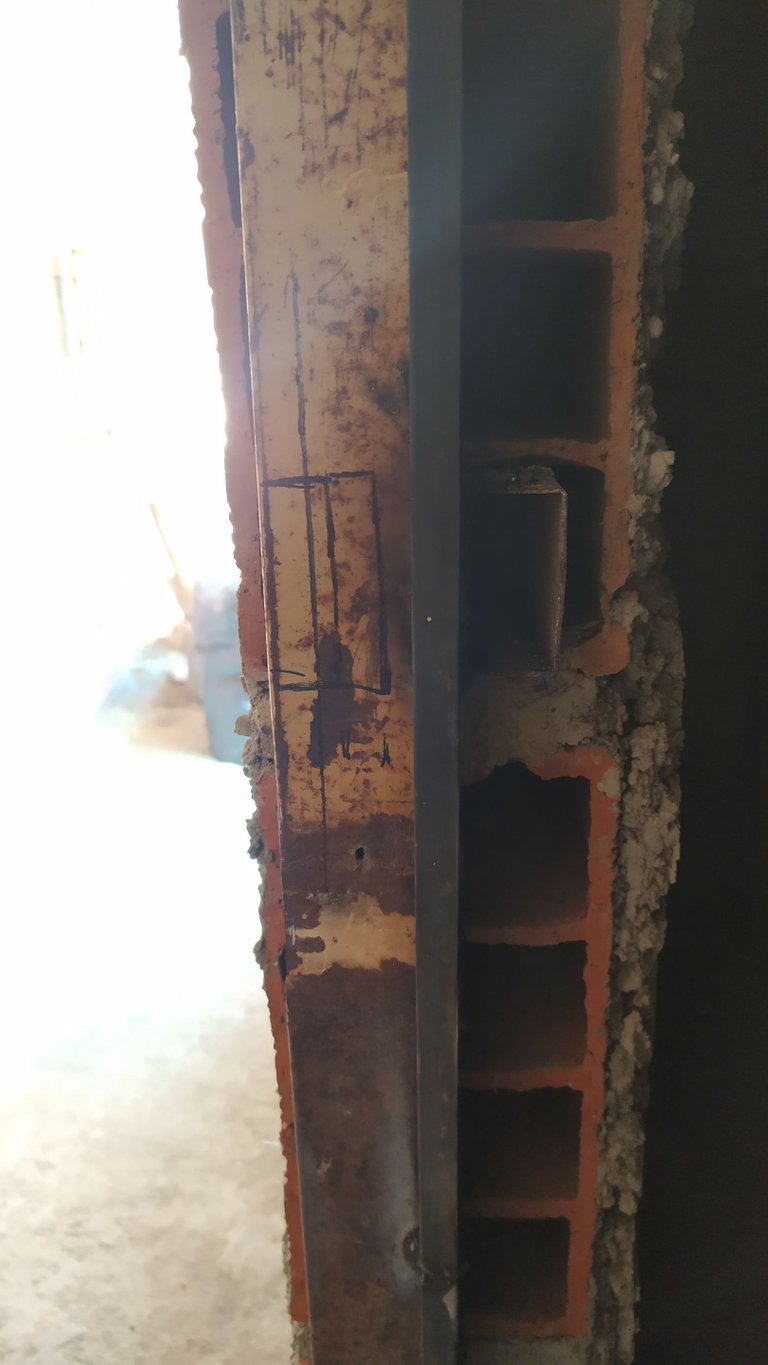
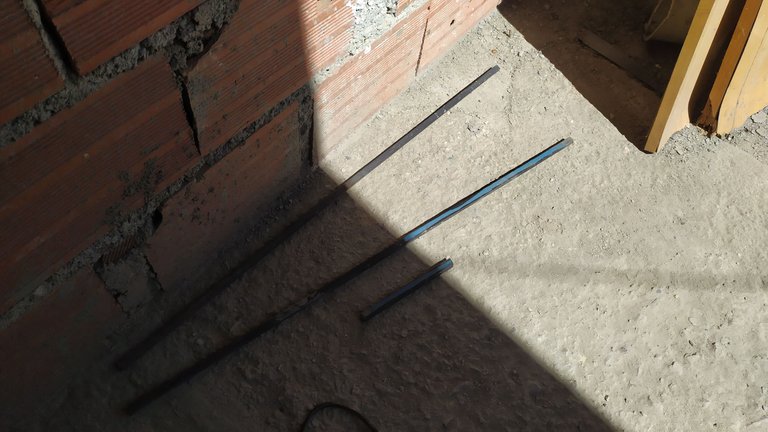
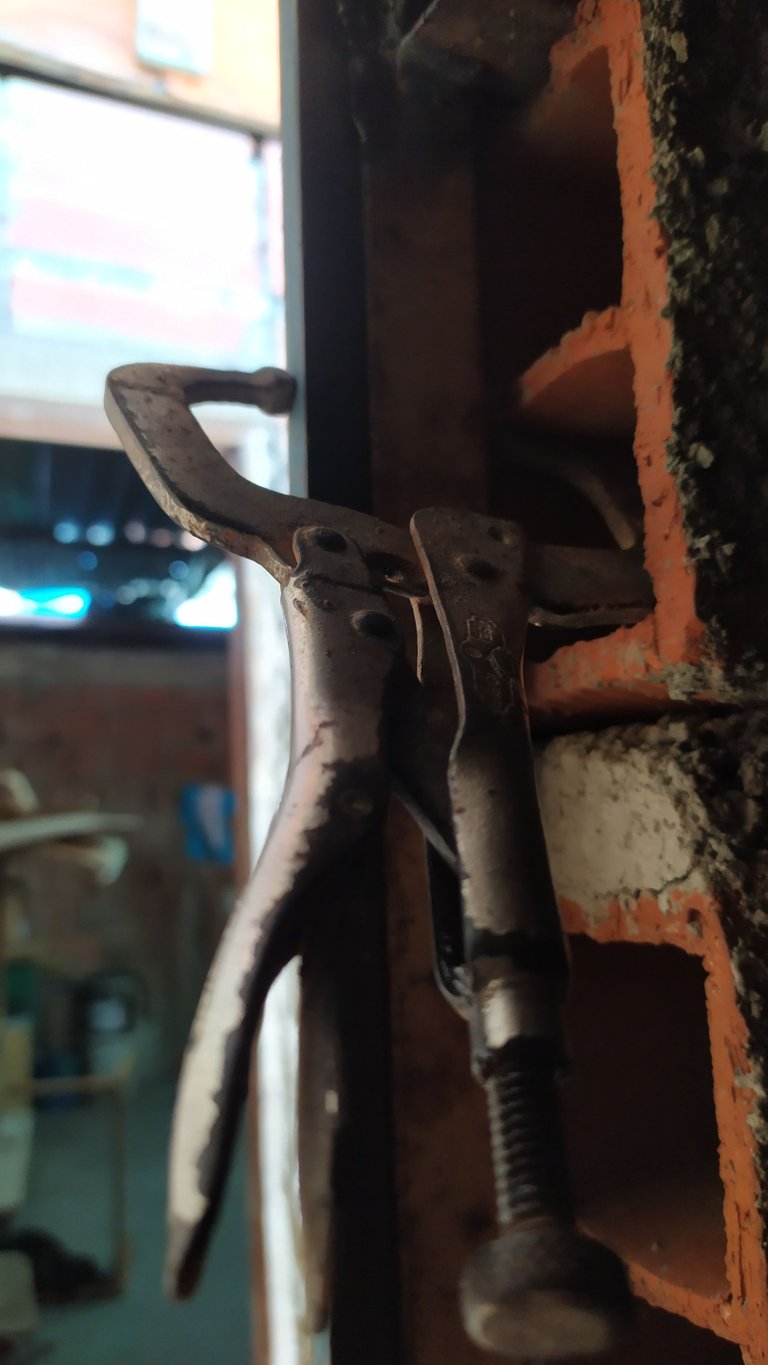
When I started with the construction I already had everything well planned as I moved forward to take advantage of time, one of the things I did from the beginning was to leave some steps to be able to fix the door frame, in this case I used some iron rods and embedded them when I was just creating that column three years ago.
Cuando comencé con la construcción ya yo tenía todo bien planeado como ir avanzando para aprovechar bien el tiempo, una de las cosas que hice desde un inicio fue dejar unos peldaños para poder fijar el marco de la puerta, en este caso use unas cabillas de hierro y las incruste cuando apenas estaba creando esa columna hace tres años atrás.
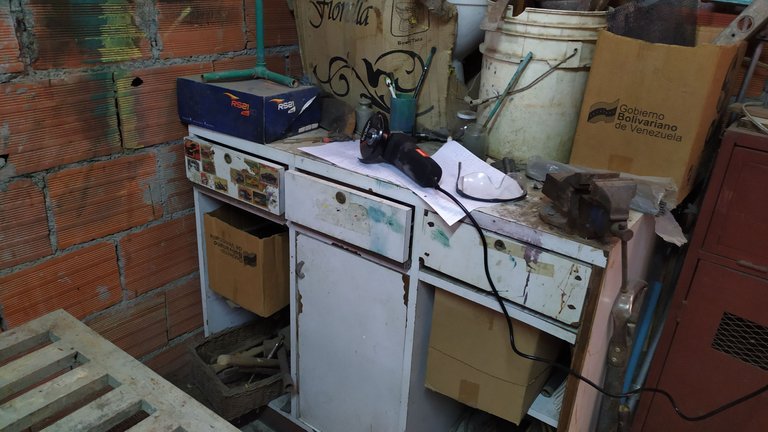

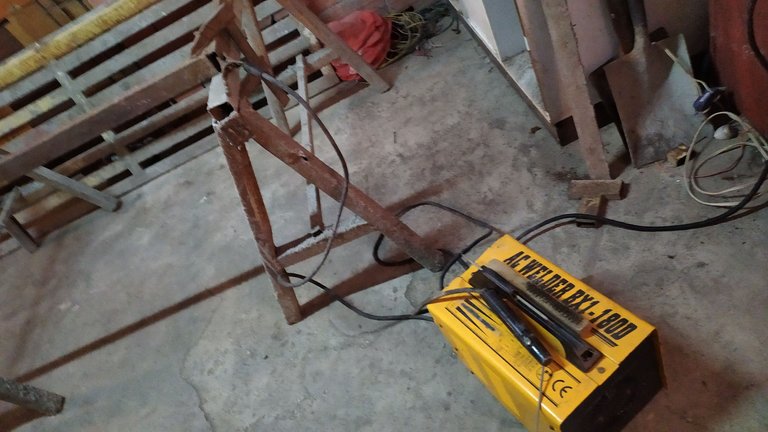
A couple of weeks ago I acquired a very useful
tool that made it easier for me to carry out this whole project, apart from that I borrowed a welding machine from a relative; another tool that was essential to be able to assemble that door.
Hace un par de semanas adquirí una
herramienta muy útil que me facilito la realización de todo este proyecto, aparte le pedí prestada a un familiar una máquina para soldar; otra herramienta que fue esencial para poder montar esa puerta.
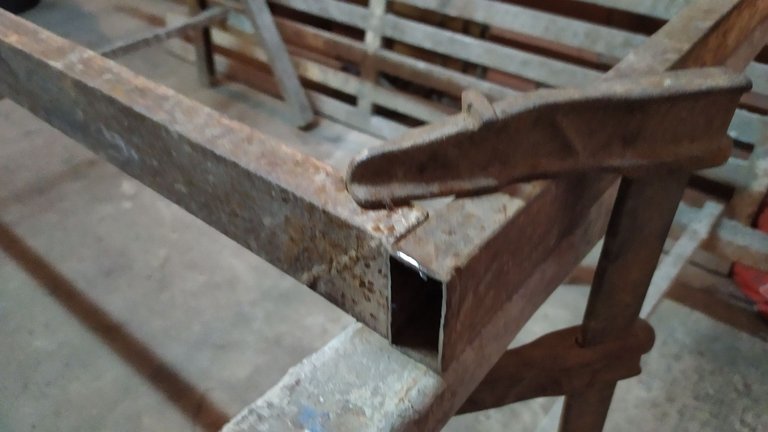
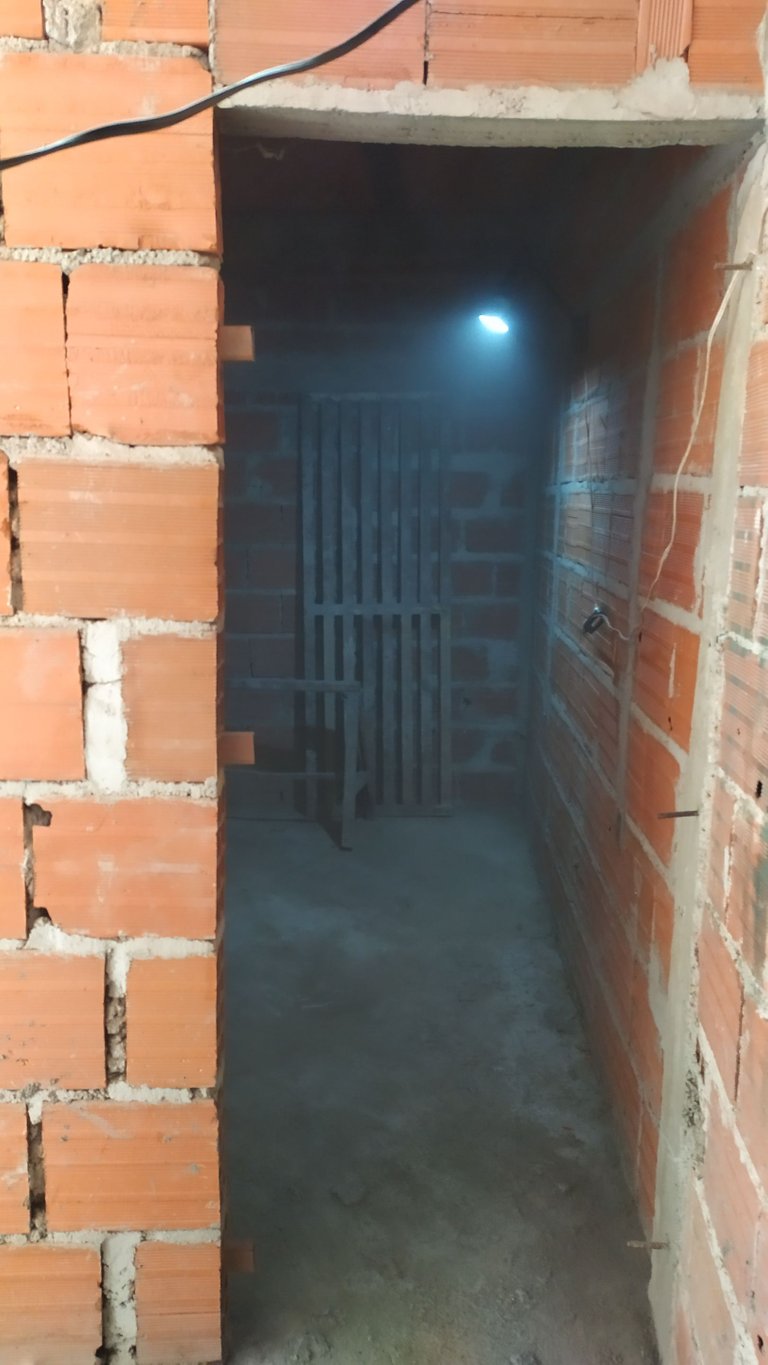
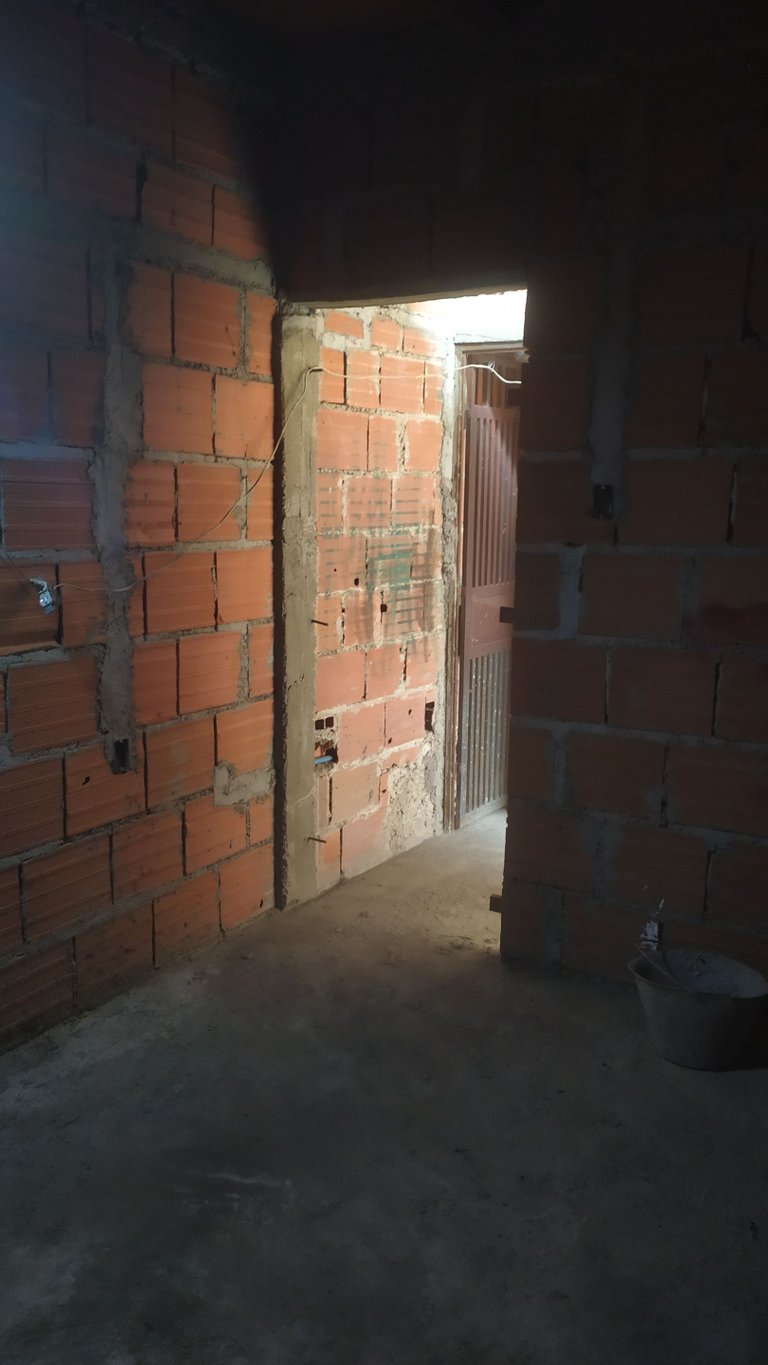
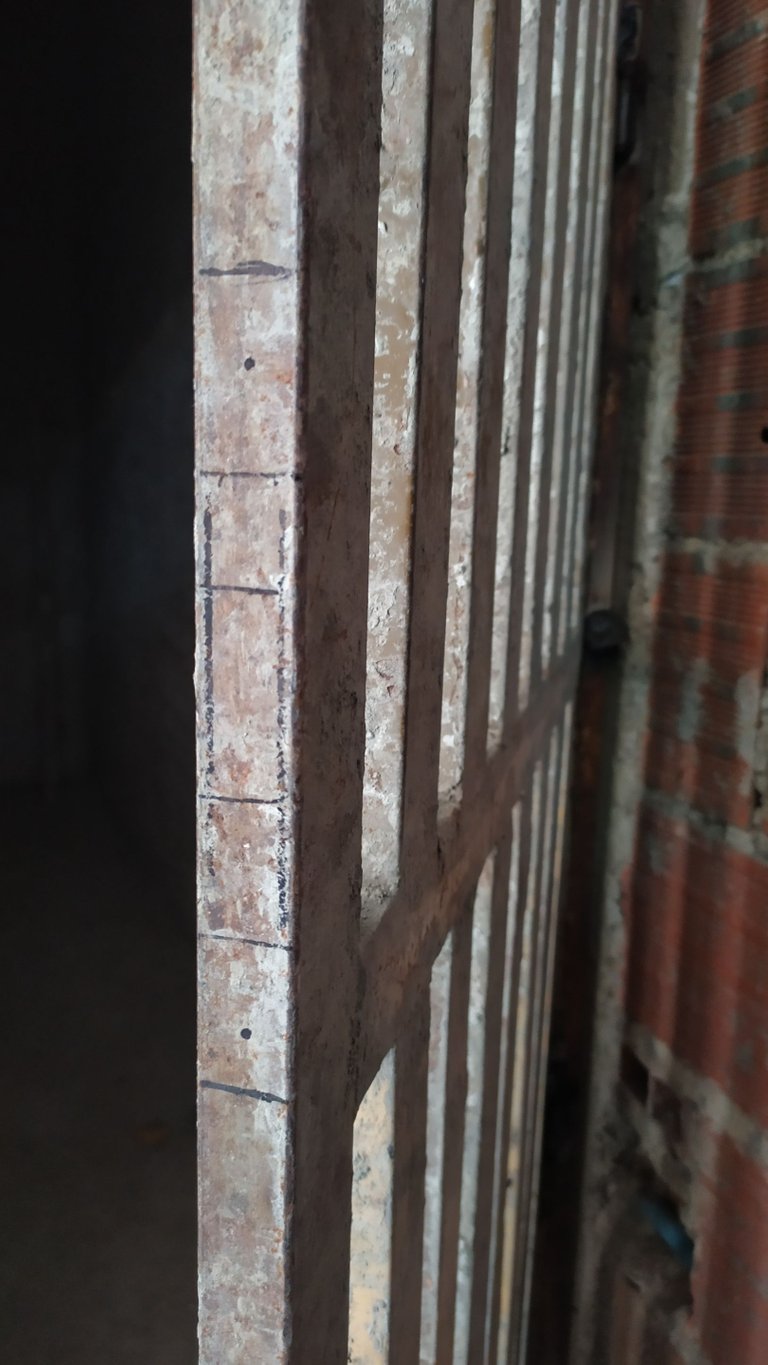
The first thing I put together was the door frame; I want to emphasize that the tubes that I used to make the frame, I got from the same fence that I assembled, it was a larger fence and I cut it to be able to take advantage of those 2x1" tubes; apart from that, I also reduced the height of the fence by one inch. It will remain as the definitive door of the room.
Lo primero que armé fue el marco de la puerta; quiero destacar que los tubos que use para realizar el marco, los obtuve de la misma reja que monte, era una reja mas grande y la corte para poder aprovechar esos tubos de 2x1"; aparte también le reduje una pulgada de altura a la reja que va a quedar como puerta definitiva de la habitación.
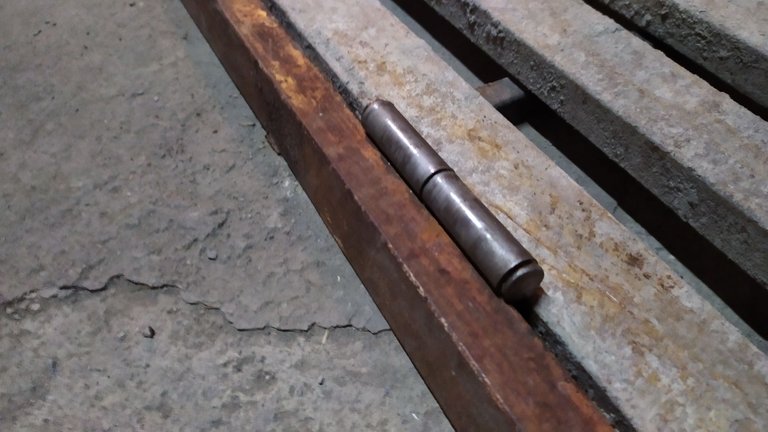
After I already had the frame assembled, I went on to weld the hinges; Do it this way as shown in the photographs so that both the door and the frame will be the same, glued in the same position.
Después de que ya tenía el marco armado, pase a soldar las bisagras; lo realice de esta manera como muestran las fotografías para que tanto en la puerta como en el marco quedaran iguales pegadas en las misma posición.
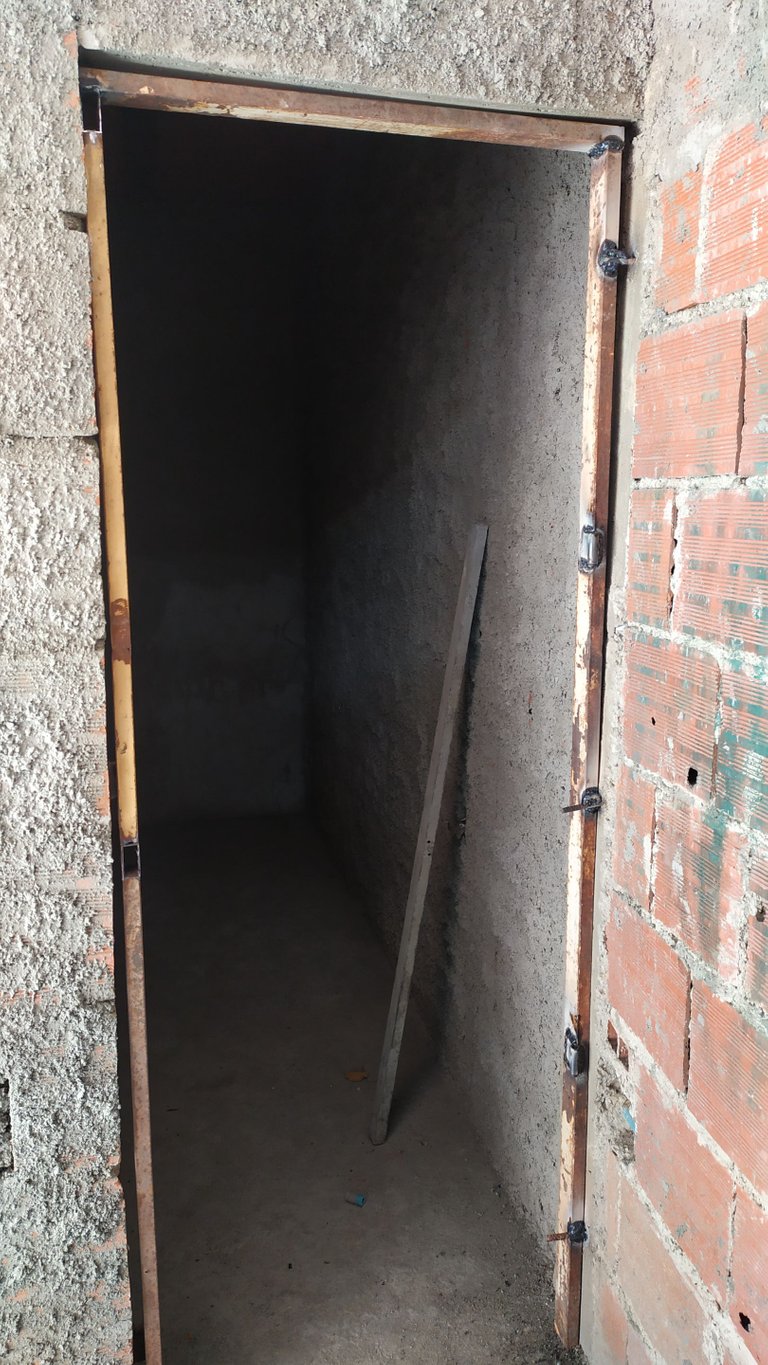
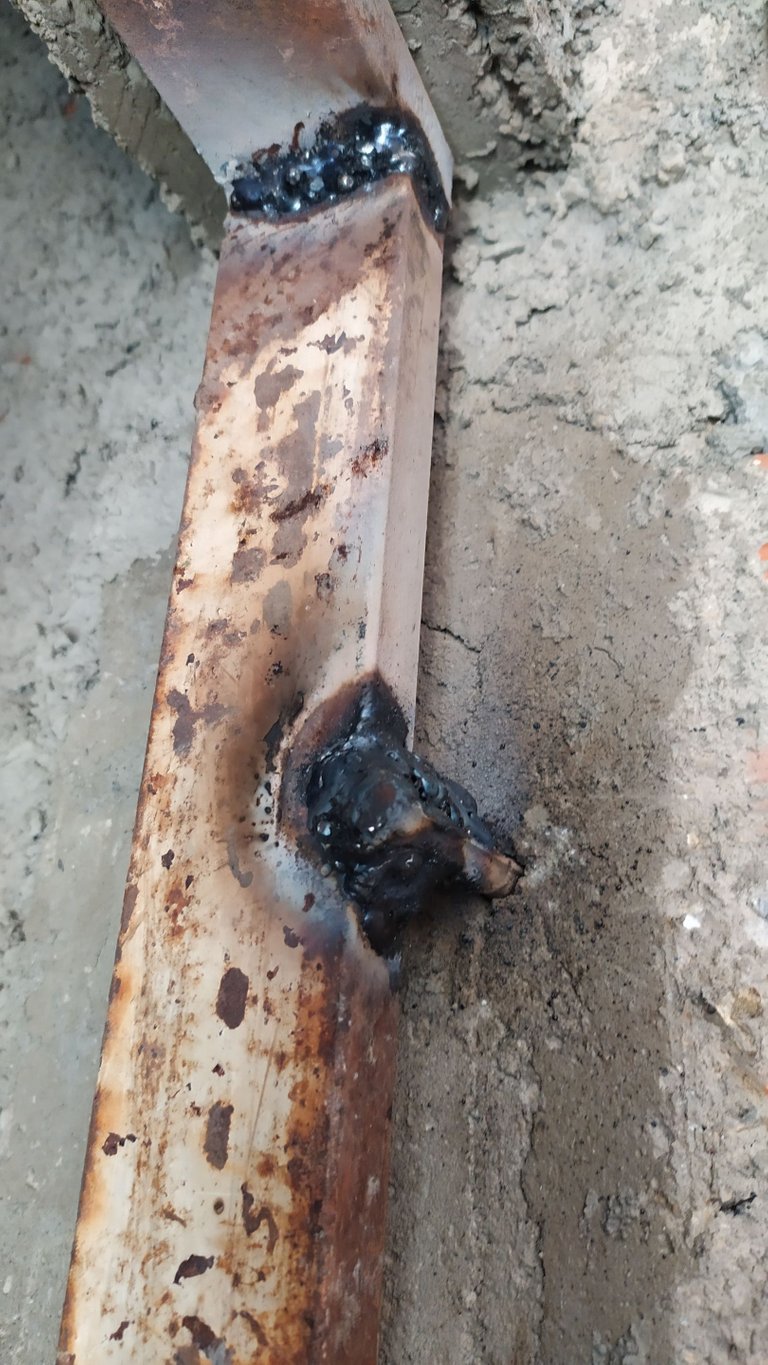
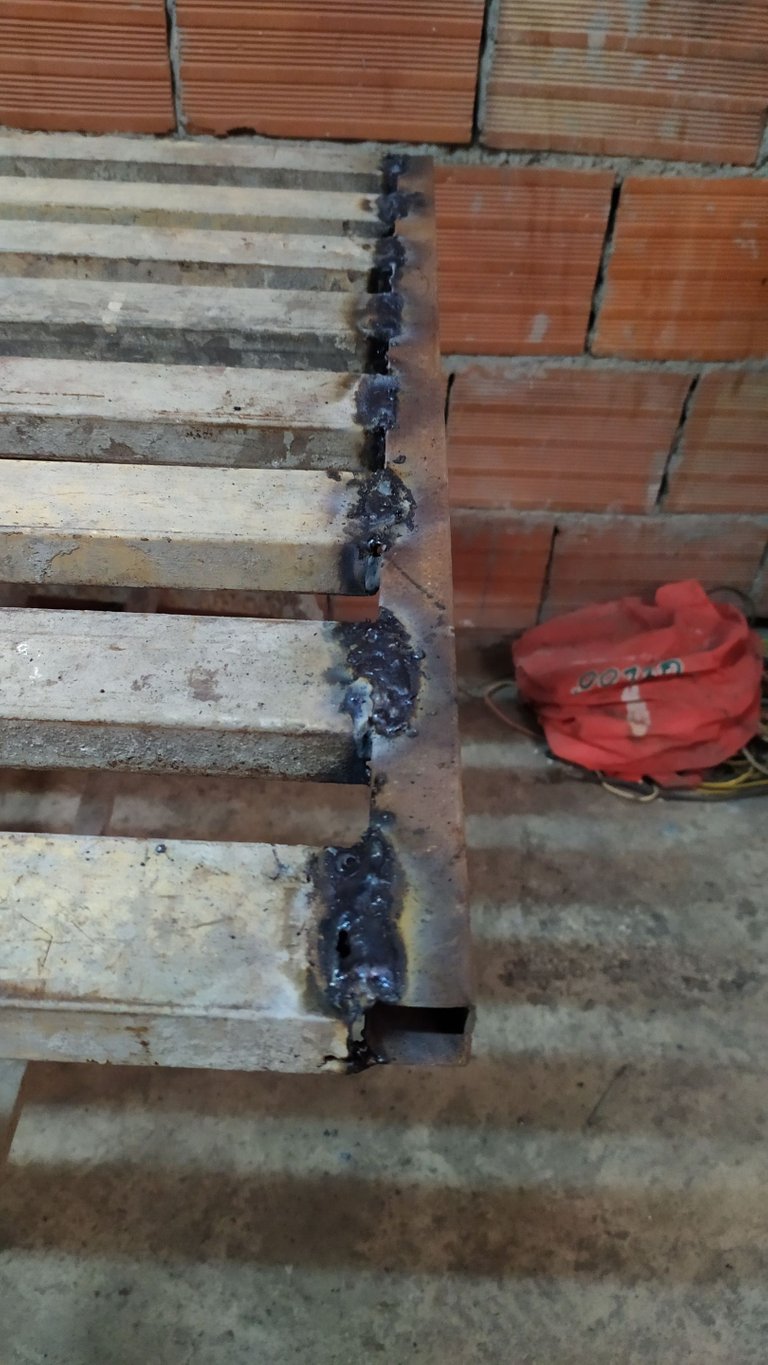
The last thing I did that day was to fix the frame to the wall, welding the frame to the rungs (rods); in the past I took a blacksmithing course (metallic constructions) I was able to learn to weld, but I did not have the opportunity to practice; It was on this project that I learned to solder with practice, it's not the best solder but I'm sure it won't fall off. After placing the fence I decided to rest for that day, my eyes were already very tired.
Lo último que realice ese día fue fijar el marco a la pared, soldando el marco a los peldaños (cabillas); en el pasado realice un curso de herrería (construcciones metálicas) pude aprender a soldar, pero no tuve la oportunidad de practicar; en este proyecto fue que aprendí a soldar con la práctica, no es la mejor soldadura pero estoy seguro que no se caerá. Después de colocar la reja decidí descansar por ese día, ya tenía la vista muy cansada.
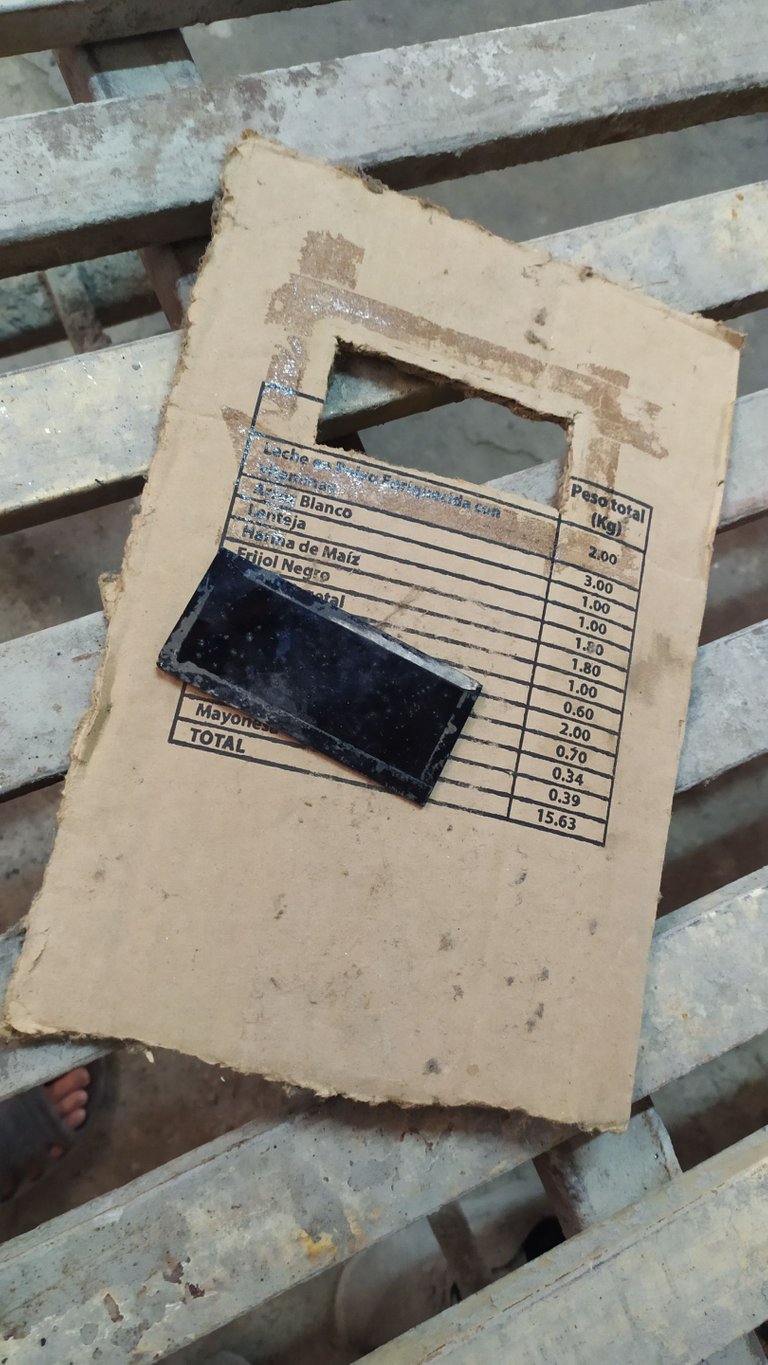
To protect my eyes when welding, I only have the anti-UV lens, but welding with that still cost me a bit at first; That first day of work I burned my eyes a lot, it was very uncomfortable when I tried to sleep.
Para protegerme los ojos al momento de soldar solo tengo el lente anti rayos UV, pero soldar con eso todavía me costaba un poco al principio; ese primer día de trabajo me quemé mucho la vista, fue muy incomodo al intentar dormir.
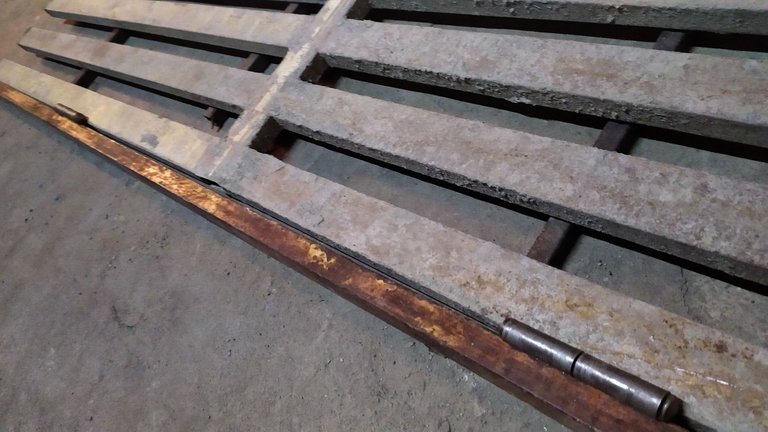
The next day and what I needed to do was a little simpler, I welded some iron bars to the frame so that the door has a limit as far as it can go to close it.
Al día siguiente ya lo que me faltaba por realizar era un poco mas sencillo, le solde unas barras de hierro al marco para que la puerta tenga un limite hasta donde puede llegar para cerrarla.
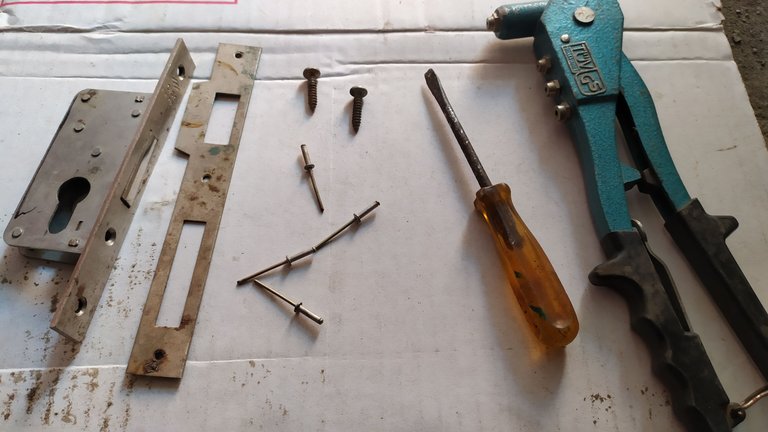
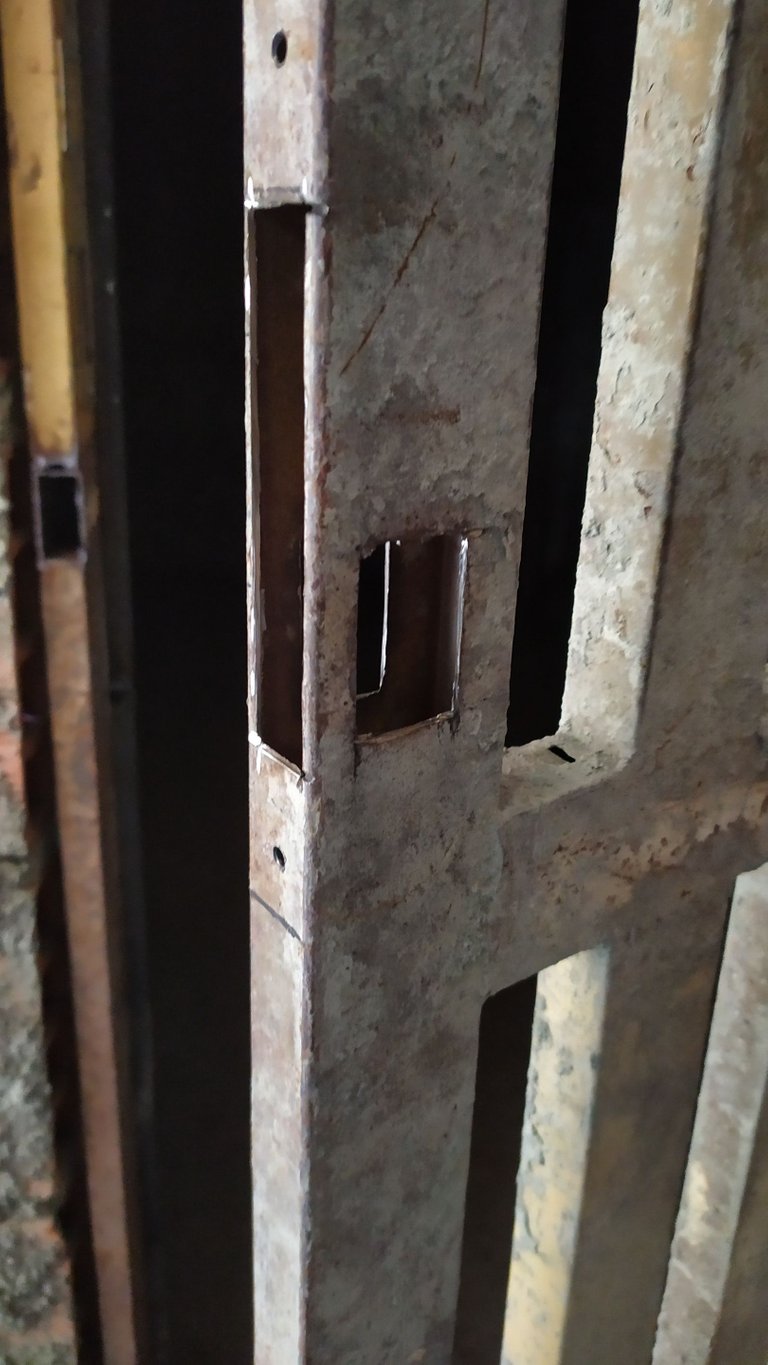
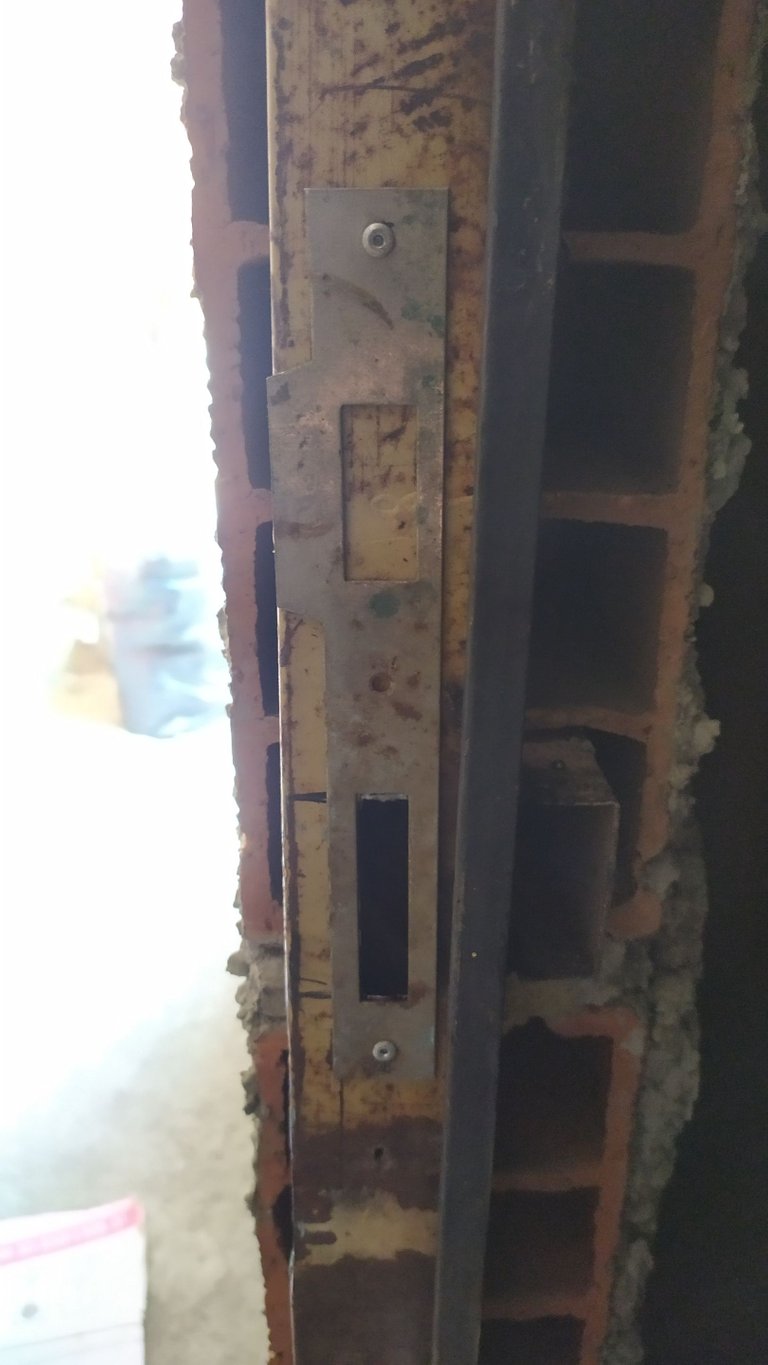
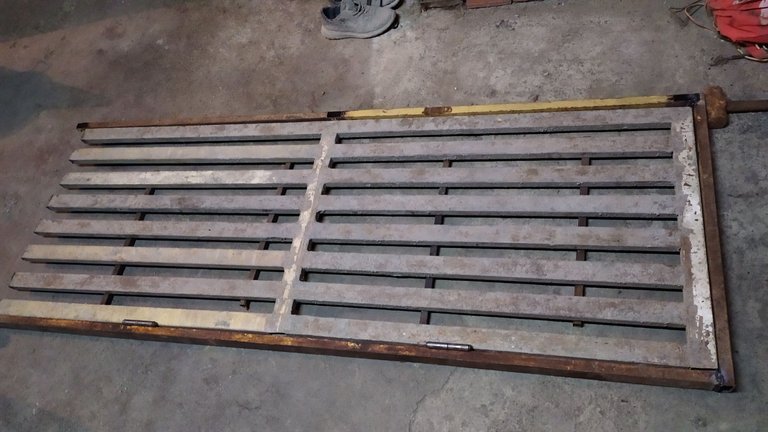
I also installed a lock with a key on the door, thanks to the emery I bought, this whole process was very easy to carry out. I would also like to point out that most of the things I used in this project I already had in my house because my father in life was a hoarder (the gate, the lock, the cylinder with the key) the only things I bought were the hinges, welding electrodes and emery.
También le instalé una cerradura con llave a la puerta, gracias al esmeril que compré todo este proceso fue muy facil de realizar. Me gustaría destacar también que la mayoría de las cosas que utilice en este proyecto ya las tenía en mi casa porque mí padre en vida era un acumulador (la reja, la cerradura, el cilindro con llave) las unicas cosas que compre fueron las bisagras, los electrodos para soldar y el esmeril.
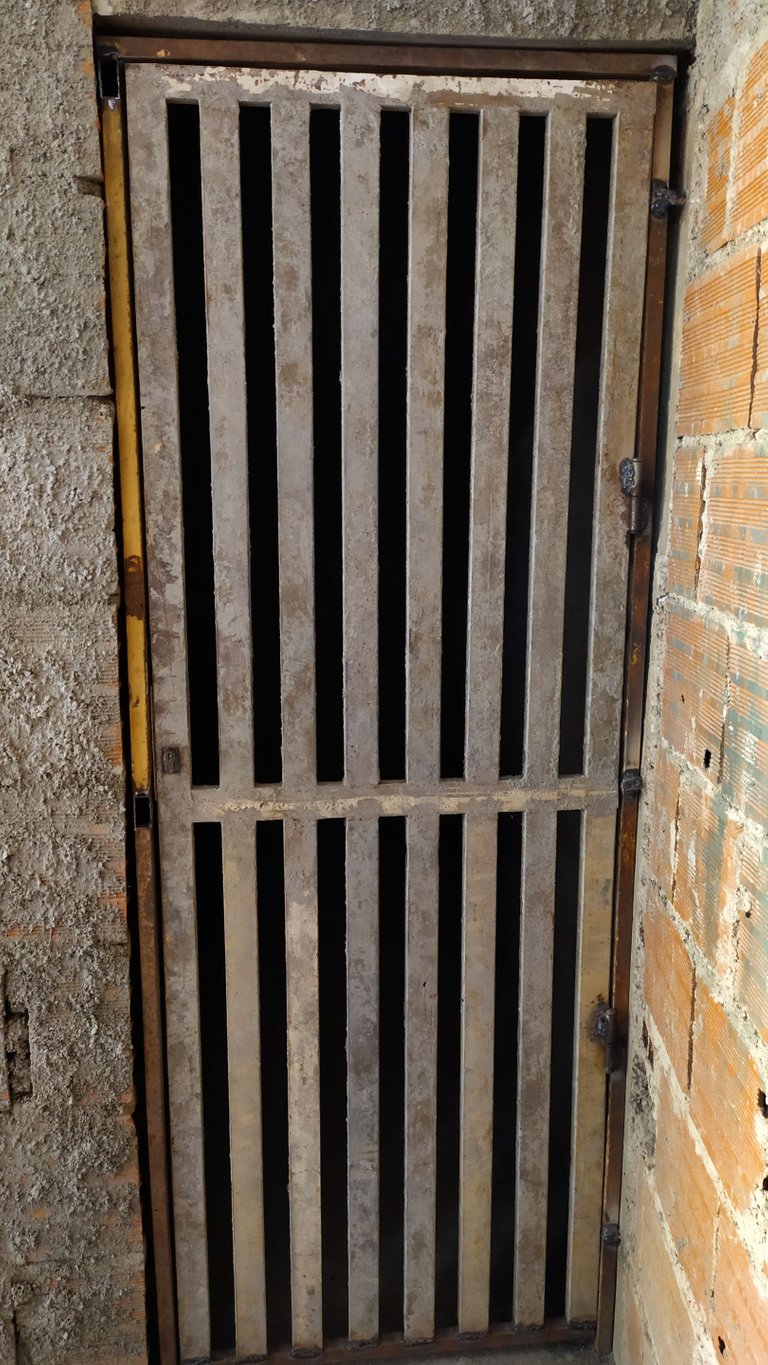
For now this project will remain like this, but it is not yet the final product; I am going to cover that grille with a metal sheet so that it is completely sealed and I will add a few layers of paint, but I have already made a great advance in the construction of my room-study. I hope you like this post, good vibes 🖖🏼.
Por ahora este proyecto quedará así, pero todavía no es el producto final; esa reja la voy a cubrir con una lamina metálica para que quede completamente sellada y le agregaré unas capas de pintura, pero ya he realizado un gran avance en la construcción de mi habitación-estudio. Espero que este post sea de su agrado, buenas vibras 🖖🏼.

MANY THANKS / MUCHÍSIMAS GRACIAS


All images and texts cited in this publication are my own authorship.
Todas las imágenes y textos citados en esta publicación son de mi propia autoría.