Hello, beautiful people. It feels good to be doing this again after a very long time. I haven’t posted a crochet content for the longest time. Let’s just say life has been life-ing. Anyways, I recently finished a granny square set for a client and it was my first time working with granny squares done in multiple colours for a clothing piece. I didn’t take pictures along the way but there are a few I can work with, so let’s do this.
This year, I’ve been more serious with my crochet and have been taking orders. Someone might say I’m hitting my New Year Goals already. Well, something like that. I always forget to take pictures along the way. That’s why I find it so hard to post the projects here because then I have to rack my brain trying to find out how to make it work. 😩It’s so draining! Anyways, a neighbour hit me up requesting a bikini set she’d seen online on a well-known influencer. She was travelling in a week’s time. We settled on a price quickly, then I got the balls of yarn I needed and waited to get her measurements. I was going to use six colours just like the one in the picture she sent me.

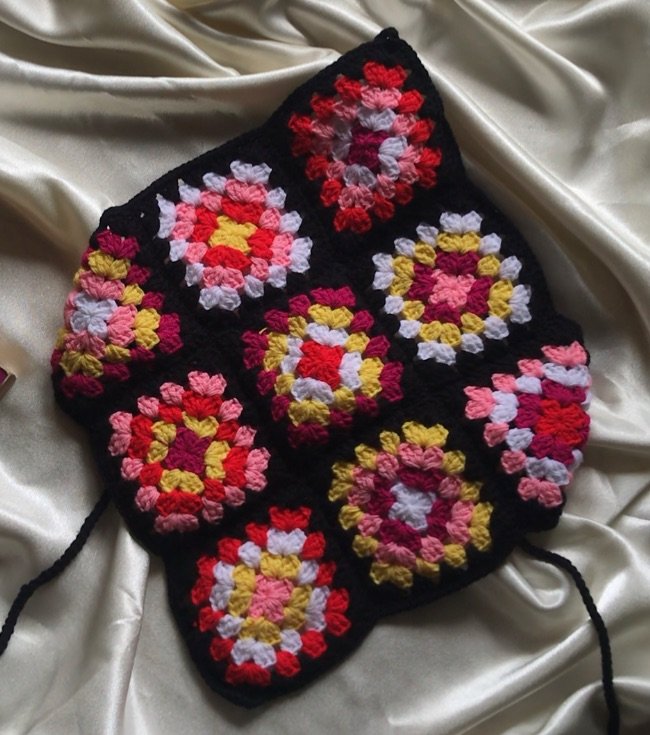
The set was made up of a diamond shaped halter top with a pair of shorts. They were both made of granny squares. To make the diamond shape, four granny squares were joined with 2 up and 2 down, then the corners that were supposed to be on the right and left sides up and down were shifted to make them in front, below, and on the right and left sides in the middle to form a diamond shape. The top in the picture was made of 4 granny squares with 6 rounds each and since I didn’t think my neighbour was busty, I didn’t wait to get her measurements before beginning the top. I thought the same size as the one in the picture would fit her perfectly, so I began.
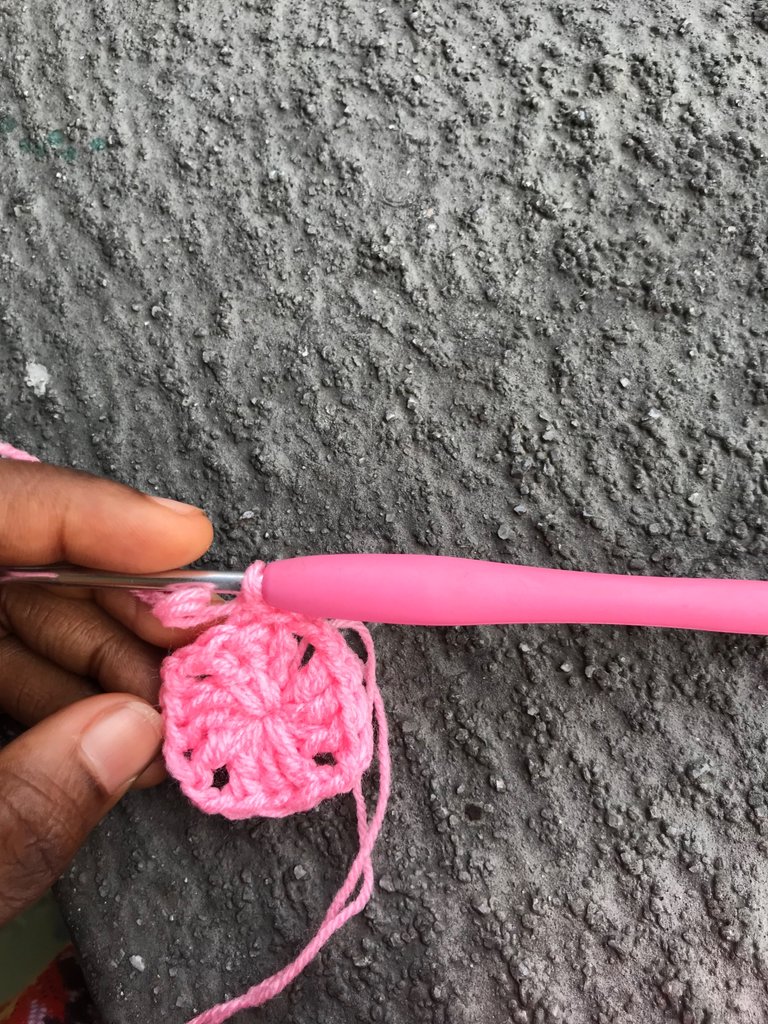
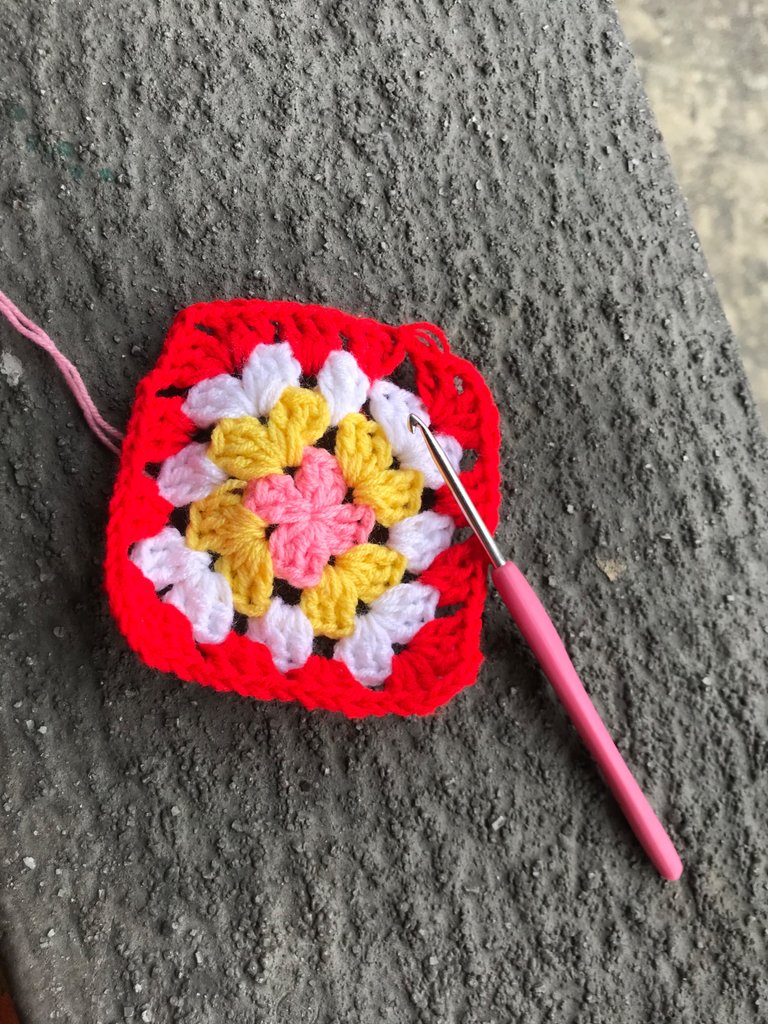
To make the granny squares, I began with a magic ring, chained three, then did 2 double crochets. The chain 3 served as the first double crochet. After that, I chained 2, then did another 3 double crochets. I continued to chain 2 and do 3 double crochets till I had 4 sets of 3 double crochets. Then I chained 2 and cut the yarn, leaving a little length. That was the first round with the first colour.
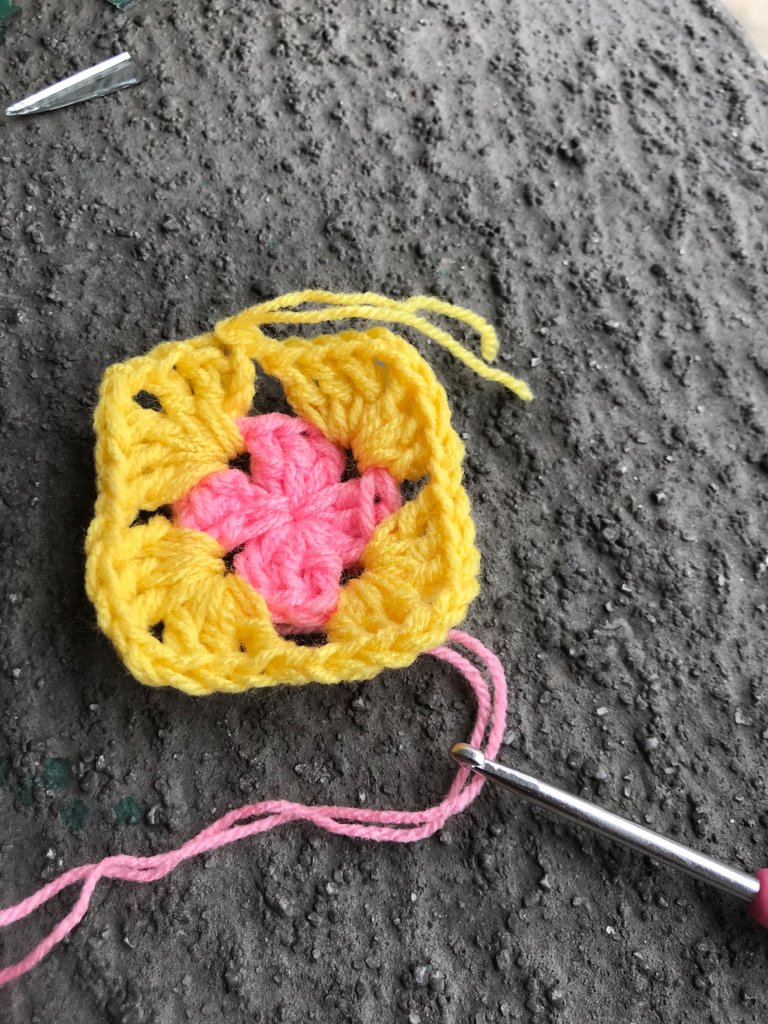
To begin round 2, I inserted the second colour in the chain 2 space just behind where the first colour of yarn was. I did a chain 3 which will serve as my first double crochet, then added 2 more double crochets to complete the first set of three double crochets. After that, I chained 2 and did another set of three double crochets making 2 sets in that space. I chained 1 after that before going to the next chain 2 space to repeat the same process of 2 sets of 3 double crochets. For every chain 2 space, I did 2 sets of double crochets, then connected the sets with 1 double crochet. That means that there were 2 sets of 3 double crochets in each chain 2 space. After the chain 1, I cut off the yarn. That was the end of the second round.
The essence of the 2 sets of 3 double crochets in the second round was for the work to have four perfect corners. For the third round, every chain 2 space had 2 sets of 3 double crochets, while every chain 1 space had just 1 set of 3 double crochets.
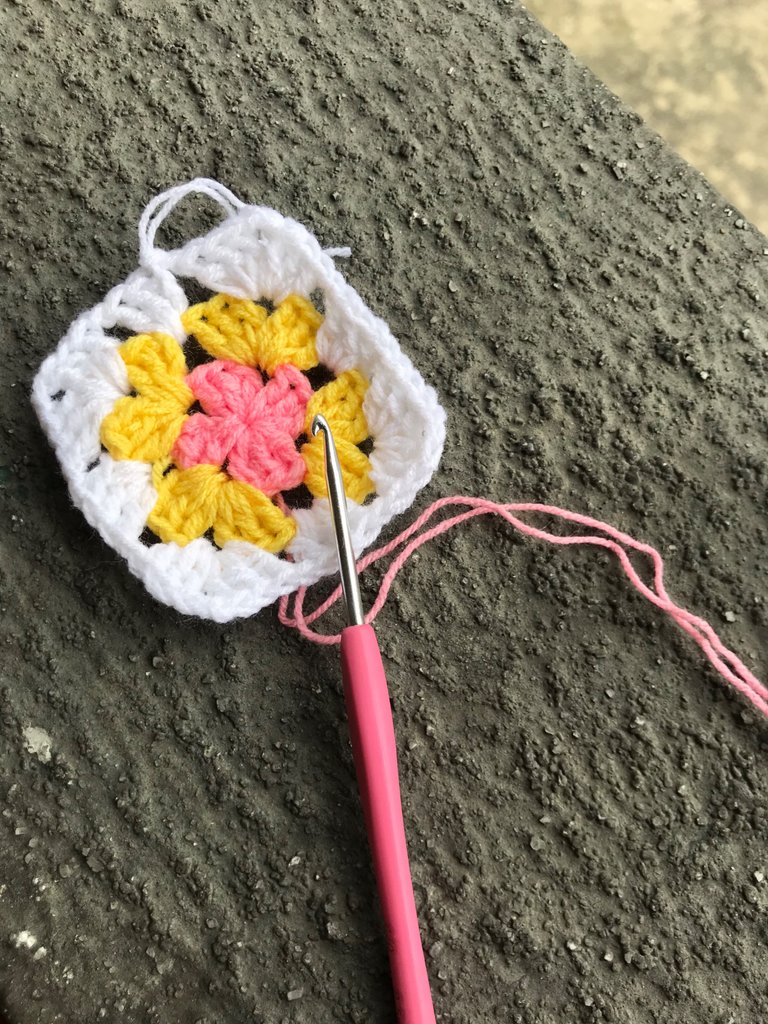
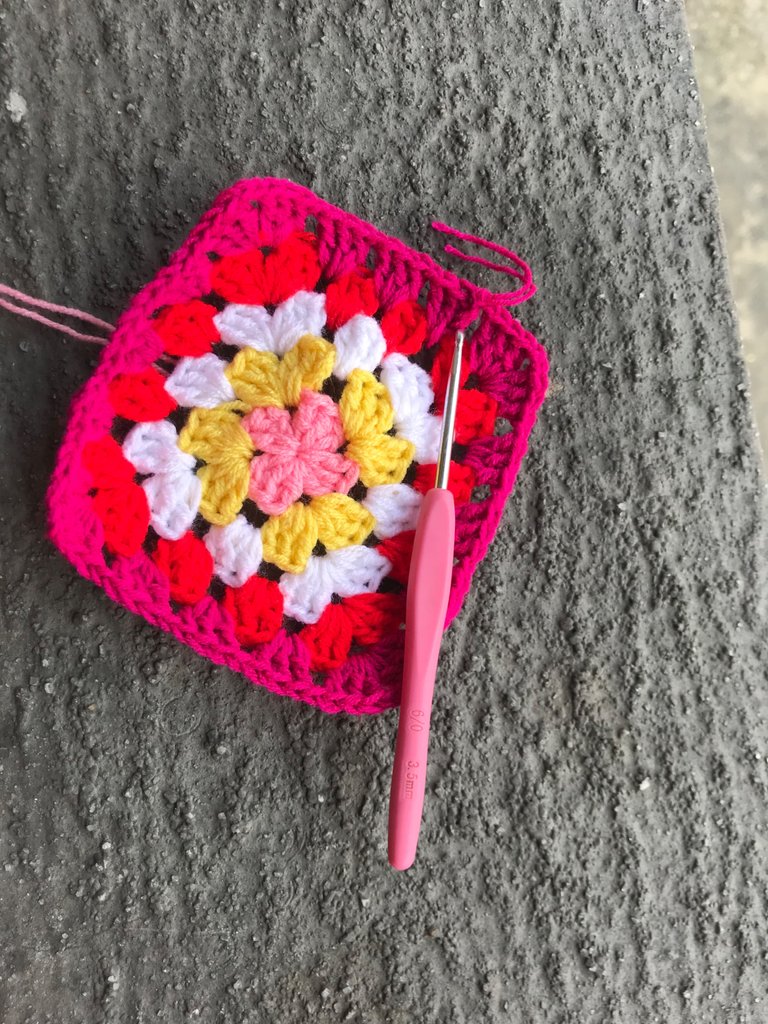
I did the same thing in the subsequent 3 rounds — every chain 2 space had 2 sets of double crochets, while every chain 1 space had 1 set of double crochet.
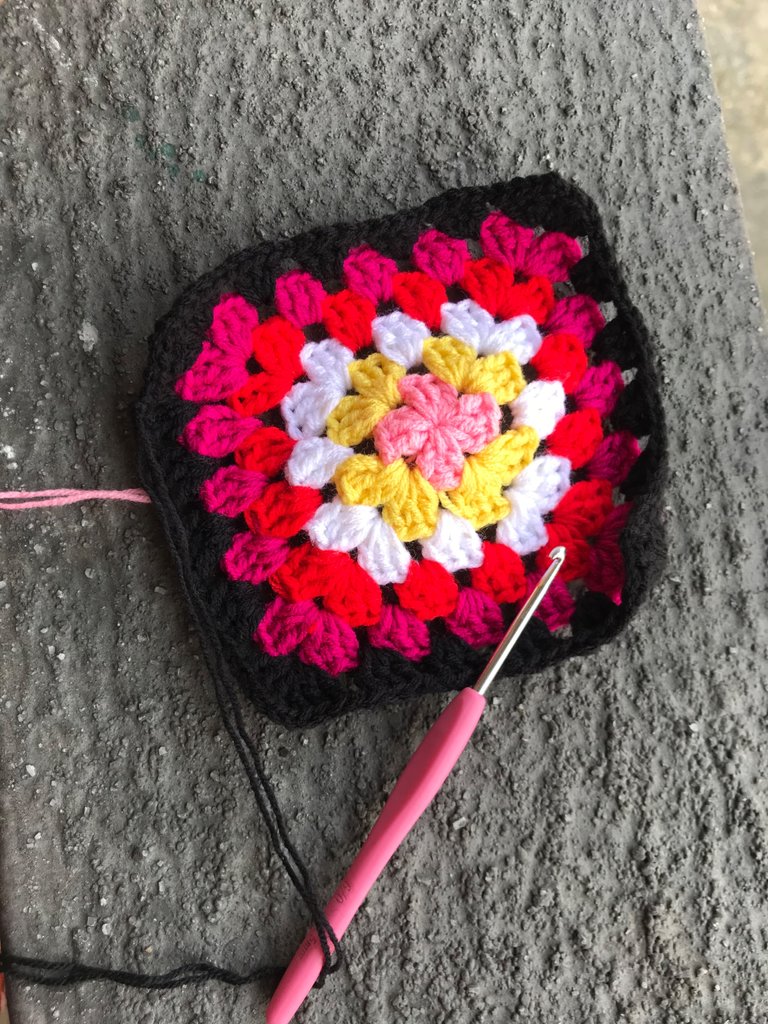
When I finally got the measurements, I realized that just four granny squares wouldn’t do so I had to make 9 granny squares with 5 rounds instead because after 4, that was the smallest number of squares that could form a diamond.
When I had the 9 squares I needed, I proceeded to work on the granny squares for the shorts before I join the squares for both pieces.
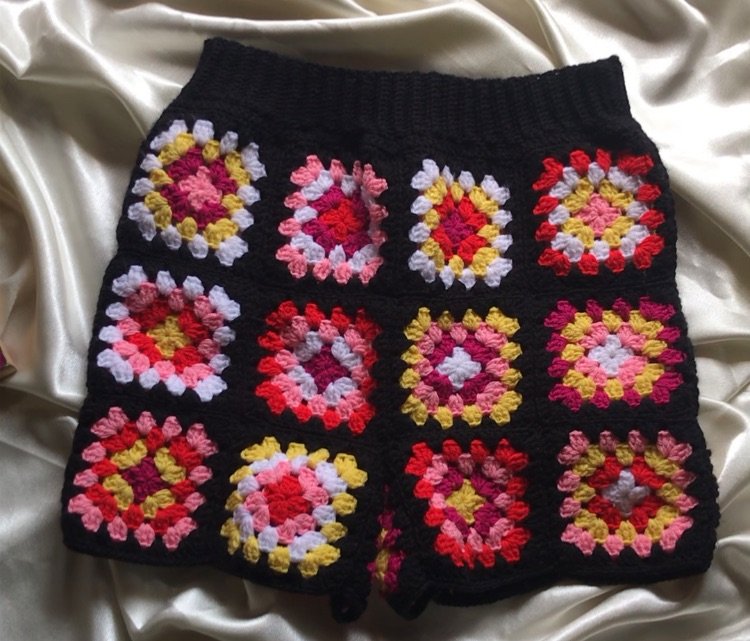
I made calculations with her measurements. I came to the conclusion that the same size of granny squares would work for the shorts. The plan was to have 8 in front and 8 at the back (4 yo and 4 below) to form the skirt part. To make the part that would turn the piece into shorts, I would have another 4 in front and 4 at the back, but make 2 other squares to form the crotch. That made up 26 squares that I needed. I spent 3 days making the granny squares.
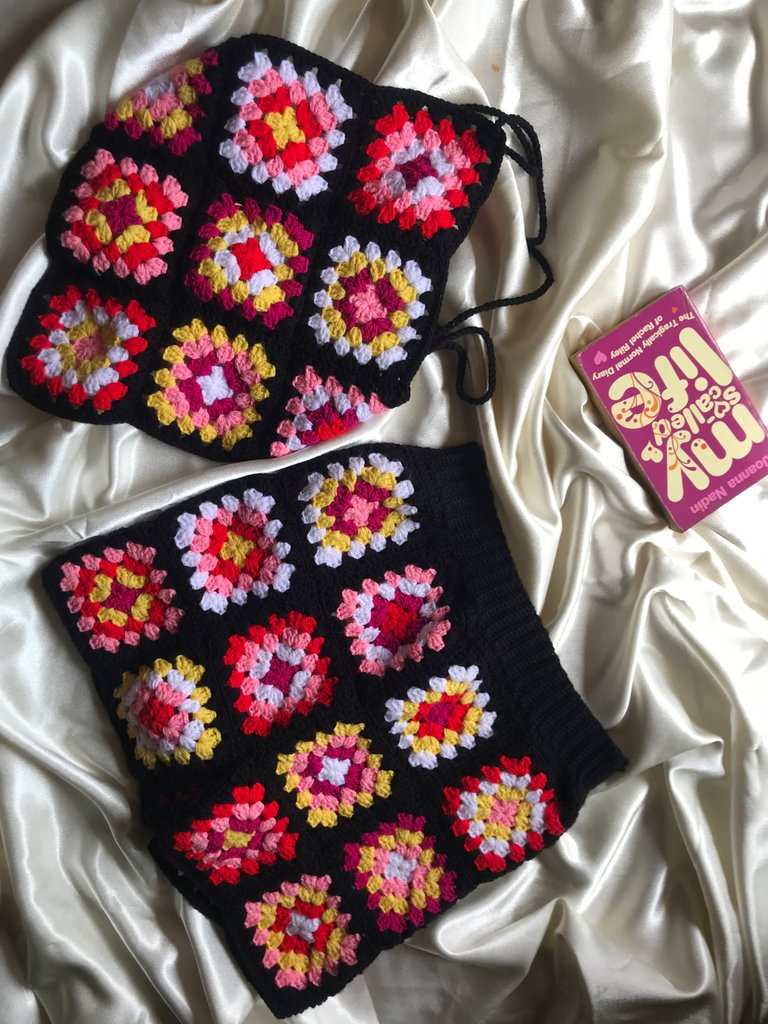
I made the top first. After joining the granny squares, I did a single crochet round the edge to give it a neater look, then I did the rope. I worked it into the top corner where her neck would be and the corner at the sides that her arms would pass through before knotting it at the back. 🤗The top was complete!
I moved on to the shorts next. After joining all the granny squares, I did 2 rows of double crochets at the top with a few decreases to make the waist smaller. Then, I proceeded to do the waistband of single crochet ribbing, doing some decreases as I joined the ribbing to the rest of the piece. That way, I really cinched the waist.
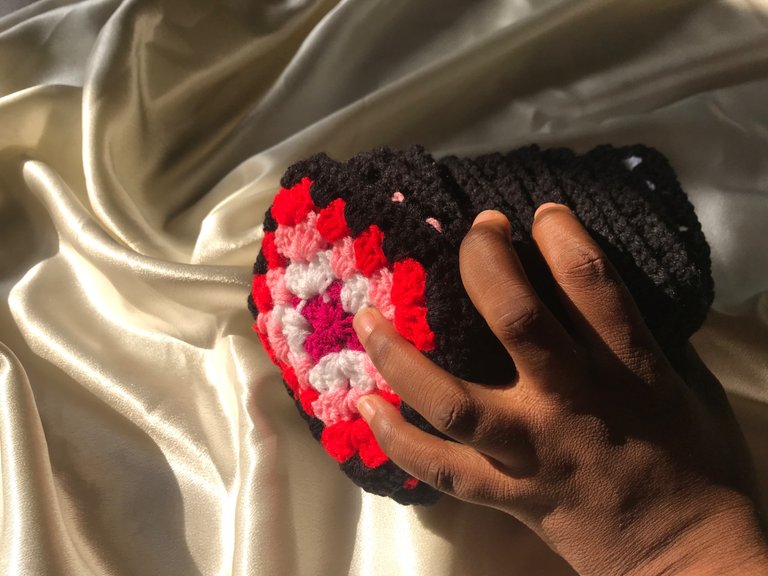
Then I sewed in the ends which seemed to take like forever. 💃🏽Finally, the set was complete!
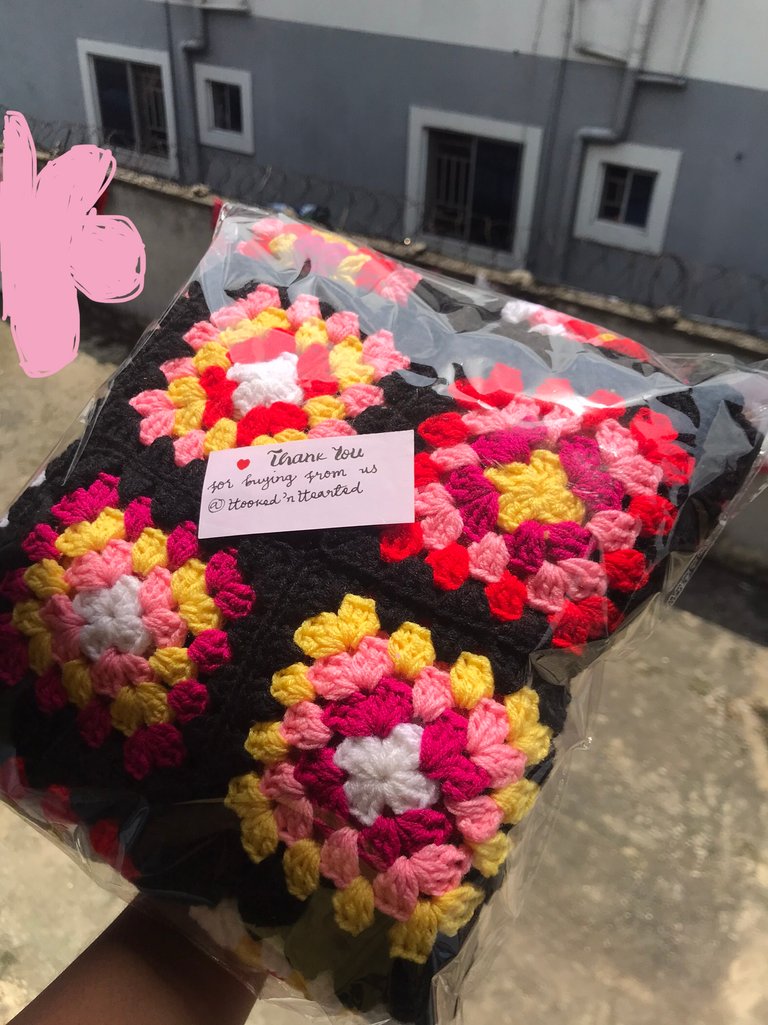
The project took me 5 days. I used up about 1 and between a quarter to half of each 40g ball except black which I used about 2 balls and a quarter. It was such a delight packaging it and handing it to the owner after everything. All I could think of was, “The joy of making things with your hands!”😊
All images are mine, taken with my phone.