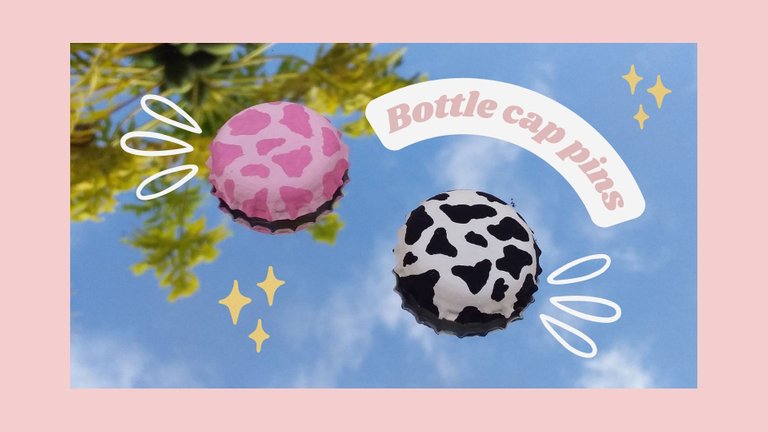
Bienvenidos | Welcome
Hola de nuevo, gente linda de la colmena, espero que se encuentren súper de maravilla.😃 El día de hoy traigo para ustedes un tutorial muy sencillo donde les mostraré cómo hacer unos pines con tapas de gaseosas. Esta idea surgió hace unos días cuando mi hermano compró un par de gaseosas y me encontré con las tapas, inmediatamente me hicieron recordar que cuando tenía unos 12 años estaban muy de moda llevarlas con algún diseño impreso de bandas, memes o dibujos kawaii, cubiertas con una capa de resina (todo muy sofisticado😂). Para ese entonces obviamente no contaba con el dinero para comprarlas, asi que optaba por hacer algunas pintadas a mano😂 con diseños de anime, One direction y de cualquier otra cosa que se me ocurriera 😂 así que para conmemorar ese lindo recuerdo,quise hacerles este tutorial💖 quedan realmente cool y lo mejor es que puedes tomar esta idea y modificarla totalmente a tu gusto.
Asi que sin más que decir, comencemos.
Hello again, beautiful people of Hive, I hope you are super wonderful.😃 Today I bring for you a very simple tutorial where I will show you how to make some pins with soda caps. This idea came up a few days ago when my brother bought a couple of sodas and I came across the caps, they immediately made me remember that when I was about 12 years old it was very fashionable to wear them with some printed design of bands, memes or kawaii drawings, covered with a layer of resin (all very sophisticated😂). By that time I obviously didn't have the money to buy them, so I opted to make some hand painted ones😂 with designs from anime, One direction and anything else I could think of 😂 so to commemorate that nice memory,I wanted to make you this tutorial💖 they look really cool and the best thing is that you can take this idea and totally modify it to your liking.
So without further ado, let's get started.
Materiales | Materials:
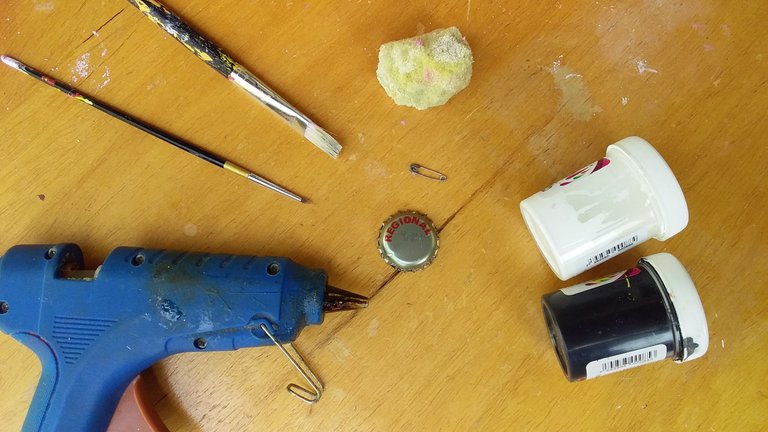
| Tapa de botella | Alfiler | Pinceles |
|---|---|---|
| Pinturas | Pega caliente | Esponjita |
| Bottle cap | Safety pin | Brushes |
|---|---|---|
| Paints | Hot glue | Sponge |
✨Proceso | Process✨
Paso 1 | Step 1
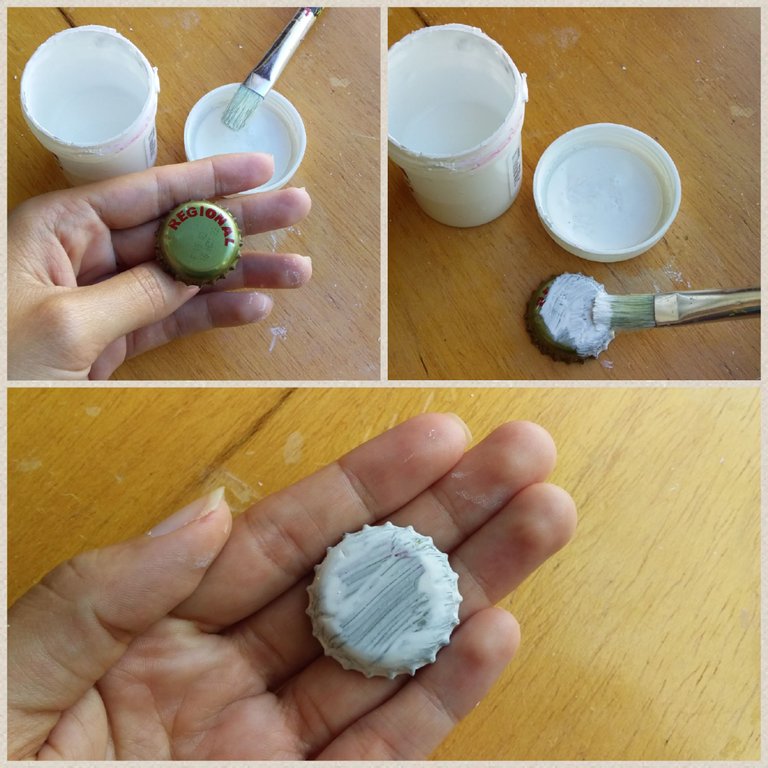
Lo primero que haremos será aplicar una capa generosa de pintura blanca a nuestra tapa y luego dejarla secar. No te preocupes si ves que se formaron algunas vetas, en el siguiente paso te muestro cómo cubrirlas.
Nota: si tienes pensado hacer otro diseño y no este de vaca, igual es muy importante que la primera capa de pintura que des sea blanca, esto es para que los demás colores se adhieran con facilidad.
The first thing we will do is apply a generous coat of white paint to our bottle cap and then let it dry. Don't worry if you see some streaks, in the next step I will show you how to cover them.
Note: if you plan to make another design and not this cow design, it is very important that the first coat of paint you apply is white, this is so that the other colors adhere easily.
Paso 2 | Step 2
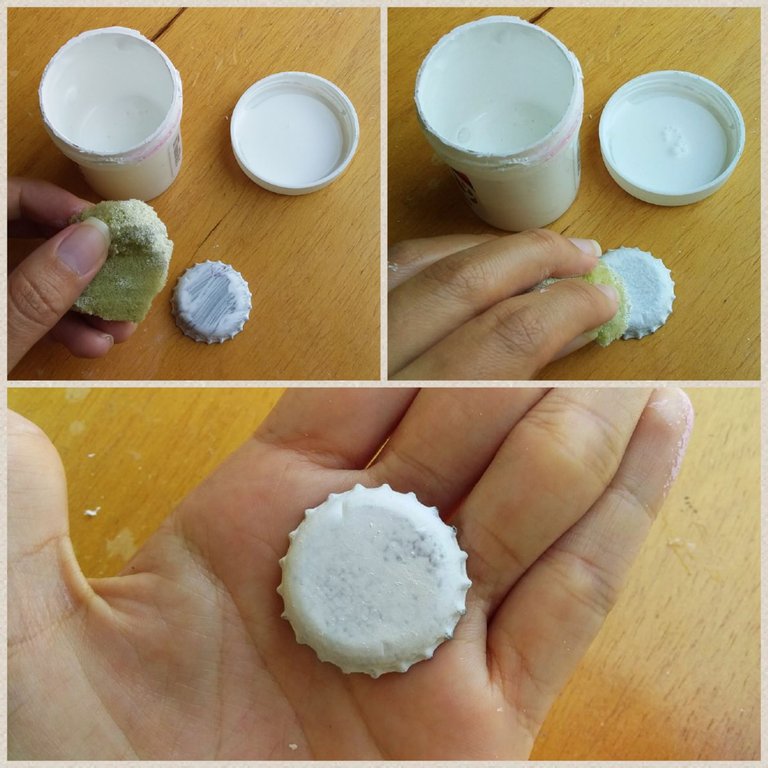
Ahora, ¿cómo cubrimos las vetas y obtenemos capas más uniformes? Sencillo, usando una esponjita. La forma adecuada de usar la esponja es que esta esté cargada de pintura PERO debemos ir pintado con toques suaves, con cariñito.😂
Now, how do we cover the streaks and get more uniform layers? Simple, using a sponge. The proper way to use the sponge is that it is loaded with paint BUT we must paint with soft touches, with affection.😂
Paso 3 | Step 3
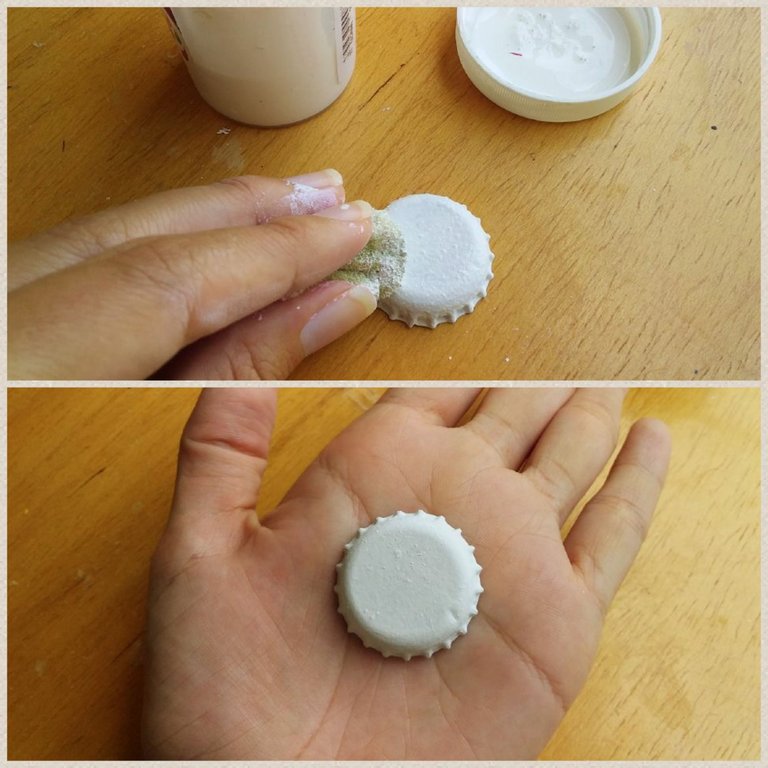
Continuaremos pintando hasta obtener un color bastante sólido (dejando secar entre capas).
We will continue painting until we obtain a fairly solid color (letting it dry between coats).
Paso 4 | Step 4
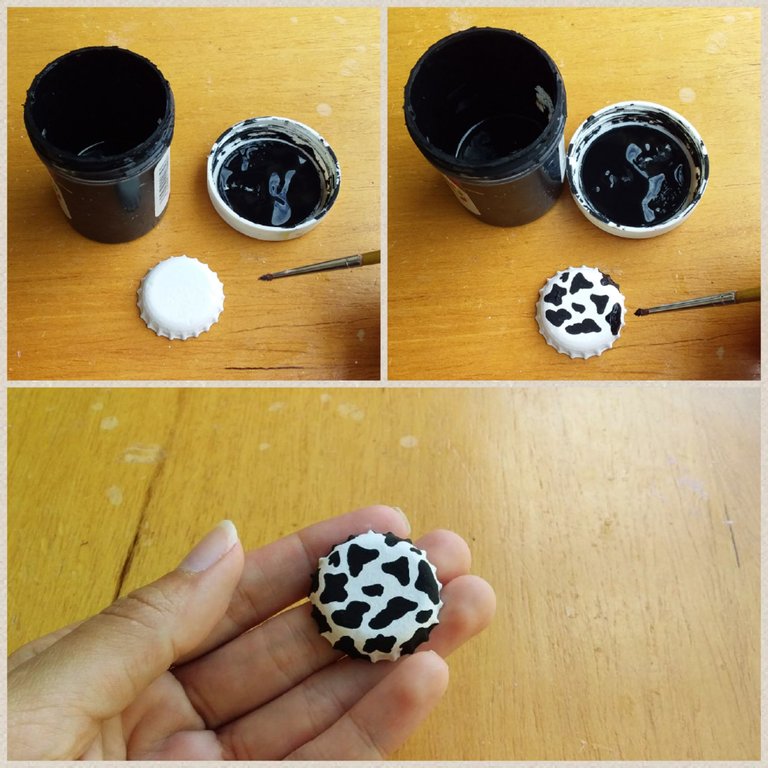
Para las manchitas no hay que seguir un patrón en específico, simplemente puedes hacer figuras al azar con pintura negra y te prometo que poco a poco tomarará aspecto de vaca.🐄
For the spots you don't have to follow a specific pattern, you can simply make random shapes with black paint and I promise you that little by little it will look like a cow.🐄
Paso 5 | Step 5
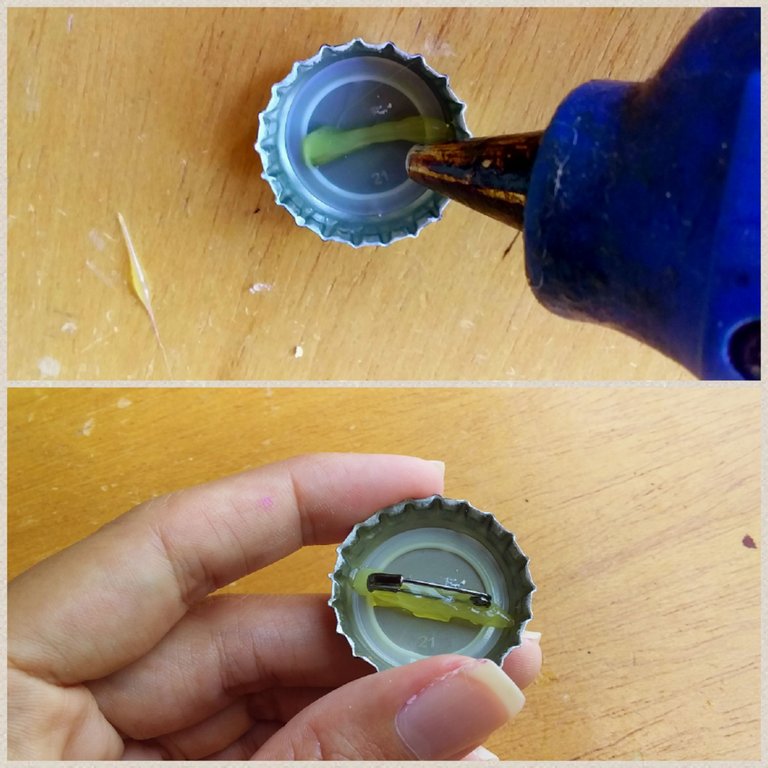
En la parte trasera de la tapa, aplicaremos un poco de pega caliente y luego pondremos nuestro alfiler (con mucho cuidado para no quemarnos).
On the back of the bottle cap, we will apply a little hot glue and then put our safety pin (very carefully so as not to burn ourselves).
🐄Resultado | Result🐄
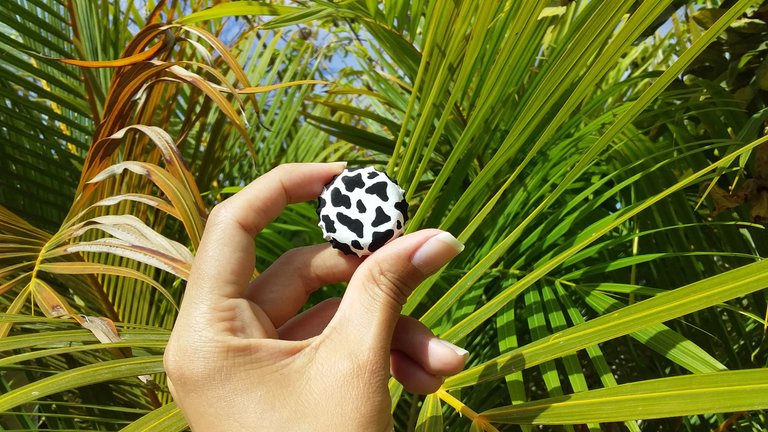
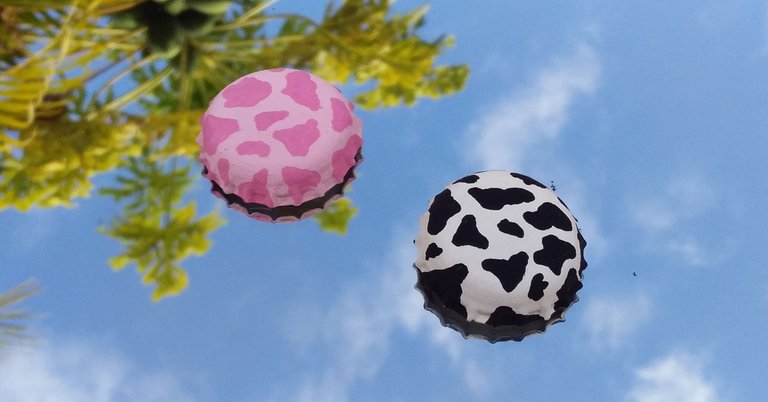
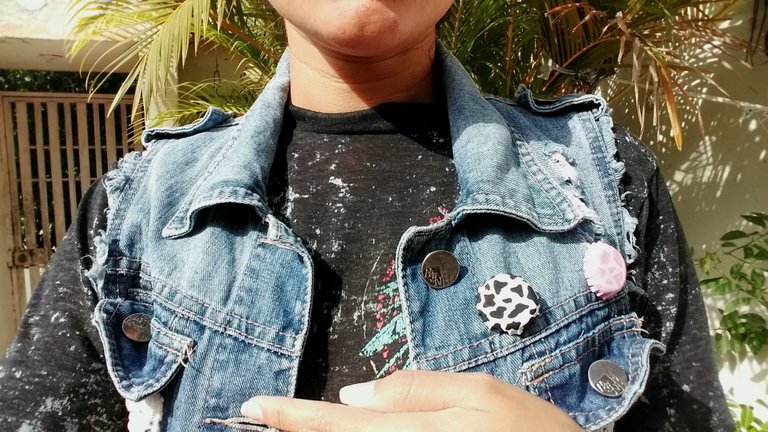
Y este es el resultado de nuestros preciosos pines con tapas de gaseosas! Como podrán notar hice una en rosa también, porque por alguna razón pensé en leche de fresa.😂 Me pareció que se vería muy lindo de ese color e incluso en un color marrón también quedaría divino.
Espero que les haya gustado un montón y que se animen a hacerlo, en serio es muy fácil y puedes jugar con los diseños, además que te queda un accesorio súper único que le dará un toque especial a tus chaquetas o bolsos.
Y esto ha sido todo por el post de hoy, muchas gracias por leerme, hasta la próxima!
And this is the result of our beautiful pins with soda caps! As you may notice I made one in pink too, because for some reason I thought of strawberry milk.😂 I thought it would look really cute in that color and even in a brown color it would look divine too.
I hope you liked it a lot and that you are encouraged to do it, seriously it is very easy and you can play with the designs, plus you get a super unique accessory that will give a special touch to your jackets or bags.
And this has been all for today's post, thank you very much for reading me, until next time!
pro/Editing in Canva and Samsung J2 pro photo editor
