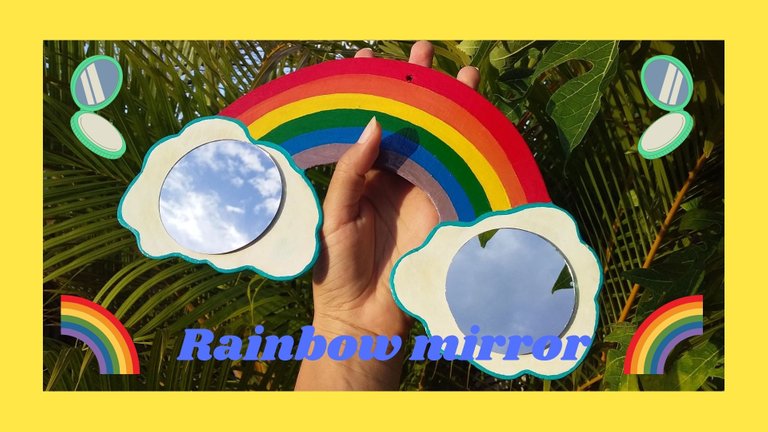
☁ BIENVENIDOS A MI BLOG | WELCOME TO MY BLOG ☁
Saludos, gente creativa de hivediy, espero que se encuentren muy bien. El día de hoy quisiera compartir con ustedes un tutorial para elaborar un lindo espejo con forma de arcoíris, reciclando los espejos que traen los polvos compactos y alguna tablita de madera que tengas en casa. Está muy bonito y es fácil de hacer, así que espero que les guste mucho y que les sirva de inspiración.
Sin más que decir, comencemos.
Greetings, creative people of hivediy, I hope you are doing well. Today I would like to share with you a tutorial to make a nice rainbow shaped mirror, recycling the mirrors that come with the compact powders and a little wooden board that you have at home. It's very nice and easy to make, so I hope you like it and that it will inspire you.
Without further ado, let's get started.
Materiales | Materials:

| Pinturas | Pinceles | Brillo de uñas transparente |
|---|---|---|
| Lápiz | Tabla de madera (delgada) | Lija |
| Silicón caliente | Espejos de polvos compactos | Cuchillo |
| Paints | Brushes | Transparent nail polish |
|---|---|---|
| Pencil | Wooden board (thin) | Sandpaper |
| Hot glue | Powder compact mirrors | Knife |
☁ PROCESO | PROCESS ☁
Paso 1 | Step 1

Lo primero que haremos será sacar el espejo de su recipiente. Para ello debemos darle vuelta (como indican las flechas) hasta que este se desprenda por si solo.
The first thing to do is to remove the mirror from its container. To do this we must turn it upside down (as indicated by the arrows) until it comes off by itself.

Nota: La mayoría de los espejos redondos que traen los compactos, usualmente les aplican solo un poco de pegamento en el centro, por lo que la manera más efectiva y fácil de despegarlo es como te acabo de mostrar (dándole vueltas).
Note: Most of the round mirrors that come with the compacts usually have just a little glue applied in the center, so the easiest and most effective way to remove it is as I just showed you (by turning it around).
Paso 2 | Step 2
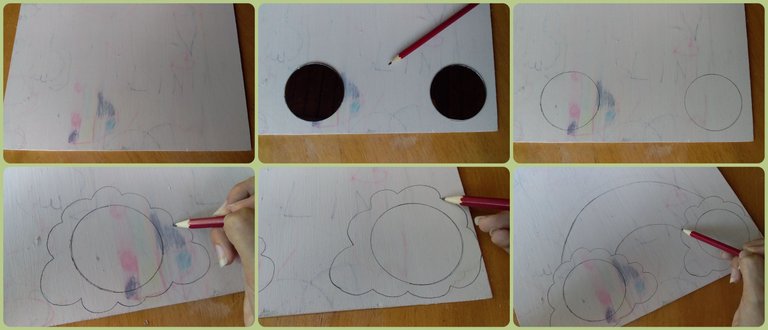
Lo siguiente será poner nuestros espejos sobre la tabla de madera, procurando que ambos estén nivelados y que tengan unos cuantos centímetros de separación entre sí. Con un lápiz marcaremos sus contornos, les dibujaremos una nube a cada uno y por último haremos el arco.
The next step is to place our mirrors on the wooden board, making sure that both are level and have a few centimeters of separation between them. With a pencil we will mark their contours, we will draw a cloud on each one and finally we will make the arch.
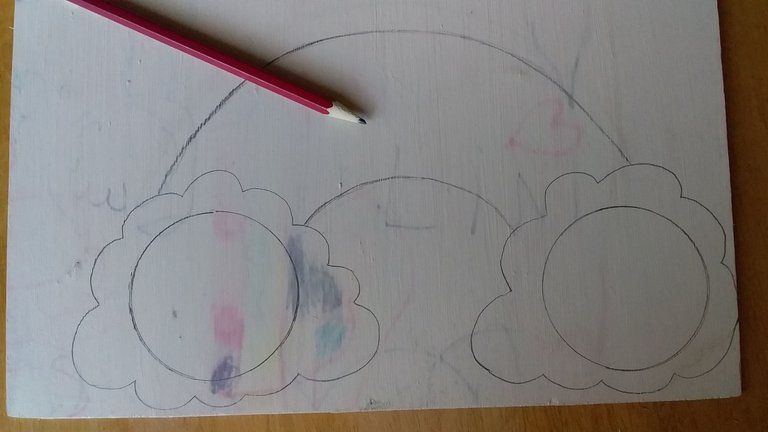
Y deberá verse algo así.
And it should look like this
Paso 3 | Step 3
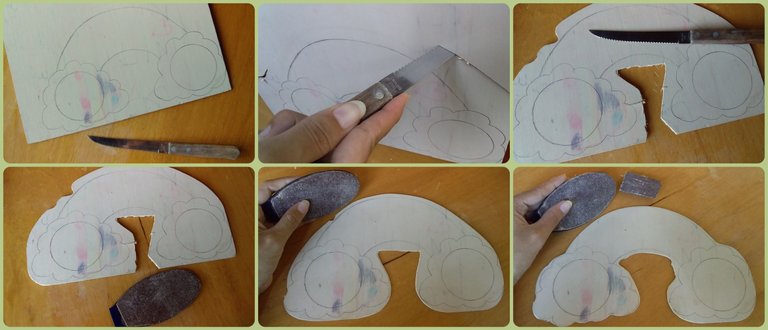
Ahora, con ayuda del cuchillo empezaremos a cortar al rededor de nuestro arco iris y luego con la lija quitaremos los excesos e iremos dando forma poco a poco.
Now, with the help of the knife we will begin to cut around our rainbow and then with the sandpaper we will remove the excess and we will shape it little by little.
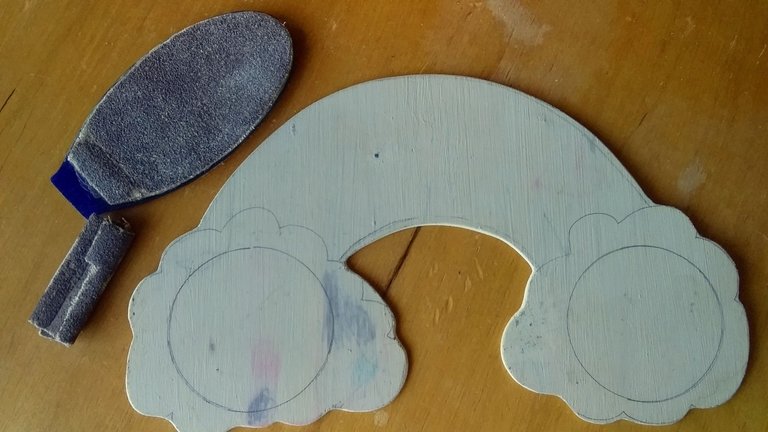
Hasta llegar a la forma deseada
Until the desired shape is reached.
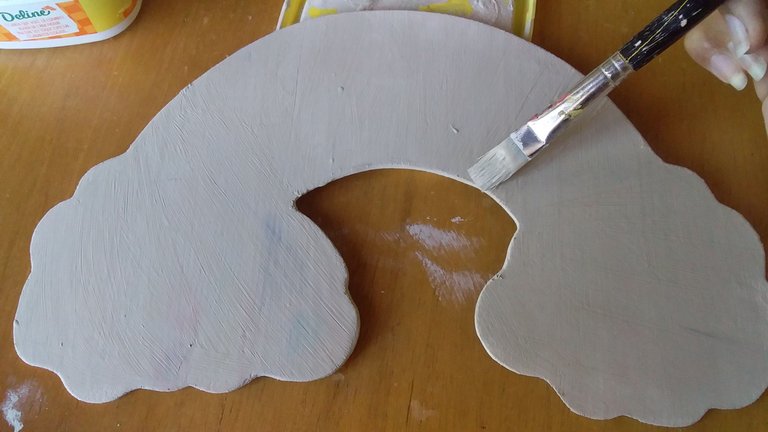
Una vez tengamos nuestra pieza lijada, aplicaremos una capa de pintura blanca.
Once we have our piece sanded, we will apply a coat of white paint.
Paso 4 | Step 4

Con el cuchillo, perforaremos la parte superior por ambos lados hasta formar un agujero.
With the knife we will perforate the upper part on both sides until a hole is formed.
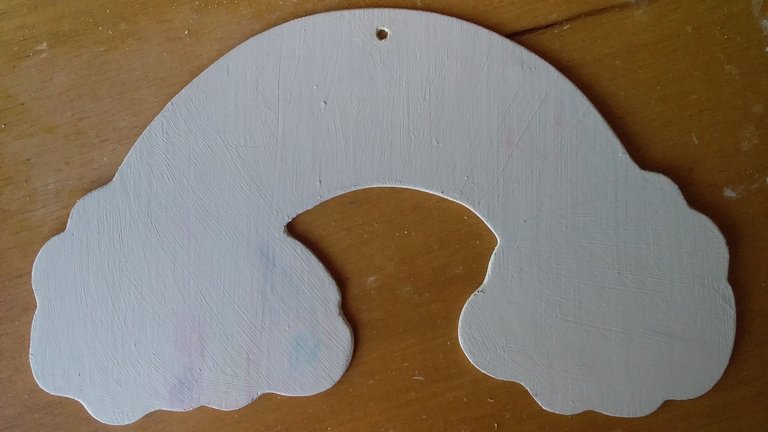
Esto servirá para poder colgarlo donde queramos.
This will be used to hang it wherever we want.
Paso 5 | Step 5
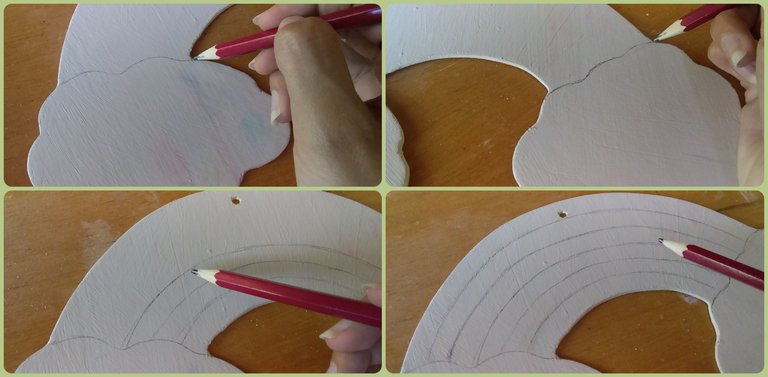
Marcaremos nuevamente las nubes y haremos las líneas que dividirán los colores.
We will mark the clouds again and make the lines that will divide the colors.
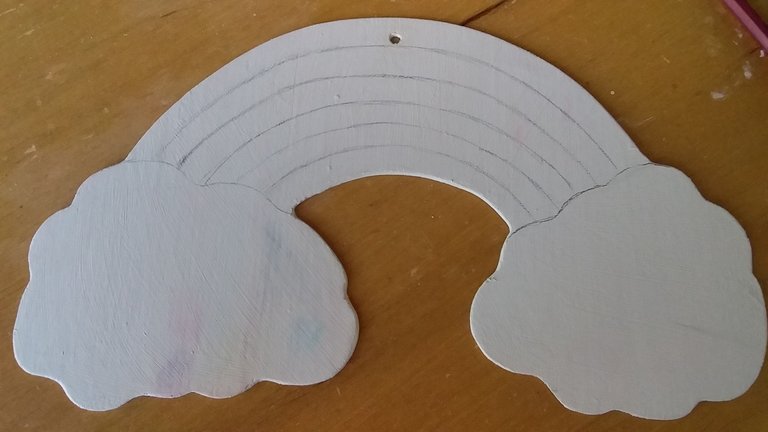
En mi caso dividí en 6 partes, pero tu puedes hacer más si así lo prefieres.
In my case I divided into 6 parts, but you can make more if you prefer.
Paso 6 | Step 6
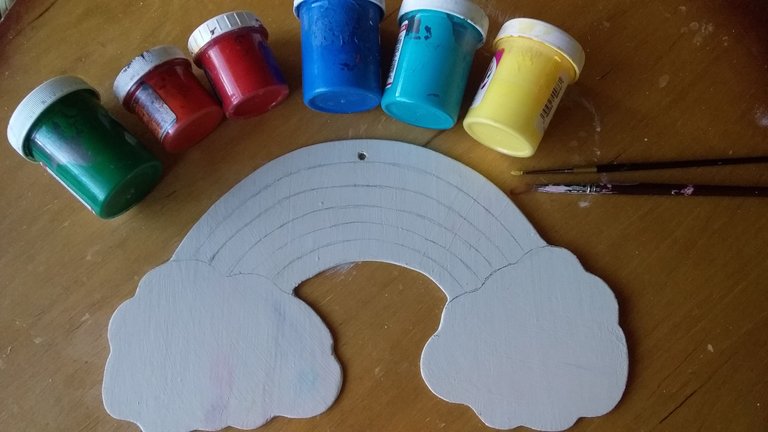
Ahora es momento de pintar.
Now it is time to paint.
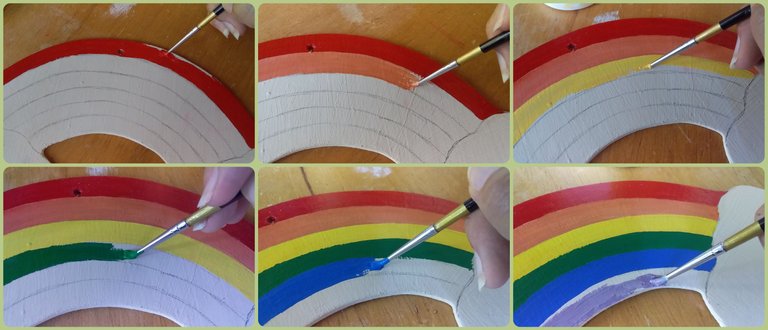
Empezaremos primero con tonos cálidos como rojo, naranja, amarillo y luego con tonos fríos como verde, azul y lila.
We will start first with warm tones, such as red, orange and yellow, and then with cool tones, such as green, blue and lilac.

Retocaremos las nubes con pintura blanca, y con un azul haremos el detalle de los bordes.
We will retouch the clouds with white paint, and with a blue we will make the detail of the edges.

Para la parte trasera cubriremos con pintura negra o con cualquier otras que tengas.
For the back we will cover with black paint or any other paint you have.
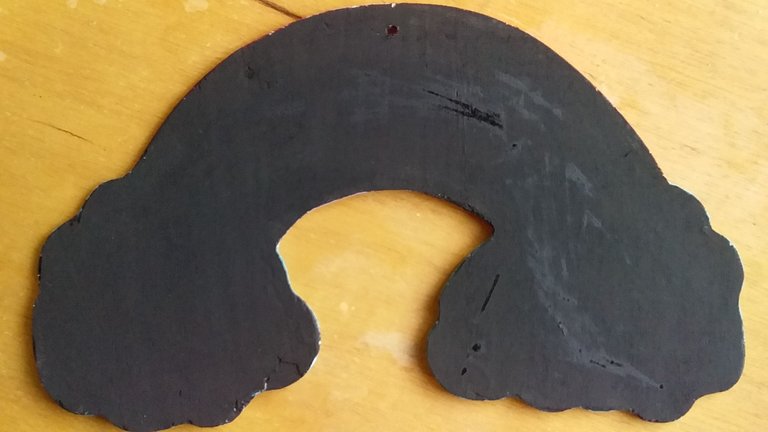
Y dejaremos secar muy bien
and let dry very well
Paso 7 | Step 7
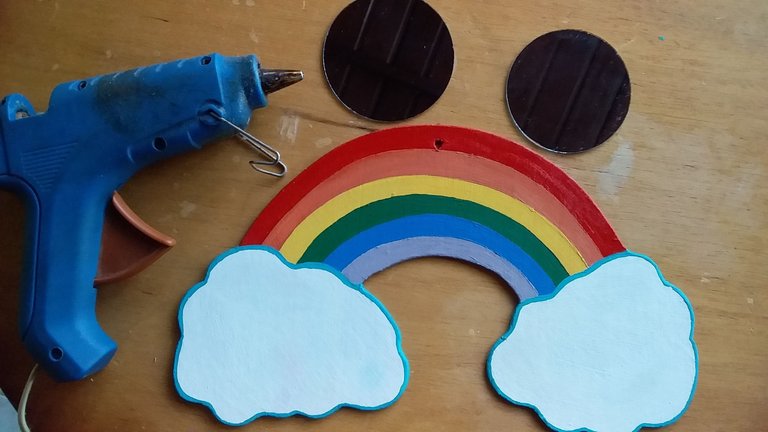
Por último solo nos queda juntar y sellar todo.
Finally, all that remains is to put everything together and seal it.
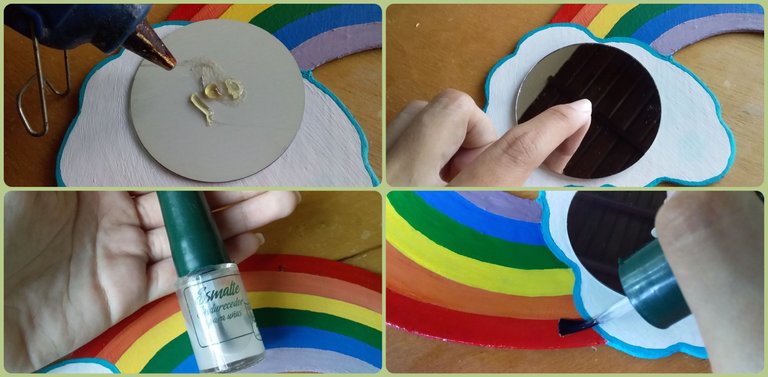
Pegaremos un espejo en cada nube con un poco de silicón y finalmente, sellaremos la pintura con brillo de uñas transparente.
We will glue a mirror on each cloud with a little bit of hot glue and finally, we will seal the painting with clear nail polish.
☁🌈 RESULTADO | RESULT 🌈☁
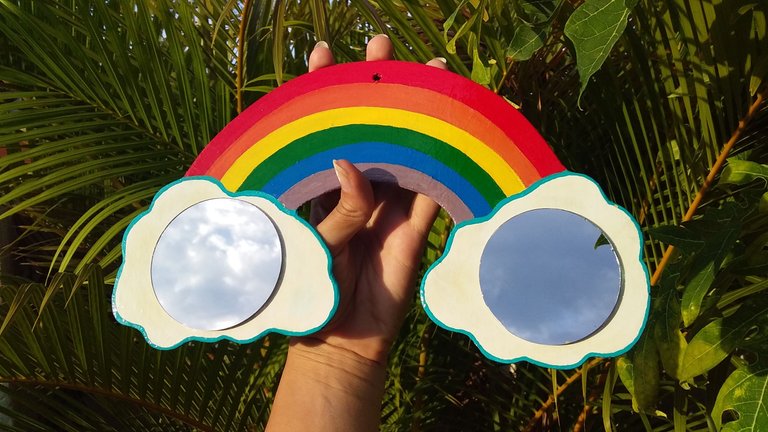
Y este es el resultado, con el cual quedé muy encantada. Lo mejor de esto es que pueden adaptarlo a su manera, haciendo otras formas, usando otros materiales e incluso agregarle más espejos.
Esto ha sido todo, espero que les haya gustado mucho y que lo hagan en casa. Muchas gracias por leerme.
And this is the result, with which I was very pleased, the best thing about it is that you can adapt it in your own way, making other shapes, using other materials and even adding more mirrors.
This has been all, I hope you liked it a lot and that you make it at home. Thank you very much for reading me.

