Hello beautiful people of HiveBlog, today I bring you a little tutorial, I summarized it as much as I could, about how to make your Sketchboock at home. I have been making my own Sketchboock for several years now and I want to share with you in the simplest way how you can do it too.
Hola gente bonita de HiveBlog, hoy les traigo un pequeño tutorial, lo resumí lo más que pude, sobre como hacer tu Sketchboock en casa. Tengo ya varios años haciendo mi propio Sketchboock y les quiero compartir de la forma más sencilla como tú también lo puedes hacer.
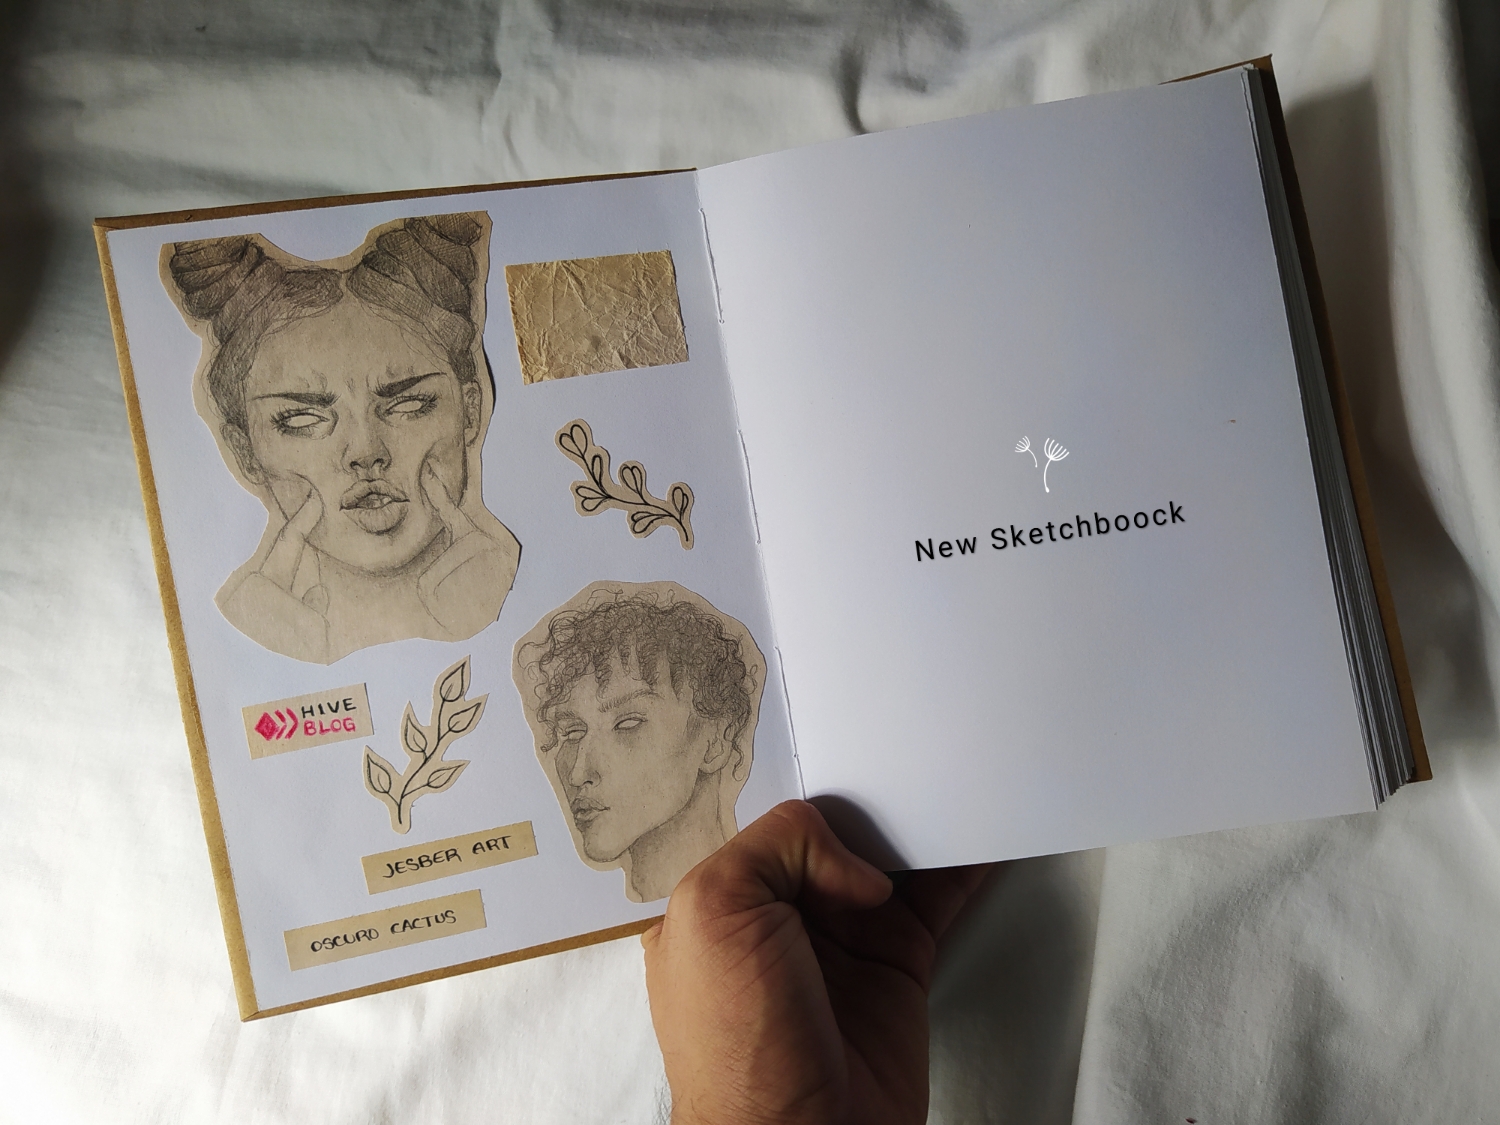
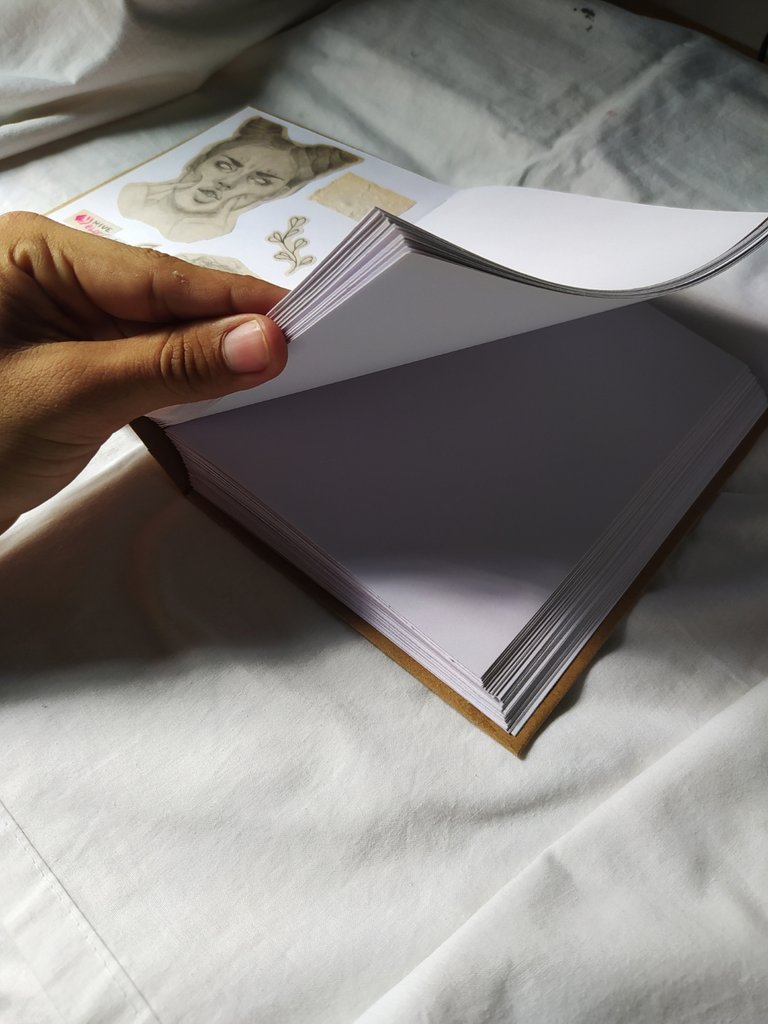


🌵PROCESS // PROCESO🌵

First of all, you need to have either white paper pages or white cardstock. I always use white cardstock or pepel block sheets, but any material you have will do.
Lo primero de todo es tener, ya bien sea, páginas de papel blanco o cartulina blanca. Yo siempre uso cartulina blanca o hojas de pepel block, pero cualquier material que tengas sirve.
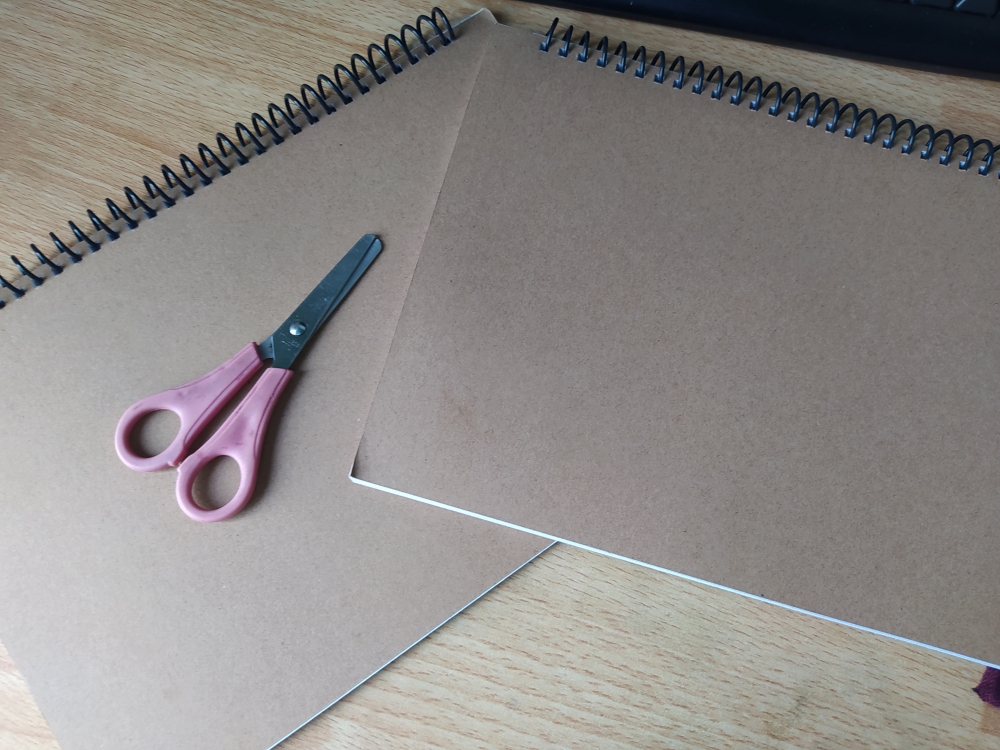
When you have searched or have your material at hand, what we are going to do is, in case of a block, tear out all the pages we want to use for our sketboock.
Cuándo hayas buscado o tengas a la mano tu material, lo que vamos a hacer es, en caso de un block, arrancar todas las página que queramos usar para nuestro sketboock.
In my case I used two blocks of 250gr plain cardboard, which in total gives me 28 sheets.
En mi caso use dos blocks de cartulina lisa de 250gr, que en total me dan 28 hojas.
If you have white pages or any other material that you don't need to tear out, I waited for you in step 3.
Si tú tienes páginas blancas o cualquier otro material que no necesites arrancar, te esperó en el paso número 3.
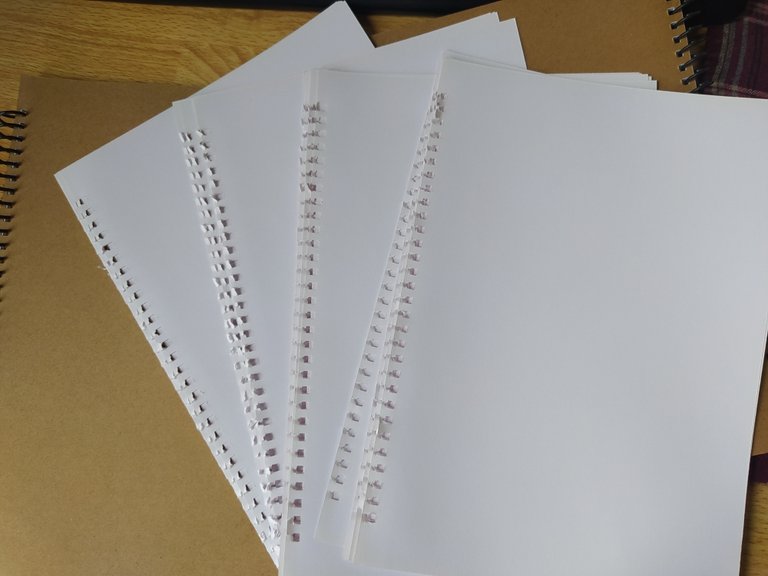
Once you've torn your pages out of the pad, what we're going to do is remove all the strips or fasteners from the page. You know, the papers that are left when you tear a page out of either the notebook or pad, if they are spiral bound.
Una vez que hayas arrancado tus páginas del block, lo que vamos a hacer es quitar todas las tiras o sujetadores de la página. Ya saben, los papeles que quedan cuando arrancas una página, ya sea del cuaderno o bloc, si son por espiral.
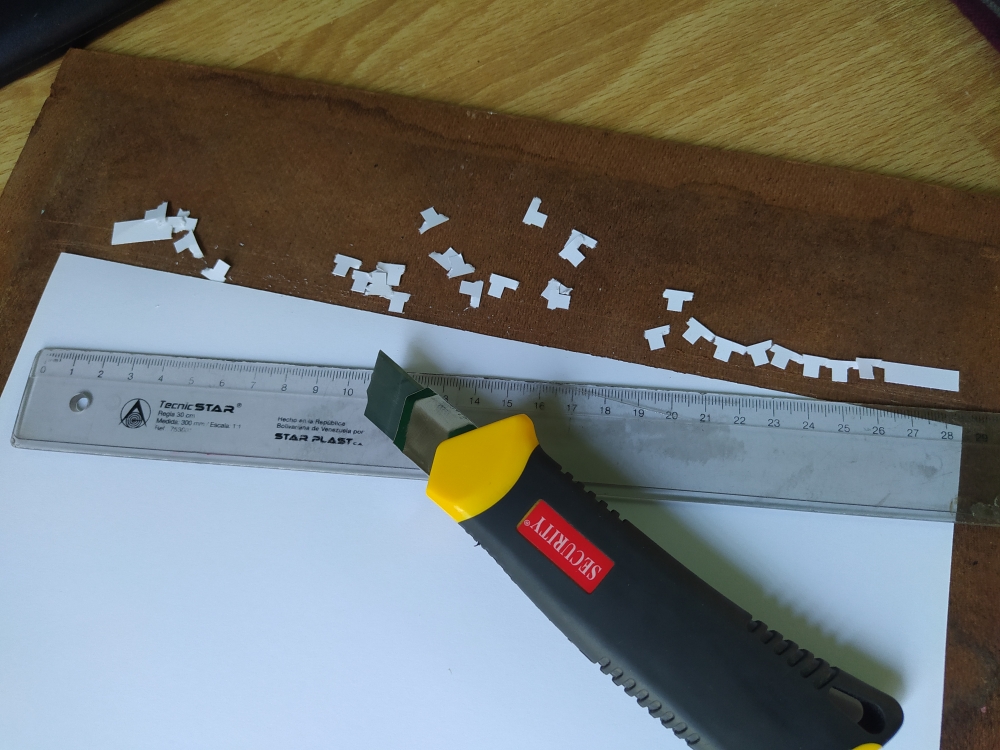
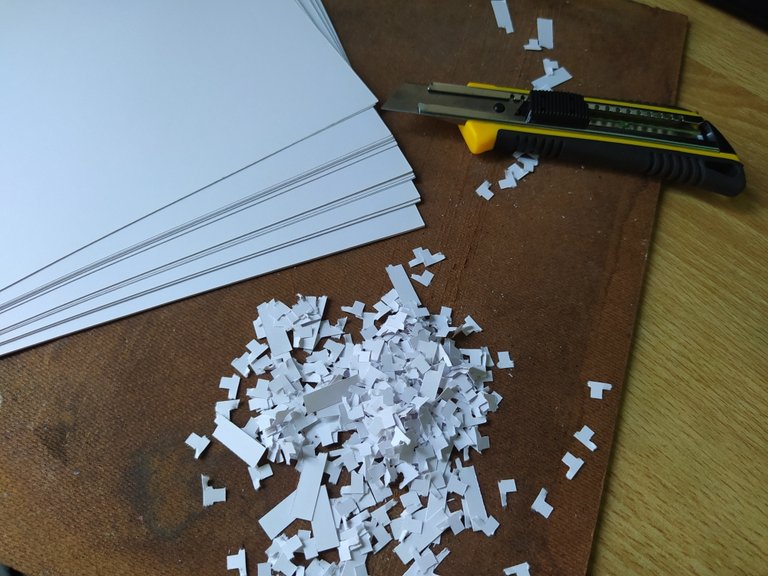
Now, when we have our pages clean and ready, what we are going to do is to fold in half each of the pages we are going to use.
Ahora bien, cuando tengamos nuestras páginas limpias y listas, lo que vamos a hacer es doblar por la mitad, cada una de las páginas que vayamos a usar.
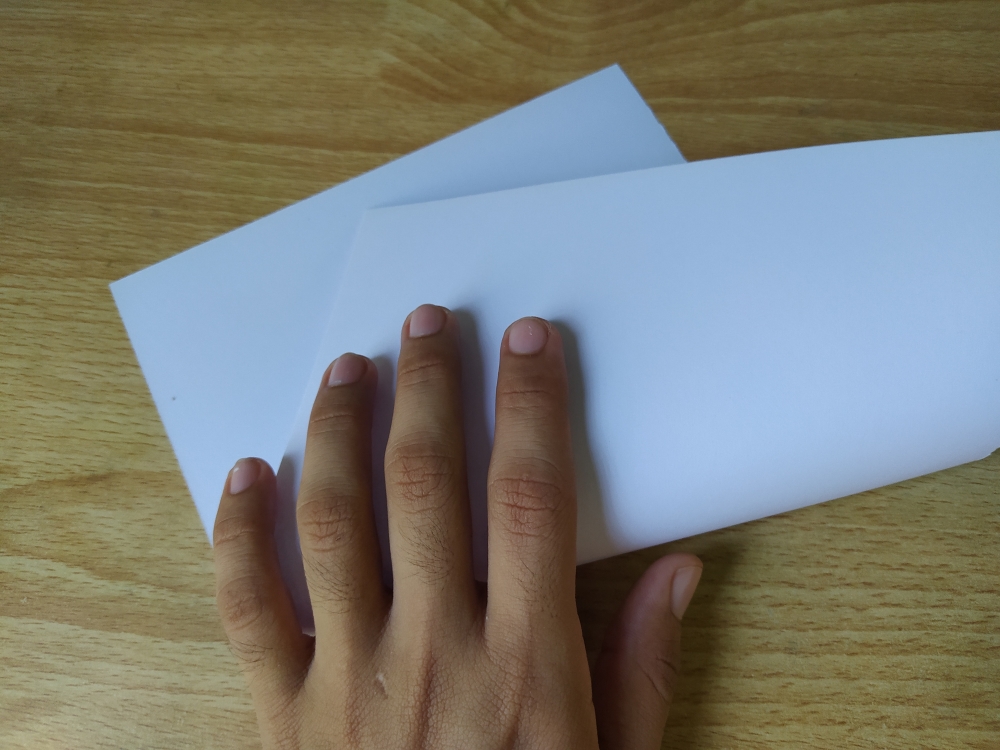
This step has no sense or difficulty, it is just folding each sheet in half, leaving two equal parts, like a sheet of the notebook.
Esté paso no tiene ningún sentido ni dificultad, es solo doblar cada hoja por la mitad, quedando dos partes iguales, como una hoja del cuaderno.
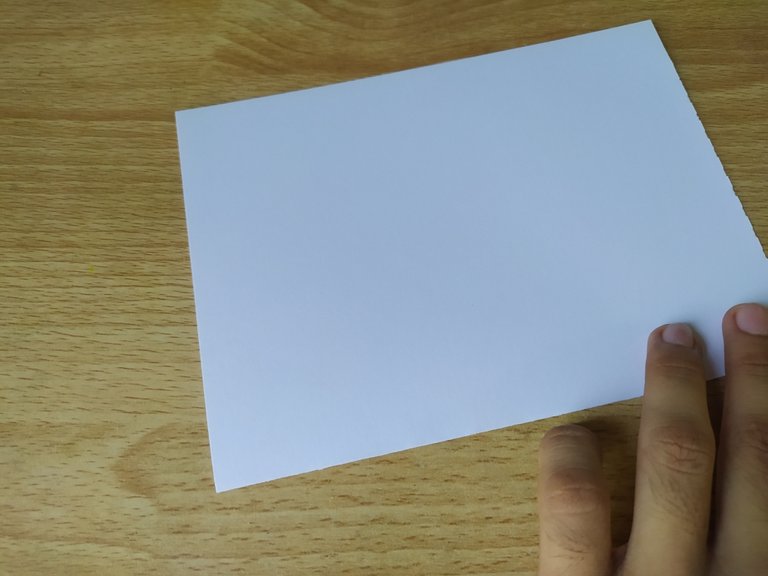
As I said before, I have 28 sheets and folding them in half gives me 56 sheets for my Sketchboock.
Cómo les dije anteriormente, yo tengo 28 hojas y doblandolas por la mitad me arroja la cantidad de 56 hojas para mi Sketchboock.
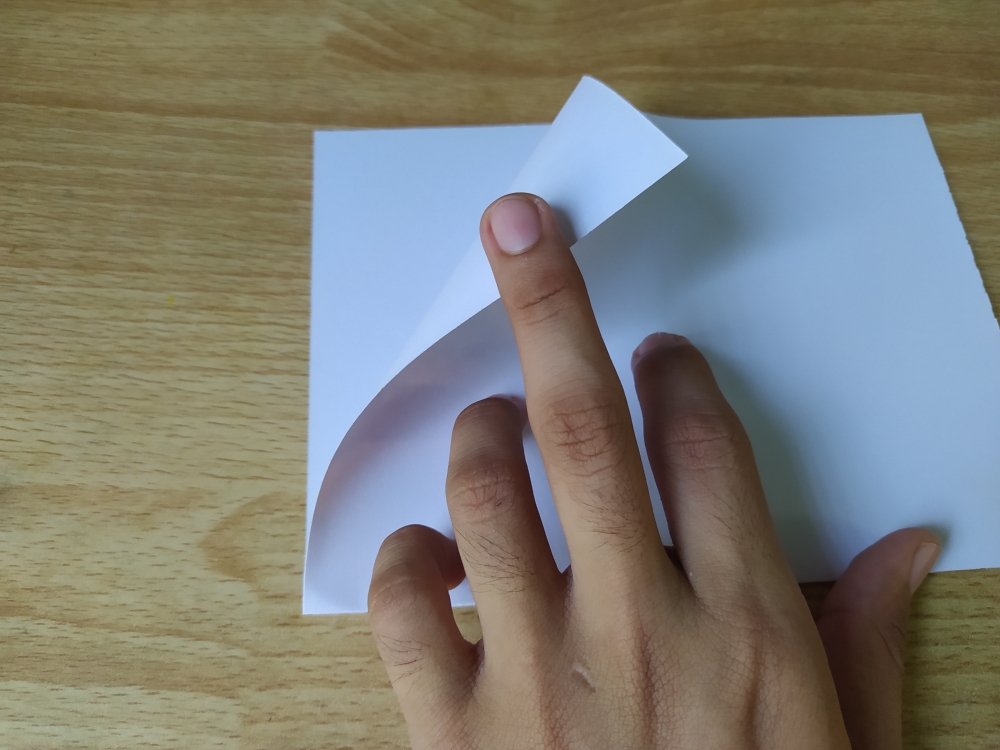
Once we have folded all our pages in half, we would be left with something like this:
Una vez que hayamos doblado por ma mitad todas nuestras páginas, nos quedarían algo así:
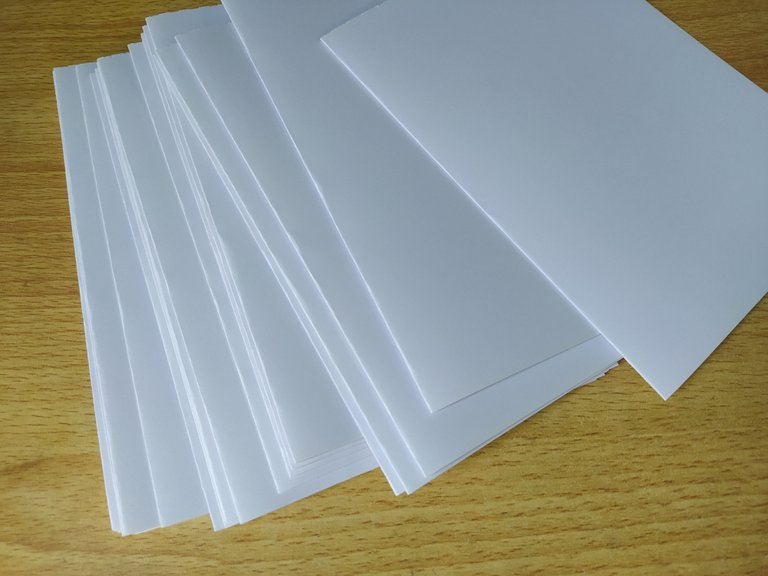
And the next step would be to take a ruler and trace on all the pages the marks of the same centimeter distance, to make the holes or holes that will serve us to sew all the pages.
Y el siguiente paso sería tomar un regla y trazar en todas las páginas las marcas del mismo centímetro de distancia, para hacer los agujeros o huecos que nos servirán para coser todas las paginas.
Make sure that all the pages have the same distance between the marks. In my case I used 3 cm distance for each mark on all pages.
Procura que todas las páginas tengan la misma metida de distancia de las marcas. En mi caso use 3 cm de distancia para cada marca en todas las páginas.
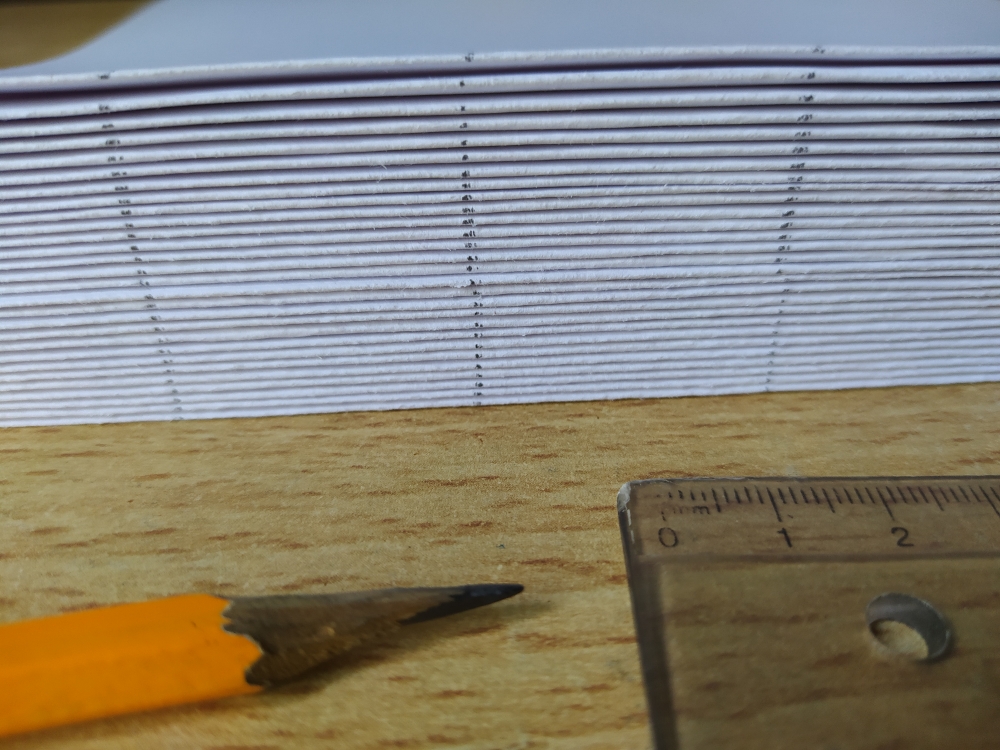
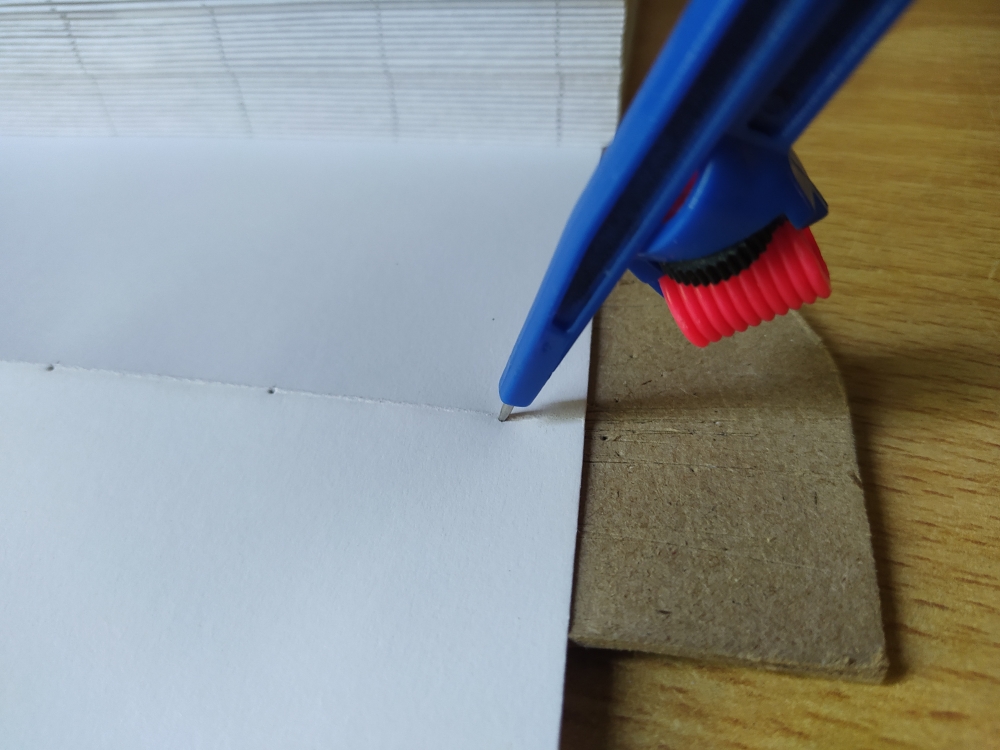
In this step what we are going to do are the eggs or holes in the pages, without further complications. We will only be guided by the marks made before and that's it.
En éste paso lo que vamos a hacer son los huevos o agujeros en las páginas, así sin más complicaciones. Solo nos guiaremos en las marcas antes hechas y listo.
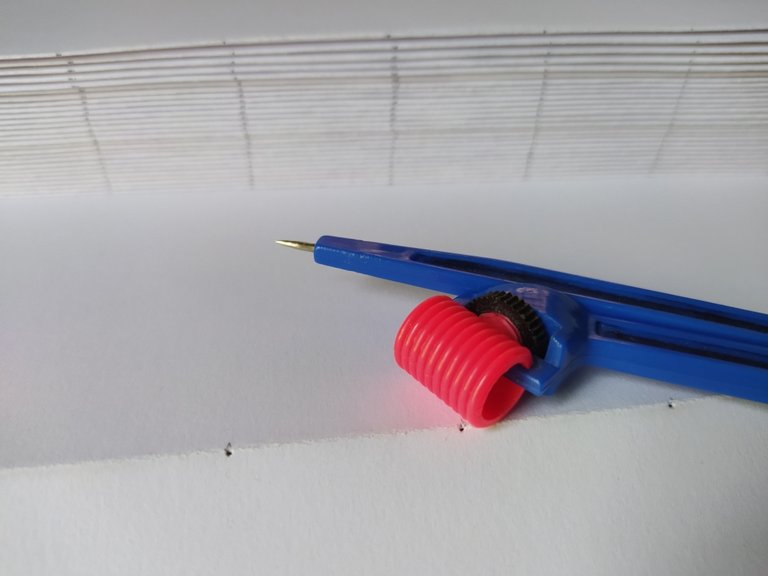
I recommend that you find an instrument, tool, material or something else that will make it easy to make each hole quickly, because there are so many of them. I for example used an old compass and quickly made each and every hole in the pages.
Te recomiendo que busques un instrumento, herramienta, material u otra cosa que te facilite hacer cada agujero de forma rápida, porque si son muchos. Yo por ejemplo use un compás viejo e hice rápidamente todos y cada uno de los huecos en las páginas.
Once we have punched or made every hole in every page. The next thing to do is to stitch everything together, every page. This will ensure that our sketchboock will not fall apart and will always hold together.
Una vez hayamos perforado o hecho cada agujero en todas páginas. Lo que prosigue es coser todo, cada página. Esto permitirá que nuestro sketchboock no se desarme y se mantenga firme siempre.
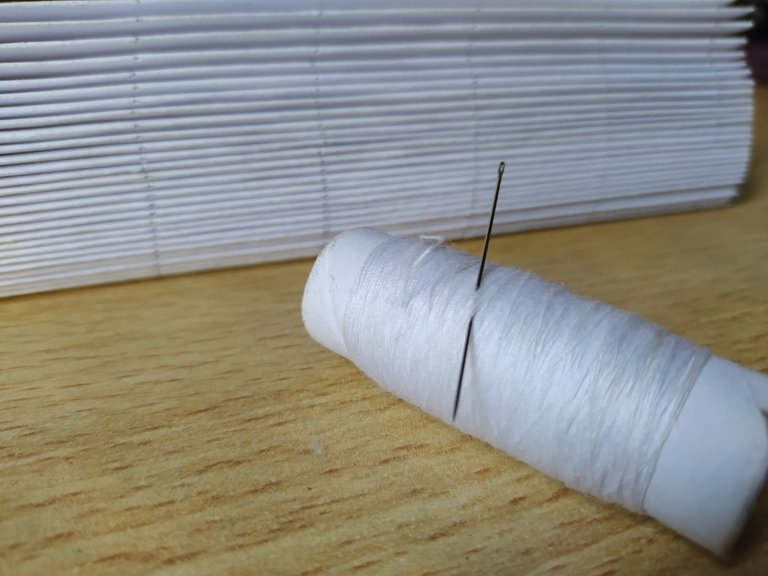
This step is where many people have a hard time, either because they don't know how to sew or they don't like it. If you do not know how to sew, look for any video on Youtube on how to easily sew homemade notebooks and there they showed you in detail how to do it easily, that's how I learned it and it really is something very easy, you will have no complications when it comes to doing it.
Esté paso es donde mayormente se les complica a muchos, ya sea por no saber coser o no les gusta. Si no saben coser, busquen cualquier vídeo en Youtube de como coser fácilmente cuadernos caseros y ahí les mostraron más a detalle como hacerlo y fácilmente, así lo aprendí yo y realmente es algo muy fácil, no tendrán complicación a la hora de hacerlo.
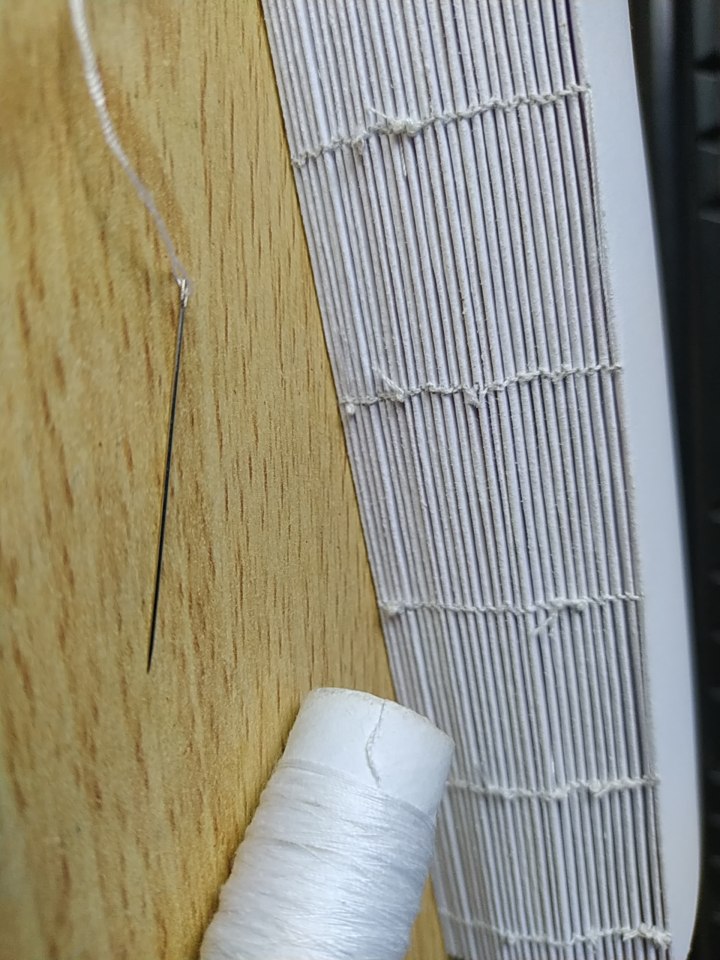
After we have sewn all our pages, we would have our sketchboock ready, we would only need the covers that will serve as support for it.
Luego que hayamos cosido todas nuestras páginas, ya tendríamos nuestro sketchboock listo, solo nos faltarían las portadas que nos servirán de soporte para el mismo.
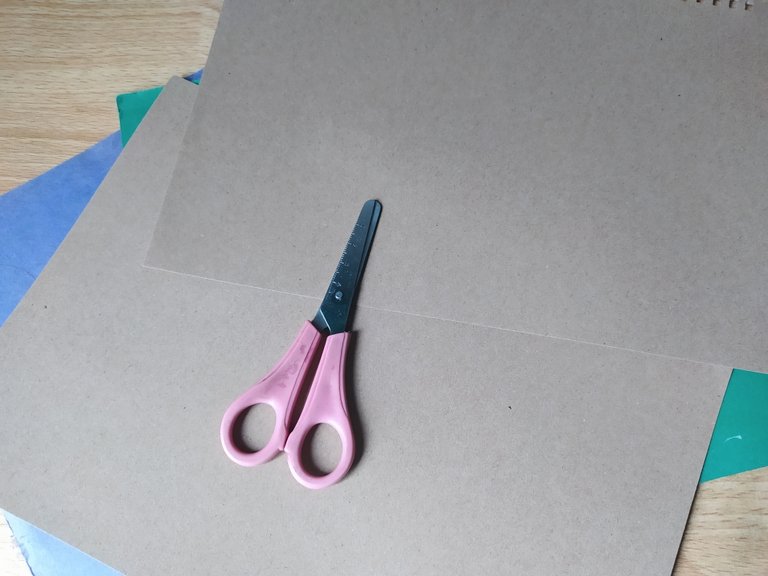
The covers, compared to sewing everything, is something extremely easy, since we would only have to look for cardboard, cardboard or other material to make our front cover, middle support and back cover.
Las portadas, a comparación de coser todo, es algo sumamente fácil, ya que solo tendríamos que buscar cartón, cartulina u otro material para sacar nuestra portada delantera, soporte en medio y portada trasera.
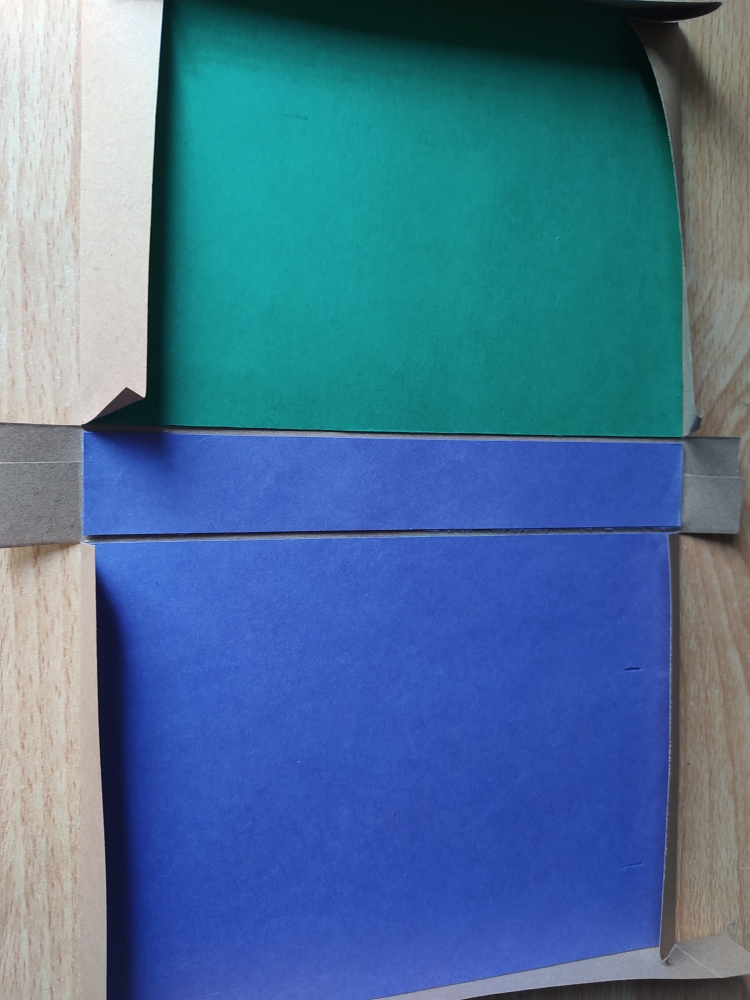
To make the covers and the support in the middle, you will simply measure the height and width of your Sketchboock to know exactly the centimeters you will use to trace and cut on your preferred material to get your covers.
Para sacar las portadas y el soporte en medio, simplemente tomarás la medida de tu "Sketchboock" en alto y ancho para saber exactamente los centímetros que usarás para trazar y cortar en tu materitde preferencia y obtener tus portadas.
And for the middle support, you will do the same, only that to get the measurement of this, you will do it by measuring in the body of the notebook itself, in the part where the pages are sewn, both in width and length.
Y para el soporte del medio, harás lo mismo, solamente que para sacar la medida de éste, lo harás midiendo en el cuerpo del cuaderno en si, en la parte donde están cosidas las páginas, tanto de ancho como de largo.
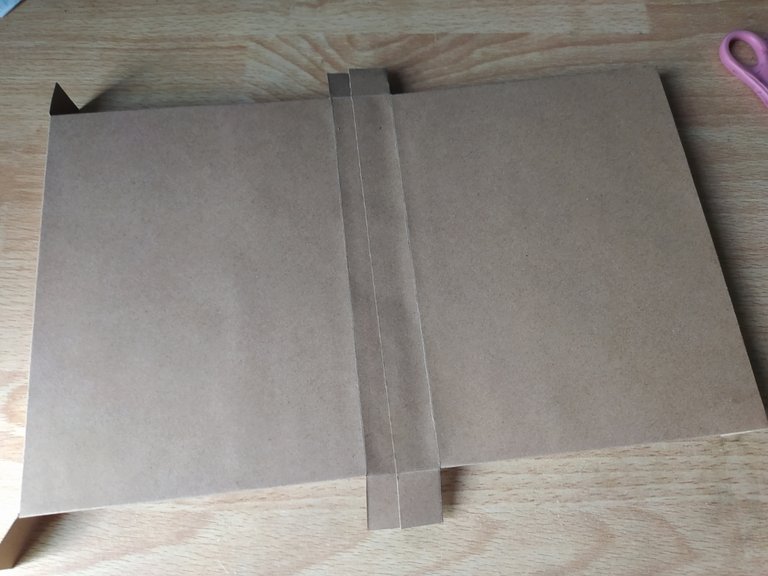
Once you have taken out your covers and the support in the middle, what you will do next is to glue everything on some decorative paper, fabric or other material you want. Everything should look like in the pictures.
Una vez hayas sacado tus portadas y el soporte del medio, lo que harás después es pegar todo en algún papel decorativo, tela y otro material que quieras. Todo tendría que quedar como en las fotos.
After you have glued the covers on your decorative paper or other material for your Sketchboock, you would be left with something like in the picture:
Después de haber pegado las portadas en tu papel decorativo u otro material para tu Sketchboock, te quedaría algo así como en la foto:
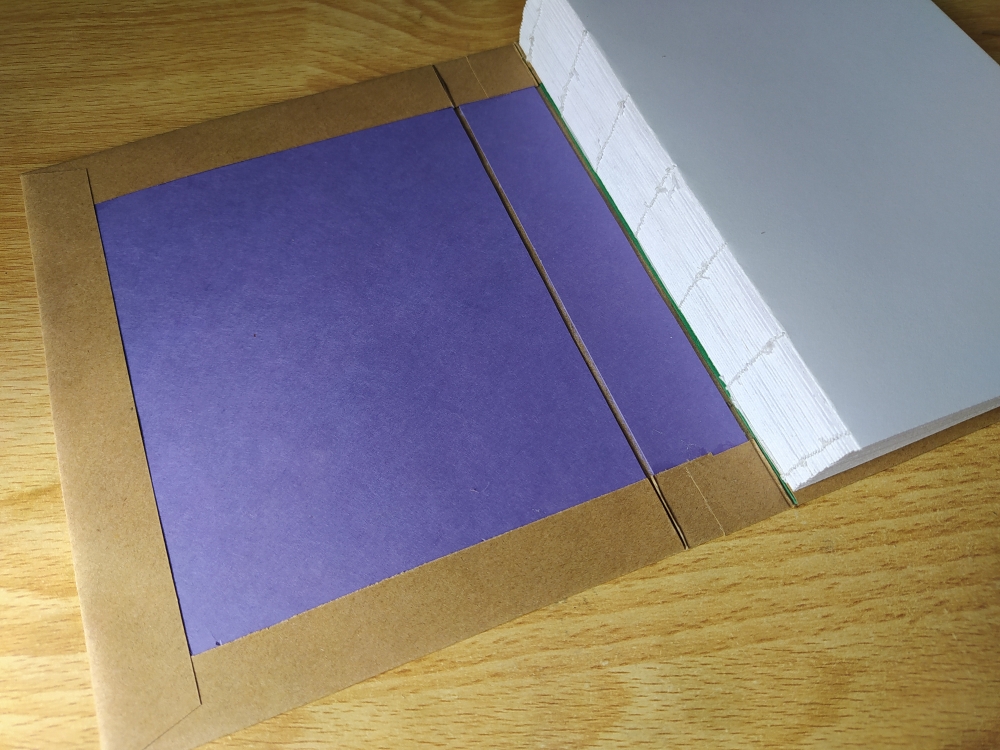
And after that, the next thing you will do is to paste the first page of the Sketchboock to the initial cover of our cover stand, this will serve as structure and support for our notebook.
Y luego de eso, lo siguiente que harás será pegar la primera página del Sketchboock a la portada inicial de nuestro soporte de portadas, esto servirá de y estructura y soporte para nuestro cuaderno.
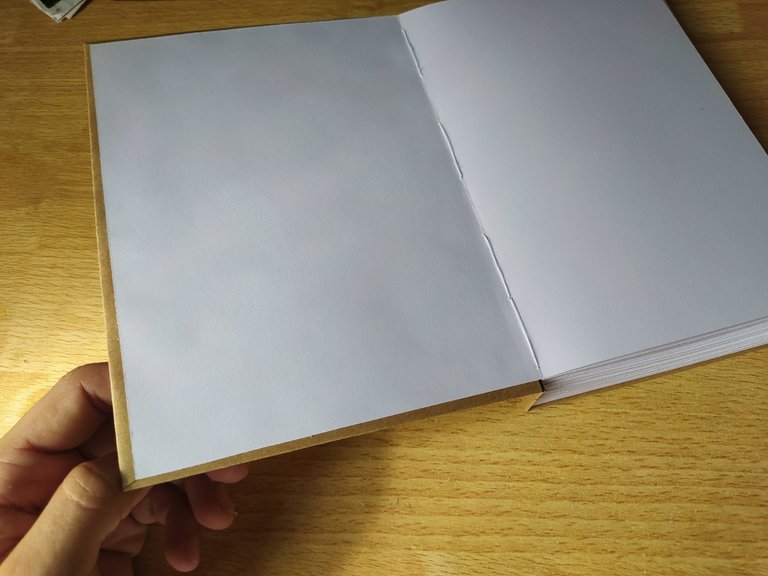
And you will do the same on the other side, on the back cover, take the last page and paste it, leaving everything as in the photos.
Y lo mismo harás del otro lado, en la portada trasera o final, tomarás la última página y la pegarás, quedando todo como en las fotos.
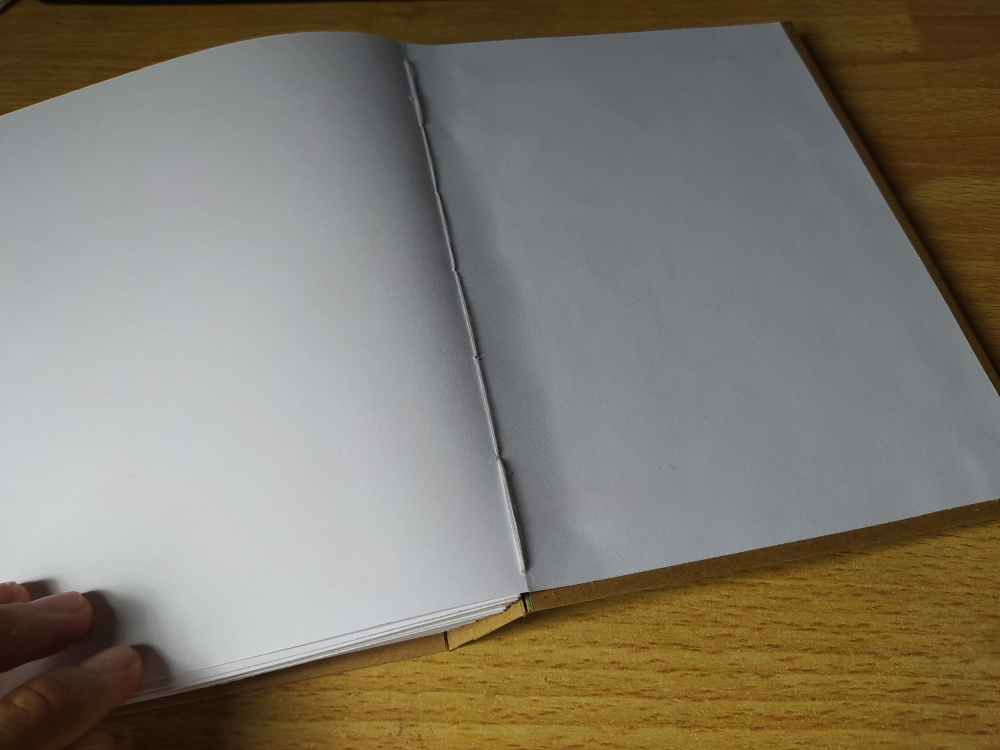
And this last step would be optional, decorate our sketchboock, it can be on the outside or inside, as I did, but the latter is optional, because we would already have our sketchboock finished and ready to draw.
Y este último paso sería opcional, decorar nuestro sketchboock, puede ser por fuera o por dentro, así como lo hice yo, pero esto último es opcional, porque ya tendríamos nuestro sketchboock terminado y listo para dibujar.

¡Espero que te guste!

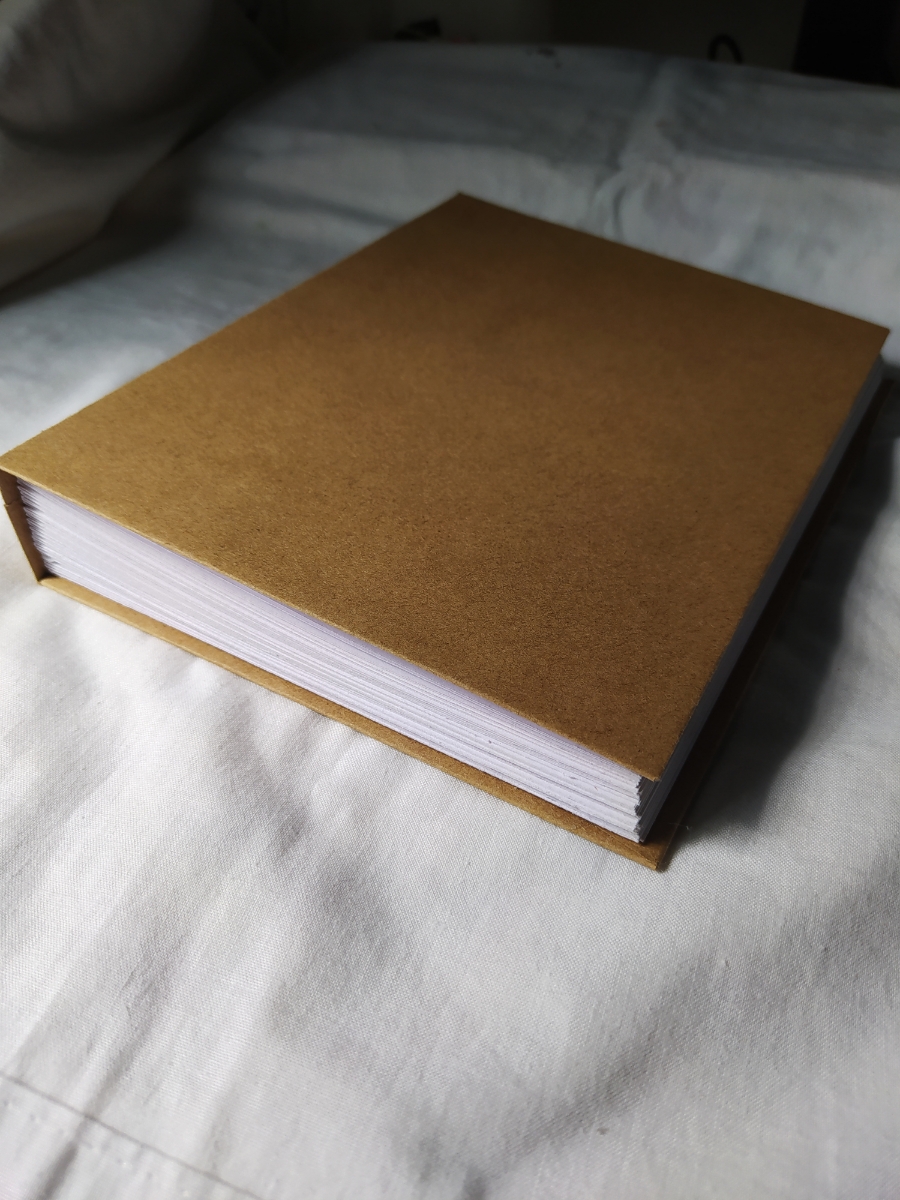
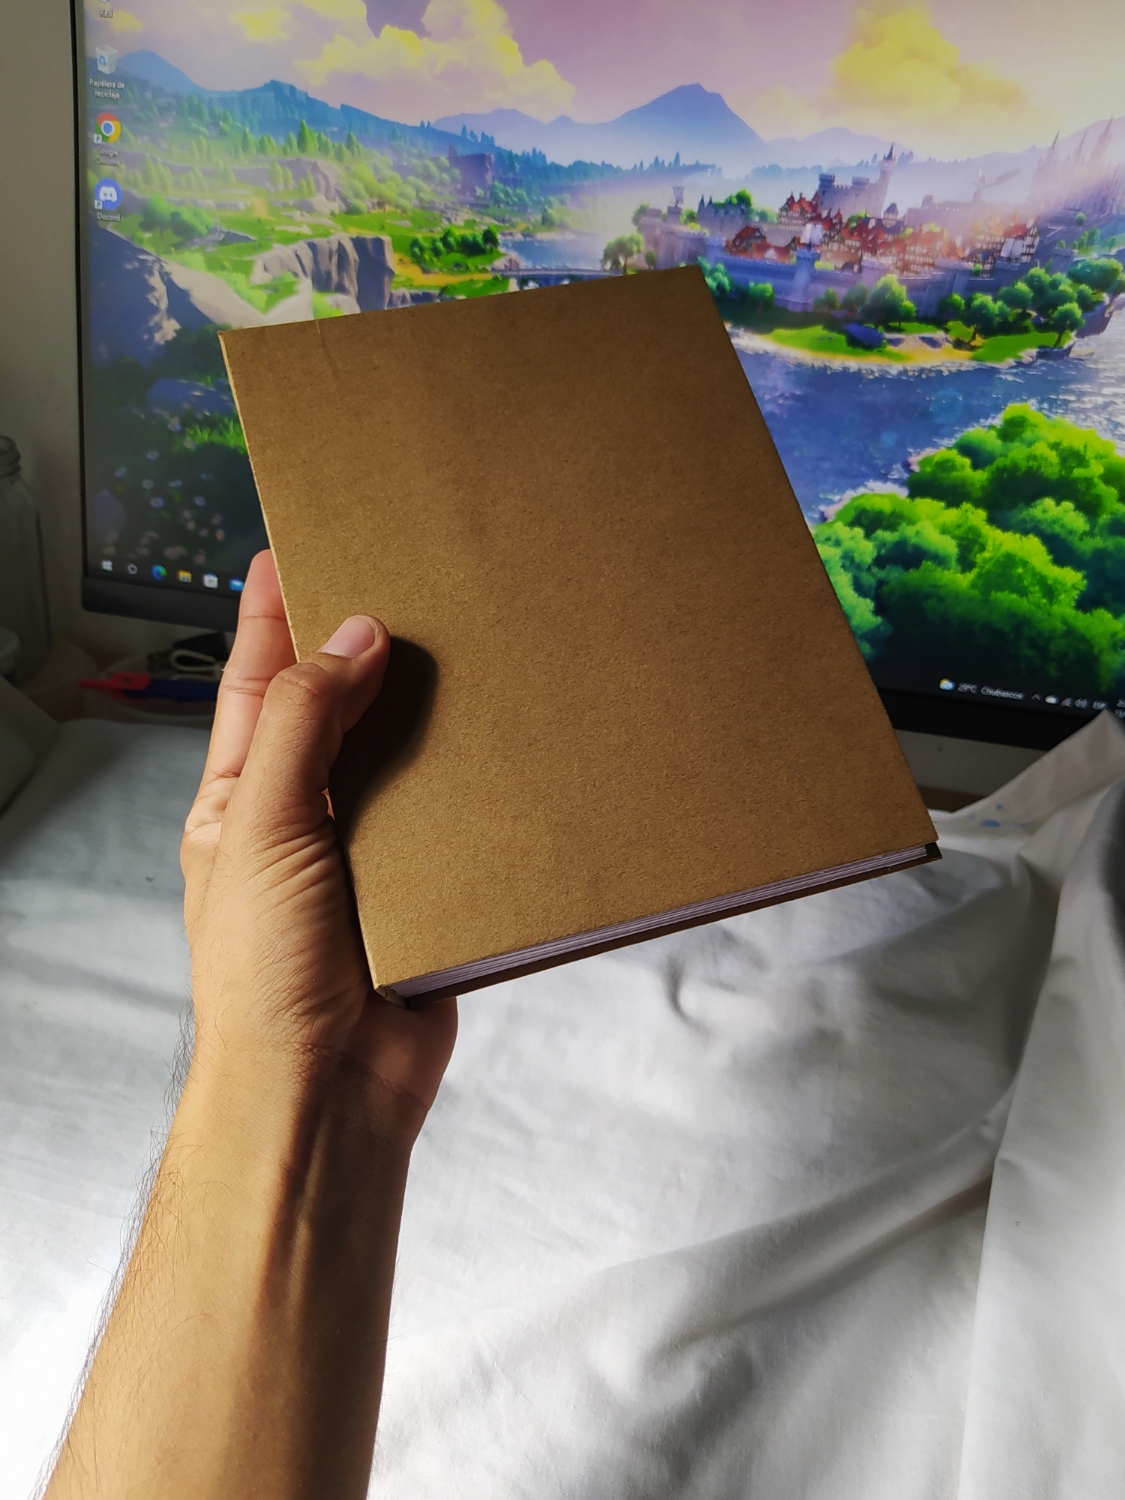
⬜◾Final Work◽⬛
⬜◾Trabajo Final◽⬛


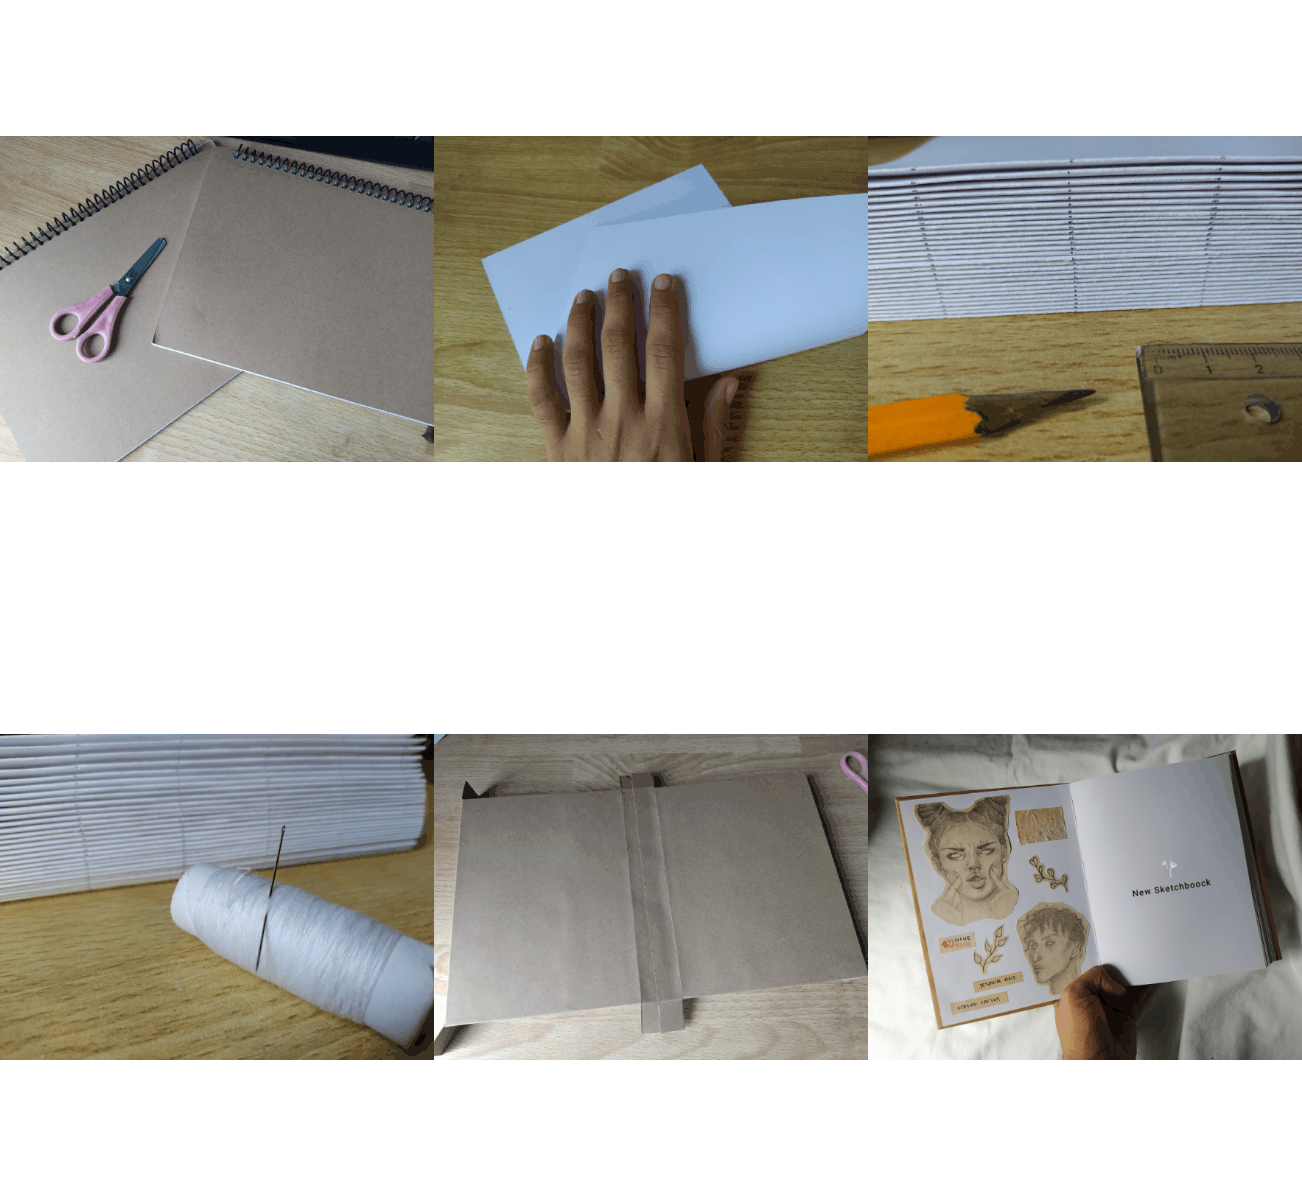
Summary of the whole Process
Resumen de todo el Proceso

 |
Rarible
GhostMarket
Traducido gracias a Deepl