Hello, learners community... it's a beautiful Sunday morning, the beginning of a new week and also a new month! Here is wishing everyone a fruitful month of October💖

This Week's creative Sunday post is targeted mainly at my amiable ladies in this learner's community. One thing that most ladies don't joke about is our jewelry. Perhaps you don't have a jewelry box yet, you can decide to knit one like mine using just two materials as I will discuss in this post.

Whether it's gold jewelry or any piece of jewelry you buy, there is every reason for you to take care of it to avoid the loss or even tarnishing. Jewelry is best stored in a dry place. Moisture is an easy substance that helps tarnishes our jewelry and it becomes very crucial that you wipe your jewelry with an anti-tarnish cloth before storing it away after each use. This will ensure that any lingering moisture or dust is gone before storing it.

Okay, let's see how I made this jewelry holder, shall we.....?*
MATERIALS USED
- Two balls of wool (yarn 🧶 )
- 3mm crochet pin
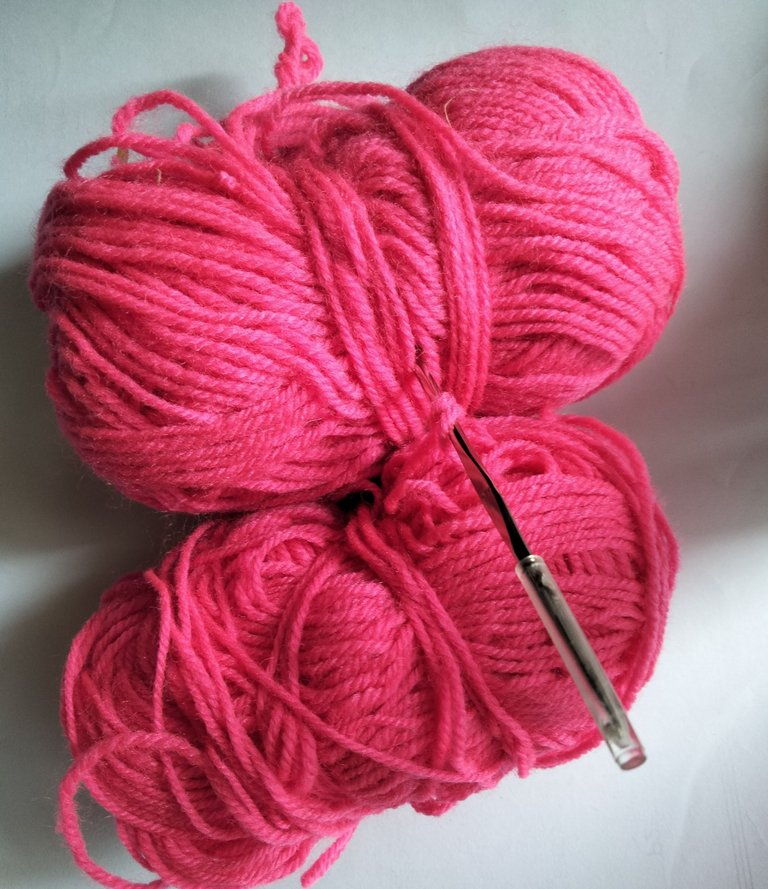
THE PROCESS
You will need to determine the size of the box you are making and have it in mind while beginning the process. You first start by knitting round, going clockwise from the starting point until you get to a certain width of your choice
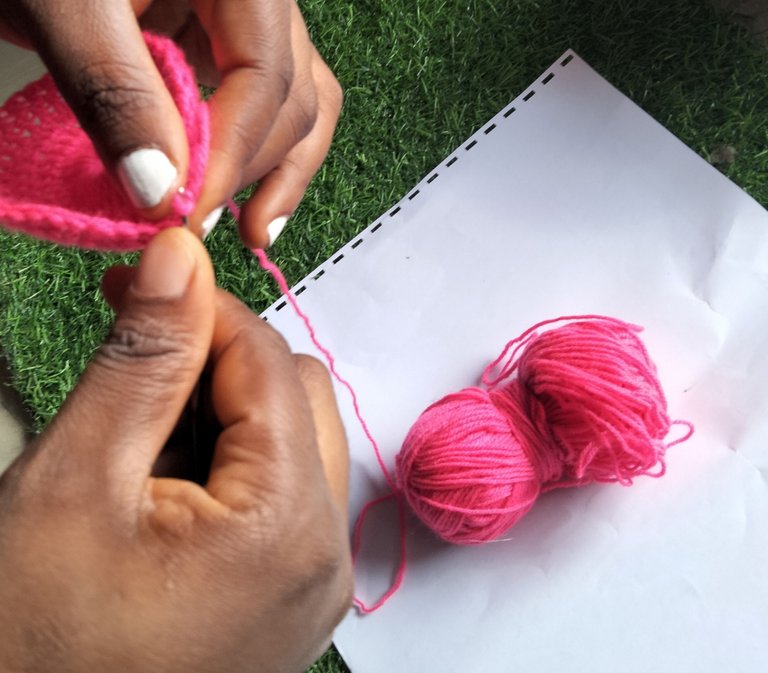
Now, take a look at what I arrived at after establishing my desired width.
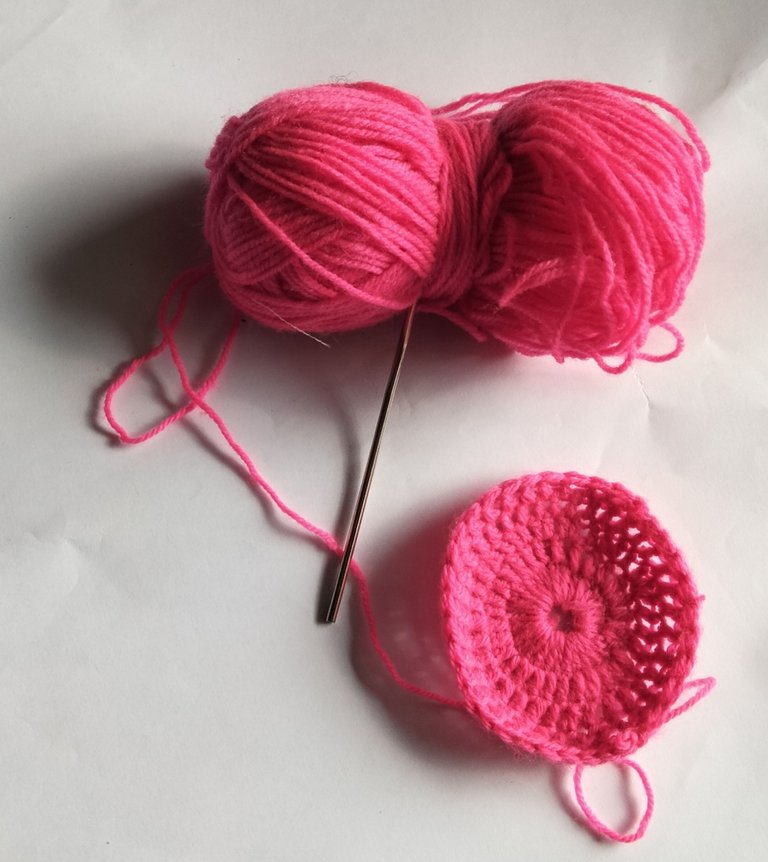
From this stage, I have gotten the base, so to get the length; the main shape of my jewelry box, I started knitting it up but still in a round movement. This process continued until I get my desired length.
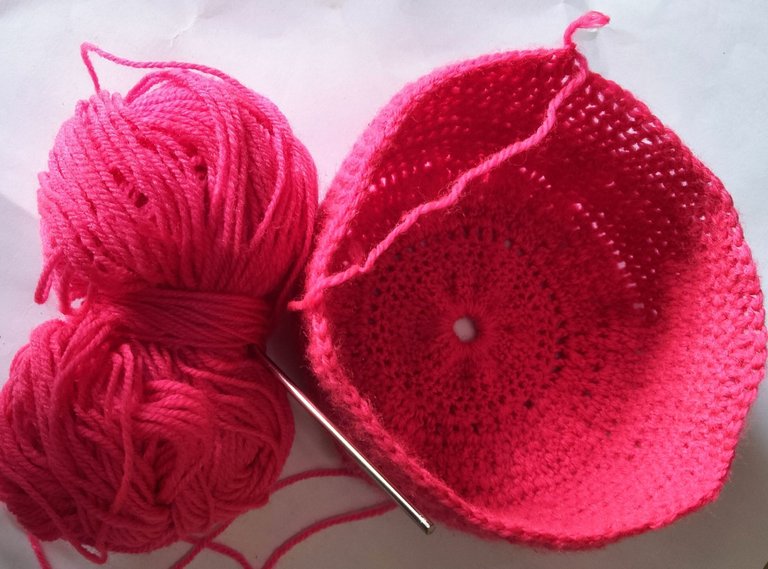
I must admit that I am still a learner of this skill. It took me a pretty two weeks before arriving at this stage. However, for someone who is a fast knitter, this stage can be gotten in a day or two.
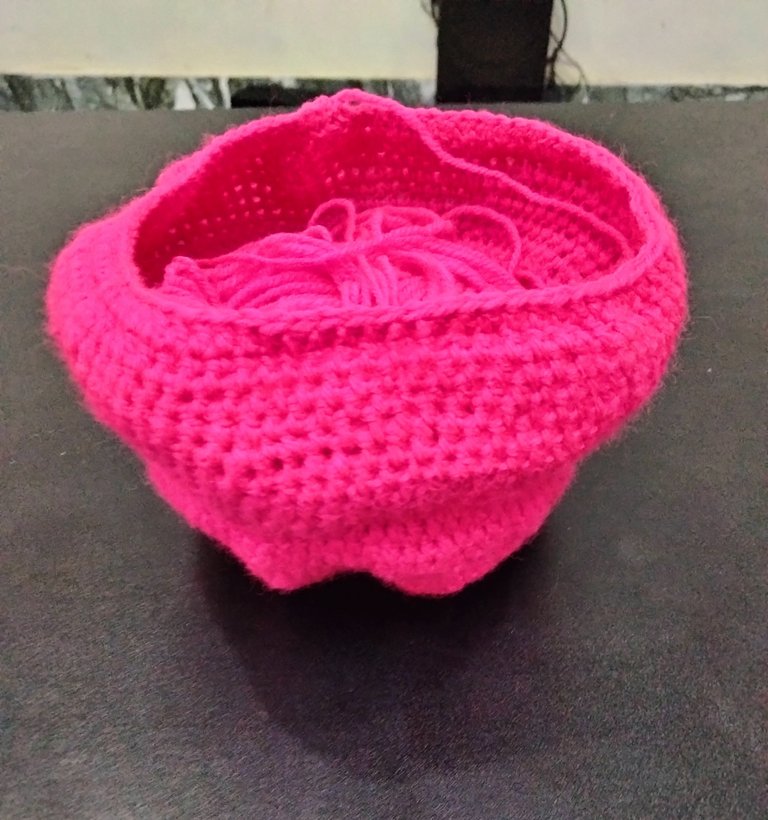
I thought of having a zip close to this box but on second thought, I decided to leave it on this stage. Here is my jewelries packed inside my knitted improvised jewelry box 😂
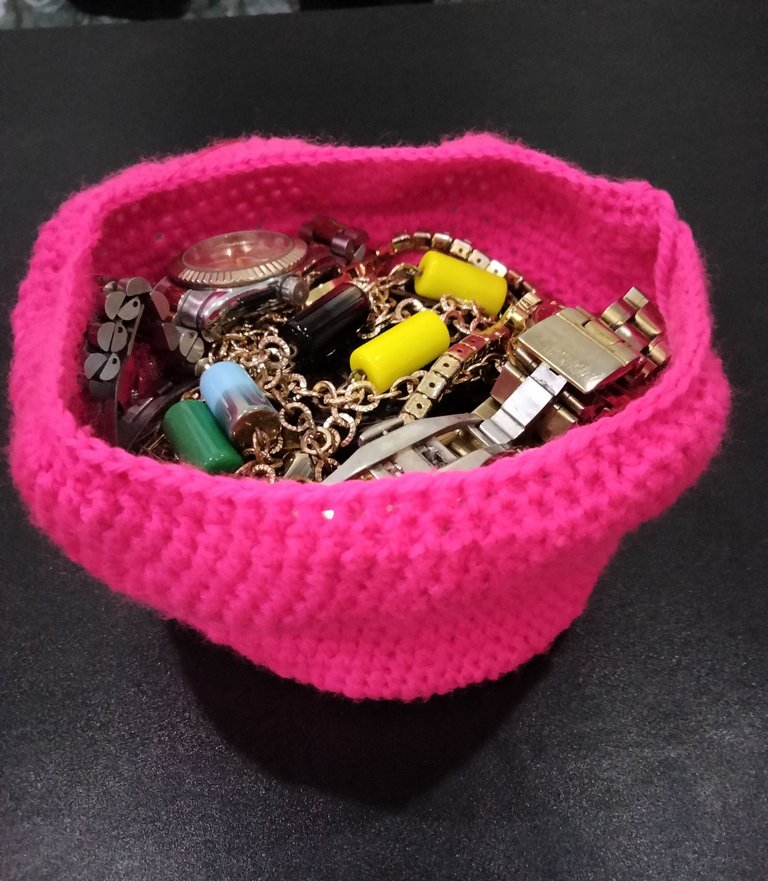
It was nice experience getting my fingers to manipulate this 🧶 yarn into this object you are seeing here. I hope to do better next time.
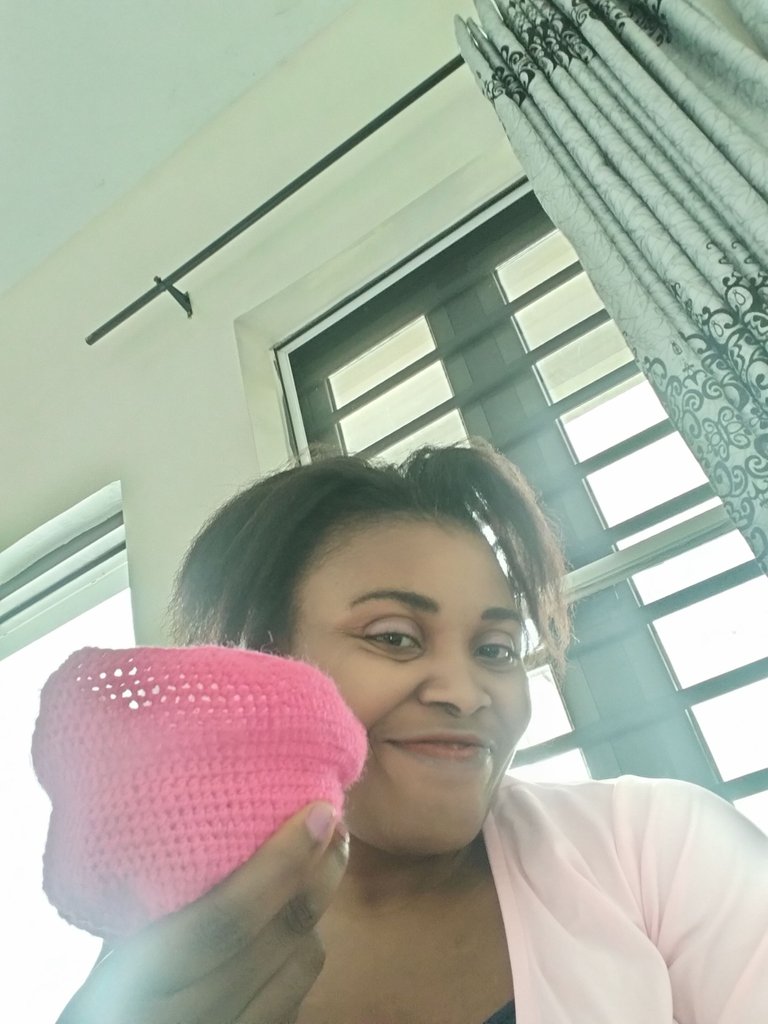
A photo of the author with the diy project

Thanks for reading and for viewing 🥰🥳😍
PLEASE NOTE, ALL PICTURES ARE MINE TAKEN WITH MY CELL PHONE
