Hello Jewerly friends, it's a pleasure to be back here sharing another video tutorial, this time I worked with jewelry wire and some beautiful stones, I made my name to practice because even though it looks easy it's not easy to work with wire, I used wire to mold my name and use it in my publications, it can also be used as a necklace or even as a keychain, at the end of the publication I will be sharing how it looks both ways.
Hola Amigos de Jewerly es un gusto estar de nuevo por acá compartiendo otro vídeo tutorial, en esta oportunidad trabaje con alambre de bisutería y unas hermosas piedras, realice mi nombre para ir practicando ya que a pesar de que se ve fácil no están fácil trabajar en alambrismo, use alambre para moldear mi nombre y usarlo en mis publicaciones, también se puede usar como collar o incluso como llavero, al final de la publicación les estaré compartiendo como se ve de ambas formas.

Materials:
- 0.6 gauge gold-plated costume jewelry wire.
- Assorted red and black rhinestones.
- Round tip tweezers.
- Cutting tweezers.
- Silicone tip tweezers.
- Measuring ruler.
Materiales:
Alambre de bisutería calibre 0.6 dorado.
Pedrería variada rojo y negro.
Pinza punta redonda.
Pinza de corte.
Pinza punta de silicón.
Regla de medida.

Step by Step:
The first thing I did was to measure with the ruler the wire to give the size I wanted to the first letter which was the "N" for it measured 5 cm and from there I placed the first stone to then twist the tip, I was shaping the letter N and placing the stones at the tips to continue molding, it is noteworthy that I did not cut the wire until the name was finished.
Paso a Paso:
Lo primero que realice fue medir con la regla el alambre para darle el tamaño que quería a la primera letra que era la "N" para ello medi 5 cm y de allí coloque la primera piedra para luego entorchar la punta, fui dando forma a la letra N y colocando las piedras en las puntas para seguir moldeando, cabe destacar que no hice corte del alambre hasta terminar el nombre.

It is very important to twist well at each end of each letter so that its shape is consistent and does not disassemble easily, after finishing the letter N, I went to shape the letter "A" in this case I used a heart with double perforation this helped me to give a better shape and finish to the letter, I continued with the next letter which was the "Y" I also added a stone to make it look pretty, I continued with the letter "E" and successively with the "D" this one was a little complicated because of the doubles but I left it for the last twisting and continued placing the stone at the end.
Es muy importante entorchar bien en cada extremo de cada letra para que su forma sea consistente y no se desarme fácilmente, después de terminar la letra N, fui a darle forma a la letra "A" en este caso utilice un corazón con doble perforación esto me ayudó a darle una mejor forma y acabado a la letra, continúe con la siguiente letra que era la "Y" también agregue una piedra para que se viera bonita, prosegui con la letra "E" y sucesivamente con la "D" está se me complicó un poco por el dobles pero dejé para de último entorchar y continúe colocando la piedra del final.

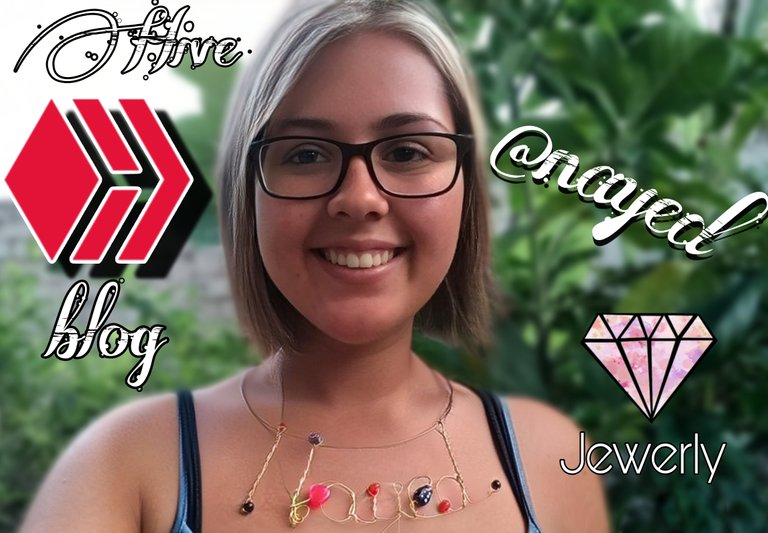
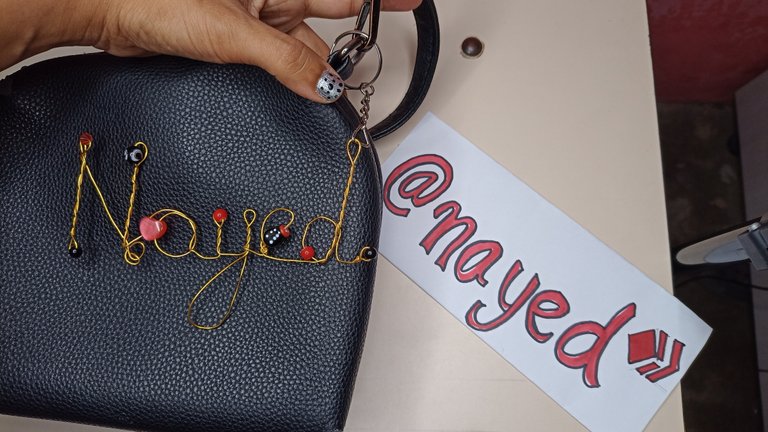
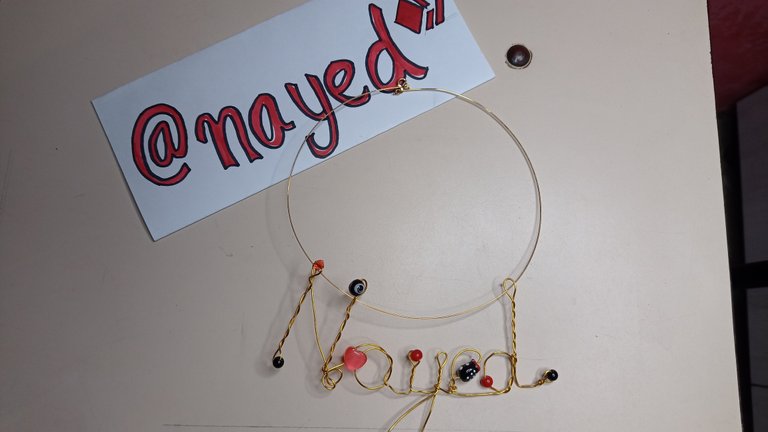
Finally I went on to twist the letters and with the silicone tweezers I gave better shape to the letters so that each one was well fixed, I twisted the letter "D" and then, I decided to add a ring and a small chain to leave it as a keychain, I took several pictures and I stitched it in my bandolier to see its usefulness and finish. On the other hand I also thought of a choker and it was the idea that I liked the most, so I looked for a golfield choker and stitched the name when I put it on I liked it a lot, I hope you too I do not deny that I am learning but every time I decide to do something new I do it from my heart, as well as this video tutorial I hope you enjoy it and come back for more. See you next time.
Por último pase a entorchar las letras y con la pinza de silicón di mejor forma a las letras para que quedase bien fija cada una, entorche la letra "D" y luego, me dispuse a agregarle un aro y una pequeña cadena para dejarlo como llavero, tomé varias fotografías y lo guinde en mi bandolero para ver su utilidad y acabado. Por otra parte también pensé en una gargantilla y fue la idea que más me gustó, así que busque una gargantilla de golfield y guinde el nombre cuando me lo puse me gustó mucho, espero que a ustedes también no les niego que voy aprendiendo pero cada vez que decido hacer algo nuevo lo hago de corazón, asi como este vídeo tutorial que les dejo espero lo disfruten y vuelvan por más. Hasta la próxima.
|
|
|
Here are the pictures of what the wire wrap charm looks like, it looks great as a keychain and necklace, I think I will also use it for my videos.
Aquí están las fotos de cómo se ve el dije de alambre, se ve muy bien como llavero y collar, creo que también lo usaré para mis videos.


▶️ 3Speak


