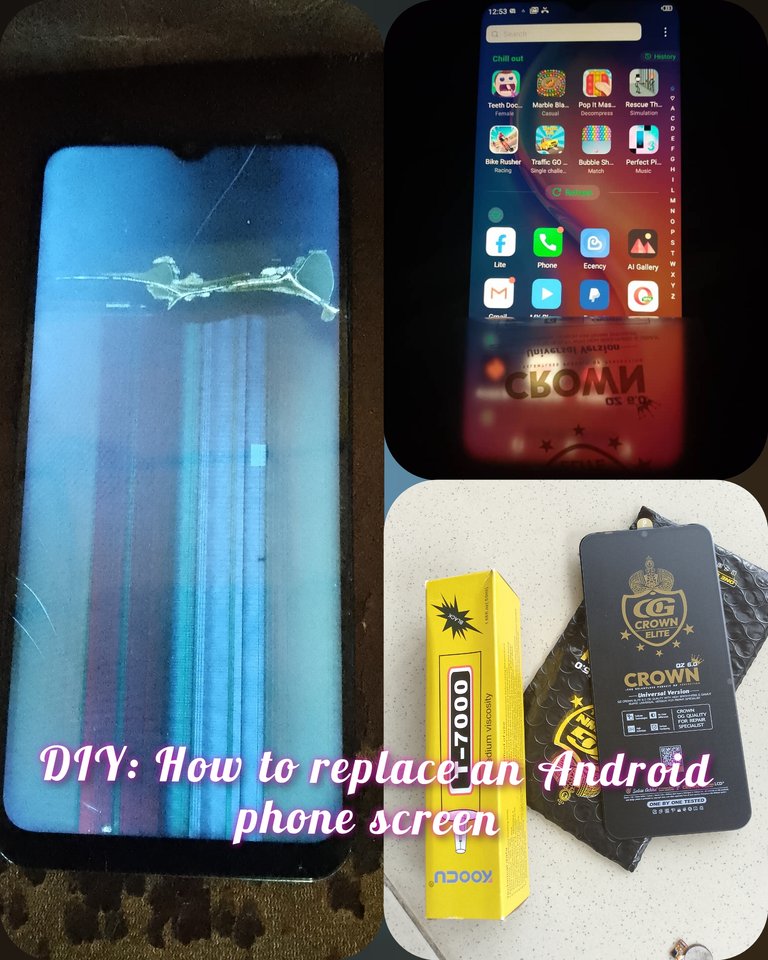
Greetings, everyone here in this amazing community; how are you all enjoying your weekend? I hope it's good. I am happy to be here with you guys today to share this simple DIY post on how to replace the screen of an Android phone.
Android phone is something everyone uses, and if it falls, you may not pick it up as it was; it will surely break, and if it breaks, it most affects the screen. If the screen is fixed, the phone can be welcome back to perform as well as before. Some people don't replace their screen when broken but rather sell it out, complaining it will not work again; but I told you today is a lie.
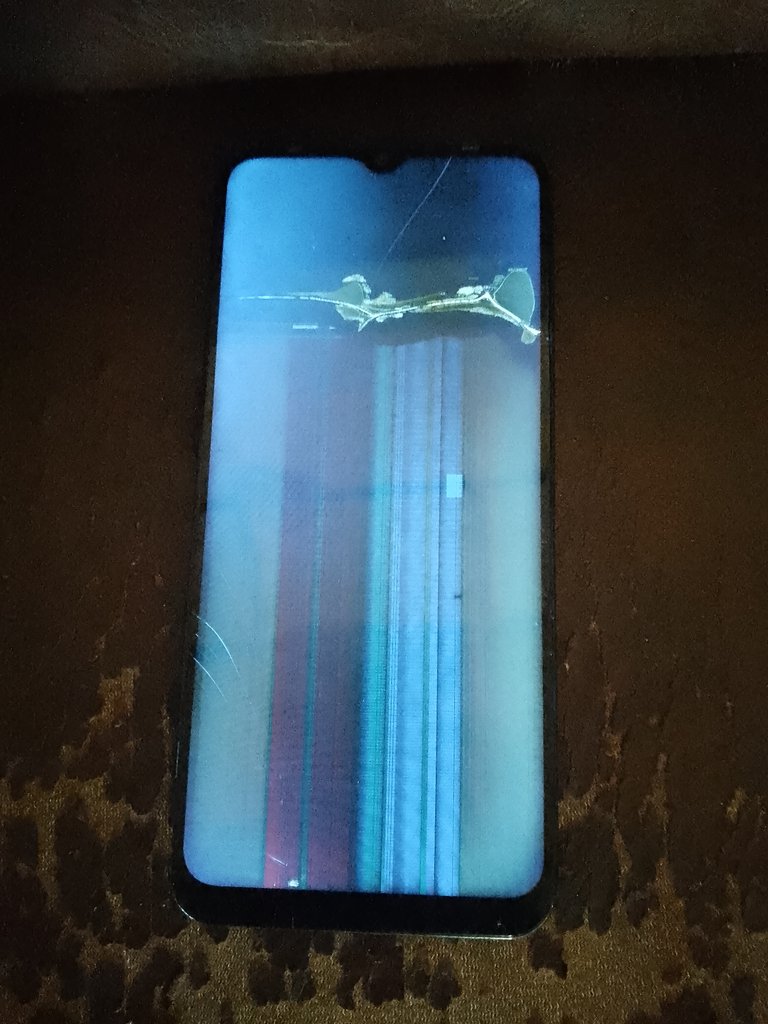
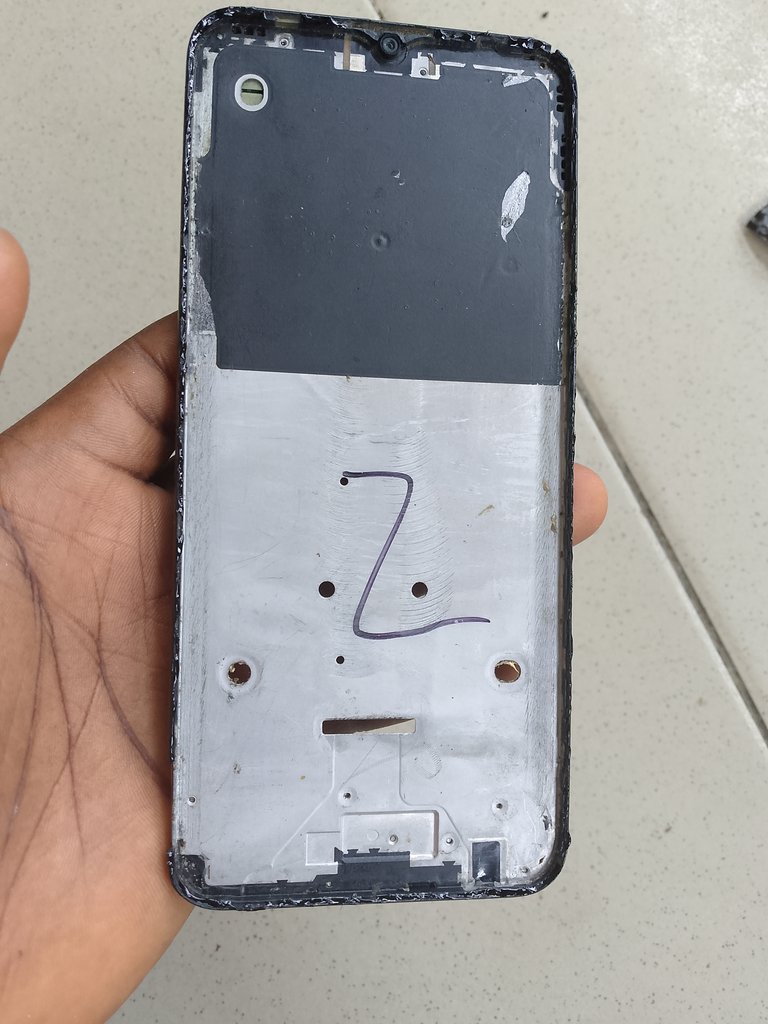
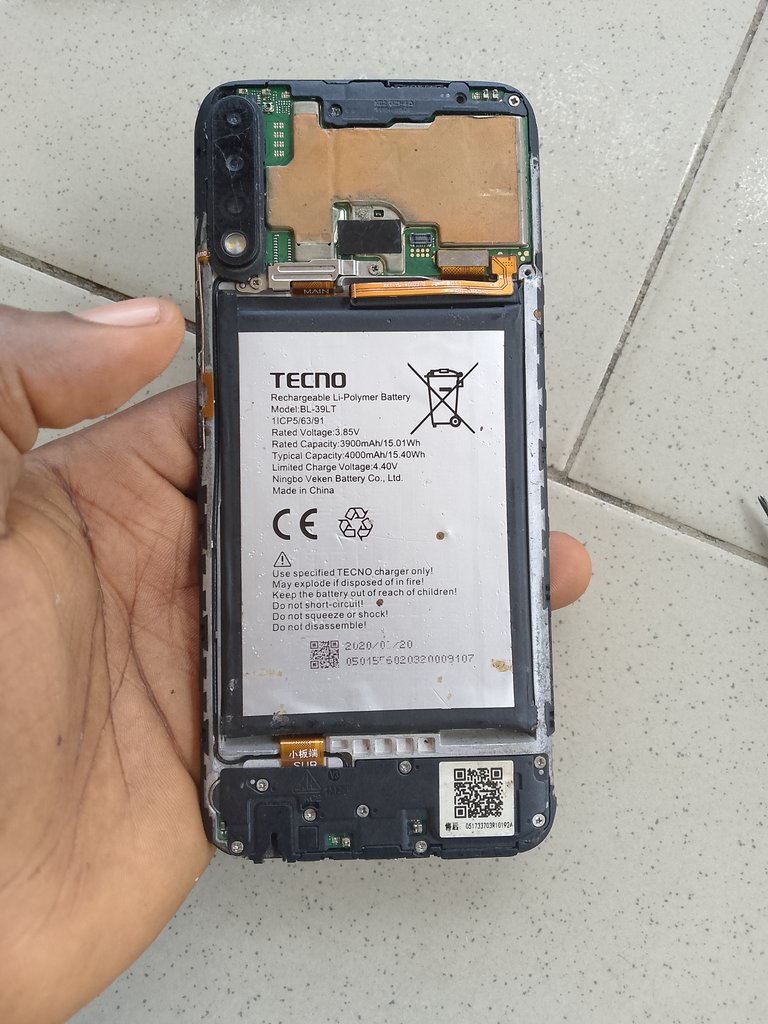
Here is the phone before
Fixing of Android phone is something very simple to do and does not come with any risk. Going through this DIY post today, I will show you how to fix the screen within some minutes, and if you believe it, you can surely do it, it's just about giving it a try.
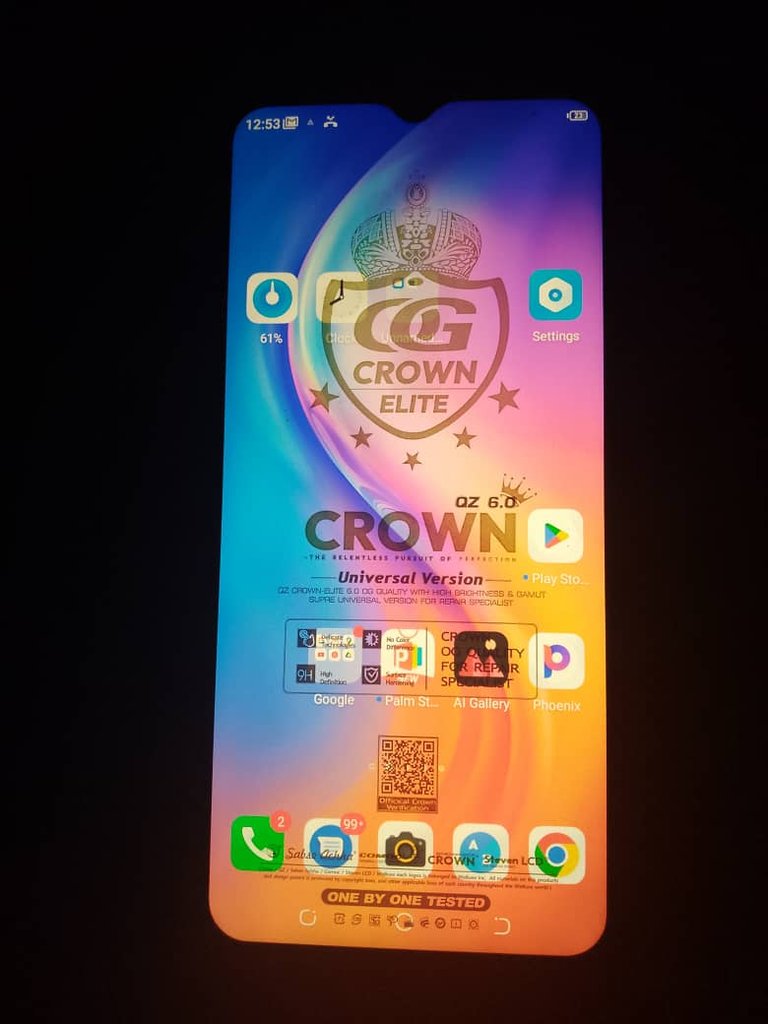
After fixing the screen
I challenge myself to do it because how some engineers are careless when it comes to handling someone's phone. My phone gets split into two types, and how did it happen?
I gave an engineer my screen to fix, and after fixing it, because of carelessness, he cut the battery flex and bought a fake battery to replace it so that I would not know, so the battery burned the panel, and that is how I lost my first phone.
The second time i give my phone to fix my screen and after fixing the screen he tight phone with a screw on the battery, and the phone explore and that is why I lose it, so I promise myself I will not be giving any guy my phone to replace a screen for me again and that is how I started seeing my self working a screen and it works out for me and the method is simple and I believe you can do it too.
Let's get started
Firstly you need to all the material needed set.
- new screen
- koocu T-7000 glue
- start screw etc.
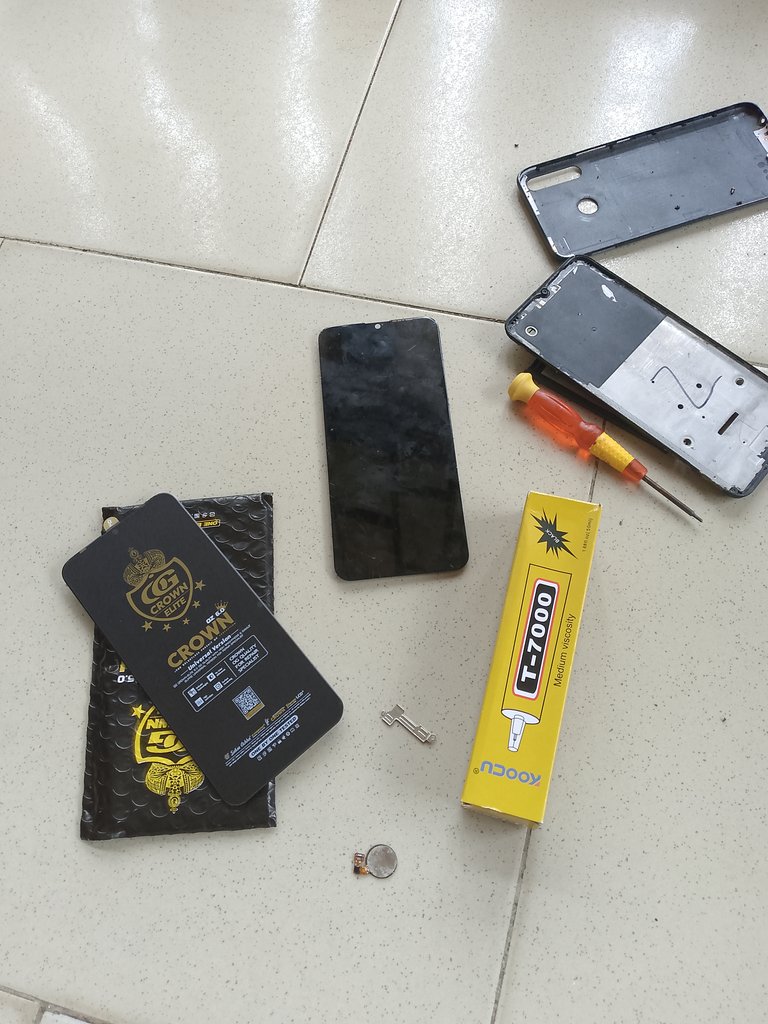
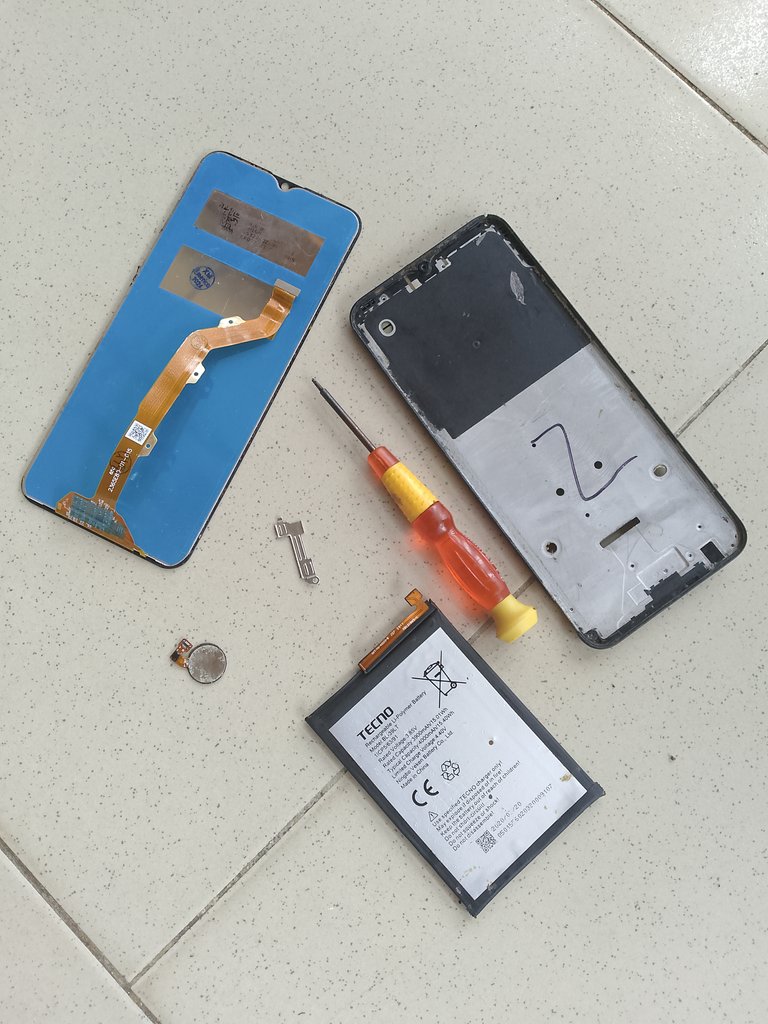
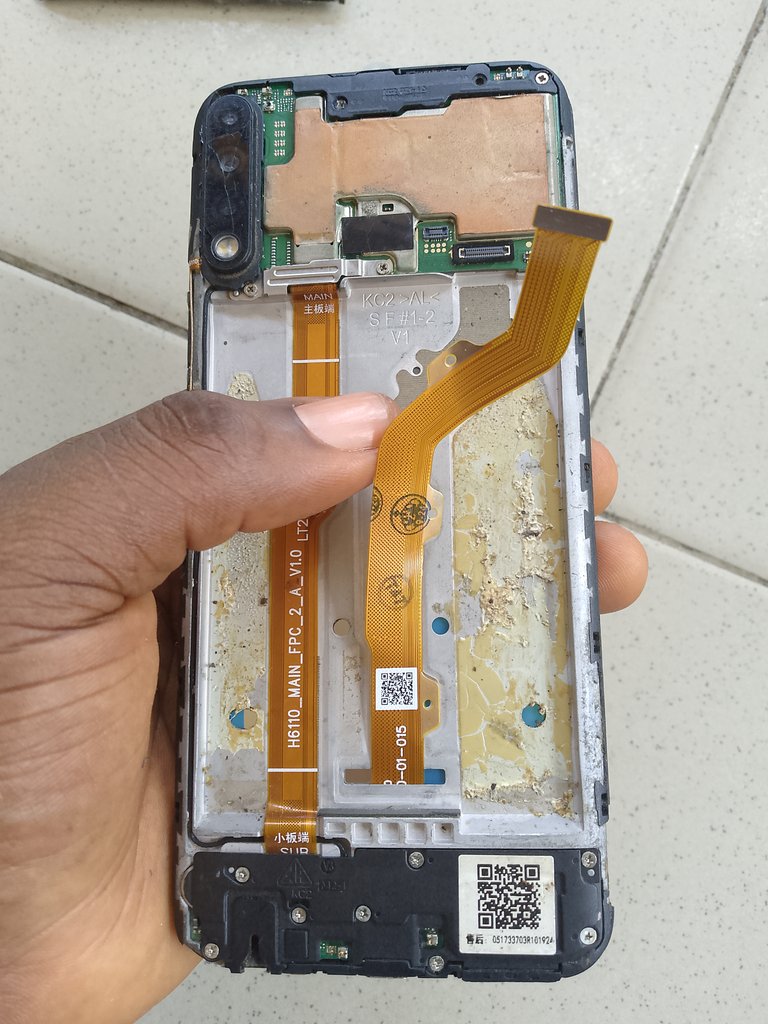
To begin, loose the phone, remove the battery and the old screen.
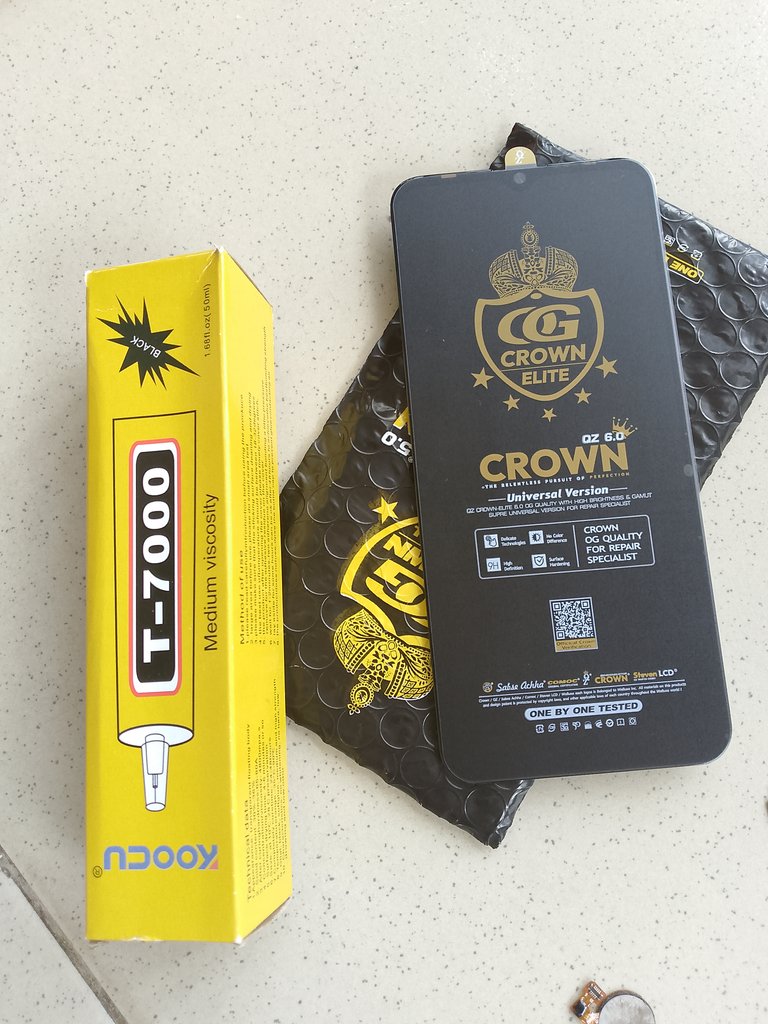
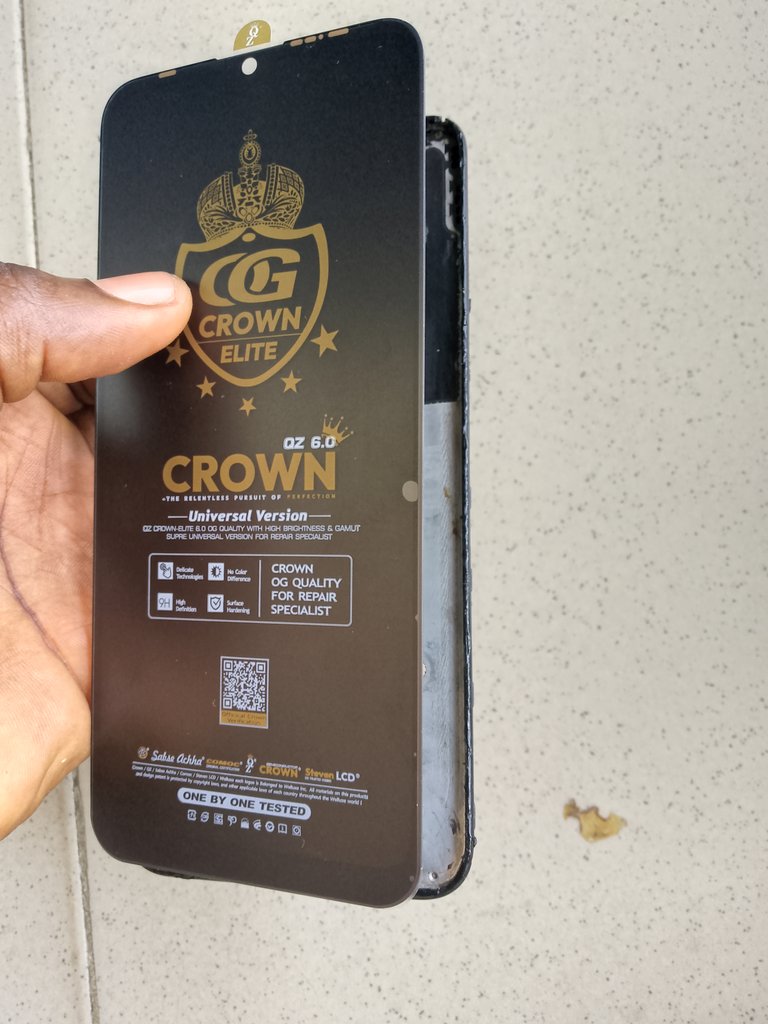
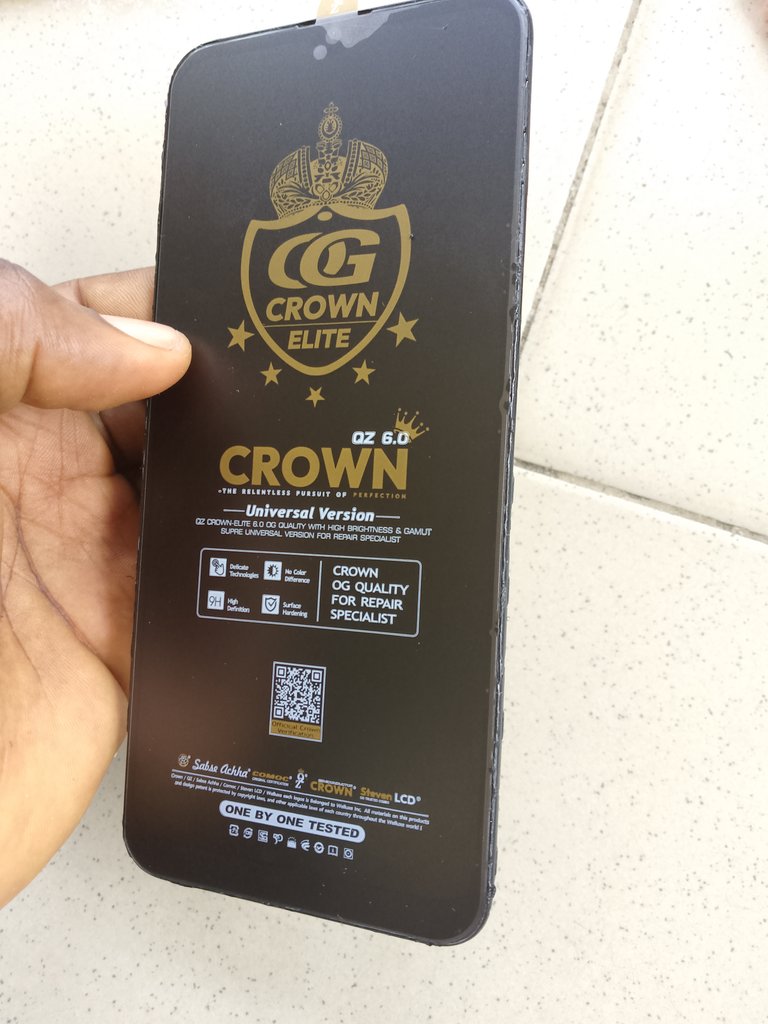
Pick the phone to where they are selling the screen, test it, and make sure it is working perfectly before buying. Here is the new screen screen and the glue I am using.
Then use your hand to roll out all the old glue on the panel of the phone so that the new screen can be gum smooth and neat. After removing it, I then apply the glue around the panel of the phone at the edges where the screen will stay.
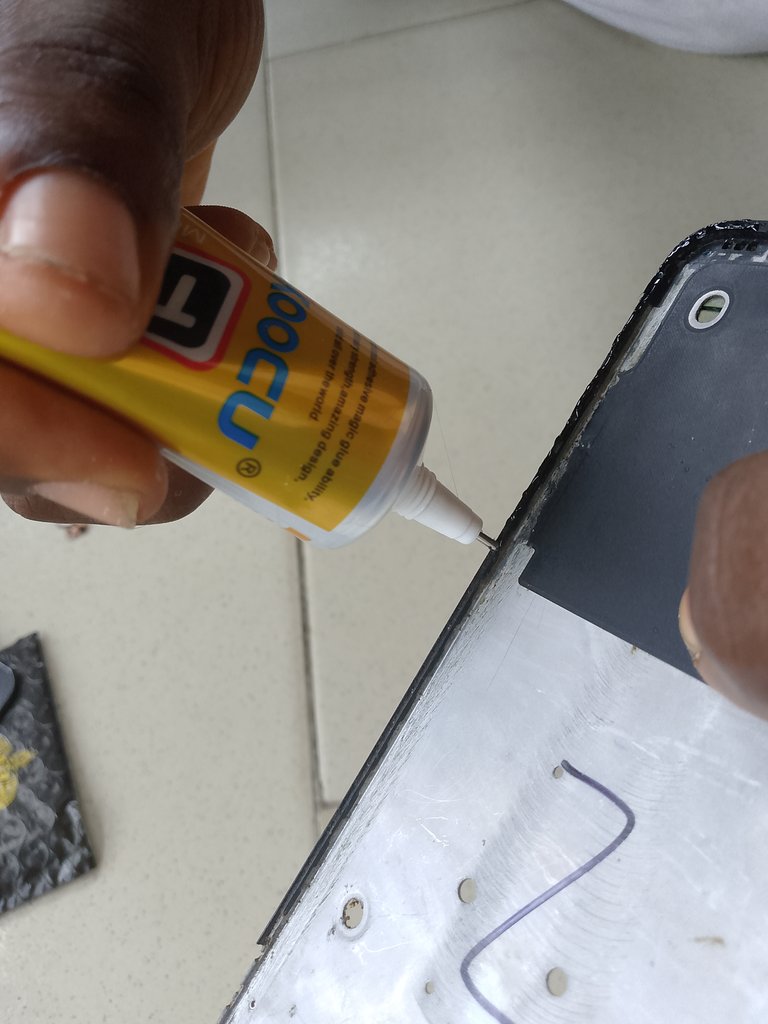
I am done applying the glue around the phone panel
From the glue instructions, after applying the glue you have to wait for 3 minutes. Therefore, I drop the screen and wait for 3 minutes. Note you only apply the glue on the phone panel, not on the screen.

After waiting for three minutes, I then bring the screen, pass the flex, set it, and gum it together.
I then plug the screen flex.
I then plug the battery too.
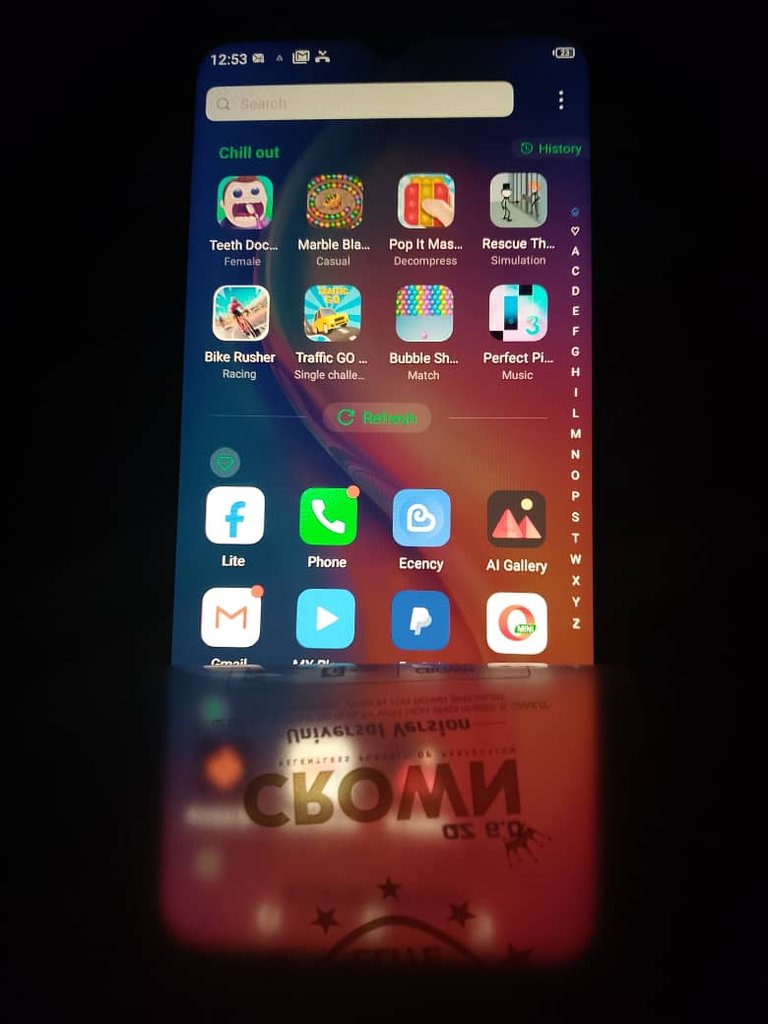
I then cover the phone casing and power on the phone, and it is ON.
Then remove the label.
Finally, the phone is ready to be used, wow.
This has simply had ABC to follow up. Just give it a try, and you will enjoy it. If you love this post, please like, comment, and reblog.
Originally, to fix this screen by an engineer, you ended up spending 15 dollars, but fixing it myself, I only spent 7.5 dollars, and I have been able to save 7.5 dollars myself. Hope this post is helpful.
Thanks so much for your time, I love you all.
Posted Using InLeo Alpha