Hello everyone
Happy monday, how are you all doing, I hope you guys are doing great. It really move me to share with you all great tutorial on how I reupholst a Lexus back seat. In this post I will be using photos for easy understanding
Let get started
Material/tools needed
Sucker spanners
Ring spanners
Flat Screw driver
Star screw driver
Sewing machine
Tread
New leather etc
Here is the finished seat
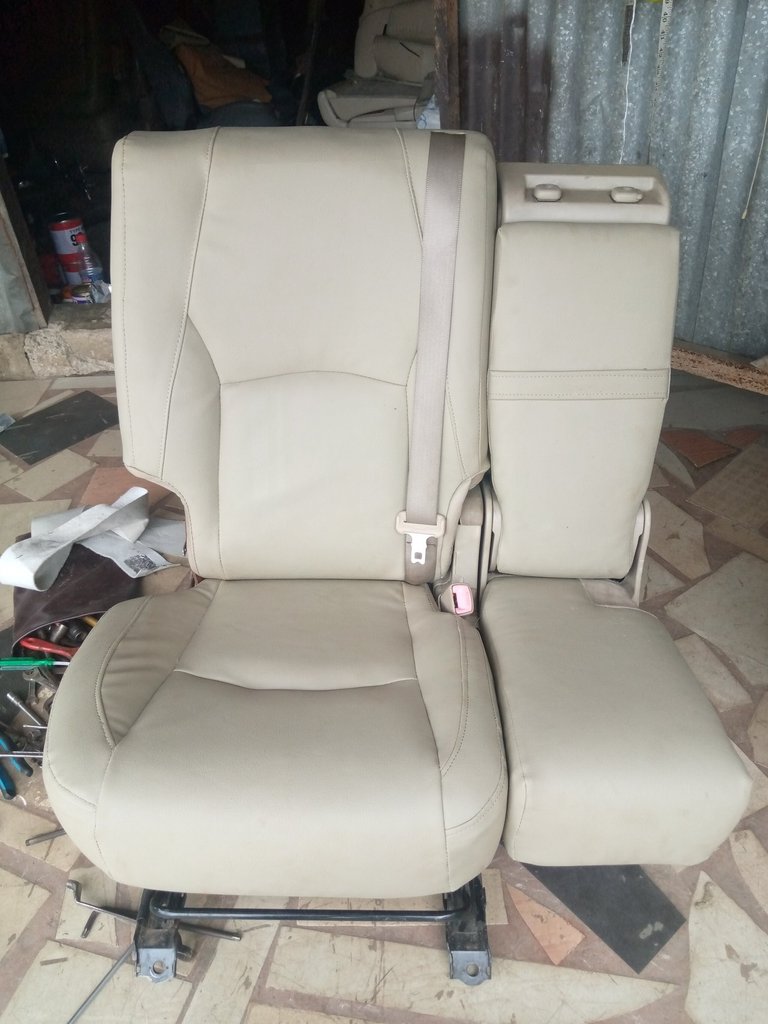
Let learn together with this simple steps I follow to make this beautiful seat.
Step 1
Before making any seat you need to use some basic tools and loose the seat out from the car to where u want to perform the upholstery work ie workshop
I loose the seat to my shop
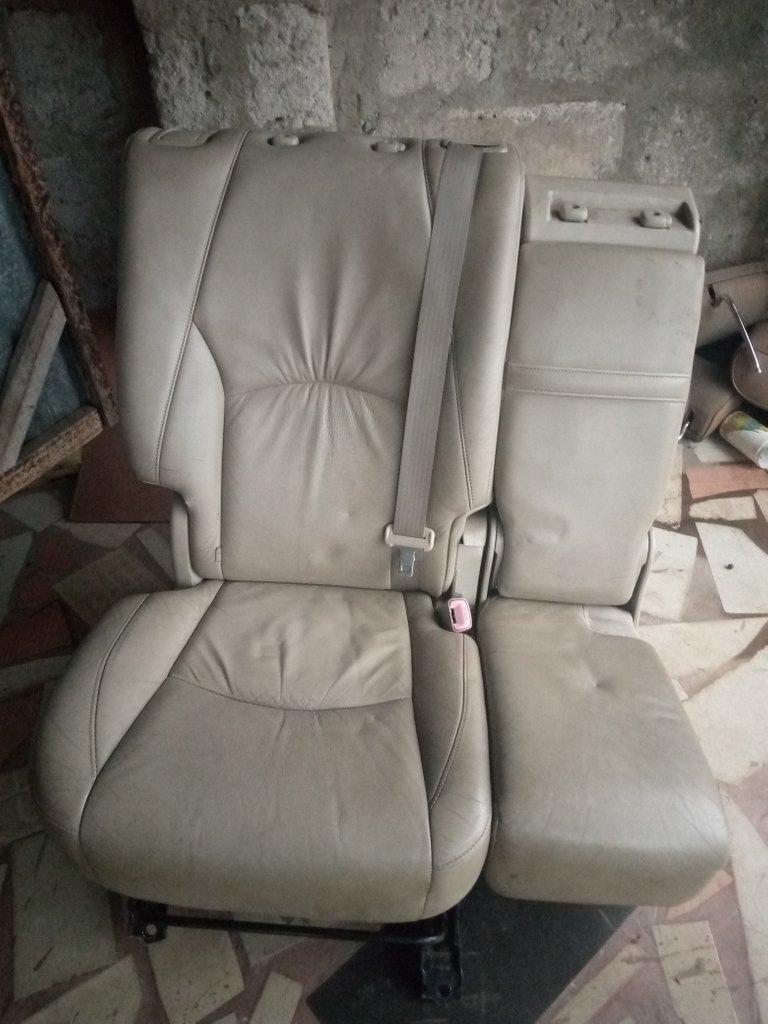
Step 2
After loosing the seat to my shop I Know seperate the main seat from the back for easy measurement and reupholster
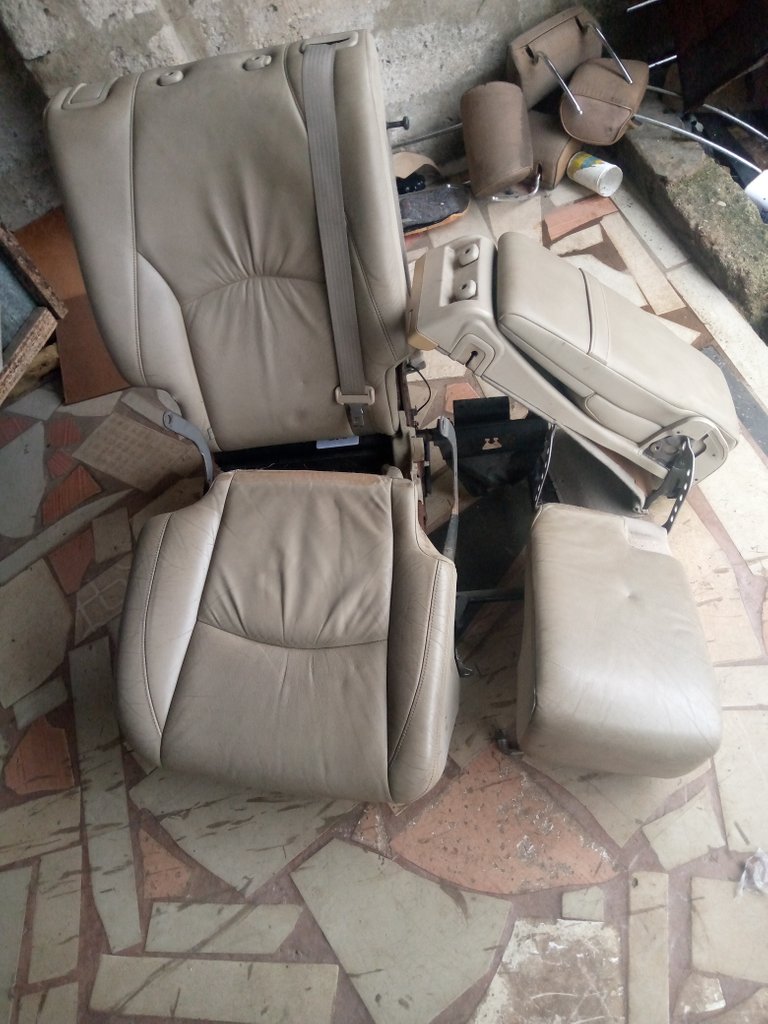
Step 3
I now select the material I want to use that matches the old colour.
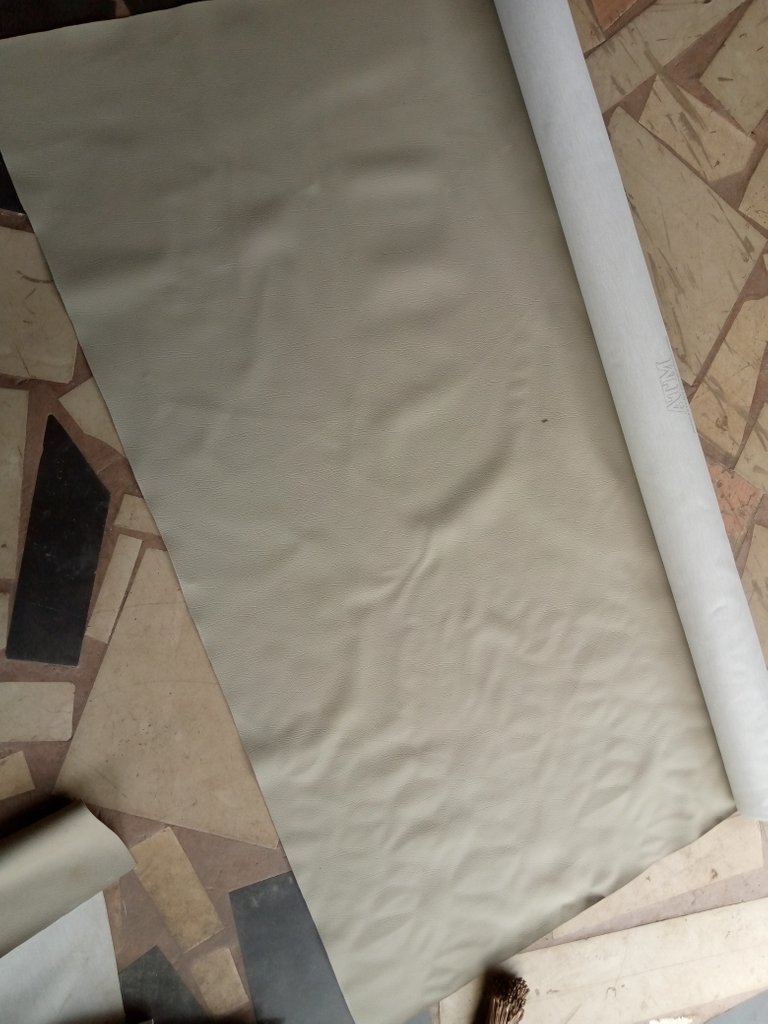
After that I now use my tape to take the measurement of each shape of the seat or not vertical and horizontal measurement and then write it out in my old seat
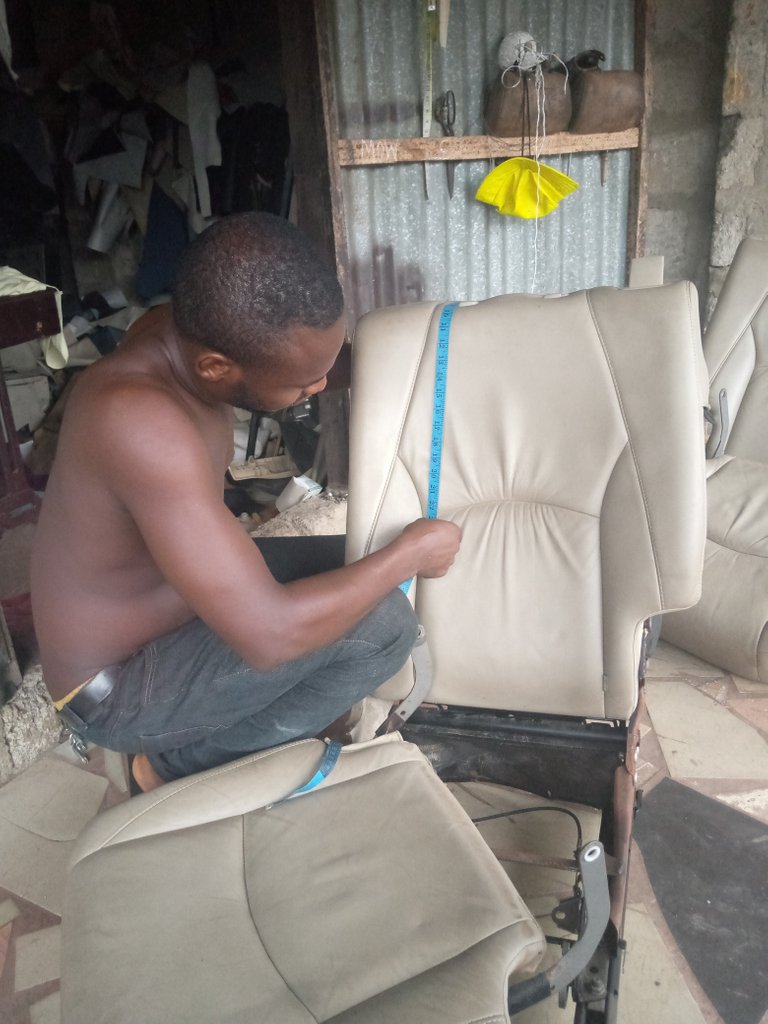
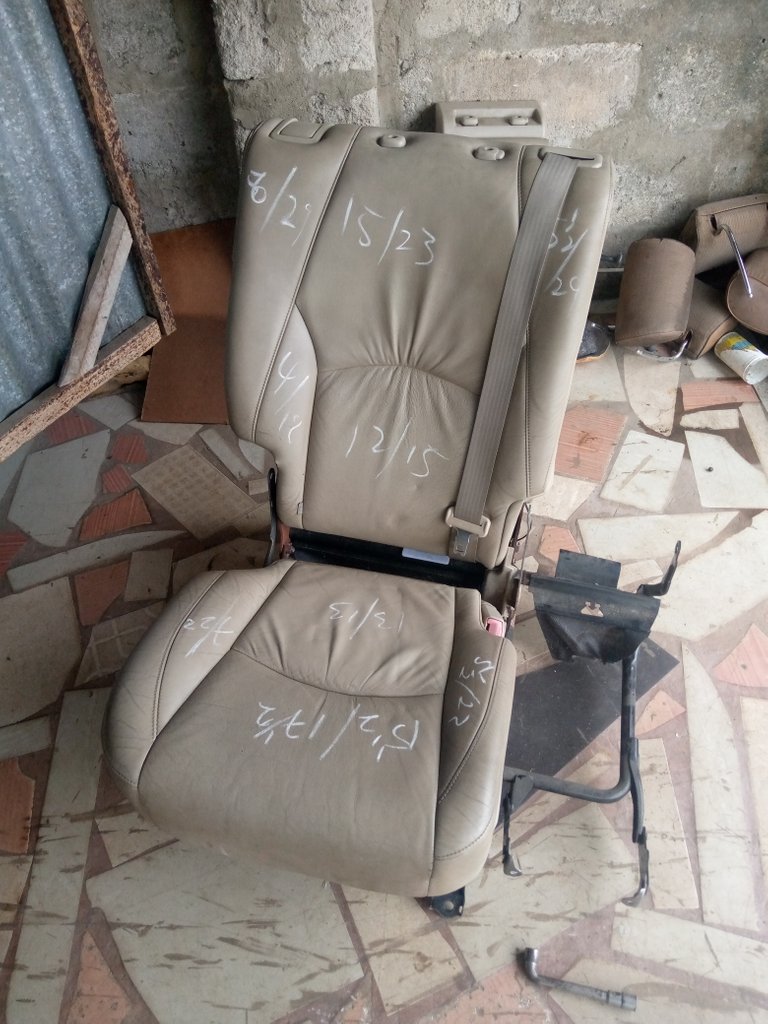
Step 4
I now transfer the measurement to my new leather and then cut it out
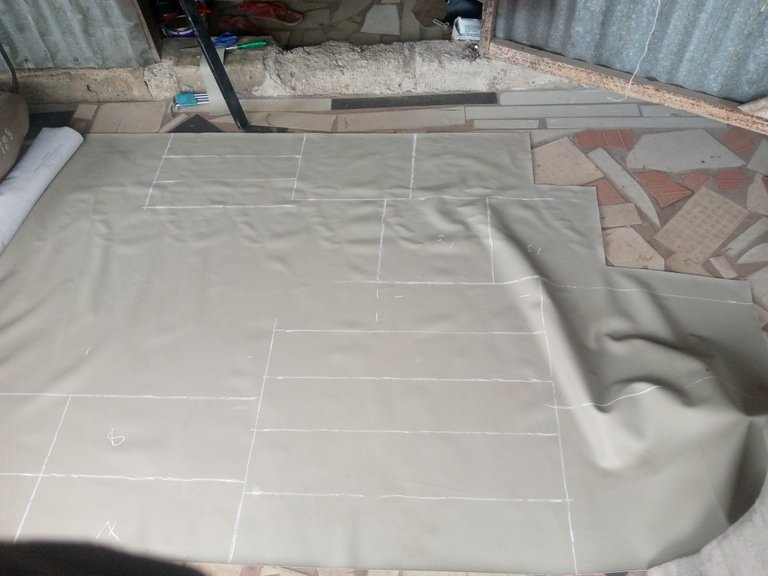
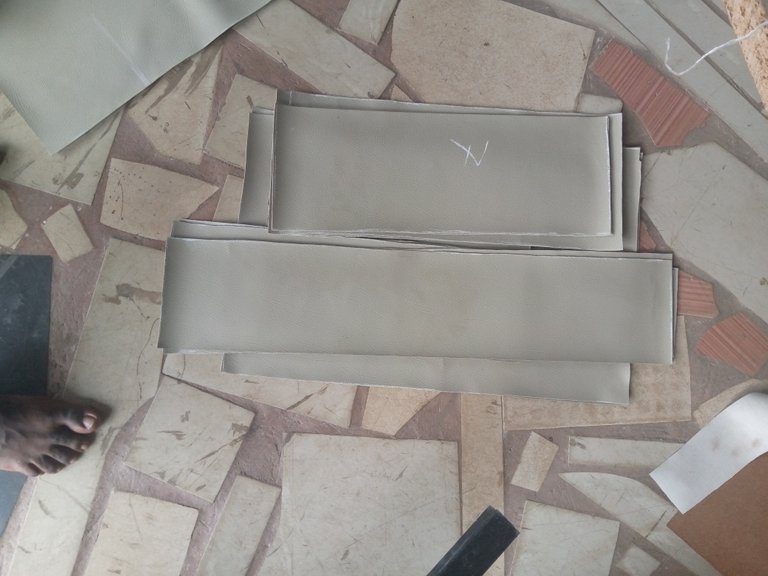
Step 5
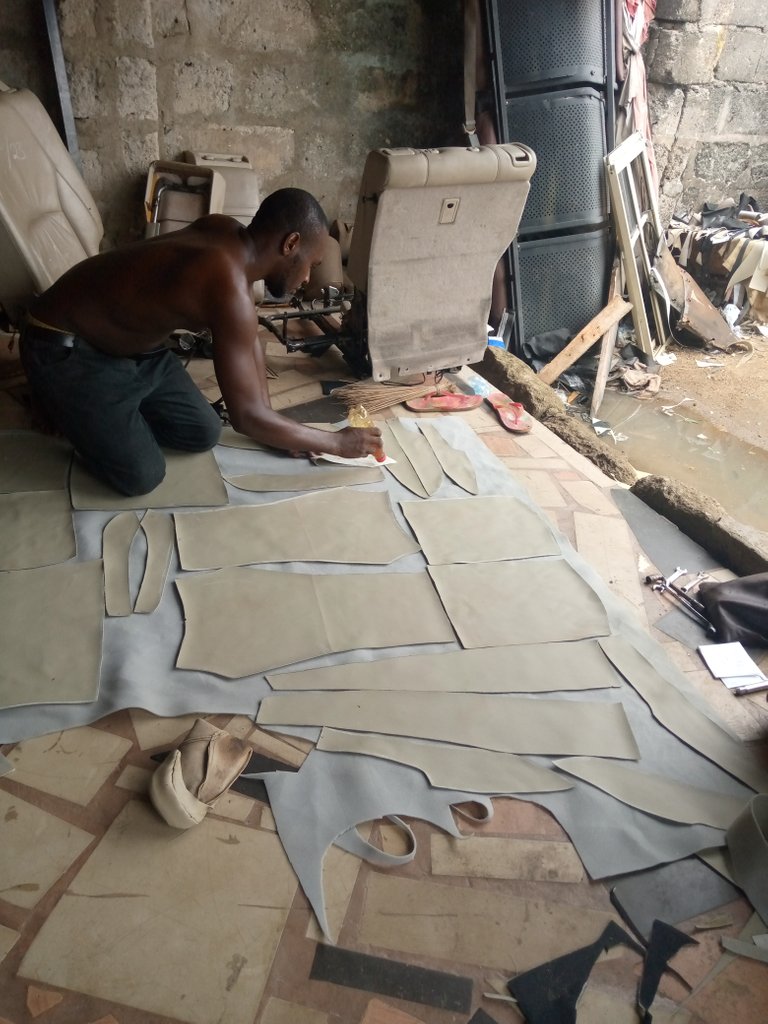
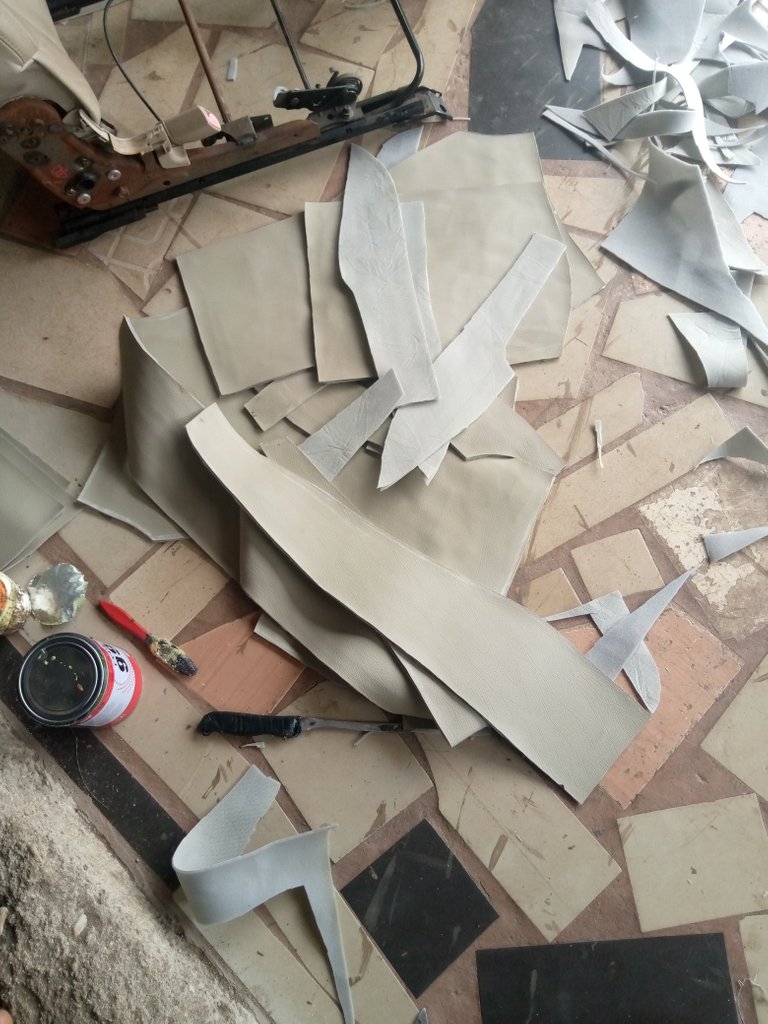
I now place the new leather on the old seat with the help of maker and draw out the shape of it after that I cut it out and the place it on a roof material and gum it together later I now cut it out. See photos below
Step 6
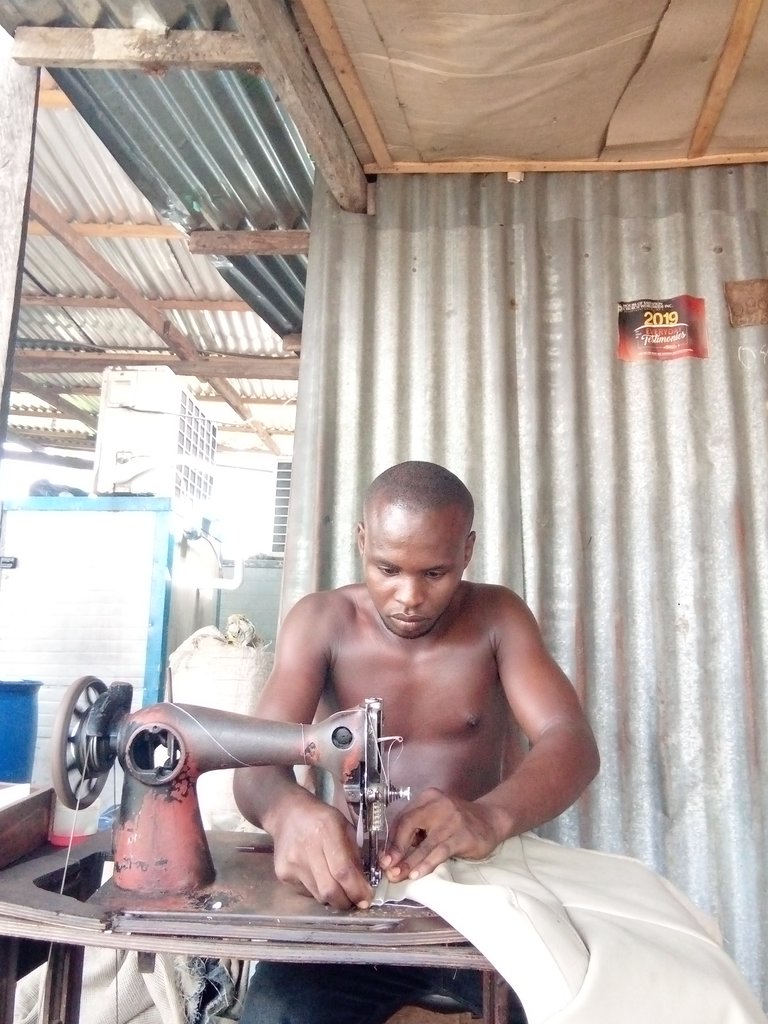
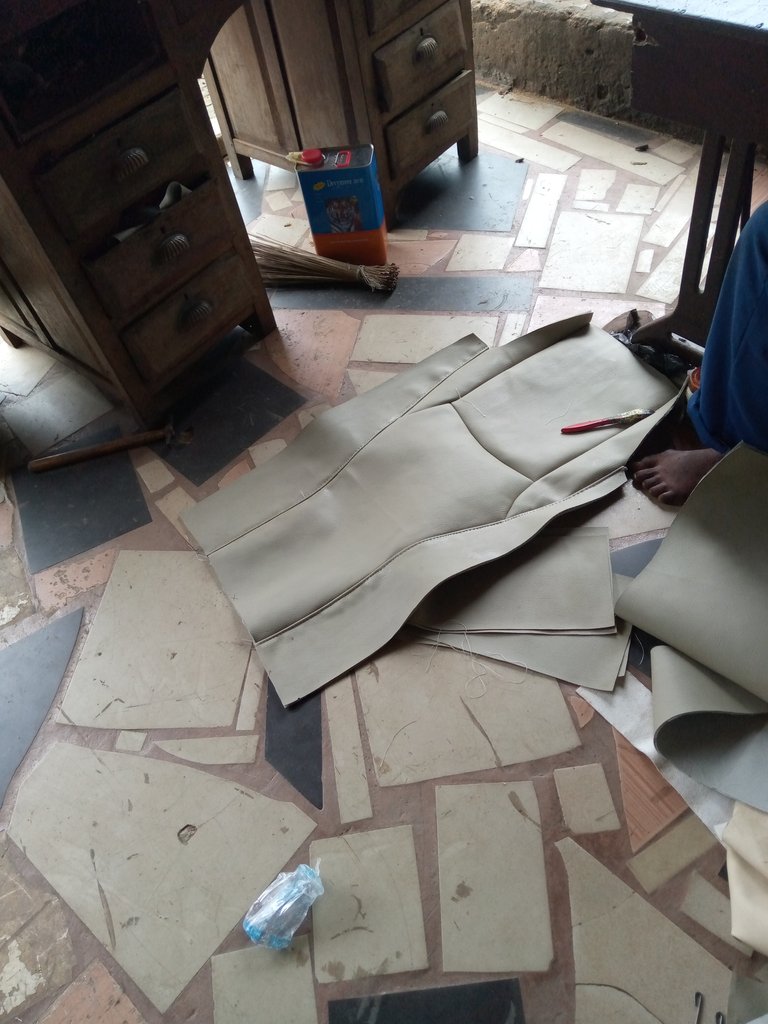
The sewing process, with the help of my sewing machine I now join the material exactly has it is in the old seat and then join all the necessary things has it is in the old seat.
Step 7
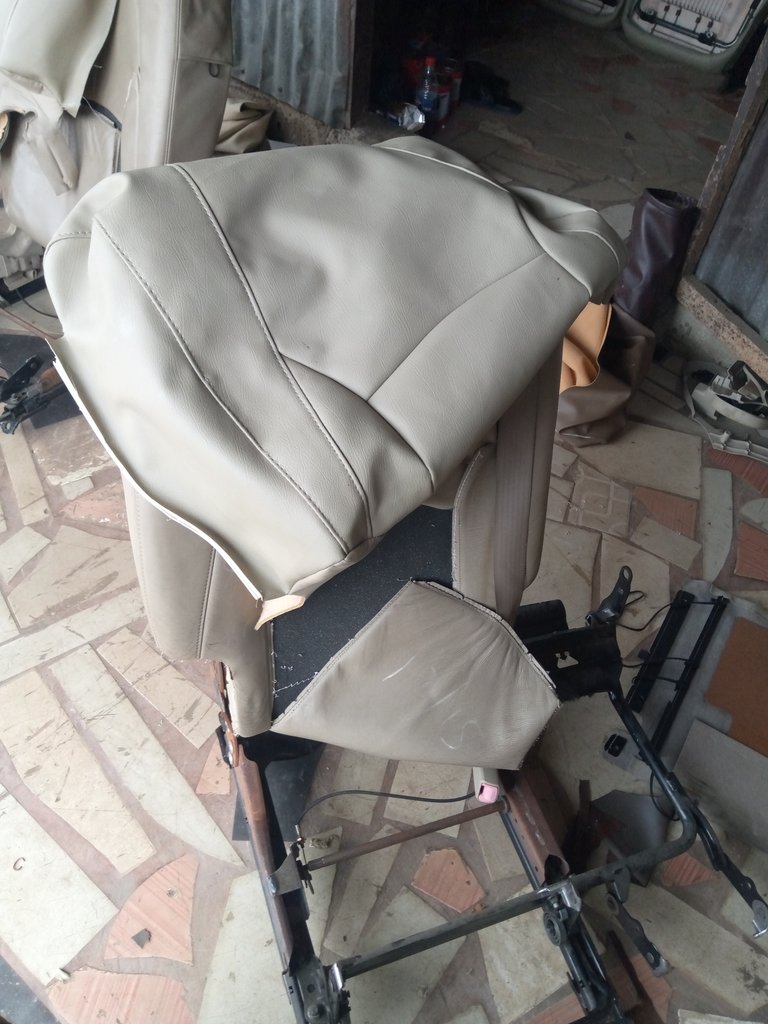
The upholstery process, after sewing it I now replace the sewing material to my old seat and clip it together
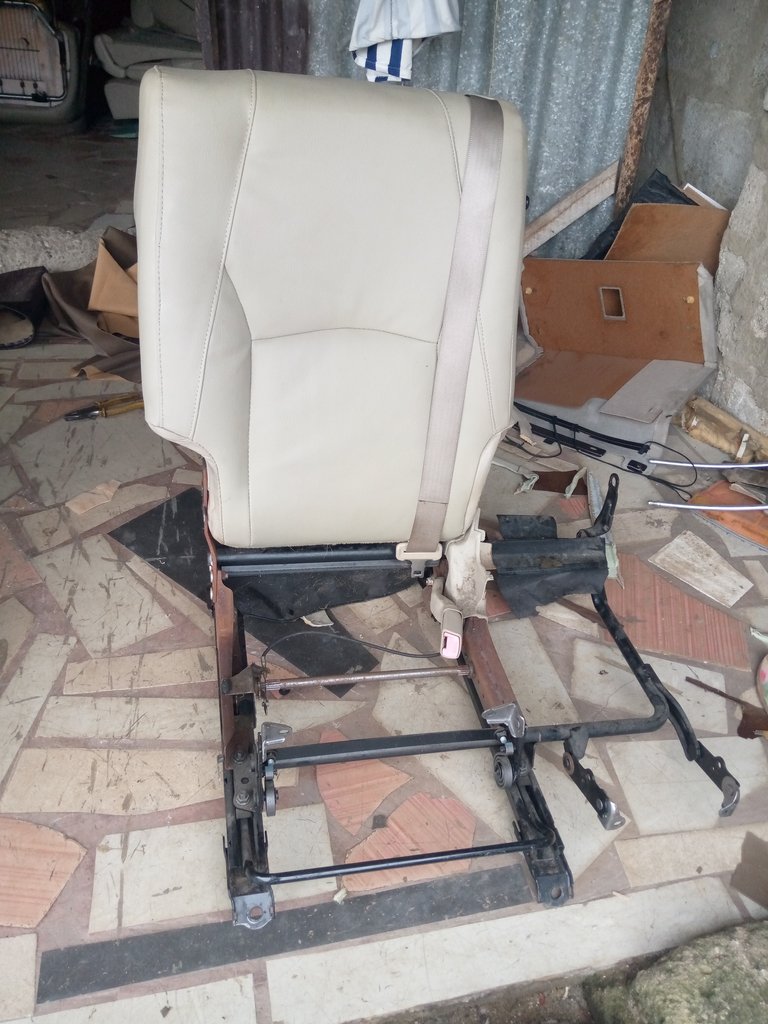
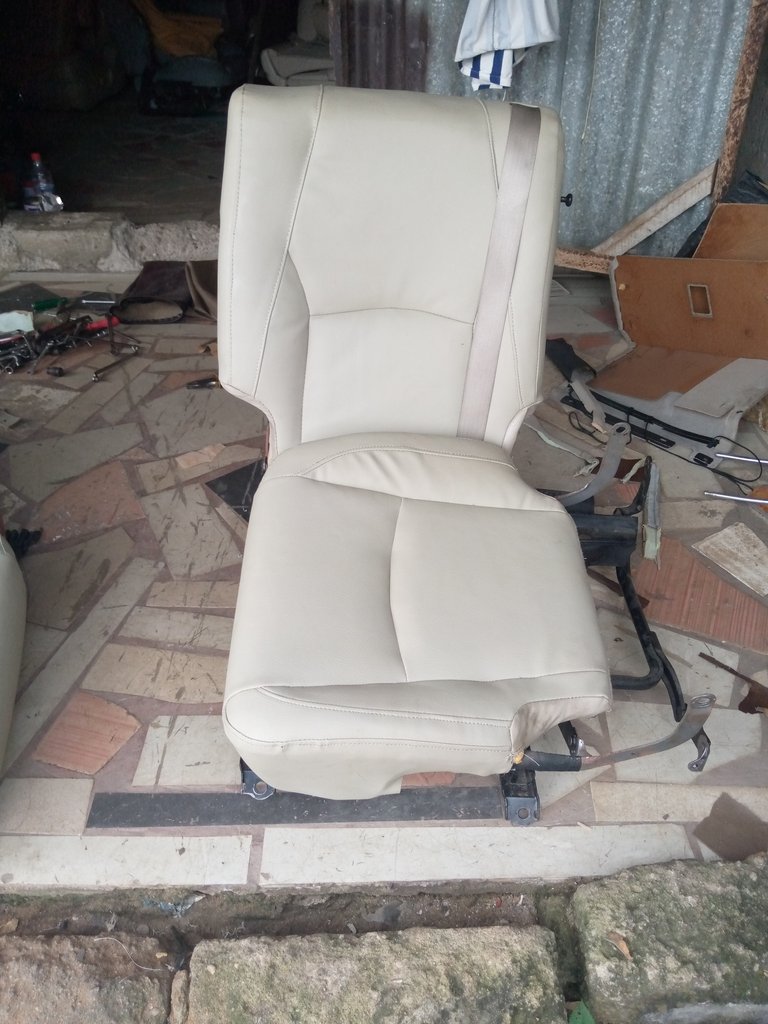
Finally
I now tide the seat back has before
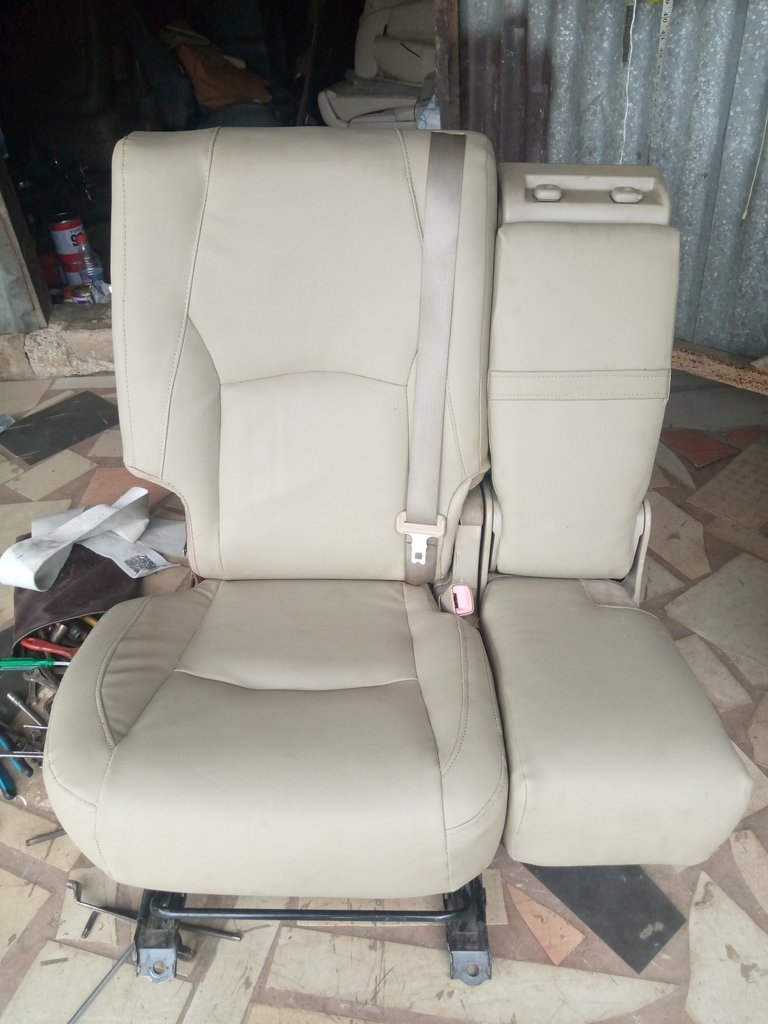
Finally the seat is ready wow. This is really beautiful
Special thanks to @crosheille @lauramica @kattycrochet @needleworkmonday
Thanks for your time Remain bless @mosesessien