
✨⚜️✨⚜️✨⚜️✨⚜️✨⚜️✨⚜️✨⚜️✨⚜️✨
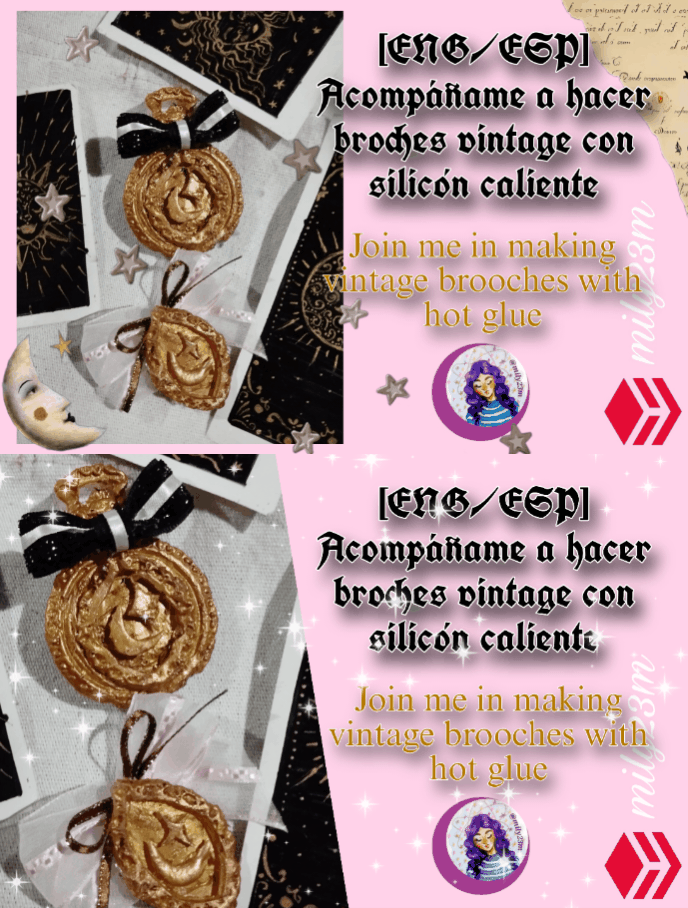
Hola amigos artesanos! Cómo están ? Hoy les traigo un nuevo proyecto que hice, para seguir con mi estética que es muy de cosas vintage y con mucho inspiración en cosas celestiales como lunitas ,soles , y estrellitas , ese estilo siempre me ha llamado la atención y si entran en mis post anteriores encontraron muchos de mis proyectos que manejan ese estilo, así que pensando en nuevos proyectos para hacer , recordé esas epocas en la que yo empecé con las manualidades y veia mucho Pinterest y tambien estaba de moda we💜it , que era un red social típo Tumblr ,en fín siempre veía como estos blogs de artesanias super vintage y muy ornamentales y las fotos eran bellísimas y viviendo en mi país tercer mundista no habia mucha oportunidad para comprar cositas así porque era carísimo y tampoco habían cositas así, siempre quise hacer mis propios diseños , y recordando todo esto ,se me ocurrió la idea de hacer algunos adornos con este estilo vintage y romantico utilizando unos moldes para masa flexible que tenia por allí y el material más económico y facil de usar , el silicón caliente. Así que aca abajo les dejo las fotos del proceso ↘️ ⬇️ ↙️.
Materiales
⚜️3 barras de silicon caliente y pistola para silicón.
⚜️ Moldes con formas bonitas.
⚜️ Pintura dorada.
⚜️ Pega blanca.
⚜️Pintura marrón.
⚜️Tijeras.
⚜️ Cintas y listones.
✨Manos a la obra✨
English Version✨⚜️✨⚜️✨⚜️✨⚜️✨⚜️✨⚜️✨⚜️✨⚜️✨
Hello fellow artisans! How are you? Today I bring you a new project that I did, to continue with my aesthetic that is very vintage things and with a lot of inspiration in celestial things like moons, suns, and stars, that style has always caught my attention and if you enter my previous posts you will find many of my projects that handle that style, so thinking about new projects to do, I remembered those times when I started with crafts and I saw a lot of Pinterest and we💜it was also in fashion, which was a Tumblr type social network, anyway I always saw these super vintage and very ornamental craft blogs and the photos were beautiful and living in my third world country there wasn't much opportunity to buy things like that because it was very expensive and there weren't many things like that either, I always wanted to make my own designs, and remembering all this, I came up with the idea of making some ornaments with this vintage and romantic style using some flexible dough molds that I had around there and the cheapest and easiest material to use, hot silicone. So here below I leave you the photos of the process ↘️ ⬇️ ↙️.
Materials
⚜️3 hot glue bars and a glue gun.
⚜️ Molds with pretty shapes.
⚜️ Gold paint.
⚜️ White glue.
⚜️ Brown paint.
⚜️ Scissors.
⚜️ Ribbons and strips.
✨Let's get to work✨
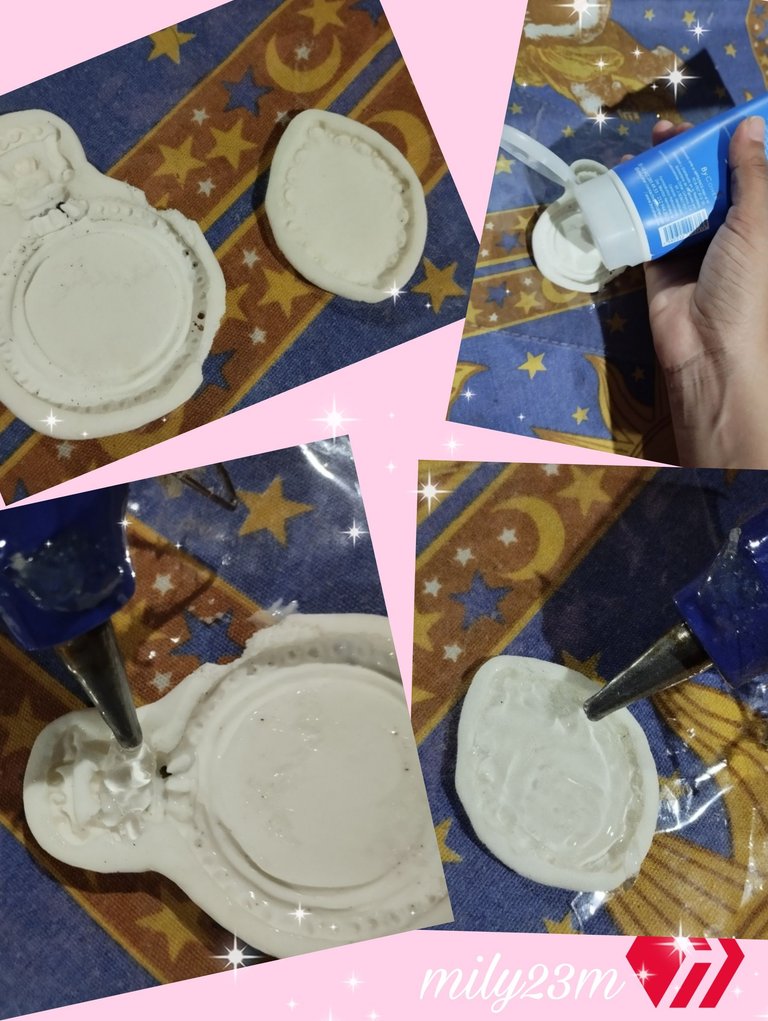
#1 Para el paso uno , empezamos limpiando bien los moldes ,yo compré estos hace muchos años , uno es una especie de reloj vintage y el otro era como un cuadrito ovalado, con algunos arabescos, estos en sí eran para masa flexible, y con el tiempo la de reloj casi se me daño, pero lo pude recuperar y limpiar bien, para volver a usarlo, usé un poco de crema para esparcirlo en los moldes y que saliera mucho mas fácil,con la pistola de silicón rellene toda la superficie de los moldes intentando no dejar espacio ni huequitos, y tratando que quedara todo bien lleno de silicón y espere a que se secara, una vez que se secó bien corté los excesos de silicona que quedaron alrrededor de las figuras.
**#1 For step one, we start by cleaning the molds well, I bought these many years ago, one is a kind of vintage clock and the other was like an oval square, with some arabesques, these in themselves were for flexible dough, and over time the clock one was almost damaged, but I was able to recover and clean it well, to use it again, I used a little cream to spread it in the molds and make it come out much easier, with the silicone gun I filled the entire surface of the molds trying not to leave any space or gaps, and trying to make everything full of silicone and wait for it to dry, once it dried well I cut off the excess silicone that was left around the figures. **
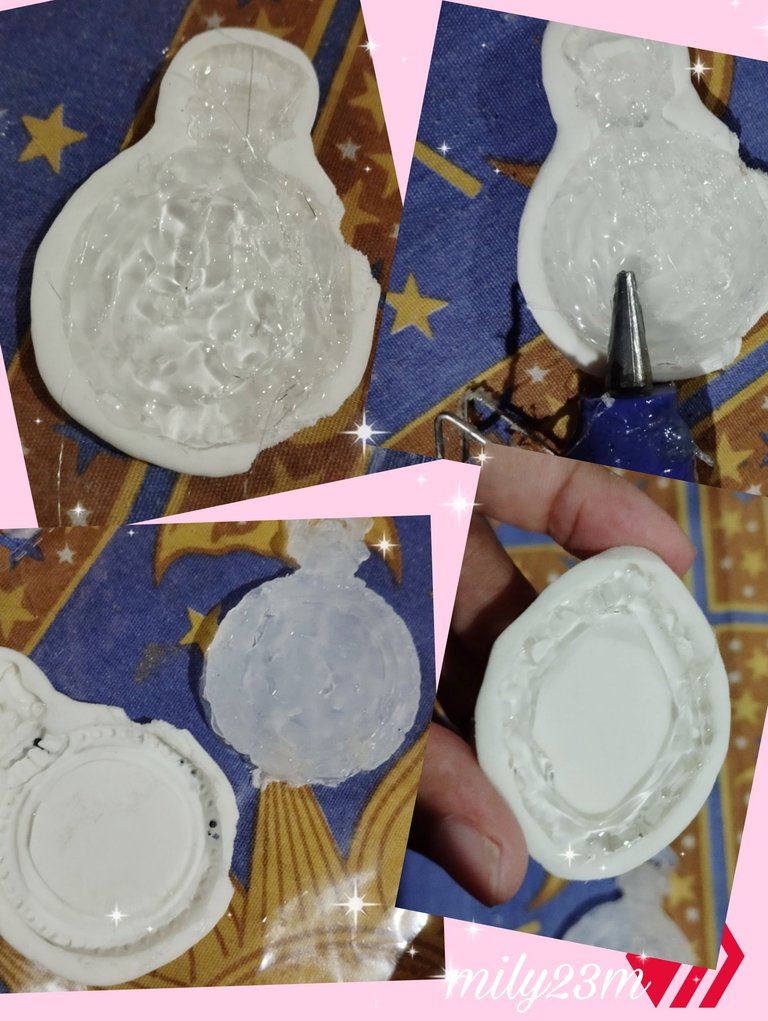
#2 Luego de que se secara bien trate de "alisar" la parte de atrás mientras el diseño aún estaba en el molde, y frotar con la punta de la pistola que aún esta caliente. Para el molde del diseño ovalado hice dos figuras con silicón, y una tercera haciendole solo el borde que tendría todo el diseño con ornamentos.
#2 After it had dried well, I tried to "smooth" the back while the design was still in the mold, and rub it with the tip of the gun while it was still hot. For the oval design mold, I made two figures with silicone, and a third one making only the edge that would have the entire design with ornaments.
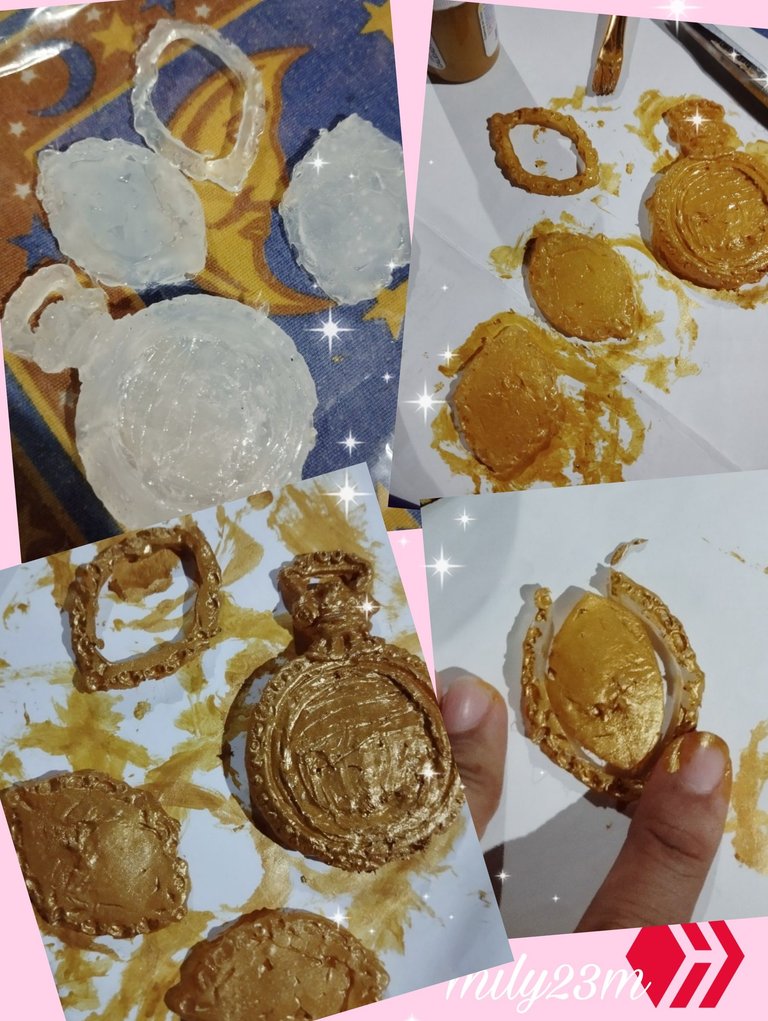
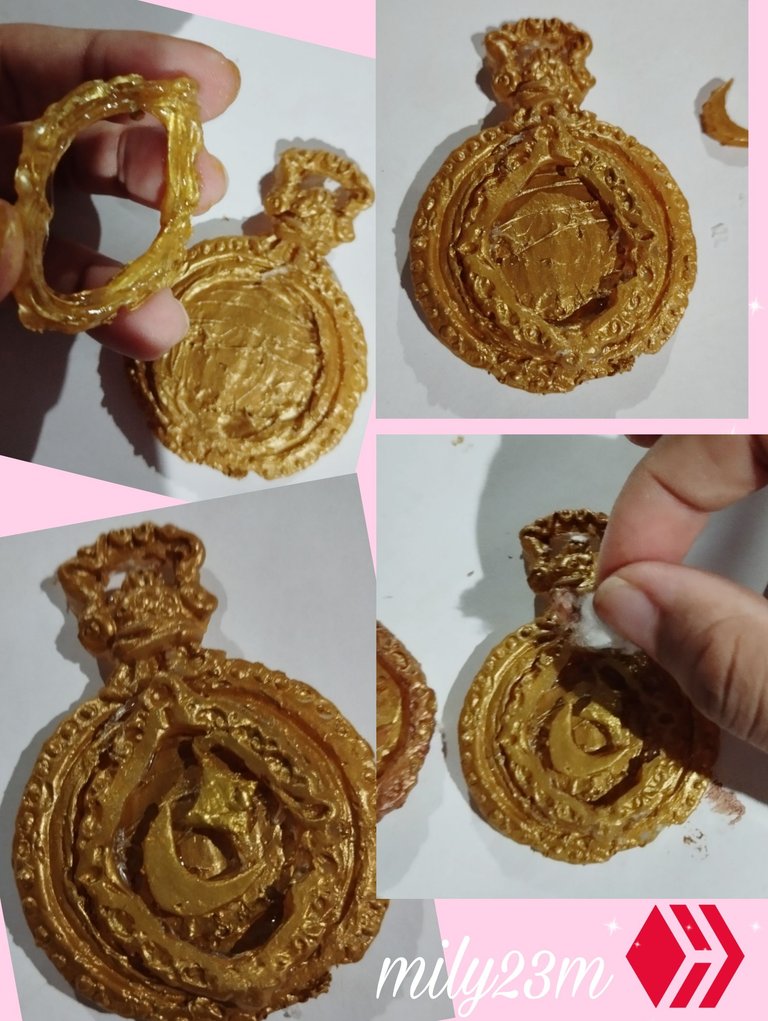
#3 Para el reloj también en el diseño del frente en el centro lo "alise" un poco frotando la punta caliente, y teniendo ya las dos figuras ovaladas y una que sería un Marquito,con pintura dorada y pega blanca en partes iguales la mezcle para que la pintura se adhiera mejor al silicón seco, pinté todas las piezas completamente, a estas figuras les dí unas tres pasadas de pintura ,y una extra con la pintura solamente sin pega y luego deje que se secaran para diseñar como quería los broches , Ya aquí con la pintura dorada los diseños de veían mucho más bonitos, 😻 una de las figuras ovaladas quedó mucho mas delgada así que lo que hice fue recortar todo el contorno del Marquito con los detalles ,y quitarle el centro del diseño.
#3 For the clock also in the front design in the center I "smoothed" it a little by rubbing the hot tip, and already having the two oval figures and one that would be a frame, with gold paint and white glue in equal parts I mixed it so that the paint would adhere better to the dry silicone, I painted all the pieces completely, to these figures I gave them about three coats of paint, and an extra one with the paint only without glue and then let them dry to design the brooches how I wanted, Now here with the gold paint the designs looked much prettier, 😻 one of the oval figures was much thinner so what I did was cut out the entire outline of the frame with the details, and remove the center of the design.
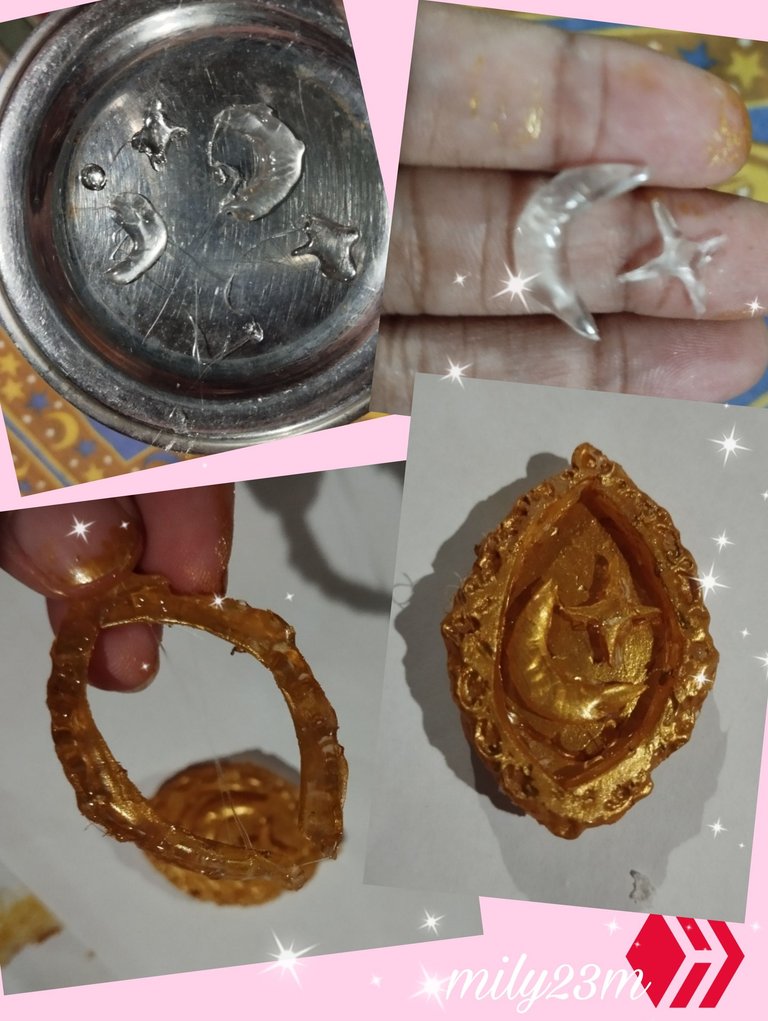
#4 Aproveché está pieza central que recorté , para sacar una figura de una luna y una estrella con la tijera, y pinte sus contornos , tambien decidí hacer unas figuras mas con silicón caliente, unas lunitas y una estrellita ,las hice en una superficie metálica para que se despegará fácilmente, y recorté la figura con tijera para que se vieran más prolijas las figuras, también las pinte de dorado pintando sus bordes. Luego empecé a acomodar como quería el diseño del broche 🧷, para el primer broche ovalado use la figurita ovalada completa y el contorno del marco que corté y la pegué con más silicón caliente ,deforma que quedara este marco sobresaliendo, y le agregué las figuras de lunita y una estrella o destello ✨ pegandolo también con silicón.
Para el segundo broche más grande , usé la figura del marco ovalado extra que hice primero y lo pegué en el centro con silicón, para darle otro detalle y un diseño más intrincado, luego en el medio agregué las dos primeras figuras que habia recortado en forma de luna y destello pegandolas en el centro y con un algodón mezcle un poco de pintura marrón con una gotita de dorada ,la moteé con el algodón en las superficies con relieve para que le diera un toque más antiguo, la idea es que se vea más envejecido.
English Version**#4 I took advantage of this central piece that I cut out, to make a figure of a moon and a star with scissors, and I painted its outlines, I also decided to make some more figures with hot silicone, some little moons and a little star, I made them on a metal surface so that it would peel off easily, and I cut out the figure with scissors so that the figures would look neater, I also painted them gold by painting their edges. Then I started to arrange the design of the brooch as I wanted 🧷, for the first oval brooch I used the complete oval figure and the outline of the frame that I cut and glued it with more hot silicone, so that this frame would stick out, and I added the moon figures and a star or sparkle ✨ also gluing it with silicone. **
**For the second larger brooch, I used the extra oval frame figure that I made first and glued it in the center with silicone, to give it another detail and a more intricate design, then in the middle I added the first two figures that I had cut out in the shape of a moon and sparkle, gluing them in the center and with a cotton ball I mixed a little brown paint with a drop of gold, I speckled it with the cotton ball on the relief surfaces to give it a more antique touch, the idea is that it looks more aged. **
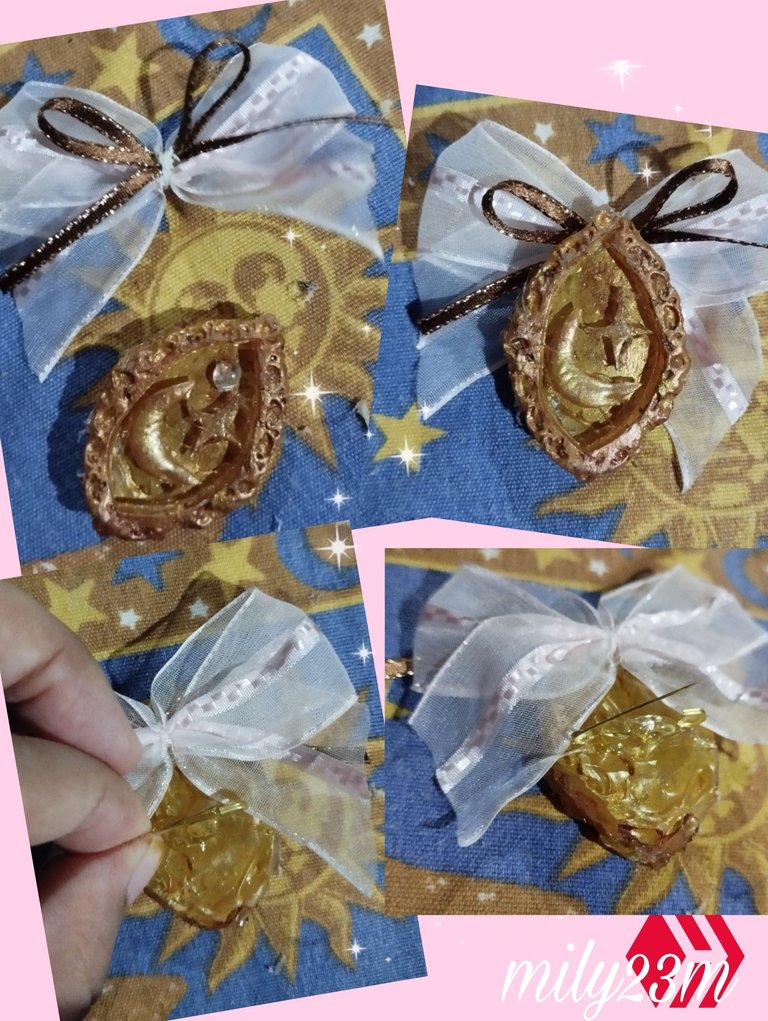
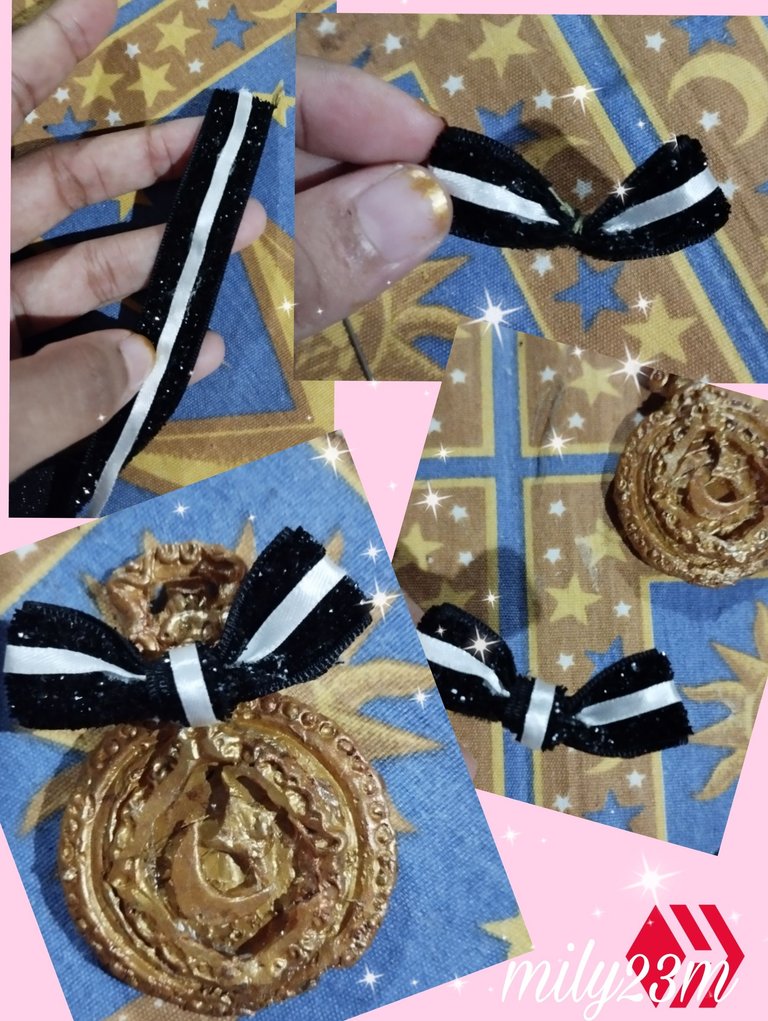
#5 Para el más pequeño el ovalado hice un lacito con cinta organza con una cinta cero marrón con bordes dorados de forma que me quedó un lazo doble y luego pegue en el centro de la figura. Y para el segundo broche que es más grande usé una cinta escarchada de terciopelo negro ,a la cual le pegué un cinta n# 0 de Razo blanco en el medio , y luego hice un lacito con esta ,para pegarla en el broche y se viera con un estilo medio gotico o romántico.
#5 For the smallest oval one, I made a bow with organza ribbon with a brown zero ribbon with gold edges so that I had a double side and then I glued it in the center of the figure. And for the second brooch, which is larger, I used a velvet frosted ribbon, to which I glued a white Razo #0 ribbon in the middle, and then I made a bow with it, to glue it on the brooch and make it look gothic or romantic.
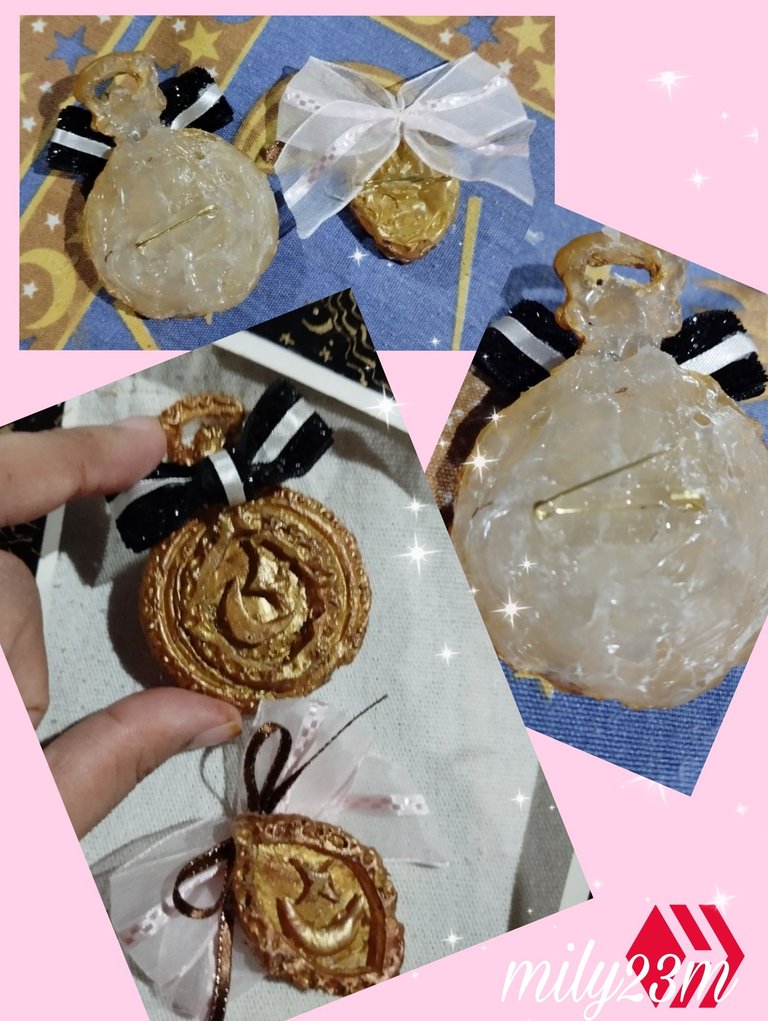
#6 Con el 🧷 imperdible en la parte de atrás pegandolo con silicón caliente, aquí la idea es posicionar el imperdible abierto hacia arriba para que pueda cerrar después ,esto lo hice en ambos broches, para tapar la parte de tras puedes pegarle foami o fieltro pero yo lo deje así.
#6 With the 🧷 safety pin on the back, gluing it with hot silicone, here the idea is to position the safety pin open upwards so that it can close later, I did this on both brooches, to cover the back part you can glue foam or felt to it but I left it like that.
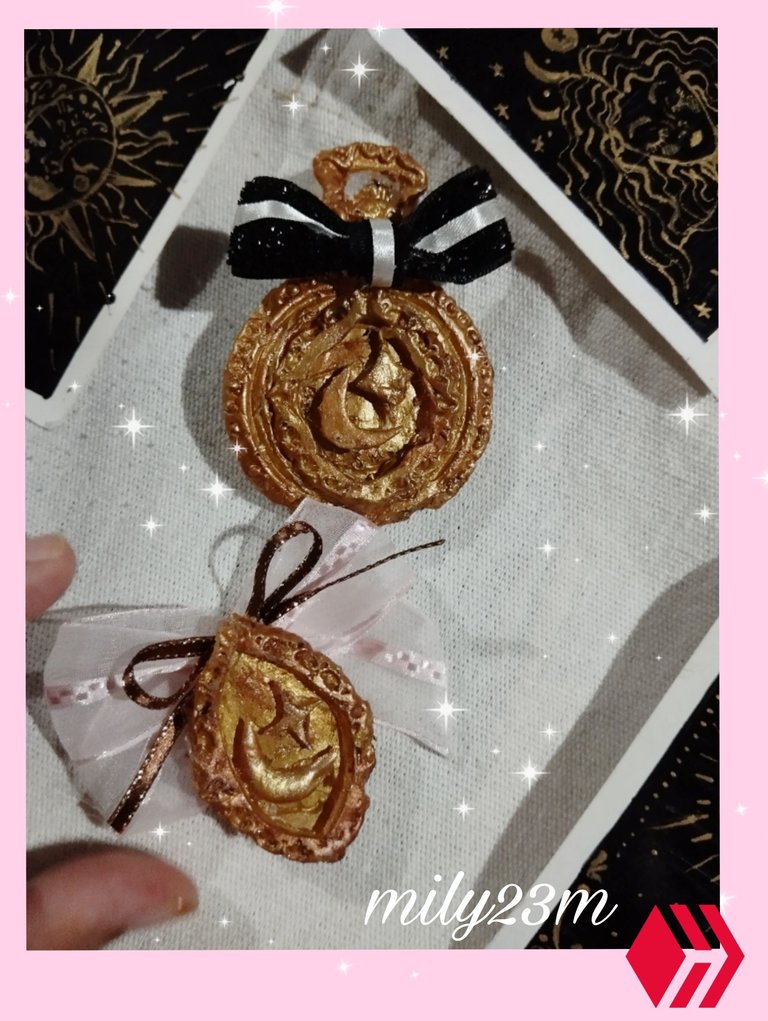

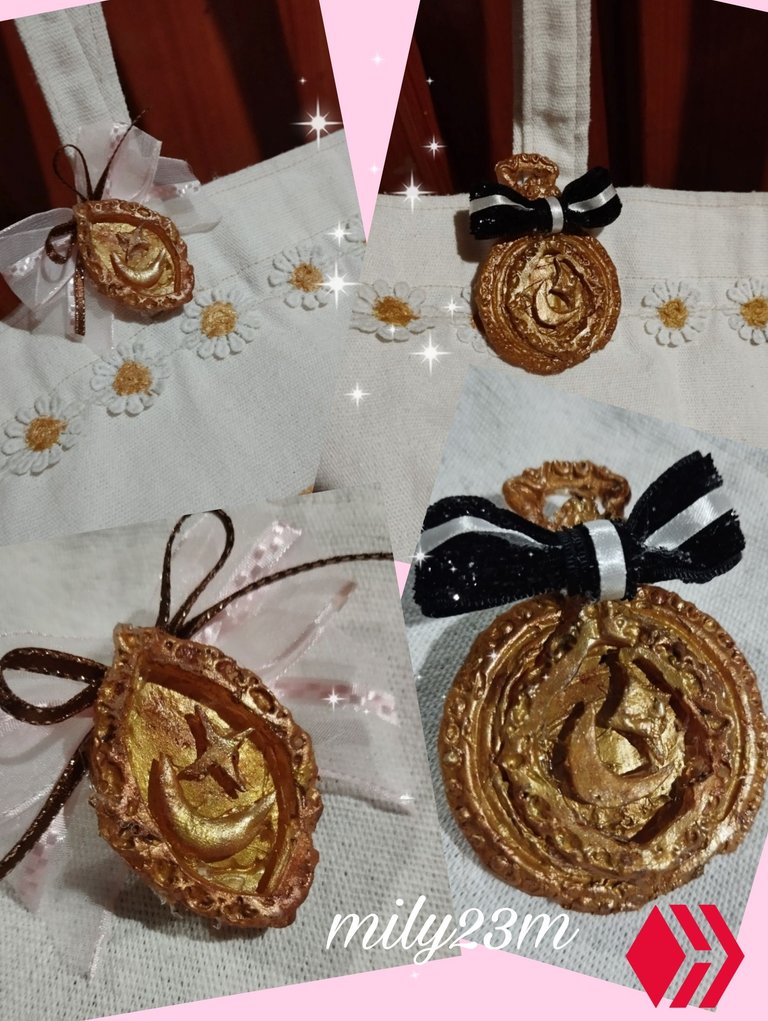
** ✨⚜️ Y Listo! Este fue el resultado ! Quedaron preciosos 😊, para ser hechos con silicón se ven muy bonitos y con ese estilo vintage que estaba buscando, el resultado está bastante bueno ,yo por ejemplo lo puse en una de las asas de mi tote bag ,y da un detalle adorable ,ahorita sobre todo que esta de moda muchos los chains, pines y cualquier accesorio que acompañe al bolso en un estilo muy máximalista. No es una manualidad muy difícil si tienes algún molde que puedas usar , y no requiere muchos materiales ,yo use para hacer las los dos broches ,tres barritas de silicón, por lo que no es algo tan costoso y variaría el diseño segun lo que quieras agregar. Acá les dejó una fotos y un gif para que se vean el resultado 😊✨.**
✨⚜️ Muchas gracias por leer mi post, que te pareció el diseño? 😊💜⚜️✨
** Fotos tomadas por mí en mi equipo Redmi note 12 editadas en Pics art y gif realizado en app creador de GIFs texto traducido en Google traductor**.
English Version** ✨⚜️ And that's it! This was the result! They turned out gorgeous 😊, for being made with silicone they look very pretty and with that vintage style that I was looking for, the result is quite good, for example I put it on one of the handles of my tote bag, and it gives an adorable detail, especially right now that chains, pins and any accessory that accompanies the bag are in fashion in a very maximalist style. It is not a very difficult craft if you have a mold that you can use, and it does not require many materials, I used three silicone bars to make the two clasps, so it is not something that expensive and I would vary the design depending on what you want to add. Here are some photos and a gif so you can see the result 😊✨.**
✨⚜️ Thank you very much for reading my post, what did you think of the design? 😊💜⚜️✨
** Photos taken by me on my Redmi note 12 device edited in Pics art and gif made in GIF creator app, text translated in Google translator**.


💜✨⚜️✨💜


