Bienvenidos || Welcome

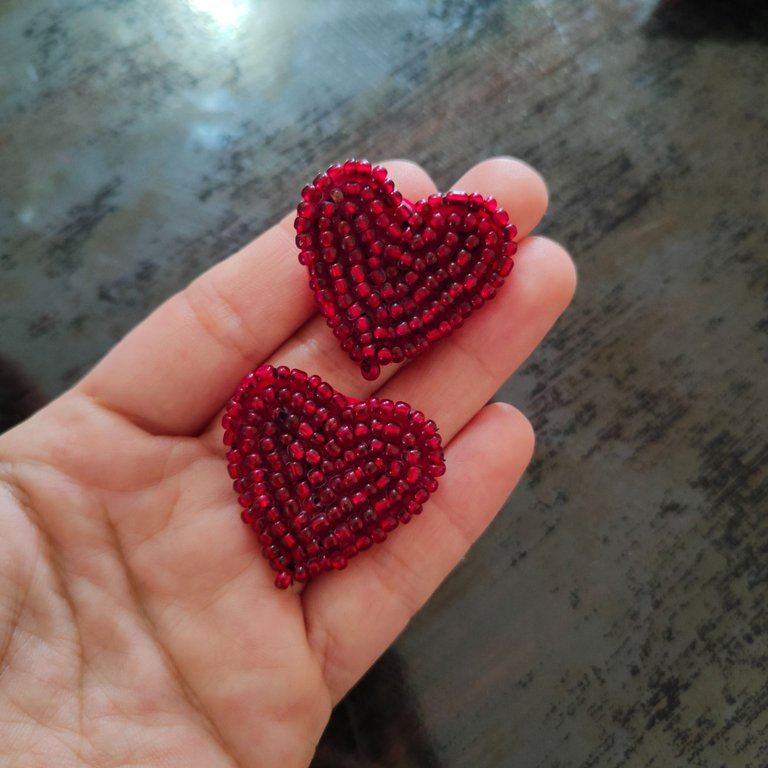
Feliz viernes, como siempre es un gusto estar y compartir con cada uno de ustedes estimados amigos, lectores y artesanos el día de hoy la inspiración fueron los corazones así que en virtud de ellos decidí realizar unos hermosos zarcillos de corazones con mostacillas que tenía tiempo queriendo realizarlos así que hoy fue el día indicado para ello, así que sin más dilaciones acompañe a ver los pasos a paso para realizarlos.
Happy Friday, as always it is a pleasure to be and share with each of you dear friends, readers and artisans today the inspiration were the hearts so by virtue of them I decided to make some beautiful tendrils of hearts with beads that had long wanted to make them so today was the right day for it, so without further delay accompany you to see the steps to make them.

Materiales || Materials

✨ Papel o periódico
✨ lapicero.
✨ fieltro.
✨ mostacillas.
✨ aguja.
✨ hilo nailon.
✨ tijera.
✨ Silicon líquido.
✨ pin de zarcillos.
✨ Paper or newspaper.
✨ pencil.
✨ felt.
✨ beads.
✨ needle.
✨ nylon thread.
✨ scissors.
✨ liquid silicon.
✨ tendril pin.

Pasos ||Steps

✨ Paso 1. Iniciaremos haciendo en una hoja o papel de periódico como en mi caso el patrón del corazón.
✨ Step 1. We will start by making on a sheet or newspaper as in my case the heart pattern.
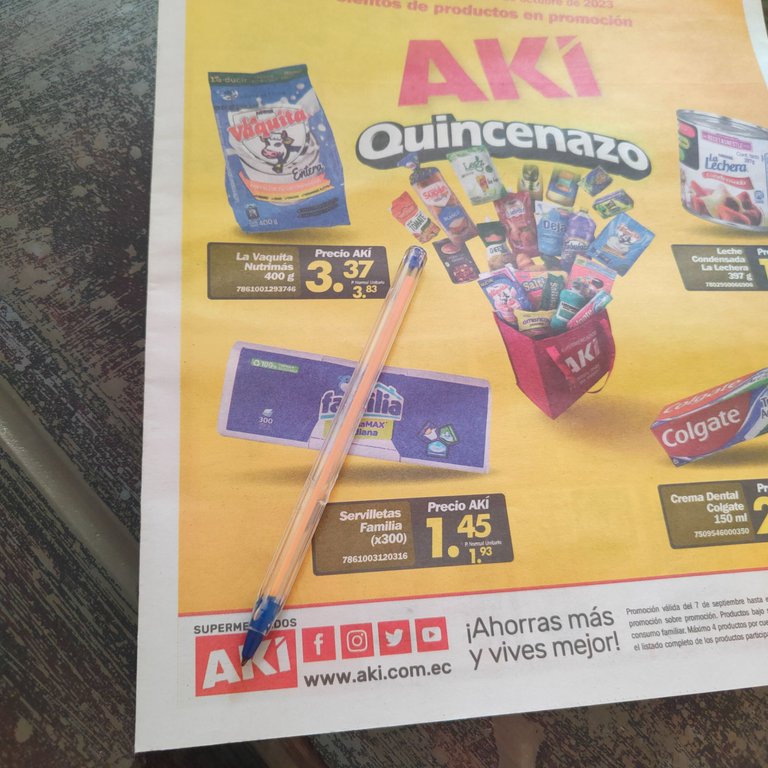
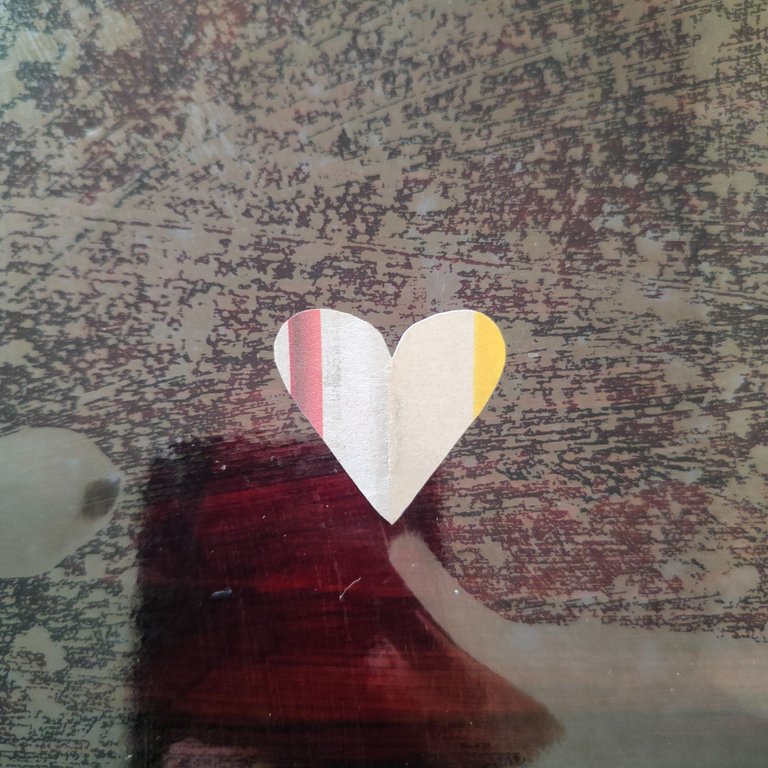
✨ Paso 2. Una vez que tengamos nuestro patrón lo vamos a calcar en el fieltro o como en mi caso que use un tapaboca recorte 2 pequeños cuadrados y en el hice los corazones.
✨ Step 2. Once we have our pattern we are going to trace it on the felt or as in my case that I used a mouthpiece I cut out 2 small squares and on it I made the hearts.
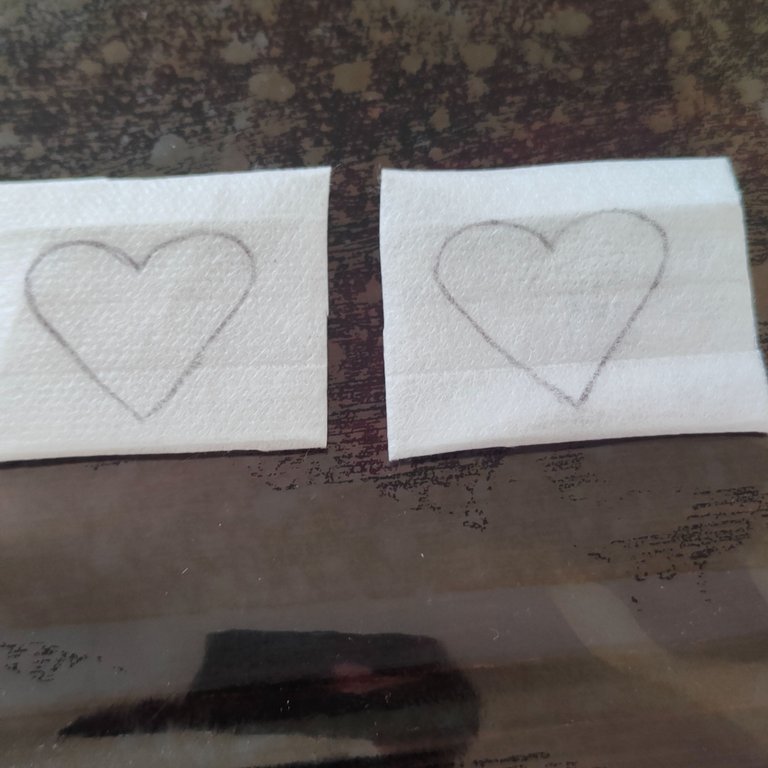
✨ Paso 3. Lo siguiente es ensarta la aguja con 2 metros de hilo.
✨ Step 3. Next is thread the needle with 2 meters of thread.
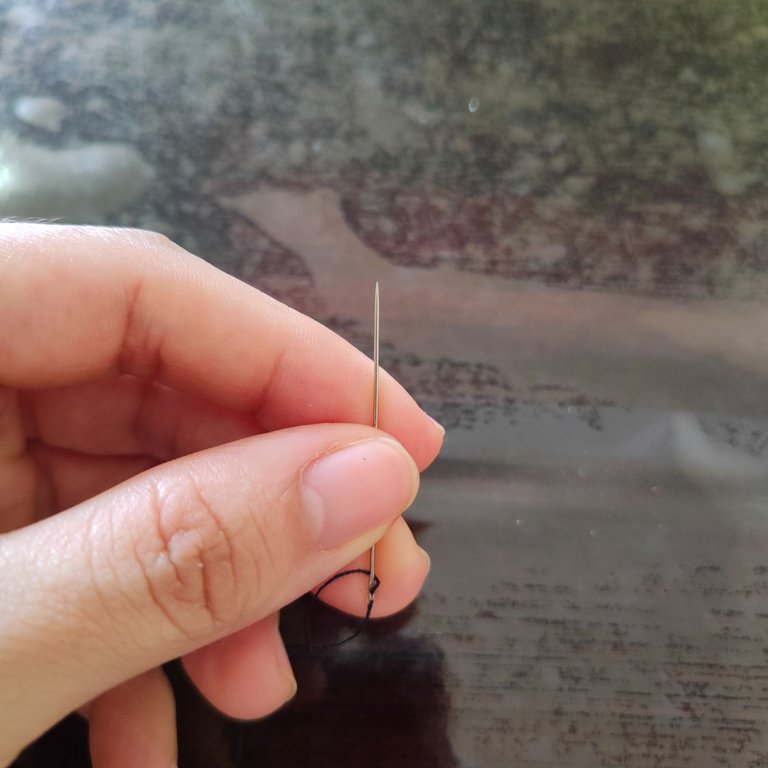
✨ Paso 4. Para comenzar a realizar nuestro corazón con mostacillas vamos ensartar la aguja desde la parte de atrás hacia adelante en la parte central e inferior del corazón.
✨ Step 4. To start making our heart with beads, we will thread the needle from the back to the front in the central and lower part of the heart.
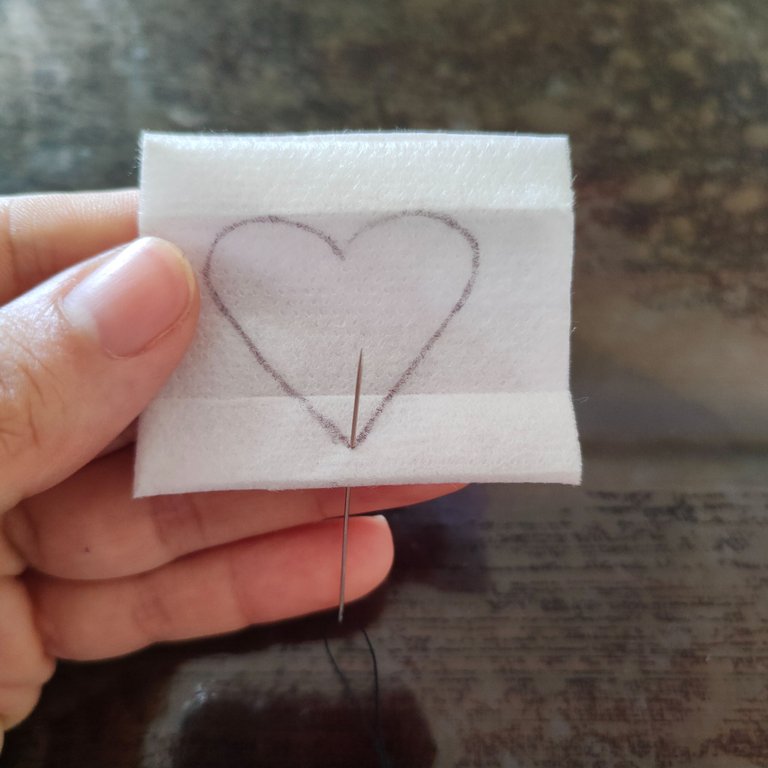
✨ Paso 5. Seguidamente agregamos 3 mostacillas, llevamos al final del hilo y las alineamos al borde de nuestro corazón, pasamos nuestra aguja hacia atrás como si estuviéramos cociendo 😊 así de sencillo.
✨ Step 5. Next we add 3 beads, bring to the end of the thread and align them to the edge of our heart, pass our needle backwards as if we were baking 😊 just like that.
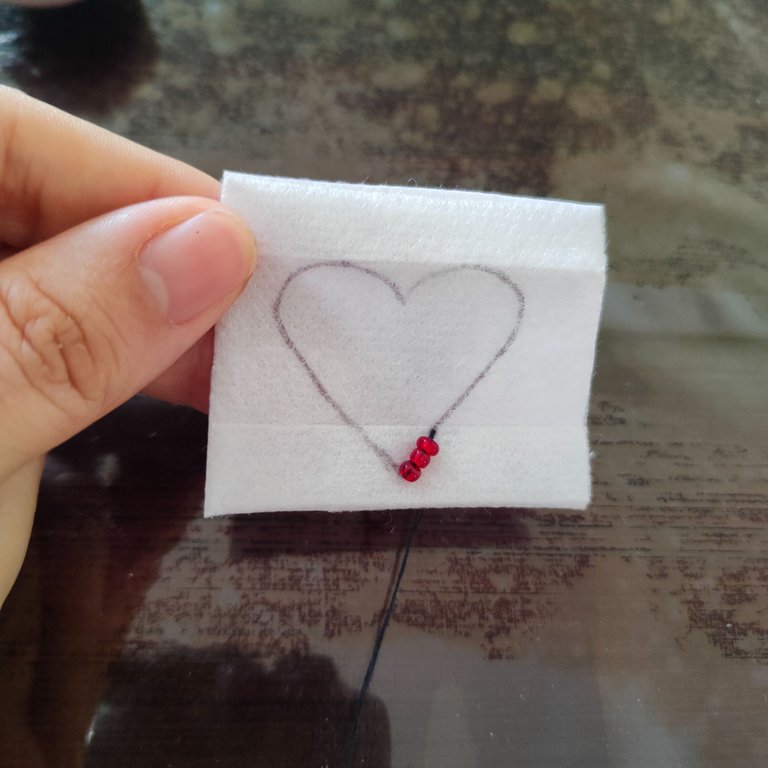
✨ Paso 6. Al regresar con la aguja hacia adelante lo haremos en la segunda mostacilla y luego vamos a pasar por las 2 últimas mostacillas estos hará que nuestras mostacillas queden mejor fijada y alineadas.
✨ Step 6. When we go back with the needle forward we will do it on the second bead and then we will go through the last 2 beads these will make our beads better fixed and aligned.
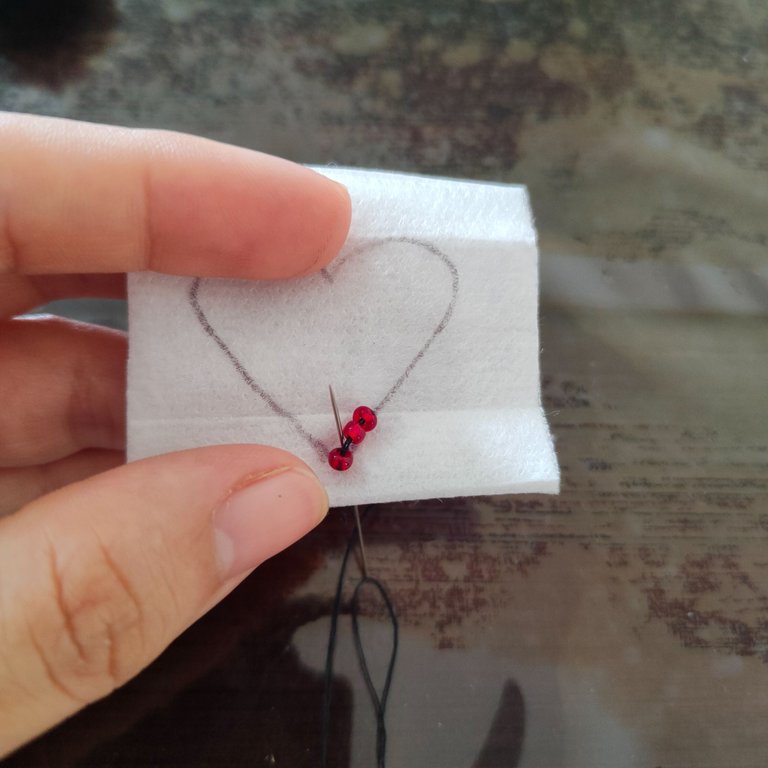
✨ Paso 7. Vamos a repetir los pasos anteriores hasta completar el borde del corazón.
✨ Step 7. We will repeat the previous steps until the edge of the heart is complete.
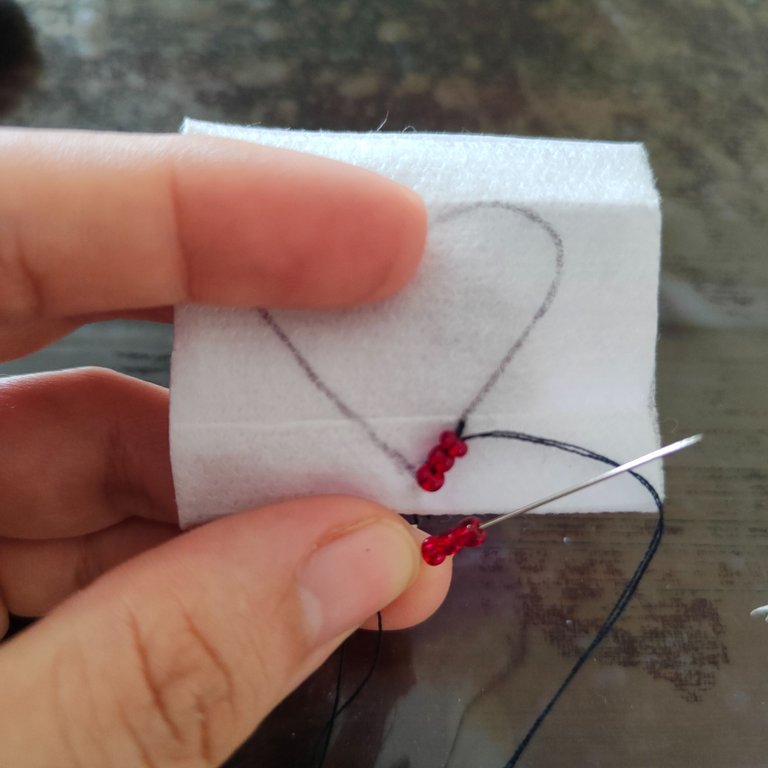
✨ Paso 8. Una vez que terminamos el borde del corazón, vamos a pasar la aguja por todas las mostacillas.
✨ Step 8. Once we finish the edge of the heart, we are going to pass the needle through all the beads.
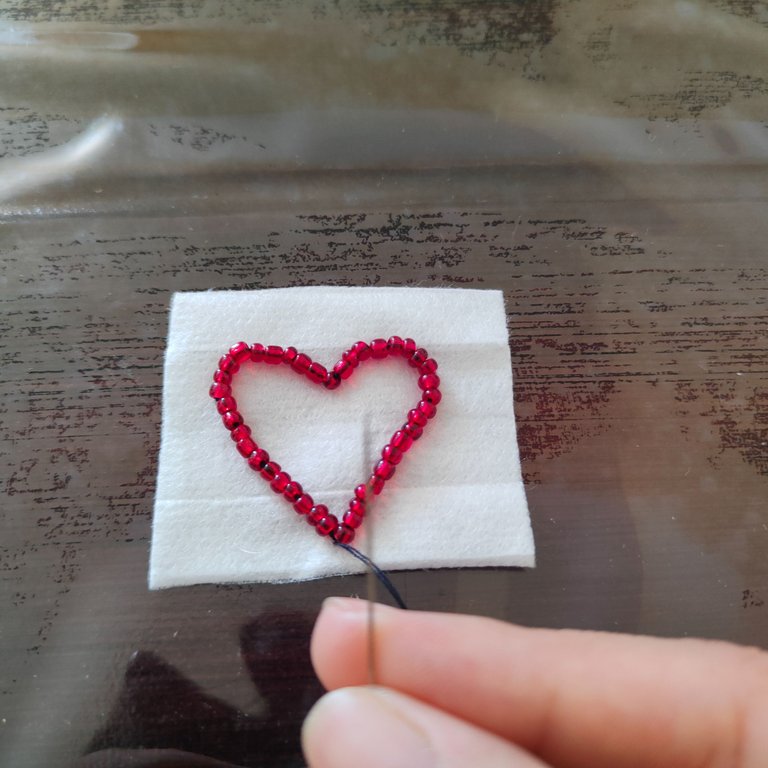
✨ Paso 9. Continuaremos rellenado la parte interna del corazón con las mostacillas siguiendo la forma de corazón.
✨ Step 9. Continue filling the inner part of the heart with the beads following the heart shape.
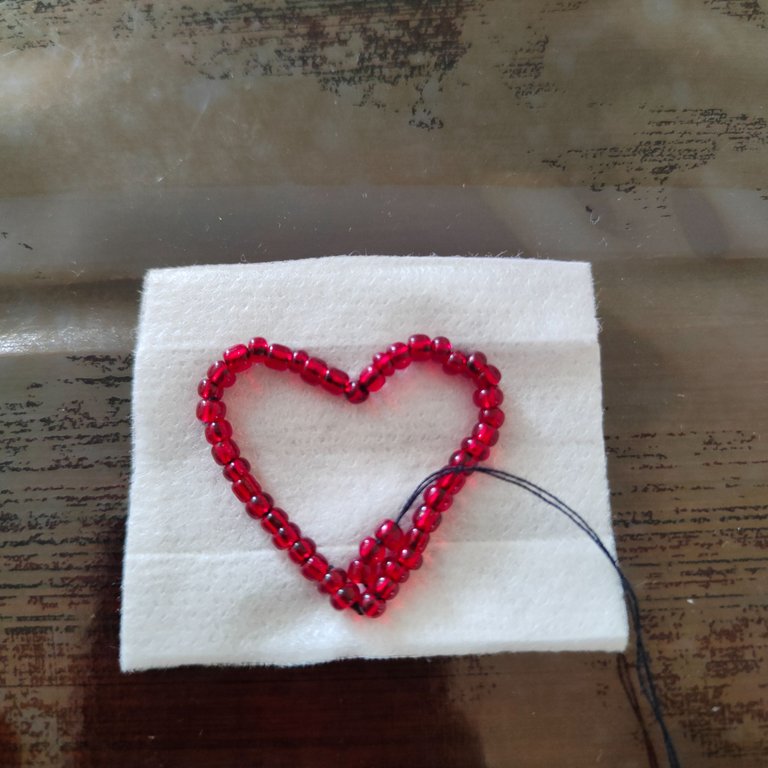
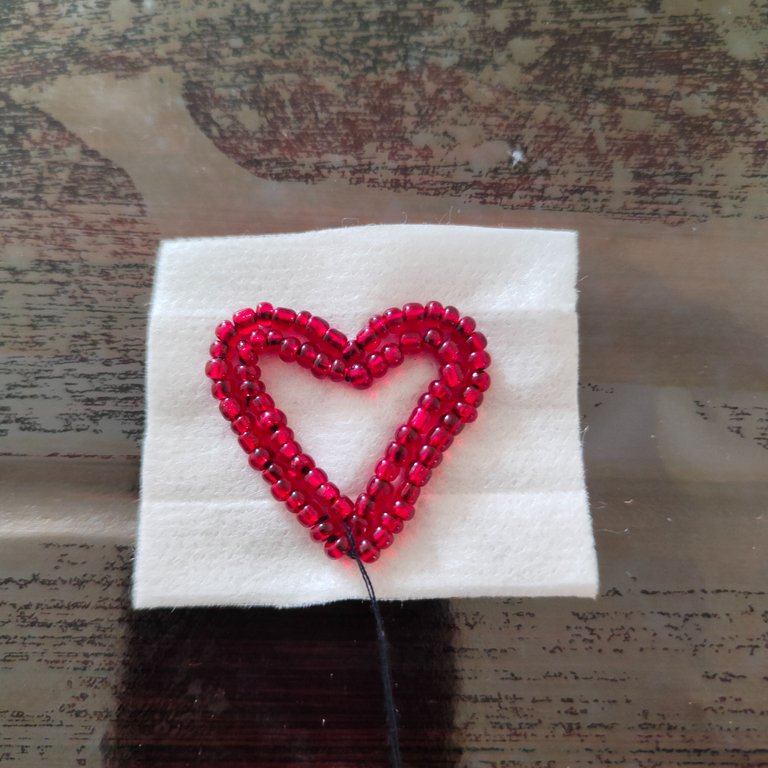
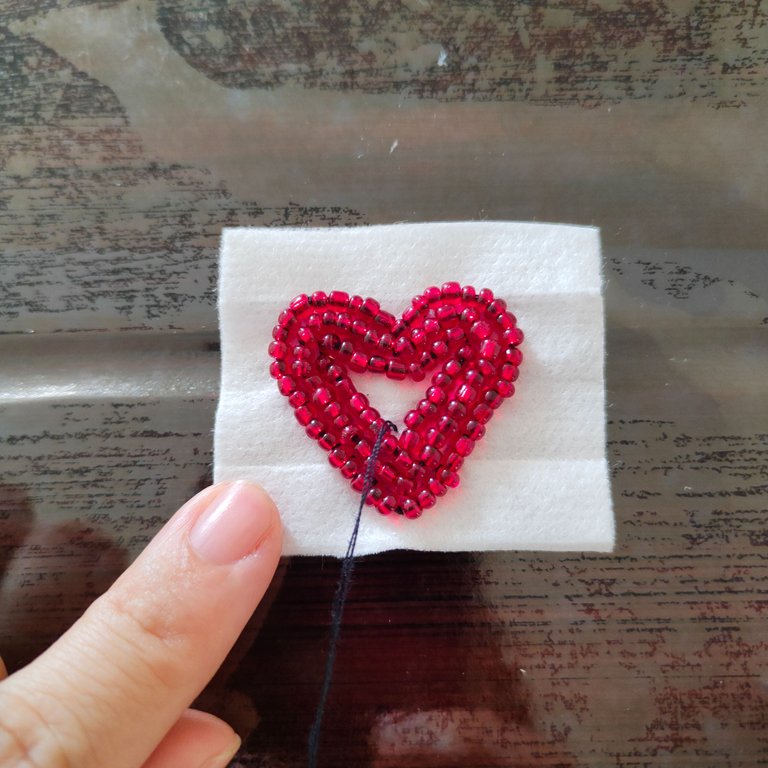
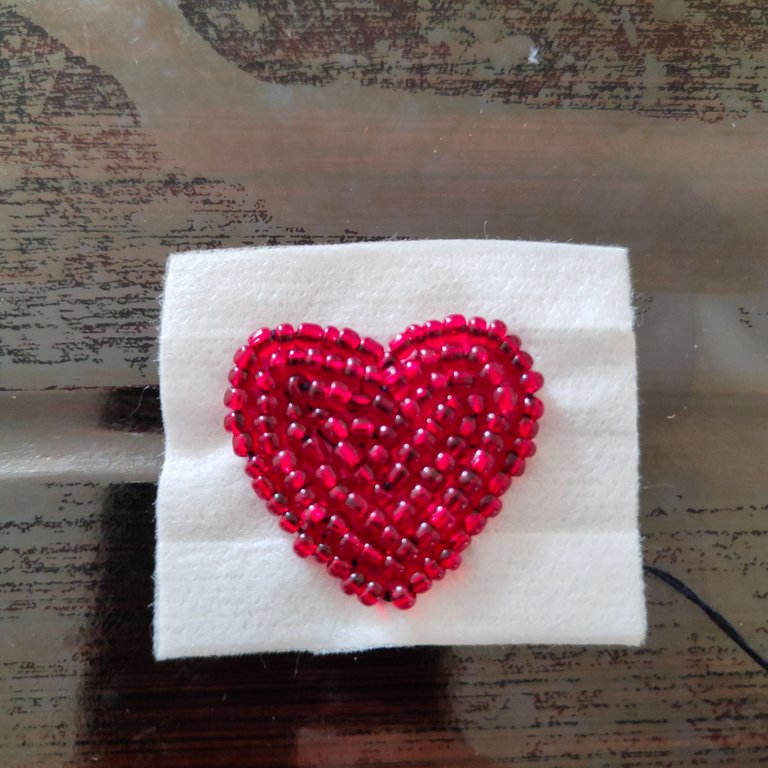
✨ Paso 10. Una vez terminemos el corazón, proseguiremos a recortar sus bordes con mucho cuidado de no coartar los hilo que sujetan las mostacillas.
✨ Step 10. Once the heart is finished, we will proceed to trim its edges being very careful not to cut the threads that hold the beads.
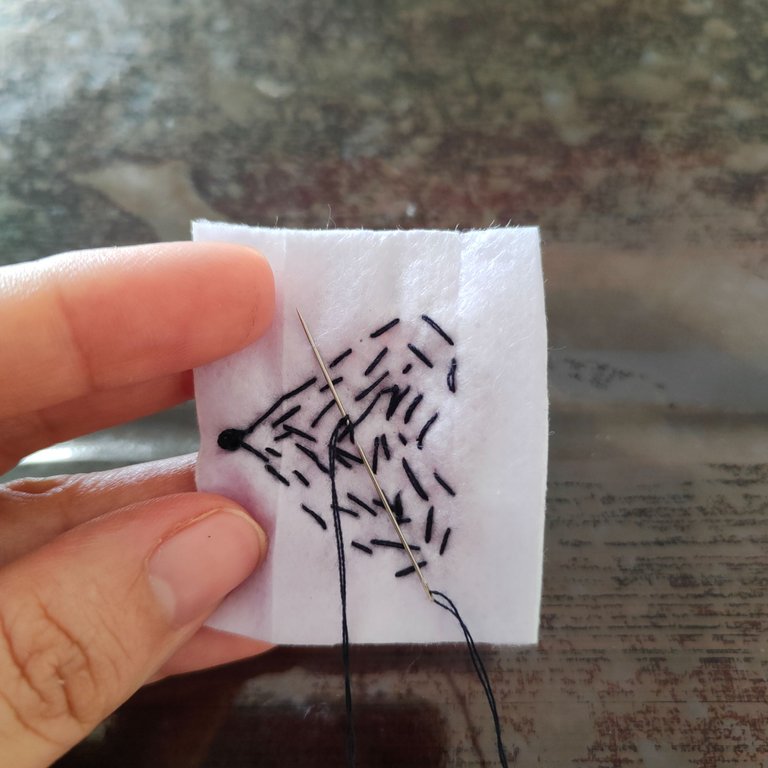
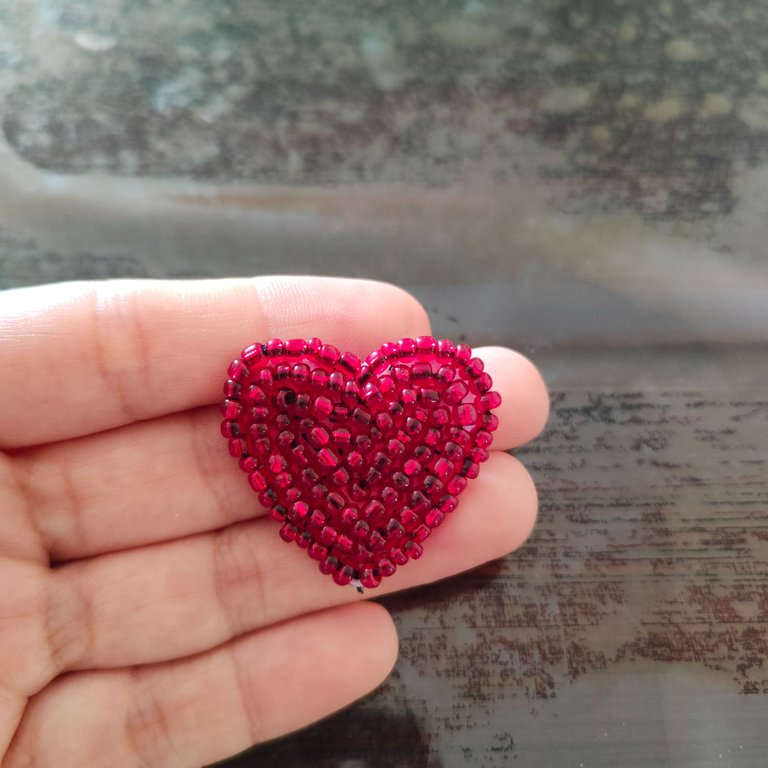
✨ Paso 11. vamos a ensartar en un trozo de fieltro rojo el pin de zarcillo y vamos a proceder a pegarlo en la parte de atrás de nuestro zarcillo para un acabado mejor.
✨ Step 11. we are going to thread on a piece of red felt the tendril pin and proceed to glue it on the back of our tendril for a better finish.
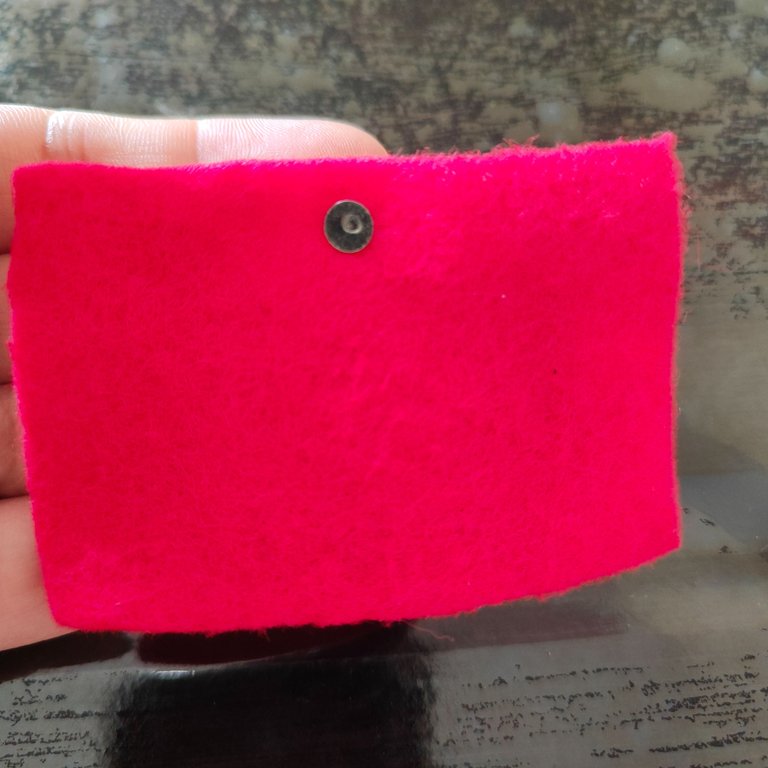
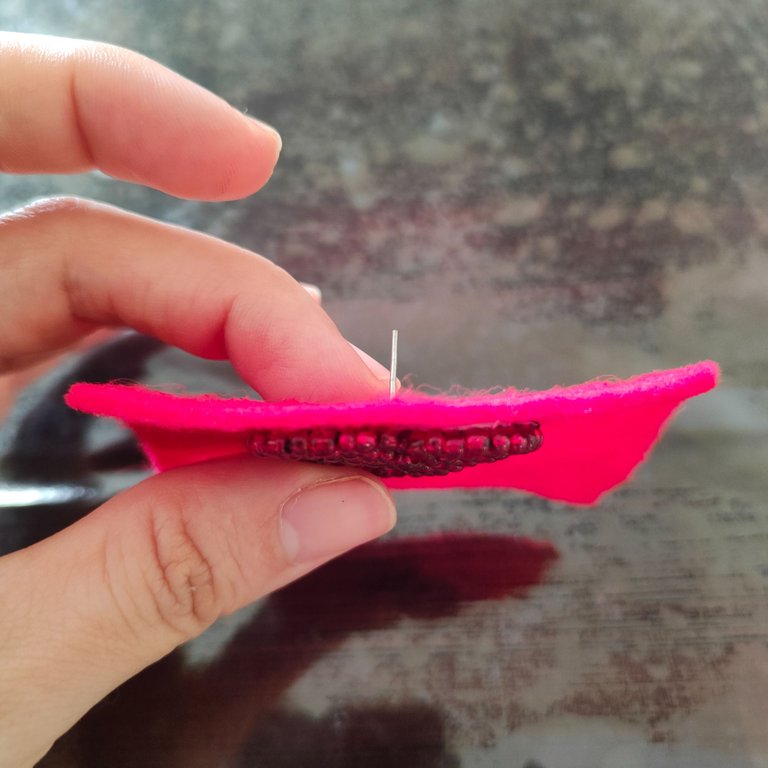
✨ Paso 12. Por último vamos a recortar el fieltro rojo excedente y para eliminar la porosidad del fieltro le pasamos ligeramente fuego con en encendedor.
✨ Step 12. Finally, we will trim the excess red felt and to eliminate the porosity of the felt we lightly fire it with a lighter.
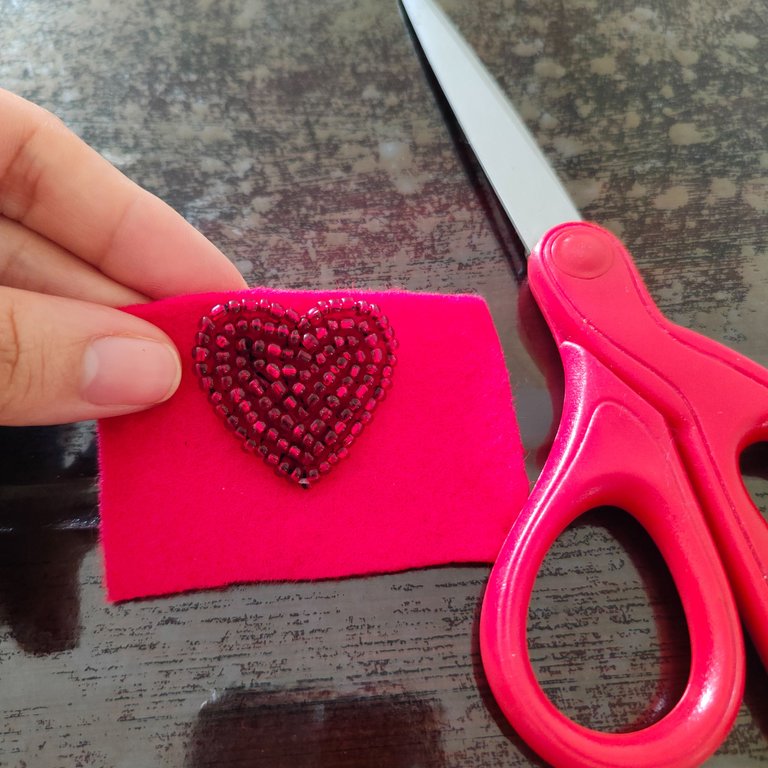
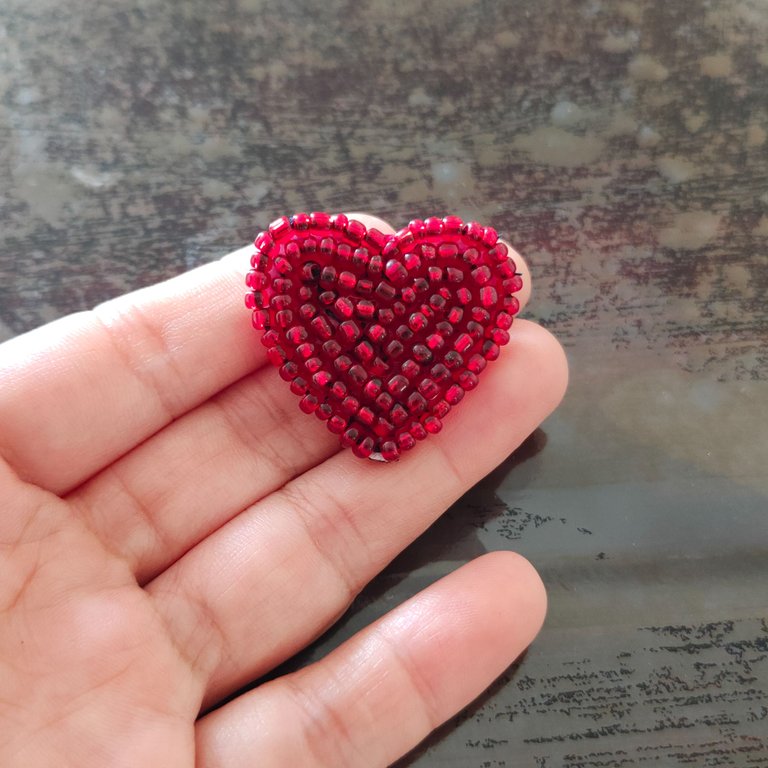
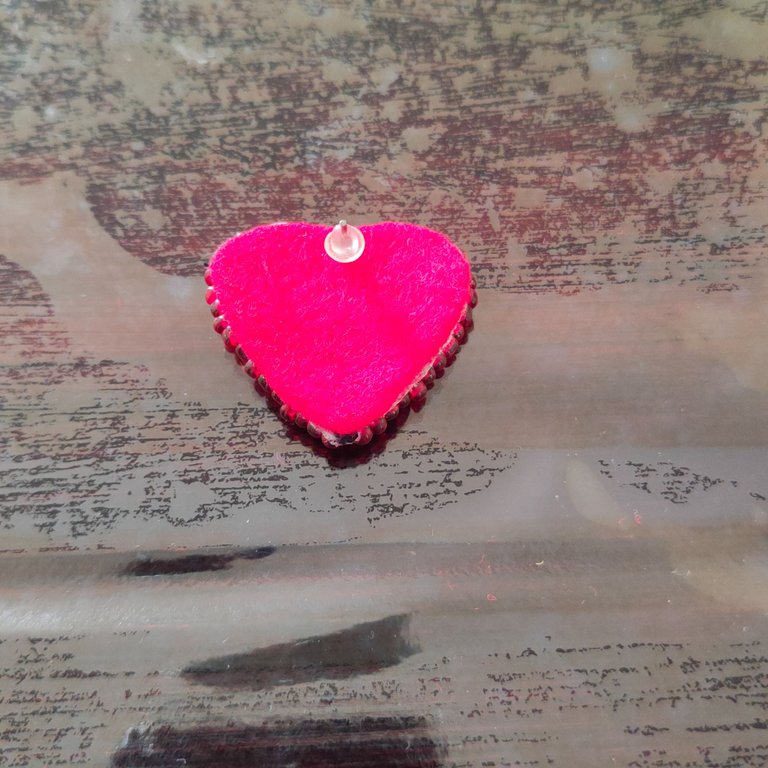
De esta manera habremos culminado nuestro primer zarcillo el cual quedó hermosos, ahora solo queda replicar todos los pasos para realizar el segundo ejemplar y así tener nuestro par de zarcillo listo.
In this way we will have completed our first tendril which was beautiful, now we only have to replicate all the steps to make the second copy and thus have our pair of tendrils ready.

Resultado || Result

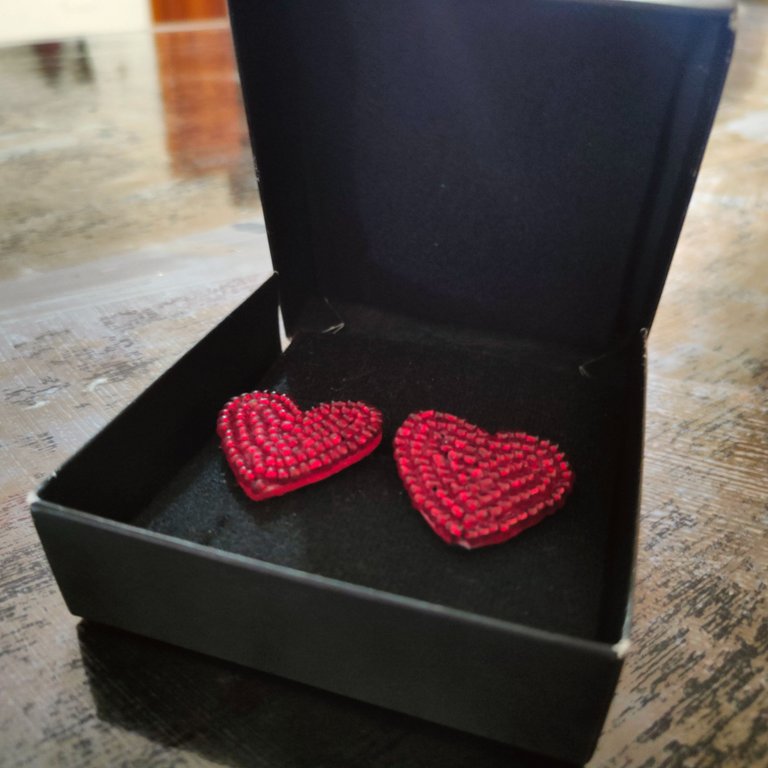


El resultado es muy lindo la técnica es sencilla de aprender y realizar para un mejor acabado lo ideal sería usar fieltro del mismo color tanto en la figura base así como la que va en la parte de atrás del zarcillo que las las mostacillas, si llegaste hasta aquí muchas gracias! Por tu tiempo, atención y apoyo, esperando que el contenido fuese de su agrado me despido hasta un próximo post estimados amigos y lectores.
The result is very nice the technique is simple to learn and perform for a better finish would ideally use the same color felt in both the base figure as well as the one that goes on the back of the tendril that the beads, if you got this far thank you very much! For your time, attention and support, hoping that the content was to your liking I say goodbye until a next post dear friends and readers.
La creatividad no tiene límite. || There is no limit to creativity. ✨💎🎉🌷

Hasta la próxima...
See you next time... 🩷

🎥Imágenes y vídeo creados con: |Images and video created with: CapCut | Giphy| Canva
🇪🇸Traducido con DeepL


